2003 GMC SIERRA DENALI lock
[x] Cancel search: lockPage 105 of 428
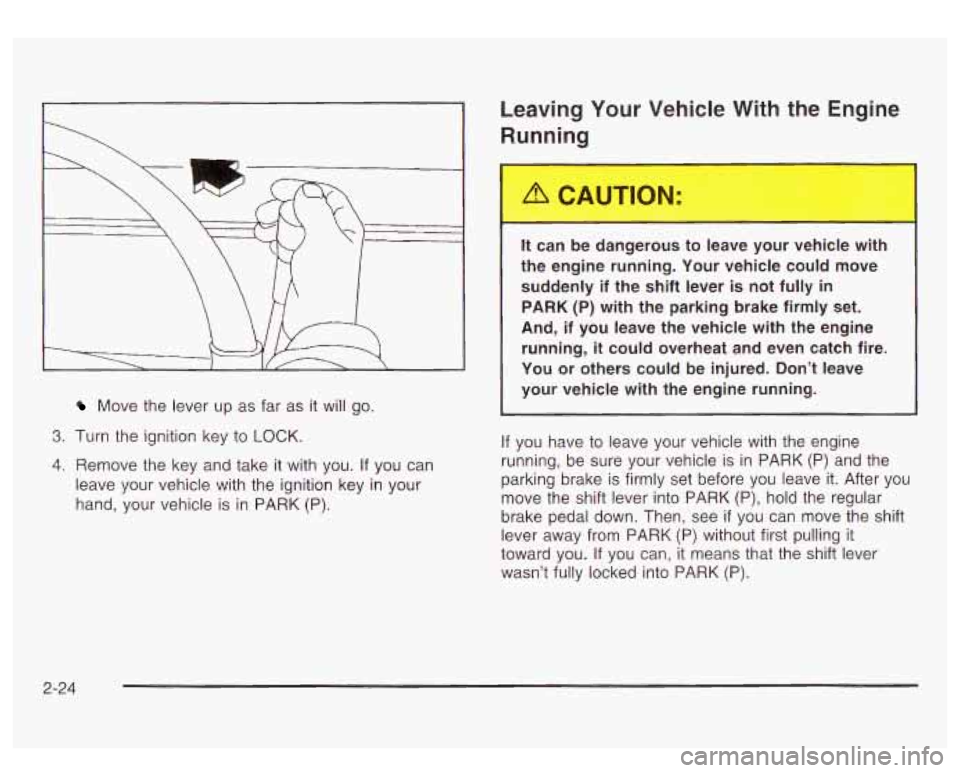
Move the lever up as far as it will go.
3. Turn the ignition key to LOCK.
4. Remove the key and take it with you. If you can
leave your vehicle with the ignition key in your
hand, your vehicle is
in PARK (P).
Leaving Your Vehicle With the Engine
Running
It can be dangerous to leave your vehicle with
the engine running. Your vehicle could move
suddenly if the shift lever is not fully
in
PARK (P) with the parking brake firmly set.
And, if you leave the vehicle with the engine
running,
it could overheat and even catch fire.
You or others could be injured. Don’t leave
your vehicle with the engine running.
If you have to leave your vehicle with the engine
running, be sure your vehicle is in PARK
(P) and the
parking brake
is firmly set before you leave it. After you
move the shift lever into PARK
(P), hold the regular
brake pedal down. Then, see
if you can move the shift
lever away from PARK
(P) without first pulling it
toward you.
If you can, it means that the shift lever
wasn’t fully locked into PARK (P).
2-24
Page 106 of 428
Torque Lock
If you are parking on a hill and you don’t shift your
transmission into PARK
(P) properly, the weight of the
vehicle may put too much force on the parking pawl
in the transmission. You may find it difficult to pull the
shift lever out of PARK
(P). This is called ”torque
lock.” To prevent torque lock, set the parking brake and
then shift into PARK (P) properly before you leave
the driver’s seat.
To find out how, see Shifting lnto
Park
(P) on page 2-23.
When you are ready to drive, move the shift lever out of
PARK
(P) before you release the parking brake.
If torque lock does occur, you may need to have another
vehicle push yours a little uphill to take some of the
pressure from the parking pawl in the transmission,
so
you can pull the shift lever out of PARK (P).
Shifting Out of Park (P)
Your vehicle has an automatic transmission shift lock
control system. You have to fully apply your regular
brakes before you can shift from PARK (P) when the
ignition
is in RUN. See Automatic Transmission
Operation on page
2- 18.
If you cannot shift out of PARK (P), ease pressure on
the shift lever and push the shift lever all the way up into
PARK
(P) as you maintain brake application. Then,
move the shift lever into the gear you want.
If you ever hold the brake pedal down but still can’t shift
out of PARK (P), try this:
1. Turn the key to LOCK.
2. Apply and hold the brake until the end of Step 4.
3. Shift the vehicle to NEUTRAL (N).
4. Start the vehicle and then shift to the drive gear
5. Have the system fixed as soon as you can.
you want.
2-25
Page 109 of 428
Mirrors
Automatic Dimming Rearview Mirror
with Onstar@, Compass and
Temperature Display
Your vehicle may have this feature. When on, an
electrochromic mirror automatically dims to the proper
level to minimize glare from lights behind you after dark.
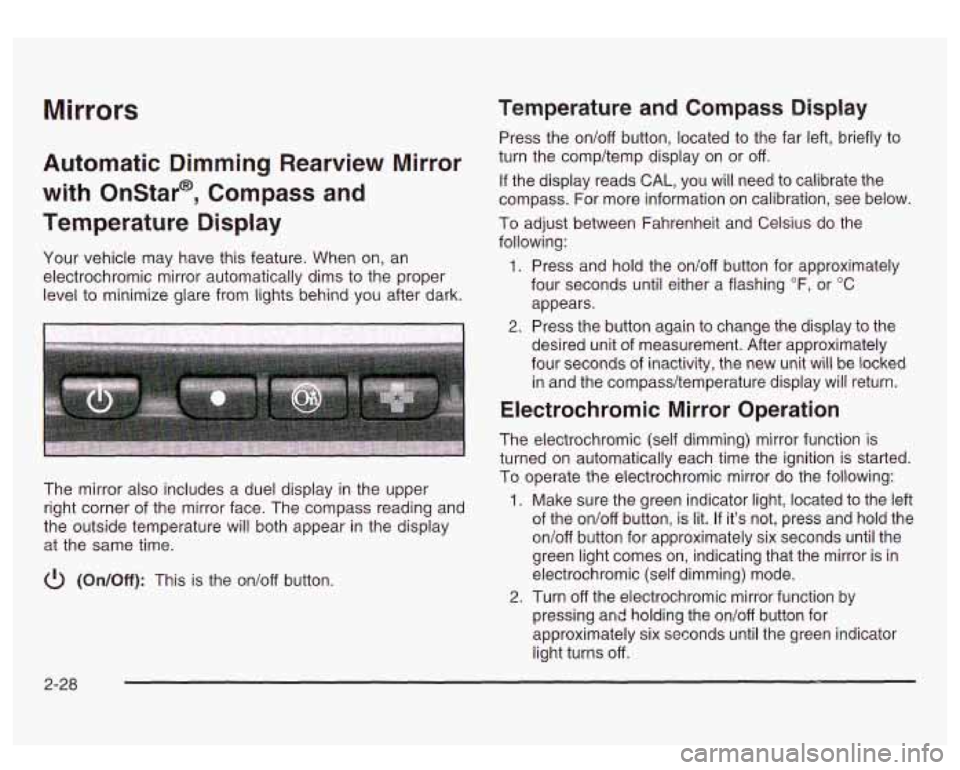
The mirror also includes a duel display in the upper
right corner of the mirror face. The compass reading and
the outside temperature will both appear in the display
at the same time.
cl) (On/Off): This is the on/off button.
Temperature and Compass Display
Press the on/off button, located to the far left, briefly to
turn the comp/temp display on or off.
If the display reads CAL, you will need to calibrate the
compass. For more information on calibration, see below.
To adjust between Fahrenheit and Celsius do the
following:
1. Press and hold the on/off button for approximately
four seconds until either a flashing
OF, or "C
appears.
desired unit of measurement. After approximately
four seconds of inactivity, the new unit will be locked
in and the compass/temperature display will return.
2. Press the button again to change the display to the
Electrochromic Mirror Operation
The electrochromic (self dimming) mirror function is
turned on automatically each time the ignition is started.
To operate the electrochromic mirror do the following:
1. Make sure the green indicator light, located to the left
of the on/off button, is lit.
If it's not, press and hold the
on/off button for approximately six seconds until the
green light comes on, indicating that the mirror is in
electrochromic (self dimming) mode.
2. Turn off the electrochromic mirror function by
pressing and holding the on/off button for
approximately six seconds until the green indicator
light turns off.
2-28
Page 110 of 428
Compass Variance
The mirror is set in zone eight upon leaving the factory. It
will be necessary to adjust the compass to compensate
for compass variance
if you live outside of zone eight.
Under certain circumstances, as during a long distance
cross-country trip, it will be necessary to adjust for
compass variance. Compass variance is the difference
between earth’s magnetic north and true geographic
north. If not adjusted to account for compass variance,
your compass could give false readings.
To adjust for compass variance do the following:
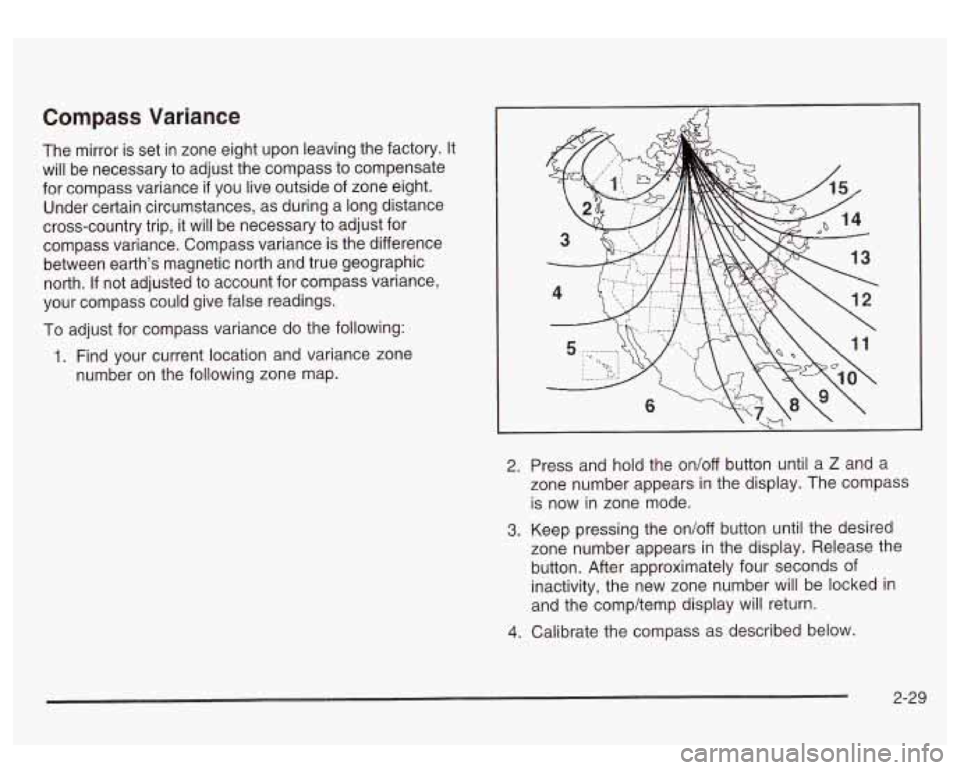
1. Find your current location and variance zone
number on the following zone map.
2. Press and hold the on/off button until a Z and a
zone number appears in the display. The compass
is now in zone mode.
3. Keep pressing the on/off button until the desired
zone number appears in the display. Release the
button. After approximately four seconds of
inactivity, the new zone number will be locked in
and the comp/temp display will return.
4. Calibrate the compass as described below.
2-29
Page 114 of 428
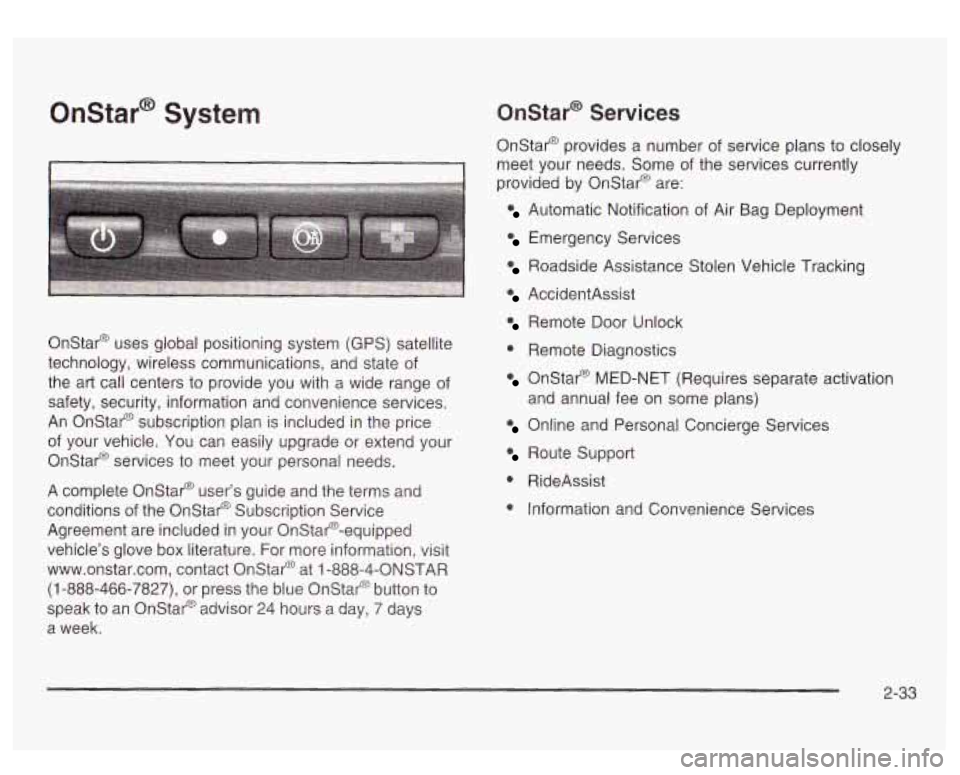
Onstar@ System
I I
Onstar@ uses global positioning system (GPS) satellite
technology, wireless communications, and state of
the art call centers to provide you with a wide range of
safety, security, information and convenience services.
An Onstar@ subscription plan is included in the price
of your vehicle. You can easily upgrade or extend your
Onstar@ services to meet your personal needs.
A complete Onstar@ user’s guide and the terms and
conditions of the Onstar@ Subscription Service
Agreement are included in your Onstar@-equipped
vehicle’s glove box literature. For more information, visit
www.onstar.com, contact Onstar@ at
1 -888-4-ONSTAR
(1-888-466-7827), or press the blue Onstar@ button to
speak to an Onstat@ advisor 24 hours a day, 7 days
a week.
Onstar@ Services
Onstar@ provides a number of service plans to closely
meet your needs. Some of the services currently
provided by OnStar@ are:
Automatic Notification of Air Bag Deployment
Emergency Services
Roadside Assistance Stolen Vehicle Tracking
AccidentAssist
Remote Door Unlock
0 Remote Diagnostics
Onstar@ MED-NET (Requires separate activation
Online and Personal Concierge Services
and
annual fee on some plans)
Route Support
0 RideAssist
0 Information and Convenience Services
2-33
Page 116 of 428
HomeLink@ Transmitter
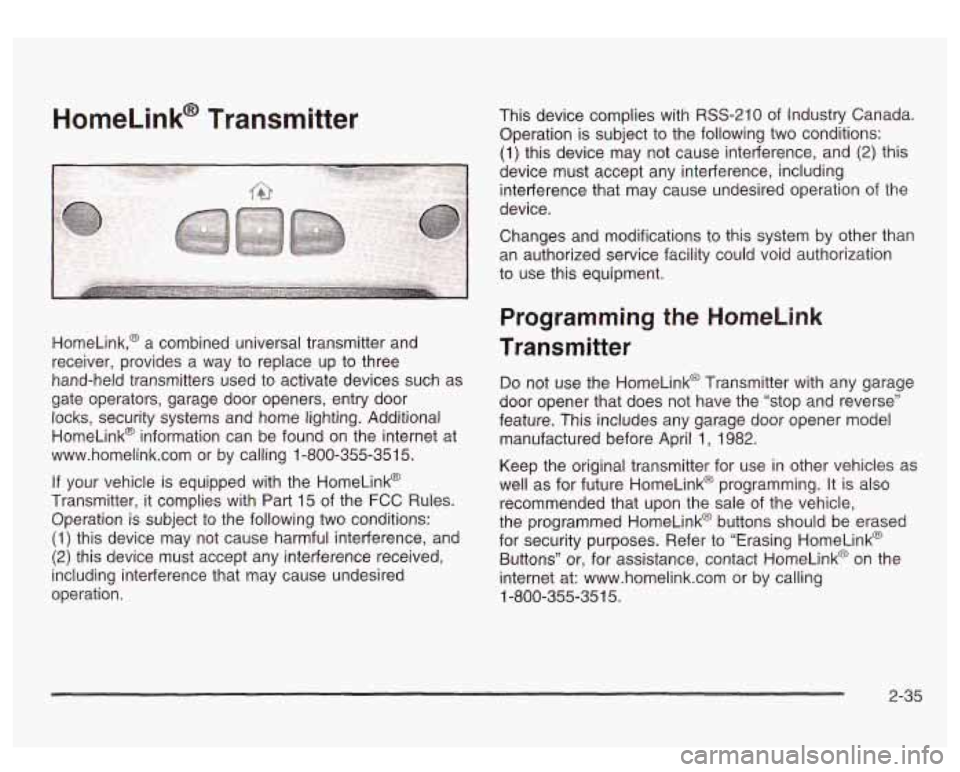
HomeLink,@ a combined universal transmitter and
receiver, provides a way to replace up to three
hand-held transmitters used to activate devices such as
gate operators, garage door openers, entry door locks, security systems and home lighting. Additional
HomeLink@ information can be found on the internet at
www.homelink.com or by calling 1-800-355-351
5.
If your vehicle is equipped with the HomeLink@
Transmitter, it complies with Part
15 of the FCC Rules.
Operation is subject to the following two conditions:
(1) this device may not cause harmful interference, and
(2) this device must accept any interference received,
including interference that may cause undesired
operation. This device complies
with RSS-210 of Industry Canada.
Operation
is subject to the following two conditions:
(1) this device may not cause interference, and (2) this
device must accept any interference, including
interference that may cause undesired operation of the
device.
Changes and modifications to this system by other than
an authorized service facility could void authorization
to use this equipment.
Programming the HomeLink
Transmitter
Do not use the HomeLink@ Transmitter with any garage
door opener that does not have the “stop and reverse”
feature. This includes any garage door opener model
manufactured before April
1, 1982.
Keep the original transmitter for use in other vehicles as
well as for future HomeLink@ programming. It is also
recommended that upon the sale of the vehicle,
the programmed HomeLink@ buttons should be erased
for security purposes. Refer to “Erasing HomeLink@
Buttons” or, for assistance, contact HomeLinkO on the
internet at: www.homelink.com or by calling
1-800-355-351
5.
2-35
Page 120 of 428
Storage Areas
Glow Box
To open your glove box, pull the lever upward and pull
the door downward.
Cupholder(s)
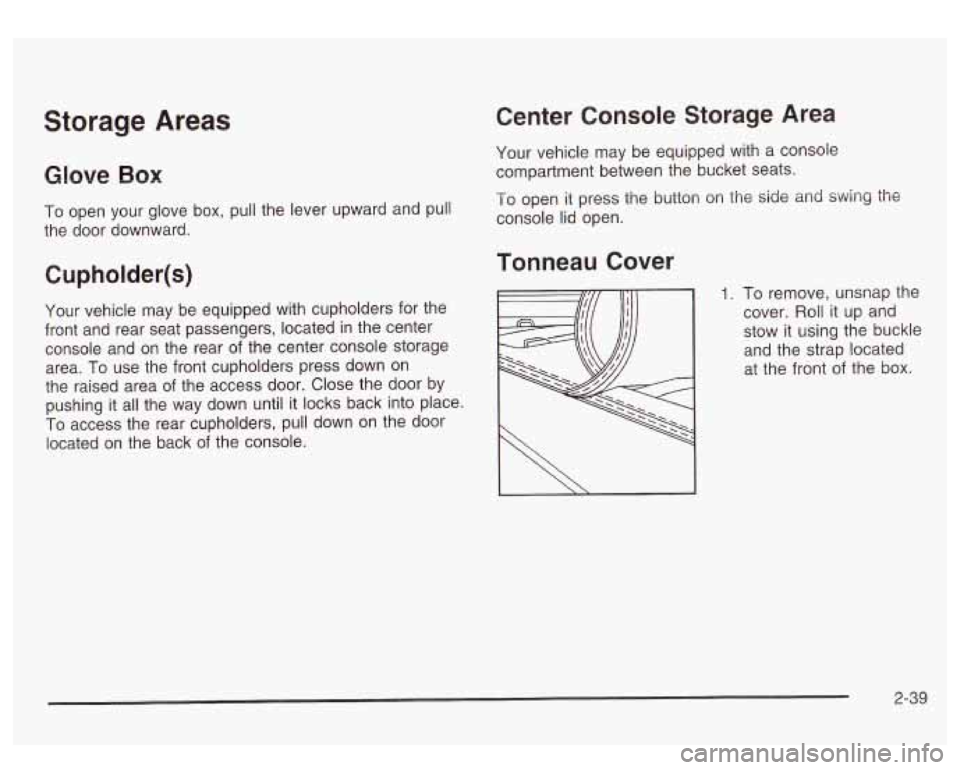
Your vehicle may be equipped with cupholders for the
front and rear seat passengers, located in the center
console and on the rear of the center console storage
area.
To use the front cupholders press down on
the raised area
of the access door. Close the door by
pushing it all the way down until it locks back into place.
To access the rear cupholders, pull down on the door
located on the back of the console.
Center Console Storage Area
Your vehicle may be equipped with a console
compartment between the bucket seats.
To open it press the button on the side and swing the
console lid open.
Tonneau Cover
1. To remove, unsnap the
cover. Roll it up and
stow it using the buckle
and the strap located
at the front
of the box.
I \ I
2-39
Page 123 of 428

Vehicle Personalization
Memory Seat
If your vehicle has this
feature, then the controls for the memory function
are located on the
driver’s door.
I
~
These buttons are used to program and recall memory
settings for the driver’s seat, both the driver’s and
passenger’s outside mirror, and the radio station
presets. The settings for these features can be
personalized for both driver
1 and driver 2. Driver 1 or
driver
2 corresponds to the memory buttons labeled
land
2 on the driver’s door. To store
your memory seat, mirrors and radio presets,
do the following:
1. Adjust the driver’s seat (including the seatback
recliner, lumbar, and side wing area), both of the
outside mirrors, and the radio station presets to your
preference.
2. Press and hold the 1 or 2 (for driver lor 2) button
of the memory control for three seconds.
A double
chime will sound to let you know that the position
has been stored.
To repeat the procedure for a second driver, follow the
preceding steps, but press the other numbered
memory control button.
Each time button
1 or 2 is pressed and released while
the vehicle is in PARK (P), a single chime will sound and
the memory position will be recalled.
If you use the unlock button on the remote keyless entry
transmitter to enter your vehicle, the preset driver’s
seat, mirror positions and the radio station presets will
be recalled
if programmed to do so through the
Driver Information Center (DIC). The numbers on the
back of the transmitters,
1 or 2, correspond to the
numbers on the memory controls.
2-42