Page 139 of 428
Fog Lamps
You can use your vehicle’s fog lamps for better vision in
foggy or misty conditions.
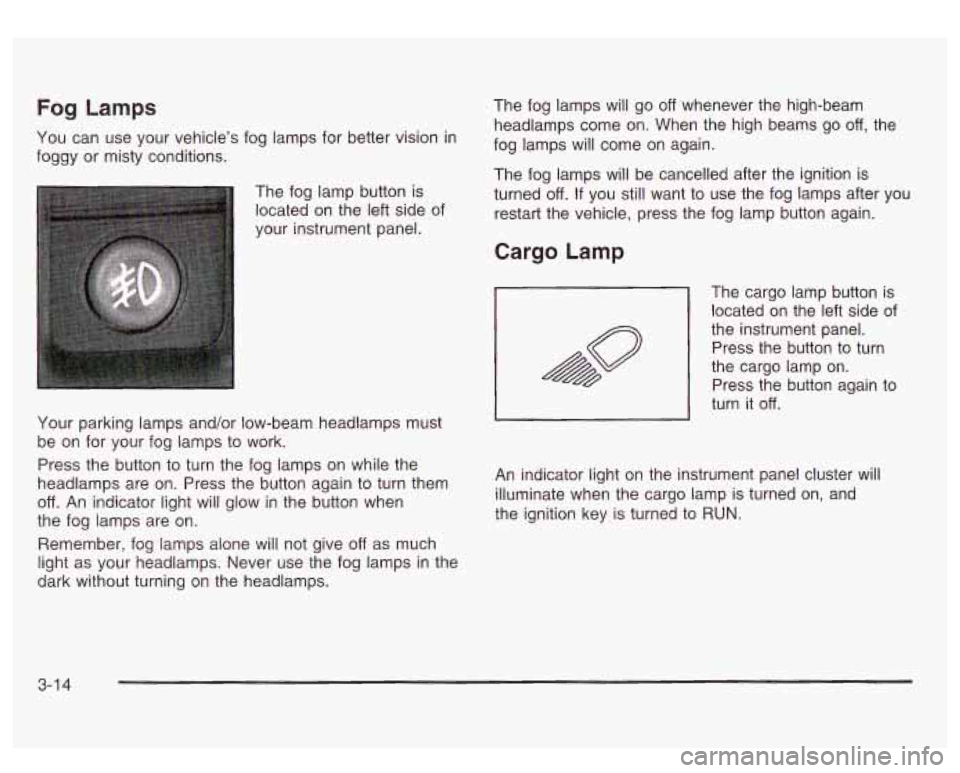
The fog lamp button is
located on the left side of
your instrument panel.
Your parking lamps and/or low-beam headlamps must
be on for your fog lamps to work.
Press the button to turn the fog lamps on while the
headlamps are on. Press the button again to turn them
off. An indicator light will glow in the button when
the fog lamps are on.
Remember, fog lamps alone will not give
off as much
light as your headlamps. Never use the fog lamps in the
dark without turning on the headlamps. The
fog lamps will go
off whenever the high-beam
headlamps come on. When the high beams go
off, the
fog lamps will come on again.
The fog lamps will be cancelled after the ignition is
turned
off. If you still want to use the fog lamps after you
restart the vehicle, press the fog lamp button again.
Cargo Lamp
The cargo lamp button is
located on the left side of
the instrument panel.
~ Press the button to turn
the cargo lamp on.
Press the button again to
turn it
off.
An indicator light on the instrument panel cluster will
illuminate when the cargo lamp is turned on, and
the ignition key is turned to RUN.
3-1 4
Page 140 of 428
Front Reading Lamps Interior Lamps
Instrument Panel Brightness Control
-g-: This feature controls the brightness of the
instrument panel lights.
The thumbwheel for this feature is located next
to the
exterior lamp control.
Turn the thumbwheel up to adjust the instrument panel
lights and return the radio display to full brightness
when the headlamps or parking lamps are on. To turn
on the dome lamps, with the vehicle doors closed,
turn the thumbwheel all the way up.
Exit Lighting
With exit lighting, the interior lamps will come on when
you remove the key from the ignition. The lamps
will not come on
if the dome override button is pressed
in.
Entry Lighting
Your vehicle is equipped with an illuminated entry
feature.
When a door is opened, the dome lamps and puddle
lamps will come on
if the dome override button is in the
out position. If the dome override button is pressed
in, the lamps will not come on. Your
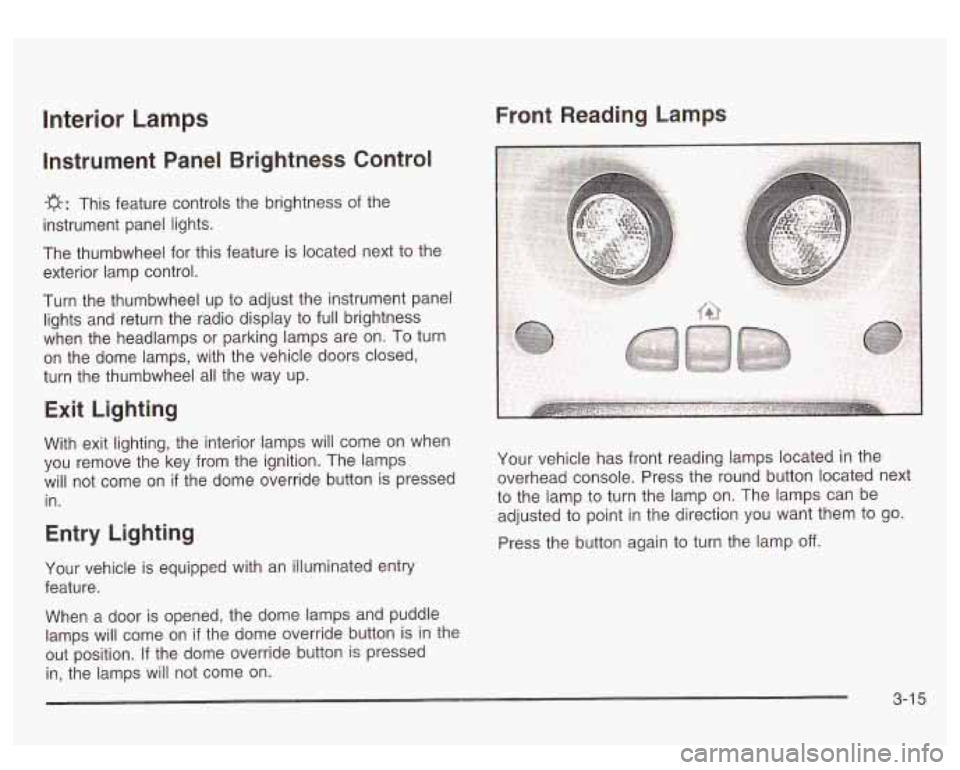
vehicle has front reading lamps located in the
overhead console. Press the round button located next
to the lamp to turn the lamp on. The lamps can be
adjusted to point in the direction you want them to go.
Press the button again to turn the lamp
off.
3-1 5
Page 145 of 428

2. Set the driver’s and passenger’s temperature.
To find your comfort setting, start with a
74°F
(23°C) temperature setting and allow about
20 minutes for the system to regulate. Turn the
driver’s or passenger’s side temperature knob
to adjust the temperature setting as necessary. If
you choose the temperature setting of
60°F
(15°C) the system will remain at the maximum
cooling setting. If you choose the temperature
setting of
90°F (32°C) the system will remain at the
maximum heat setting. Choosing either maximum
setting will not cause the vehicle to heat or cool any
faster.
Be careful not
to cover the sensor located on the
top of the instrument panel near the windshield.
This sensor regulates air temperature based on sun
load, and also turns on your headlamps.
To avoid blowing cold air in cold weather, the
system will delay turning on the fan until warm air
is available. The length of delay depends on
the engine coolant temperature. Pressing the fan switch will override this delay and change the fan
to
a selected speed.
Manual Operation
To change the current setting, select one of the
following:
A 8f? v (Fan): This button allows you to manually
adjust the fan speed. Press the up arrow
to increase fan
speed and the down arrow
to decrease fan speed.
4d (Mode): Press this button to manually change the
direction of the airflow in your vehicle; keep pressing the
button until the desired mode appears on the display.
If you press the mode button
to select an air delivery
mode, the display will change
to show you the selected
air mode delivery. The display will then show the
current status of the system. When the system is turned
off, the display will go blank after displaying the
current status
of the system.
f;’ (Vent): This mode directs air to the instrument
panel vents.
+2 (Bi-Level): This mode directs half of the air to the
instrument panel vents, then directs the remaining air
to
the floor vents. A little air is directed toward the
windshield and the side window vents. Cooler air is
directed
to the upper vents and warmer air to the floor
vents.
3-20
Page 148 of 428
Outlet Adjustment Operation Tips
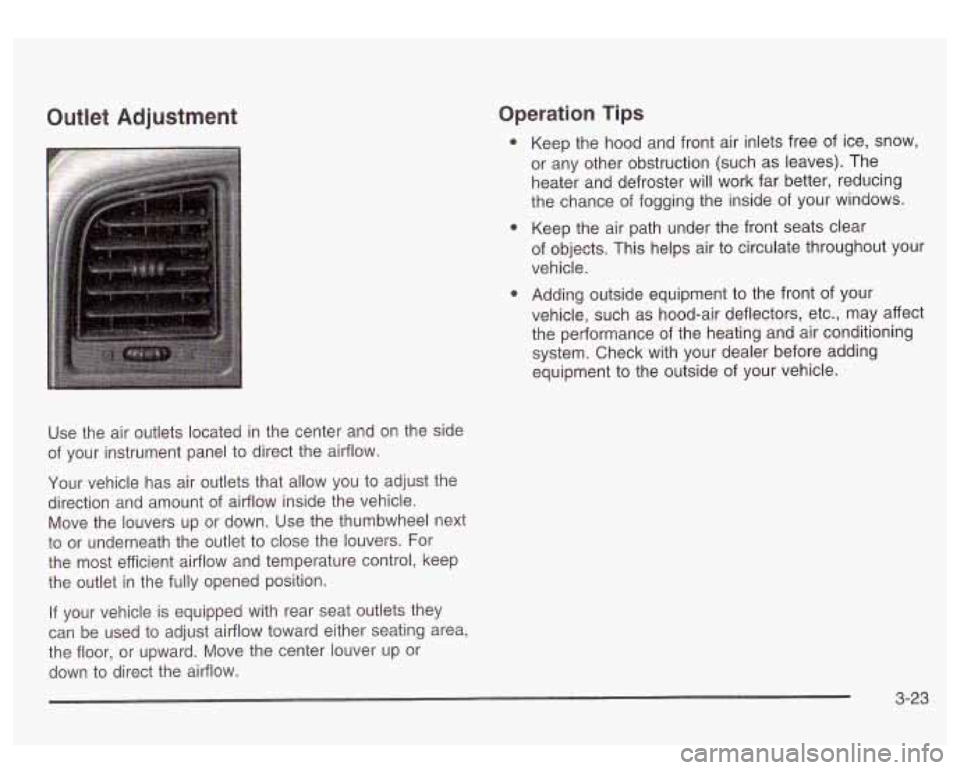
Use the air outlets located in the center and on the side
of your instrument panel to direct the airflow.
Your vehicle has air outlets that allow you to adjust the
direction and amount of airflow inside the vehicle.
Move the louvers up or down. Use the thumbwheel next
to or underneath the outlet to close the louvers. For
the most efficient airflow and temperature control, keep
the outlet in the fully opened position.
If your vehicle is equipped with rear seat outlets they
can be used
to adjust airflow toward either seating area,
the floor, or upward. Move the center louver up or
down
to direct the airflow. Keep
the hood and front air inlets free
of ice, snow,
or any other obstruction (such as leaves). The
heater and defroster will work far better, reducing
the chance of fogging the inside of your windows.
Keep the air path under the front seats clear
of objects. This helps air
to circulate throughout your
vehicle.
Adding outside equipment
to the front of your
vehicle, such as hood-air deflectors, etc., may affect
the performance
of the heating and air conditioning
system. Check with your dealer before adding
equipment
to the outside of your vehicle.
3-23
Page 150 of 428
Instrument Panel Cluster
Your instrument panel cluster is designed to let you know at a glance how your vehicle is running. You’ll know how
fast you’re going, about how much fuel you have and many other things you’ll need to know to drive safely and
economically.
United States version shown, Canada similar
3-25
Page 151 of 428
Speedometer and Odometer
Your speedometer lets you see your speed in both
miles per hour (mph) and kilometers per hour (km/h).
Your odometer shows how far your vehicle has
been driven, in either miles (used in the United States)
or kilometers (used in Canada).
Trip Odometer
The trip odometer can tell you how far your vehicle has
been driven since you last set the trip odometer
to zero.
Press the reset button, located on the instrument panel
cluster next to the trip odometer display, to toggle
between the trip odometer and the regular odometer.
Holding the reset button for two seconds while the
trip odometer is displayed will reset it.
To display the odometer reading with the ignition
off,
press the reset button.
Engine Hour Meter Display
The odometer can also display the number of hours the
engine has run. To display the hour meter, turn the
ignition
off, press and hold the reset button for at least
four seconds. The hour meter will be displayed for
up to
30 seconds, or until the ignition is turned on.
Tachometer
Your tachometer displays the engine speed ip
revolutions per minute (rpm).
Notice: Do not operate the engine with the
tachometer in the red area,
or engine damage may
occur.
Safety Belt Reminder Light
When the key is turned to RUN or START, a chime will
come on for several seconds to remind people to
fasten their safety belts, unless the driver’s safety belt is
already buckled.
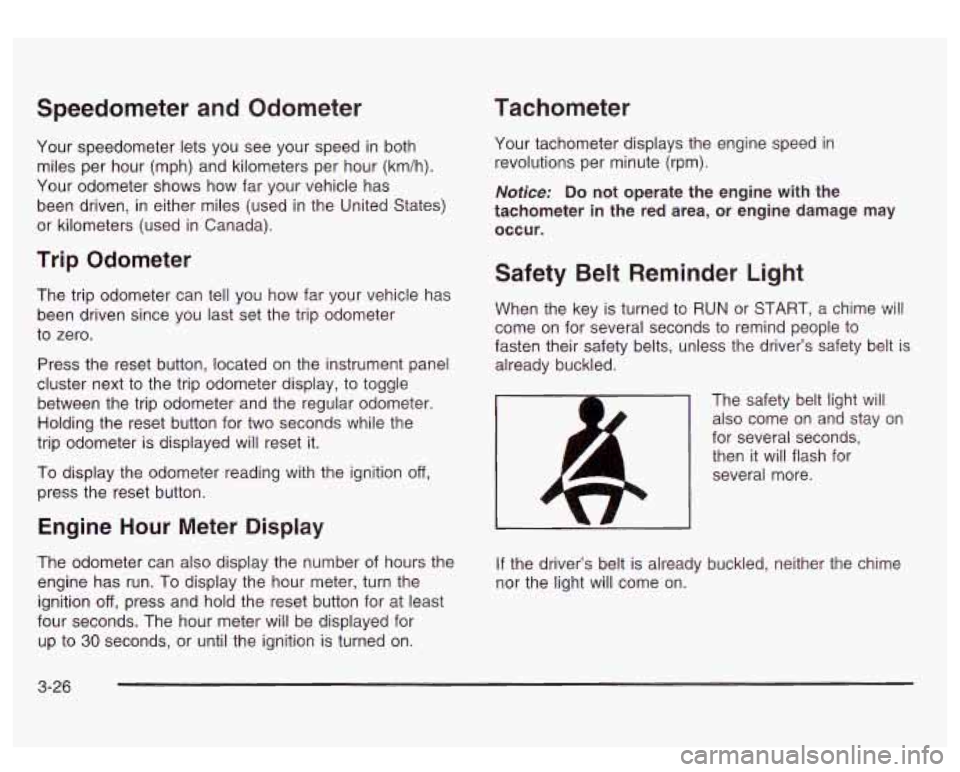
The safety belt light will also come on and stay on
for several seconds, then it will flash for
several more.
If the driver’s belt is already buckled, neither the chime
nor the light will come on.
3-26
Page 152 of 428
Air Bag Readiness Light
There is an air bag readiness light on the instrument
panel cluster, which shows the air bag symbol.
The system checks the air bag’s electrical system for
malfunctions. The light tells you
if there is an electrical
problem. The system check includes the air bag
sensors, the air bag modules, the passenger sensing
system
(if equipped), the wiring and the crash sensing
and diagnostic module. For more information on the
air bag system, see
Air Bag Systems on page 1-57.
This light will come on
when you start your
vehicle, and it will flash for
a few seconds. Then
the light should go out.
This means the system
is
ready.
If the air bag readiness light stays on after you start the
vehicle or comes on when you are driving, your air
bag system may not work properly. Have your vehicle
serviced right away.
3-27
Page 168 of 428
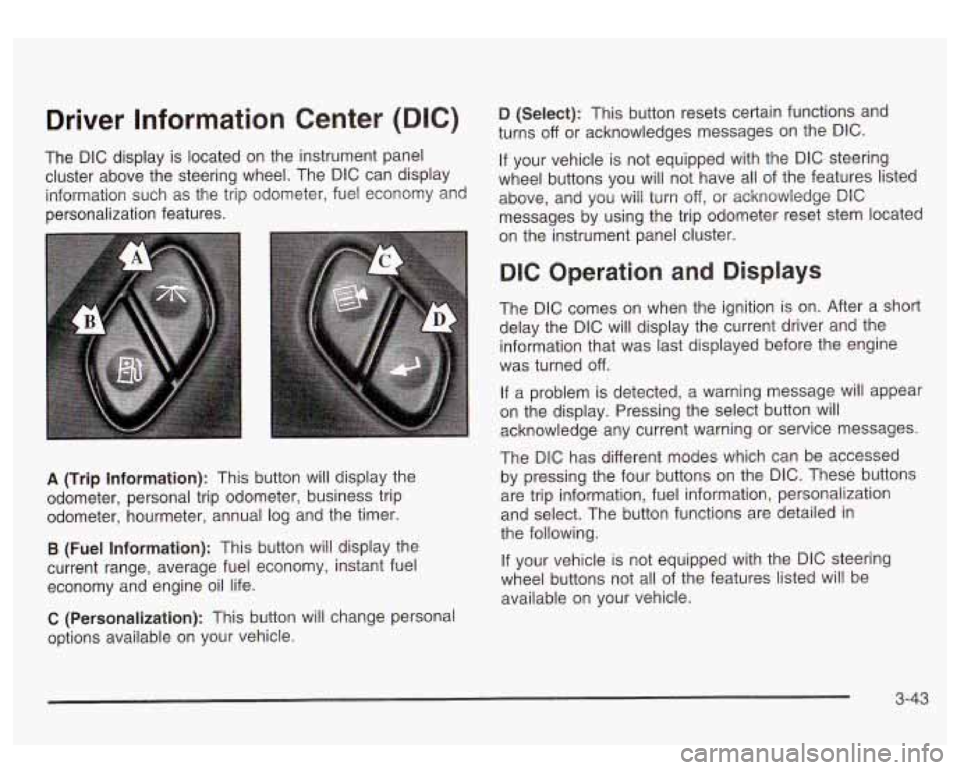
Driver Information Center (DIC)
The DIC display is located on the instrument panel
cluster above the steering wheel. The DIC can display
information such as the trip odometer, fuel economy and
personalization features.
A (Trip Information): This button will display the
odometer, personal trip odometer, business trip
odometer, hourmeter, annual log and the timer.
B (Fuel Information): This button will display the
current range, average fuel economy, instant fuel
economy and engine oil life.
C (Personalization): This button will change personal
options available on your vehicle.
D (Select): This button resets certain functions and
turns
off or acknowledges messages on the DIC.
If your vehicle is not equipped with the DIC steering
wheel buttons you will not have all of the features listed
above, and you will turn off,
or acknowledge DIC
messages by using the trip odometer reset stem located
on the instrument panel cluster.
DIC Operation and Displays
The DIC comes on when the ignition is on. After a short
delay the DIC will display the current driver and the
information that was last displayed before the engine
was turned
off.
If a problem is detected, a warning message will appear
on the display. Pressing the select button will
acknowledge any current warning or service messages.
The DIC has different modes which can be accessed
by pressing the four buttons on the DIC. These buttons
are trip information, fuel information, personalization
and select. The button functions are detailed in
the following.
If your vehicle is not equipped with the DIC steering
wheel buttons not all of the features listed will be
available on your vehicle.
3-43