2003 GMC SIERRA DENALI service schedule
[x] Cancel search: service schedulePage 2 of 428

The 2003 GMC Sierra Denali Owner Manual a
Seats and Restraint Systems ........................... 1-1
Front Seats ............................................... 1-2
Rear Seats
............................................... 1-7
Safety Belts
.............................................. 1-8
Child Restraints
....................................... 1-30
Air Bag Systems
...................................... 1-57
Restraint System Check
............................ 1-73
Features and Controls
..................................... 2-1
Keys
........................................................ 2-2
Doors and Locks
....................................... 2-6
Windows
................................................. 2-1 0
Theft-Deterrent Systems ............................ 2-1 3
Starting and Operating Your Vehicle ........... 2-15
Mirrors
.................................................... 2-28
Onstar@ System
...................................... 2-33
HomeLink@ Transmitter
............................. 2-35
Storage Areas
......................................... 2-39
Instrument Panel
............................................. 3-1
Vehicle
Personalization
............................. 2-42
Instrument Panel Overview
.......................... 3-2
Climate Controls
...................................... 3-1 8
Warning Lights, Gages and Indicators
......... 3-24
Driver Information Center (DIC)
.................. 3-43
Audio System(s)
....................................... 3-61 Driving Your Vehicle
....................................... 4-1
Your
Driving, the Road, and Your Vehicle ..... 4-2
Towing
................................................... 4-45
Service and Appearance Care
.......................... 5-1
Service
..................................................... 5-3
Fuel
......................................................... 5-5
Checking Things Under the Hood
............................................. 5-10
All-Wheel Drive
........................................ 5-49
Rear Axle
............................................... 5-50
Front Axle
............................................... 5-51
Bulb Replacement
.................................... 5-52
Windshield Wiper Blade Replacement
......... 5-60
Tires
...................................................... 5-61
Appearance Care
..................................... 5-86
Vehicle Identification
................................. 5-94
Electrical System
...................................... 5-95
Capacities and Specifications
................... 5-1 04
Normal Maintenance Replacement Parts
.... 5-1 05
Maintenance Schedule
..................................... 6-1
Maintenance Schedule
................................ 6-2
Customer Assistance Information
.................... 7-1
Customer Assistance Information
.................. 7-2
Reporting Safety Defects
............................ 7-9
Index
................................................................. 1
Page 237 of 428
If the water isn’t too deep, drive slowly through it. At
faster speeds, water splashes on your ignition system
and your vehicle can stall. Stalling can also occur
if you
get your tailpipe under water. And, as long as your
tailpipe is under water, you’ll never be able to start your
engine. When you go through water, remember that
when your brakes get wet, it may take you longer
+- stop.
,,jving thr,,gh rushing water can be
dangerous. Deep water can sweep your vehicle
downstream and you and your passengers
could drown. If it’s only shallow water, it can
still wash away the ground from under your
tires, and you could lose traction and roll the
water.
~ vehicle over. Don’t drive through rushing
I
After Off-Road Driving
Remove any brush or debris that has collected on the
underbody, chassis or under the hood. These
accumulations can be a fire hazard.
After operation
in mud or sand, have the brake linings
cleaned and checked. These substances can cause
glazing and uneven braking. Check the body structure,
steering, suspension, wheels, tires and exhaust
system for damage. Also, check the fuel lines and
cooling system for any leakage.
Your vehicle will require more frequent service due
to
off-road use. Refer to the Maintenance Schedule
for additional information.
See
Driving in Rain and on Wet Roads on page 4-30 for
more information on driving through water.
4-28
Page 260 of 428
Towing a Trailer
If you don’t ,se the correct eq-., ...__. t and
drive properly, you can lose control when you
pull a trailer. For example,
if the trailer is too
heavy, the brakes may not work well
-- or even
at all. You and your passengers could be
seriously injured.
Pull a trailer only if you have
followed all the steps in this section.
Ask your
dealer for advice and information about towing
a trailer with your vehicle.
Notice: Pulling a trailer improperly can damage
your vehicle and result in costly repairs not covered
by your warranty.
To pull a trailer correctly, follow
the advice in this part, and see your dealer for
important information about towing a trailer with
your vehicle. Additional rear axle maintenance is required for a vehicle used to tow a trailer. See
“Scheduled Maintenance Services” in the Index.
To identify the vehicle trailering capacity of your vehicle,
you should read the information in “Weight of the
Trailer” that appears later in this section.
If yours was built with trailering options, as many are,
it’s ready for heavier trailers. But trailering is different
than just driving your vehicle by itself. Trailering means
changes in handling, durability and fuel economy.
Successful, safe trailering takes correct equipment, and it has to be used properly.
That’s the reason for this part. In it are many time-tested,
important trailering tips and safety rules. Many of
these are important for your safety and that of your
passengers.
So please read this section carefully before
you pull a trailer.
If You Do Decide To Pull A Trailer
If you do, here are some important points:
e
There are many different laws, including speed limit
restrictions, having to do with trailering. Make sure
your rig will be legal, not only where you live
but also where you’ll be driving.
A good source for
this information can be state or provincial police.
Consider using a sway control
if your trailer will
weigh
5,000 Ibs. (2 270 kg) or less. You should
always use a sway control
if your trailer will weigh
more than
5,000 Ibs. (2 270 kg). You can ask a
hitch dealer about sway controls.
Don’t tow a trailer at all during the first
500 miles
(800 km) your new vehicle is driven. Your engine,
axle or other parts could be damaged.
4-5 1
Page 268 of 428
When You Are Ready to Leave After
Parking on a
Hill
1. Apply your regular brakes and hold the pedal down
while you:
0 start your engine,
shift into a gear, and
0 release the parking brake.
2. Let up on the brake pedal.
3. Drive slowly until the trailer is clear of the chocks.
4. Stop and have someone pick up and store the
chocks.
Maintenance When Trailer Towing
Your vehicle will need service more often when you’re
pulling a trailer. See the Maintenance Schedule for more
on this. Things that are especially important in trailer
operation are automatic transmission fluid (don’t overfill),
engine
oil, axle lubricant, belt, cooling system and
brake system. Each of these is covered in this manual,
and the Index will help you find them quickly. If
you’re trailering, it’s a good idea to review these sections
before you start your trip.
Check periodically to see that all hitch nuts and bolts
are tight.
4-59
Page 289 of 428
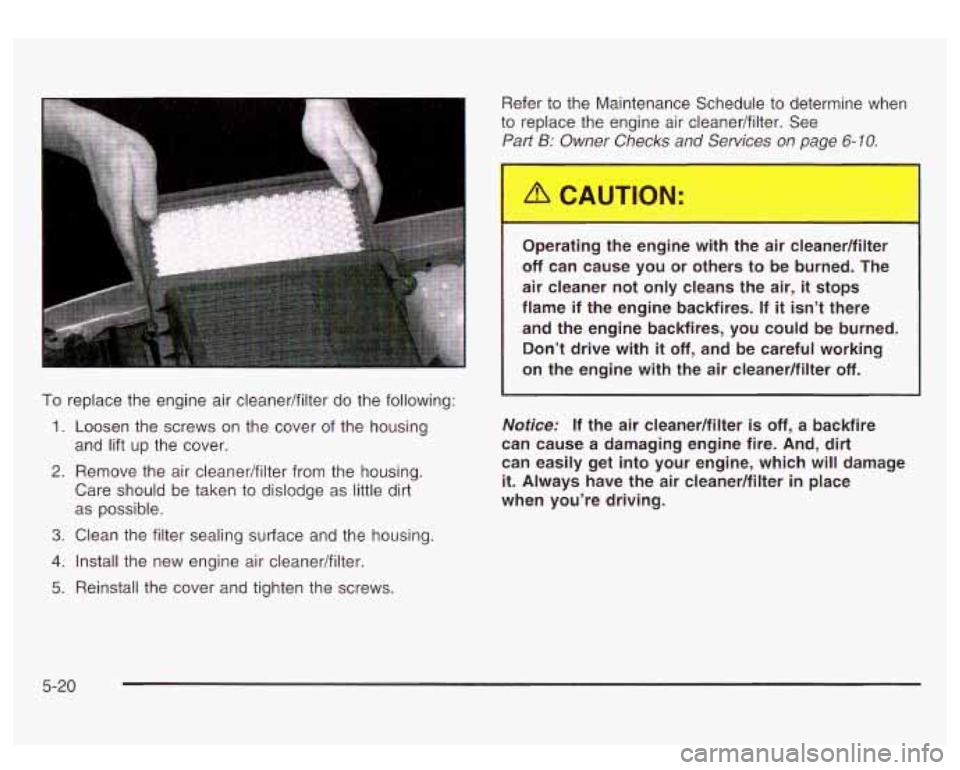
To replace the engine air cleaner/filter do the following:
1. Loosen the screws on the cover of the housing
and lift up the cover.
2. Remove the air cleaner/filter from the housing.
Care should be taken
to dislodge as little dirt
as possible.
3. Clean the filter sealing surface and the housing.
4. Install the new engine air cleanedfilter.
5. Reinstall the cover and tighten the screws. Refer
to the Maintenance Schedule to determine when
to replace the engine air cleaner/filter. See
Part B: Owner Checks and Services on page 6-10.
Operating the engine with the air cleanedfilter
off can cause you or others to be burned. The
air cleaner not only cleans the air,
it stops
flame
if the engine backfires. If it isn’t there
and the engine backfires, you could be burned. Don’t drive with
it off, and be careful working
on the engine with the air cleaner/filter
off.
Notice: If the air cleaner/filter is off, a backfire
can cause a damaging engine fire. And, dirt
can easily get into your engine, which will damage
it. Always have the air cleanedfilter in place
when you’re driving.
5-20
Page 290 of 428
Automatic Transmission Fluid
When to Check and Change
A good time to check your automatic transmission fluid
level
is when the engine oil is changed.
Change both the fluid and filter every
50,000 miles
(83
000 km) if the vehicle is mainly driven under one or
more
of these conditions:
In heavy city traffic where the outside temperature
regularly reaches 90°F (32°C) or higher.
In hilly or mountainous terrain.
When doing frequent trailer towing.
Uses such as found in taxi, police or delivery
If you do not use your vehicle under any of these
conditions, change the fluid and filter every
100,000 miles (1 66 000 km).
See
Part A: Scheduled Maintenance Services on
page
6-4.
service.
How to Check
Because this operation can be a little difficult, you may
choose to have this done at the dealership service
department.
If you do it yourself, be sure to follow all the instructions
here, or you could get a false reading on the dipstick.
Notice: Too much or too little fluid can damage
your transmission. Too much can mean that some
of the fluid could come out and fall on hot engine
part
or exhaust system parts, starting a fire.
Too little fluid could cause the transmission to overheat. Be sure to get an accurate reading if you
check your transmission fluid.
Wait at least
30 minutes before checking the
transmission fluid level
if you have been driving:
0 When outside temperatures are above 90°F (32°C).
At high speed for quite a while.
In heavy traffic - especially in hot weather.
While pulling a trailer.
To get the right reading, the fluid should be at normal
operating temperature, which is 180°F
to 200°F
(82°C to 93°C).
5-2
1
Page 319 of 428
Rear Axle
When to Check Lubricant
Refer to the Maintenance Schedule to determine how
often to check the lubricant. See
PaHA: Scheduled
Maintenance Services on page
6-4.
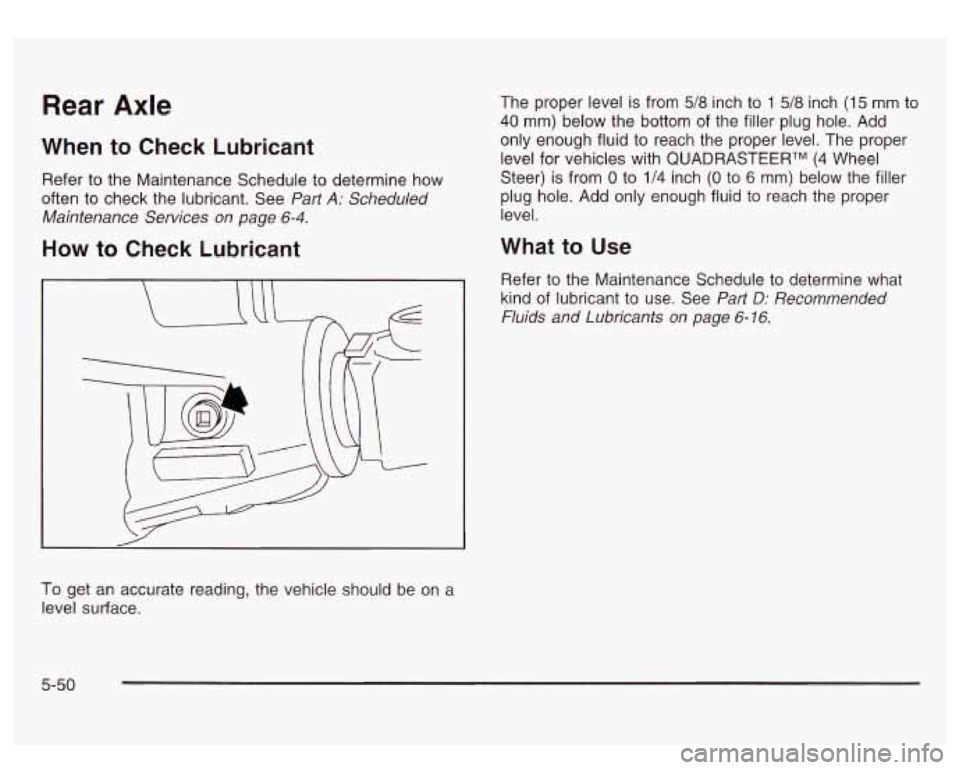
How to Check Lubricant
To get an accurate reading, the vehicle should be on a
level surface. The
proper level is from
5/8 inch to 1 5/8 inch (1 5 mm to
40 mm) below the bottom of the filler plug hole. Add
only enough fluid to reach the proper level. The proper
level for vehicles with QUADRASTEERTM
(4 Wheel
Steer) is from
0 to 1/4 inch (0 to 6 mm) below the filler
plug hole. Add only enough fluid to reach the proper
level.
What to Use
Refer to the Maintenance Schedule to determine what
kind
of lubricant to use. See Part D: Recommended
Fluids and Lubricants on page
6- 16.
5-50
Page 320 of 428
Front Axle
When to Check Lubricant
Refer to the Maintenance Schedule to determine how
often to check the lubricant. See
Pat? A: Scheduled
Maintenance Services on page
6-4.
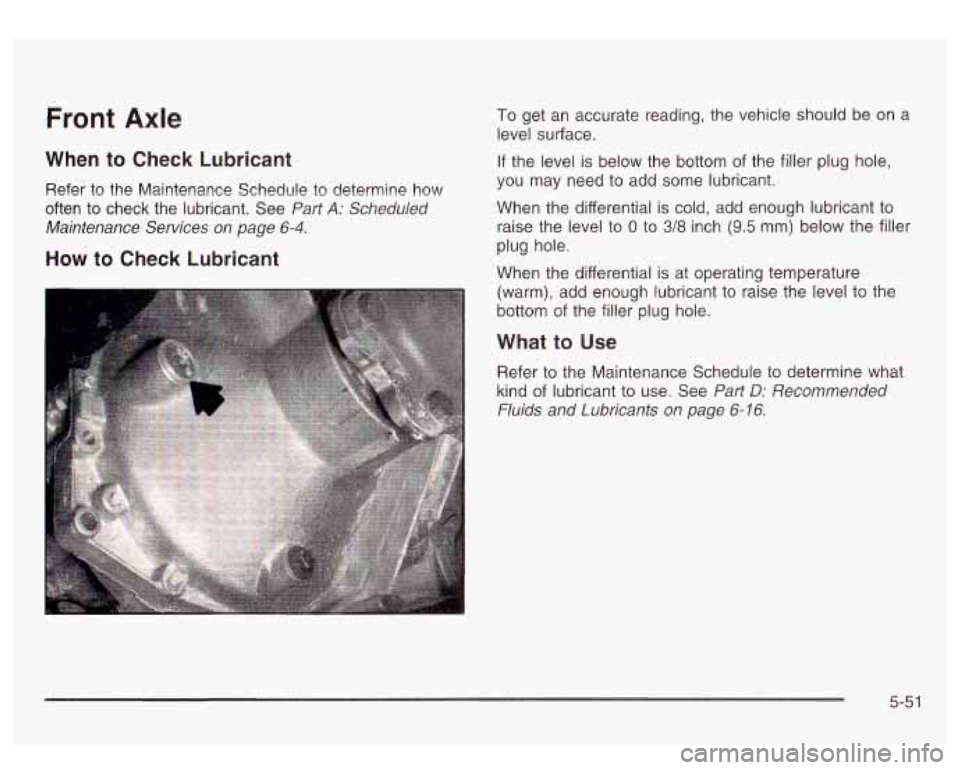
How to Check Lubricant
To get an accurate reading, the vehicle should be on a
level surface.
If the level is below the bottom
of the filler plug hole,
you may need to add some lubricant.
When the differential is cold, add enough lubricant to
raise the level to
0 to 3/8 inch (9.5 mm) below the filler
plug hole.
When the differential is at operating temperature
(warm), add enough lubricant to raise the level to the
bottom
of the filler plug hole.
What to Use
Refer to the Maintenance Schedule to determine what
kind of lubricant to use. See
Pat? D: Recommended
Fluids and Lubricants on page
6-16.
5-51