2003 GMC SIERRA DENALI high beam
[x] Cancel search: high beamPage 130 of 428
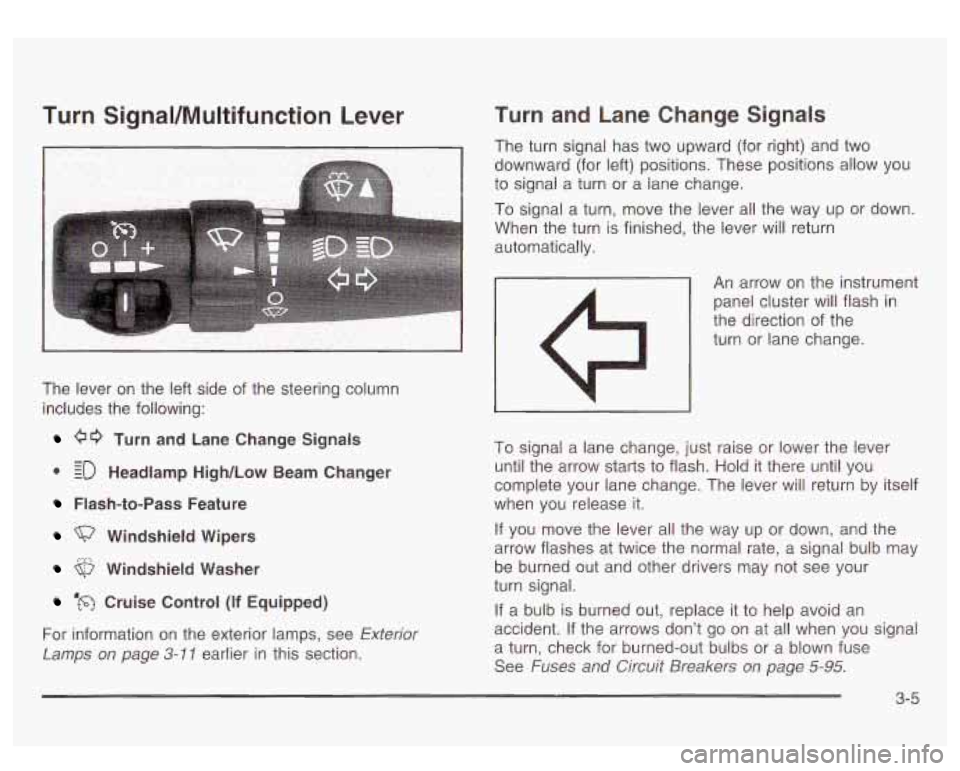
Turn SignaVMultifunction Lever
The lever on the left side of the steering column
includes the following:
00 Turn and Lane Change Signals
0 EO Headlamp High/Low Beam Changer
- -
Flash-to-Pass Feature
Windshield Wipers
Windshield Washer
‘m Cruise Control (if Equipped)
For information on the exterior lamps, see
Exterior
Lamps on page 3-11 earlier in this section.
Turn and Lane Change Signals
The turn signal has two upward (for right) and two
downward (for left) positions. These positions allow you
to signai a turn or a lane change.
To signal a turn, move the lever all the way up or down.
When the turn is finished, the lever will return
automatically.
An arrow on the instrument
panel cluster will flash
in
the direction of the
turn or lane change.
To signal a lane change, just raise or lower the lever
until the arrow starts to flash. Hold it there until you
complete your lane change. The lever will return by itself
when you release it.
If you move the lever all the way up or down, and the
arrow flashes at twice the normal rate, a signal bulb may
be burned out and other drivers may not see your
turn signal.
If a bulb
is burned out, replace it to help avoid an
accident. If the arrows don’t
go on at all when you signal
a turn, check for burned-out bulbs or a blown fuse
See
Fuses and Circuit Breakers on page 5-95.
3-5
Page 131 of 428
Turn Signal On Chime
If your turn signal is left on for more than 3/4 of a mile
(1.2 km), a chime will sound at each flash of the
turn signal. To turn
off the chime, move the turn signal
lever to the
off position.
Headlamp High/Low Beam Changer
To change the headlamps from low to high beam, push
the lever toward the instrument panel.
To return the
low-beam headlamps, pull the multifunction lever toward
you. Then release it.
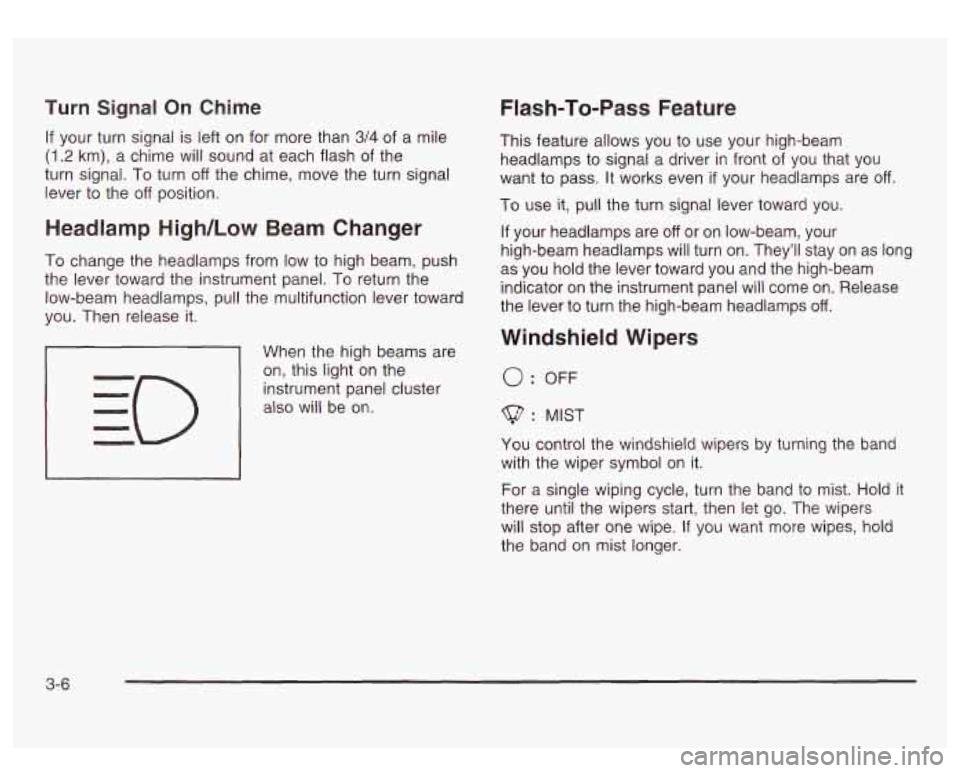
When the high beams are
on, this light on the
instrument panel cluster
also will be on.
I I
Flash-To-Pass Feature
This feature allows you to use your high-beam
headlamps to signal a driver in front
of you that you
want to pass. It works even
if your headlamps are off
To use it, pull the turn signal lever toward you.
If your headlamps are
off or on low-beam, your
high-beam headlamps will turn on. They’ll stay on as long
as you hold the lever toward you and the high-beam
indicator on the instrument panel will come on. Release
the lever
to turn the high-beam headlamps off.
Windshield Wipers
0: OFF
$? : MIST
You control the windshield wipers by turning the band
with the wiper symbol on it.
For a single wiping cycle, turn the band to mist.
Hold it
there until the wipers start, then let go. The wipers
will stop after one wipe.
If you want more wipes, hold
the band on mist longer.
3-6
Page 136 of 428
Exterior Lamps
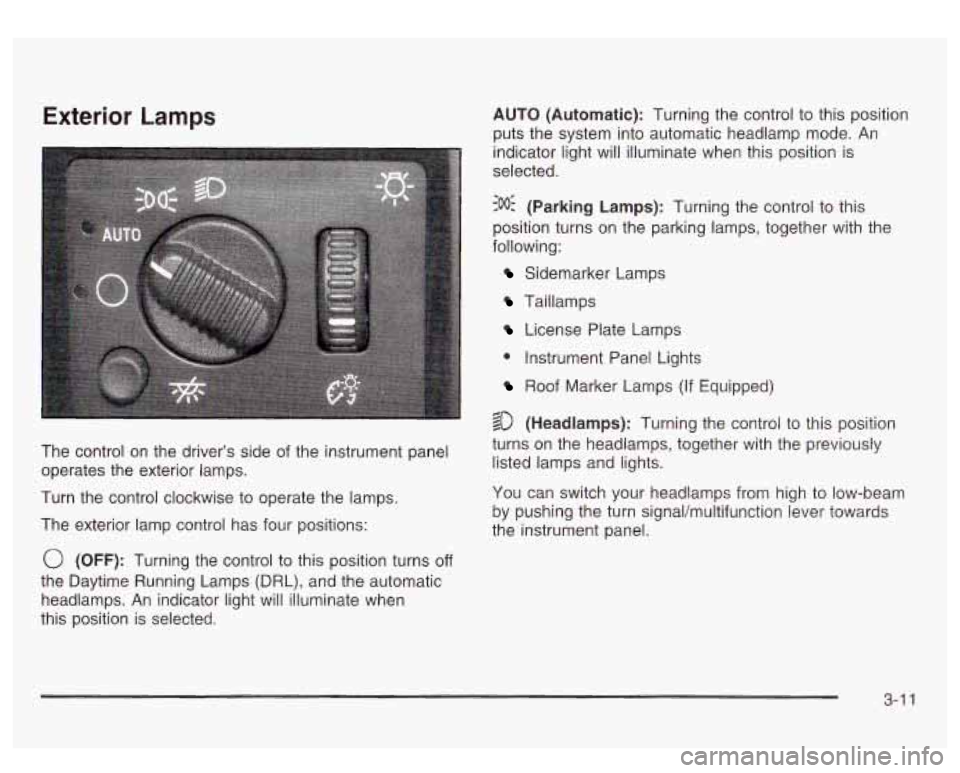
The control on the driver’s side of the instrument panel
operates the exterior lamps.
Turn the control clockwise to operate the lamps.
The exterior lamp control has four positions:
0 (OFF): Turning the control to this position turns off
the Daytime Running Lamps (DRL), and the automatic
headlamps. An indicator light will illuminate when
this position is selected. AUTO
(Automatic): Turning the control to this position
puts the system into automatic headlamp mode.
An
indicator light will illuminate when this position is
selected.
:oO: (Parking Lamps): Turning the control to this
position turns on the parking lamps, together with the
following:
Sidemarker Lamps
Taillamps
License Plate Lamps
0 Instrument Panel Lights
Roof Marker Lamps (If Equipped)
$0 (Headlamps): Turning the control to this position
turns on the headlamps, together with the previously
listed lamps and lights.
You can switch your headlamps from high to low-beam
by pushing the turn signal/multifunction lever towards
the instrument panel.
3-1 1
Page 139 of 428
Fog Lamps
You can use your vehicle’s fog lamps for better vision in
foggy or misty conditions.
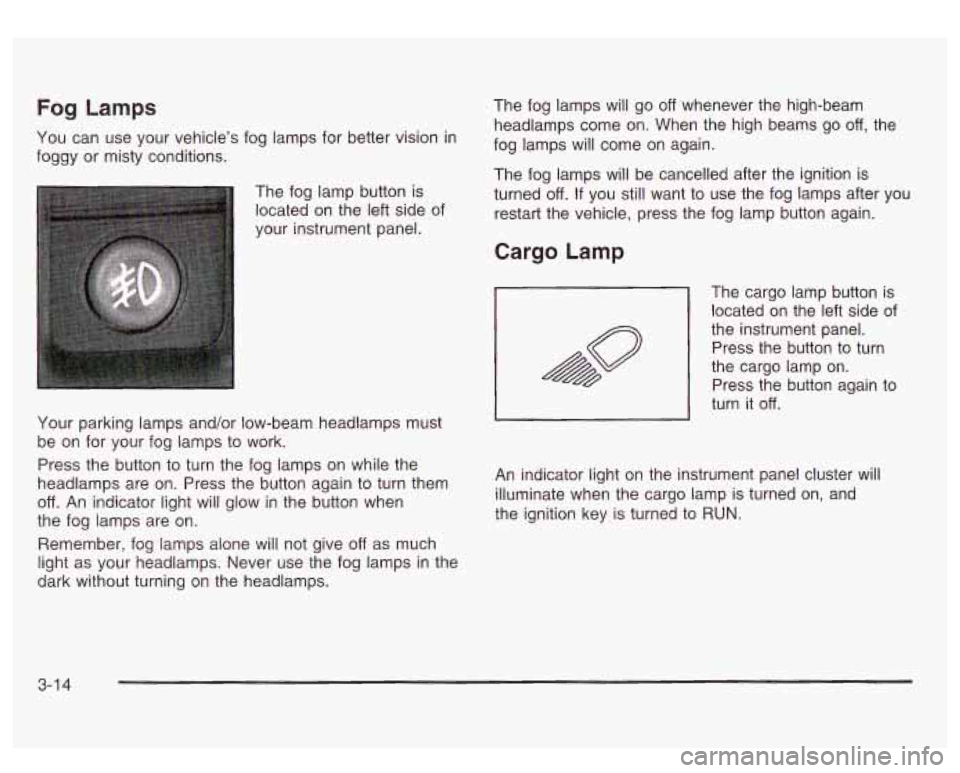
The fog lamp button is
located on the left side of
your instrument panel.
Your parking lamps and/or low-beam headlamps must
be on for your fog lamps to work.
Press the button to turn the fog lamps on while the
headlamps are on. Press the button again to turn them
off. An indicator light will glow in the button when
the fog lamps are on.
Remember, fog lamps alone will not give
off as much
light as your headlamps. Never use the fog lamps in the
dark without turning on the headlamps. The
fog lamps will go
off whenever the high-beam
headlamps come on. When the high beams go
off, the
fog lamps will come on again.
The fog lamps will be cancelled after the ignition is
turned
off. If you still want to use the fog lamps after you
restart the vehicle, press the fog lamp button again.
Cargo Lamp
The cargo lamp button is
located on the left side of
the instrument panel.
~ Press the button to turn
the cargo lamp on.
Press the button again to
turn it
off.
An indicator light on the instrument panel cluster will
illuminate when the cargo lamp is turned on, and
the ignition key is turned to RUN.
3-1 4
Page 238 of 428
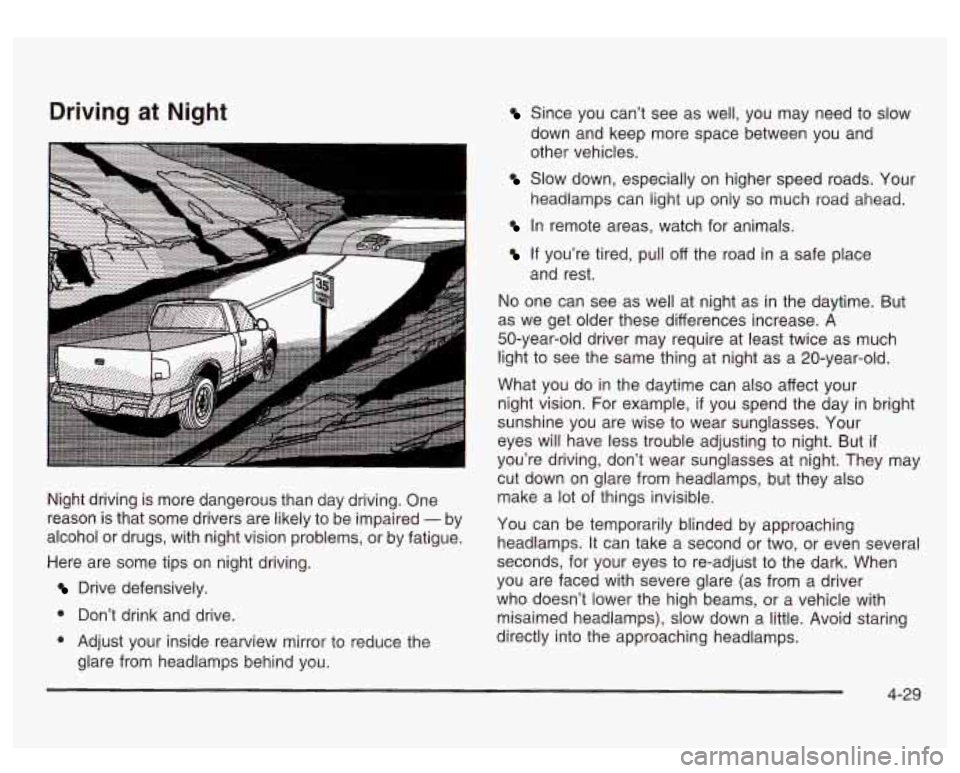
Driving at Night
Night driving is more dangerous than day driving. One
reason is that some drivers are likely to be impaired
- by
alcohol or drugs, with night vision problems, or by fatigue.
Here are some tips on night driving.
Drive defensively.
0 Don’t drink and drive.
0 Adjust your inside rearview mirror to reduce the
glare from headlamps behind you.
Since you can’t see as well, you may need to slow
down and keep more space between you and
other vehicles.
Slow down, especially on higher speed roads. Your
headlamps can light up only
so much road ahead.
In remote areas, watch for animals.
If you’re tired, pull off the road in a safe place
and rest.
No one can see as well at night as
in the daytime. But
as we get older these differences increase.
A
50-year-old driver may require at least twice as much
light to see the same thing at night as a 20-year-old.
What you do in the daytime can also affect your
night vision. For example,
if you spend the day in bright
sunshine you are wise to wear sunglasses. Your
eyes will have less trouble adjusting to night. But
if
you’re driving, don’t wear sunglasses at night. They may
cut down on glare from headlamps, but they also
make a lot of things invisible.
You can be temporarily blinded by approaching
headlamps. It can take a second
or two, or even several
seconds, for your eyes to re-adjust to the dark. When
you are faced with severe glare (as from a driver
who doesn’t lower the high beams, or a vehicle with
misaimed headlamps), slow down a little. Avoid staring
directly into the approaching headlamps.
4-29
Page 241 of 428
Hydroplaning
Hydroplaning is dangerous. So much water can build up
under your tires that they can actually ride on the
water. This can happen
if the road is wet enough and
you’re going fast enough. When your vehicle is
hydroplaning, it has little or no contact with the road.
Hydroplaning doesn’t happen often. But it can
if
your tires do not have much tread or if the pressure in
one or more is low. It can happen
if a lot of water is
standing on the road. If you can see reflections
from trees, telephone poles or other vehicles, and
raindrops “dimple” the water’s surface, there could be
hydroplaning.
Hydroplaning usually happens at higher speeds. There
just isn’t a hard and fast rule about hydroplaning.
The best advice is to slow down when it is raining.
Driving Through Deep Standing Water
Notice: If you drive too quickly through deep
puddles or standing water, water can come in
through your engine’s air intake and badly damage your engine. Never drive through water that is
slightly lower than the underbody
of your vehicle. If
you can’t avoid deep puddles or standing water,
drive through them very slowly.
Driving Through Flowhg W=+er
--m
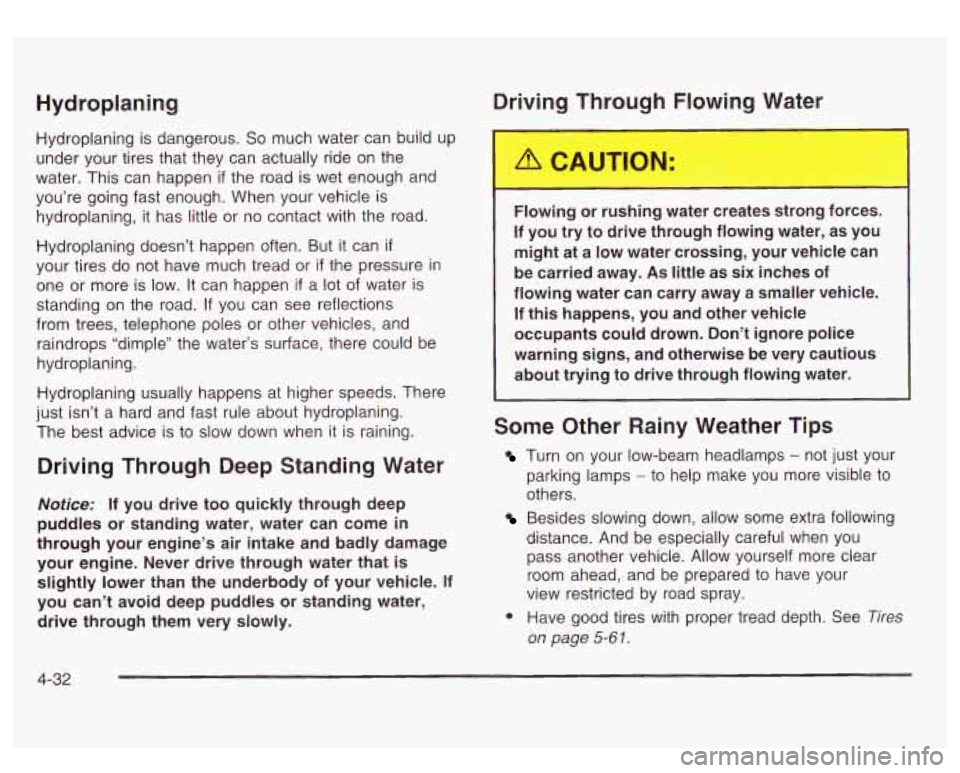
Flowing or rushing water creates strong forces.
If you try to drive through flowing water, as you
might at a low water crossing, your vehicle can
be carried away.
As little as six inches of
flowing water can carry away
a smaller vehicle.
If this happens, you and other vehicle
occupants could drown. Don’t ignore police
warning signs, and otherwise be very cautious
about trying to drive through flowing water.
Some Other Rainy Weather Tips
Turn on your low-beam headlamps - not just your
parking lamps
- to help make you more visible to
others.
Besides slowing down, allow some extra following
distance. And be especially careful when you
pass another vehicle. Allow yourself more clear
room ahead, and be prepared to have your
view restricted by road spray.
Have good tires with proper tread depth. See
Tires
on page 5-6 I.
4-33
Page 322 of 428
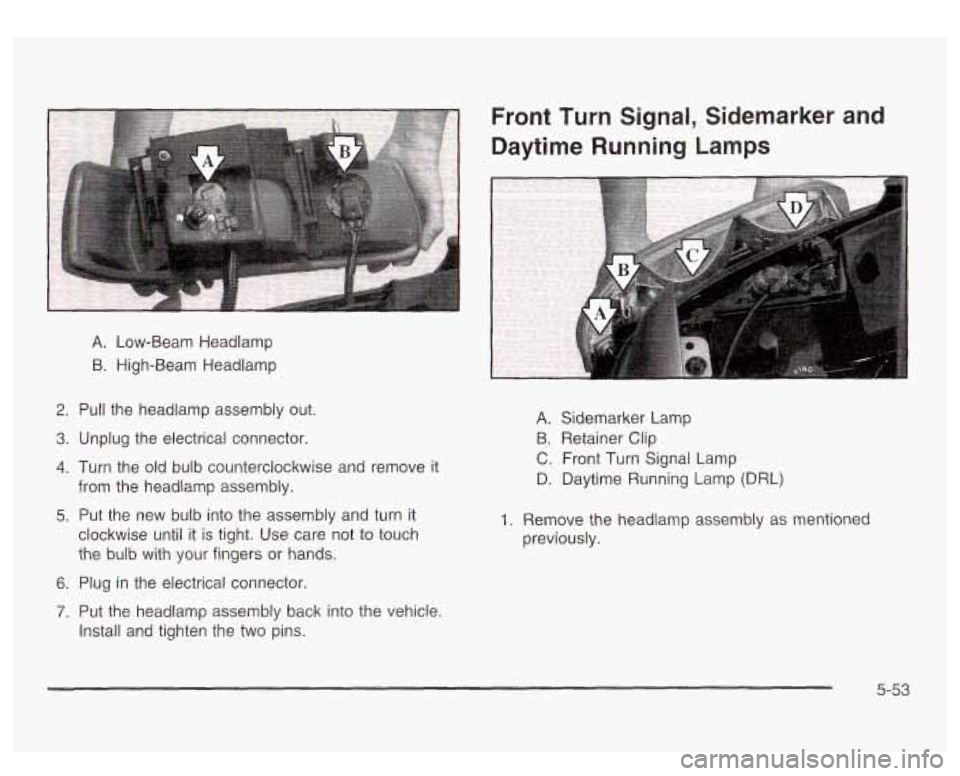
A. Low-Beam Headlamp
B. High-Beam Headlamp
Front Turn Signal, Sidemarker and
Daytime Running Lamps
2. Pull the headlamp assembly out.
3. Unplug the electrical connector.
4. Turn the old bulb counterclockwise and remove it
from the headlamp assembly.
5. Put the new bulb into the assembly and turn it
clockwise until it is tight. Use care not to touch
the bulb with your fingers or hands.
6. Plug in the electrical connector.
A. Sidemarker Lamp
B. Retainer Clip
C. Front Turn Signal Lamp
D. Daytime Running Lamp (DRL)
1. Remove the headlamp assembly as mentioned
previously.
7. Put the headlamp assembly back into the vehicle.
Install and tighten the two pins.
5-53
Page 371 of 428
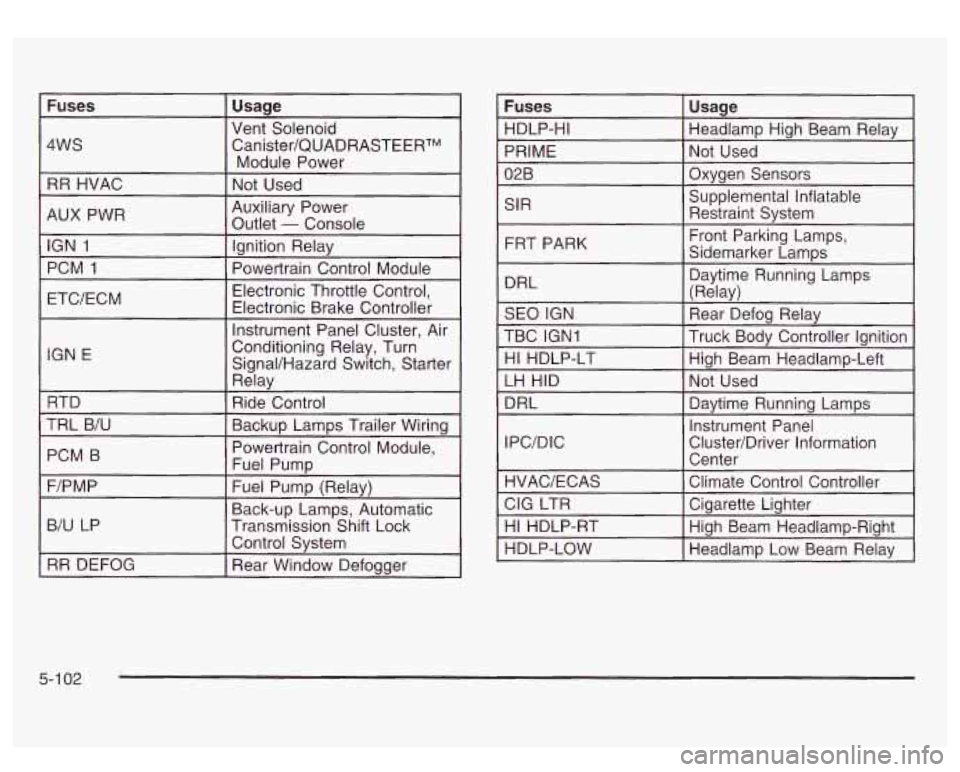
Fuses Usage
4WS Canister/QUADRASTEERTM
RR HVAC Not Used
Vent
Solenoid
Module Power
AUX PWR IGN
1 Ignition Relay
PCM
1
Auxiliary Power
Outlet
- Console
Electronic Throttle Control,
IGN E
Rday
RTD Ride Control
TRL B/U
PCM B
~~ ~-
Backup Lamps Trailer Wiring
Powertrain Control Module,
Fuel Pump
-. - . . -. . . .
F/PM P
B/U LP Transmission Shift Lock
r
Fuel Pump (Relay)
Back-up Lamps, Automatic
Control System
RR DEFOG Rear Window Defogger SIR
FRT PARK
DRL Daytime Running Lamps
I (Relav)
SEO IGN
TBC IGNI Truck Body Controller Ignition \~ ------I
Rear Defog Relay
HI HDLP-LT High Beam Headlamp-Left
LH HID Not Used
DRL Daytime Running Lamps
IPC/DIC Instrument
Panel
Cluster/Driver Information Center
5-1 02