2003 GMC SIERRA DENALI ECU
[x] Cancel search: ECUPage 6 of 428
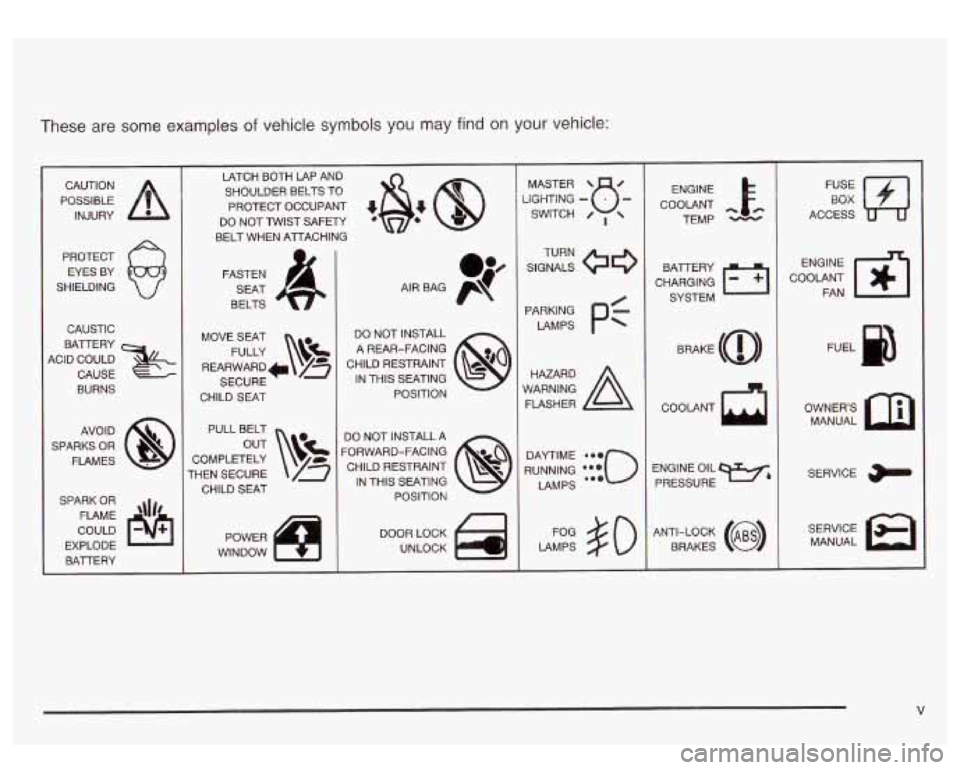
These are some examples of vehicle symbols you may find on your vehicle:
POSSIBLE /r
CAUTION
INJURY
PROTECT EYES BY
SHIELDING
CAUSTIC
ACID COULD BATTERY
CAUSE
BURNS
AVOID
SPARKS
OR
FLAMES
SPARK
OR
COULD FLAME
'\Ir8
EXPLODE
BAlTERY LATCH BOTH LAP AND
SHOULDER BELTS TO
PROTECT OCCUPANT
48: @
DO NOT TWIST SAFm
BELT WHEN AlTACHING
FASTEN SEAT
BELTS
MOVE SEAT FULLY
\v!
REARWARD* /g
SECURE
CHILD SEAT
PULL BELT
COMPLETELY
THEN SECURE CHILD
SEAT
DO NOT INSTALL
A REAR-FACING
CHILD RESTRAINT
@o
POSITION 8
IN THIS SEATING
DO NOT INSTALL
A
CHILD RESTRAINT p?
FORWARD-FACING IN THIS SEATING POSITION
8
DOOR LOCK
UNLOCK SGHTING
- MASTER SWITCH B- / ,
SIGNALS @e
TURN
PARKING
PC
LAMPS
RUNNING
*:{io
DAYTIME LAMPS
LAMPS
#O
ENGINE
COOLANT
cc.
TEMP
CHARGING BAlTERY
SYSTEM
COOLANT
ENGINE OIL PRESSURE
W&
ANTI-LOCK (@)
BRAKES
FE E]
ACCESS
COOLANT
m-1
ENGINE FAN
OWNERS MANUAL
SERVICE
MANUAL
V
Page 8 of 428
Section Seats and Restraint Systems
Front Seats ..................................................... .l -2
Power Seats ............................. .............. 1-2
Power Lumbar ............................................... 1-3
Heated Seats
................................................. 1-3
Reclining Seatbacks
........................................ 1-4
Head Restraints
............................................. 1-6
Rear Seats
....................................................... 1 -7
Rear Seat Operation
....................................... 1-7
Safety Belts
..................................................... 1-8
Questions and Answers About Safety Belts
...... 1-1 2
How to Wear Safety Belts Properly
................. 1-13
Driver Position
.............................................. 1.1 3
Safety Belt Use During Pregnancy
.................. 1-21
Right Front Passenger Position
....................... 1-22
Safety Belts: They
Are for Everyone
................. 1-8
Center Passenger Position
............. ..... 1-22
Rear Seat Passengers
...................... ..... 1-24
Rear Safety Belt Comfort Guides for Children and Small Adults
.......................... 1-27
Safety Belt Extender
......................... ..... 1-29
Child Restraints
............................. ..... 1-30
Older Children
.............................................. 1-30
Infants and Young Children ............................ 1-32
Child Restraint Systems
................................ -1-36
Where to Put the Restraint
............................. 1-38
Top Strap
................................................... .l -40
Top Strap Anchor Location ............................. 1.41
Children (LATCH System)
....................... 1-43
for the LATCH System
............................... 1-46
Outside Seat Position
................................ 1-46
Rear Seat Position
.................................... 1-48
Front Seat Position
.................................... 1-50
Air Bag Systems ....................... .............. 1-57
Where Are the Air Bags?
............................ 1-59
When Should an Air Bag Inflate? .................... 1-61
What Makes an Air Bag Inflate?
..................... 1-61
Lower Anchorages and Top
Tethers for
Securing a Child Restraint Designed
Securing a Child Restraint in a Rear
Securing a Child Restraint in a Center
Securing a Child Restraint
in the Right
How Does an Air Bag Restrain?
..................... 1-62
What Will You See After an Air Bag Inflates?
... 1-62
Air Bag
Off Switch ........................................ 1-64
Passenger Sensing System
............................ 1-68
Servicing Your Air Bag-Equipped Vehicle
......... 1-72
Adding Equipment to Your Air Bag-Equipped
Vehicle
.................................................... 1-72
Restraint System Check
.................................. 1-73
Checking Your Restraint Systems ................... 1-73
Replacing Restraint System Parts
After a Crash
.............................. ...... .l -73
1-1
Page 14 of 428
Rear Seats
Rear Seat Operation
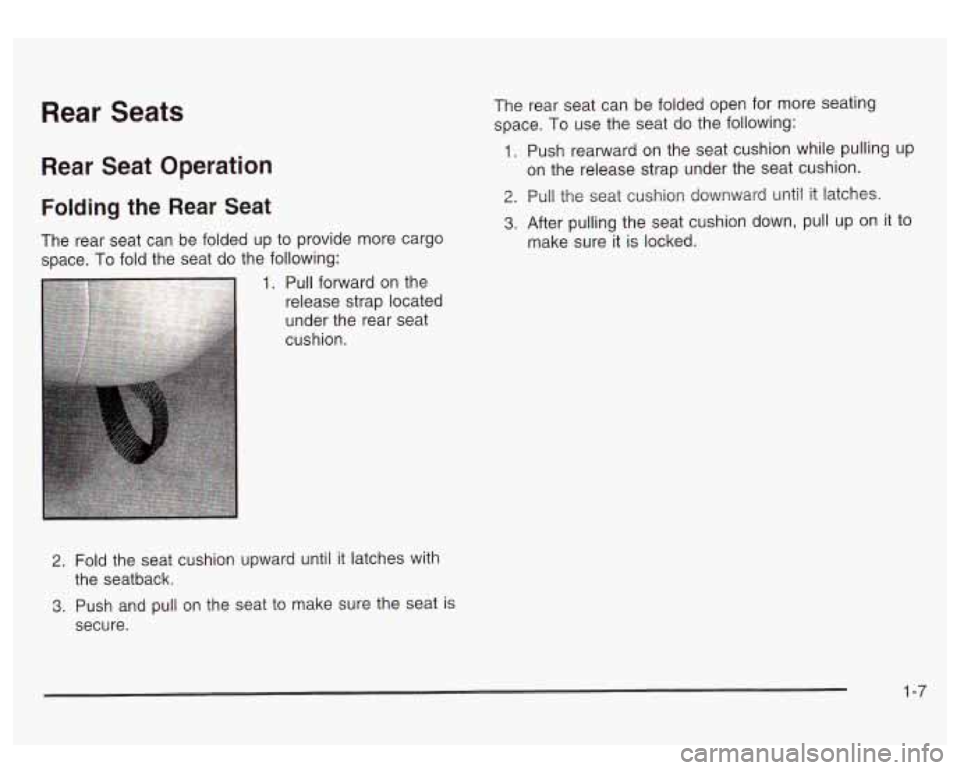
Folding the Rear Seat
The rear seat can be folded up to provide more cargo
space. To fold the seat do the following:
2. Fold the seat cushion upward until it latches with
3. Push and pull on the seat to make sure the seat is
the seatback.
secure. The
rear seat can be folded open for more seating
space. To use the seat do the following:
1. Push rearward on the seat cushion while pulling up
on the release strap under the seat cushion.
2. Pull the seat cushion downward until it latches.
3. After pulling the seat cushion down, pull up on it to
make sure it is locked.
1 -7
Page 21 of 428

3. Pick up the latch plate and pull the belt across you.
Don’t let it get twisted.
The shoulder belt may lock
if you pull the belt
across you very quickly.
If this happens, let the belt
go back slightly to unlock it. Then pull the belt
across you more slowly.
4. Push the latch plate into the buckle until it clicks.
Pull up on the latch plate to make sure
it is
secure.
If the belt isn’t long enough, see Safety
Belt Extender
on page 1-29.
Make sure the release button on the buckle is
positioned
so you would be able to unbuckle the
safety belt quickly
if you ever had to.
5. To make the lap part tight, pull down on the buckle
end of the belt as you pull up on the shoulder belt.
1-14
Page 32 of 428
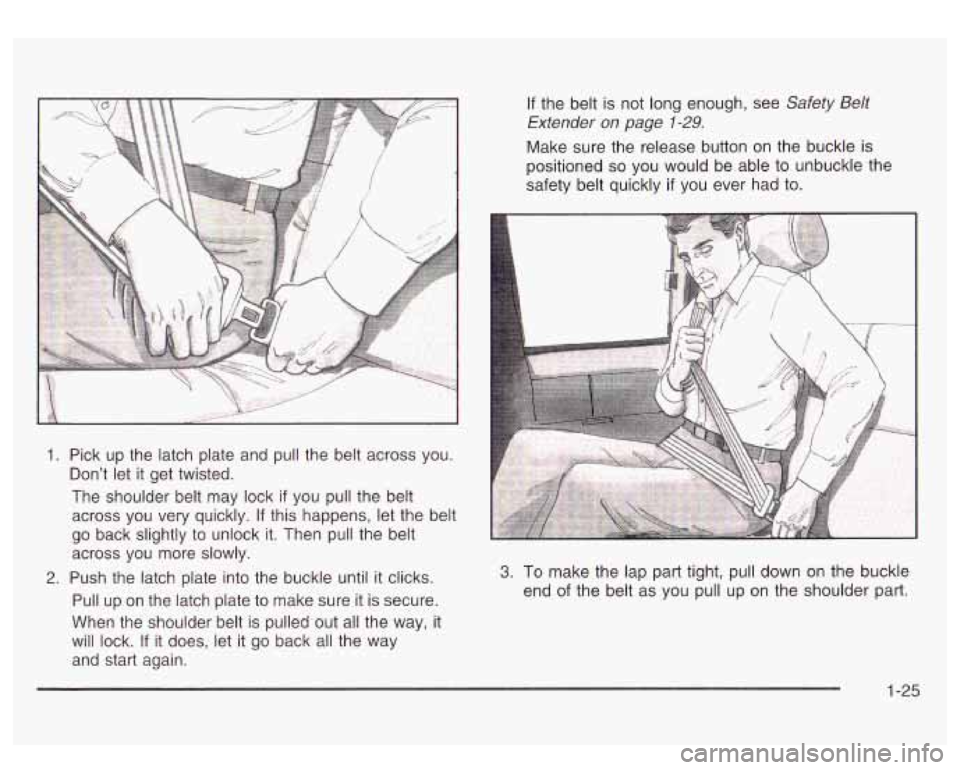
1. Pick up the latch plate and pull the belt across you.
Don’t let it get twisted.
The shoulder belt may lock
if you pull the belt
across you very quickly. If this happens, let the belt
go back slightly to unlock it. Then pull the belt
across you more slowly.
2. Push the latch plate into the buckle until it clicks.
Pull up on the latch plate to make sure it is secure.
When the shoulder belt is pulled out all the way, it
will lock. If it does, let it go back all the way
and start again.
If the belt is not long enough, see Safety Belt
Extender on page
1-29.
Make sure the release button on the buckle is
positioned
so you would be able to unbuckle the
safety belt quickly
if you ever had to.
3. To make the lap part tight, pull down on the buckle
end
of the belt as you pull up on the shoulder part.
1-25
Page 40 of 428
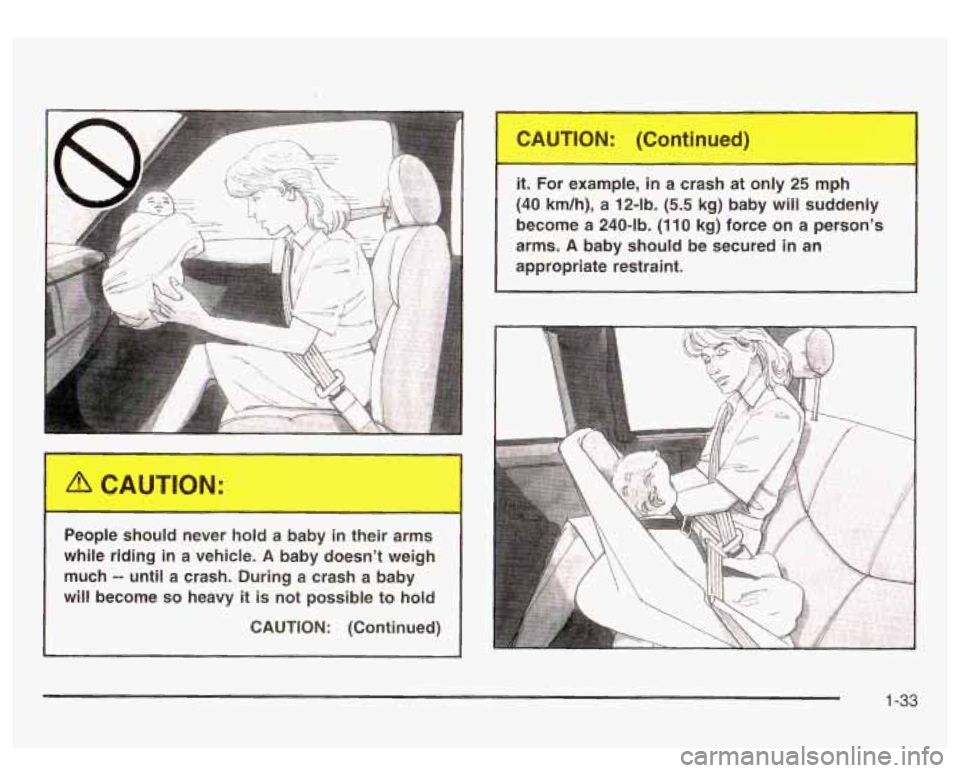
People should never hold a baby in their arms
while riding in a vehicle.
A baby doesn’t weigh
much
-- until a crash. During a crash a baby
will become
so heavy it is not possible to hold
CAUTION: (Continued)
it. For example, in a crash at only 25 mph
(40 kdh),
a 12-lb. (5.5 kg) baby will suddenly
become a 240-lb.
(1 10 kg) force on a person’s
arms.
A baby should be secured in an
appropriate restraint.
1-33
Page 42 of 428
Newborn infants need complete support,
including support for the head and neck. This
is
necessary because a newborn infant’s neck is
weak and its head weighs so much compared
with the rest of
its body. In a crash, an infant in a
rear-facing seat settles into the restraint, so the
crash forces can be distributed across the
strongest part of an infant’s body, the back and
shoulders. Infants always should be secured in
appropriate infant restraints. The body structure of a young child
is quite
unlike that of an adult or older child, for whom
the safety belts are designed.
A young child’s
hip bones are
still so small that the vehicle’s
regular safety belt may not remain
low on the
hip bones, as it should. Instead, it may settle
up around the child’s abdomen. In a crash, the
belt would apply force on a body area that’s
unprotected by any bony structure. This alone
could cause serious or fatal injuries. Young
children always should be secured in
appropriate child restraints.
1-35
Page 45 of 428
Q: How do child restraints work?
A: A child restraint system is any device designed for
use
in a motor vehicle to restrain, seat, or position
children. A built-in child restraint system is a
permanent part of the motor vehicle. An add-on
child restraint system is a portable one, which
is purchased by the vehicle’s owner.
For many years, add-on child restraints have used
the adult belt system in the vehicle. To help
reduce the chance of injury, the child also has to be
secured within the restraint. The vehicle’s belt
system secures the add-on child restraint in the
vehicle, and the add-on child restraint’s harness
system holds the child in place within the restraint.
One system, the three-point harness, has straps that
come down over each of the infant’s shoulders and
buckle together at the crotch. The five-point harness
system has two shoulder straps, two hip straps and a
crotch strap. A shield may take the place of hip
straps.
A T-shaped shield has shoulder straps that
are attached to a flat pad which rests low against the
child’s body. A shelf- or armrest-type shield has
straps that are attached to a wide, shelf-like shield
that swings up or to the side.
When choosing a child restraint, be sure the child
restraint is designed to be used in a vehicle.
If it is, it
will have a label saying that
it meets federal motor
vehicle safety standards. Then follow the instructions
for the restraint. You may
find these instructions on the restraint itself or in a
booklet, or both. These restraints use the belt system in
your vehicle, but the child also has to be secured
within the restraint
to help reduce the chance of personal
injury. When securing an add-on child restraint, refer
to the instructions that come with the restraint which may
be on the restraint itself or in a booklet, or both, and
to this manual. The child restraint instructions are
important, so
if they are not available, obtain a
replacement copy from the manufacturer.
Where to Put the Restraint
Accident statistics show that children are safer if they
are restrained in the rear rather than the front seat.
General Motors, therefore, recommends that child
restraints be secured in a rear seat including an infant
riding in a rear-facing infant seat, a child riding in a
forward-facing child seat and an older child riding in a
booster seat. Never put a child in a rear-facing child
restraint in the right front passenger seat unless
your vehicle has the passenger sensing system and/or
an AIR BAG
OFF switch and the air bag status
indicator shows
off. Never put a rear facing child
restraint in the right front passenger seat unless the air
bag is
off. Here’s why:
1-38