Page 217 of 442
Remote Control
To use the remote control, aim it at the small square
window to the left of the disc slot and press the desired
button. Direct sunlight or very bright light may affect
the ability of the entertainment system to receive signals
from the remote control. Be sure the remote's batteries
are not discharged, as this will also affect the function
of the remote control. Objects blocking the line of sight
may also affect the function of the remote control.
Notice:Do not store the remote control in heat or
direct sunlight. This could damage the remote
control and would not be covered by your warranty.
Keep the remote control stored in a cool, dry
place.
Remote Control Buttons
OPWR (Power):Press this button to turn the DVD
player on or off.
kPLAY/PAUSE:Press this button to play a disc.
Press this button while a disc is playing to pause. Press
it again to continue playing.
cSTOP:Press this button to stop playing, reversing
or fast forwarding the DVD.
3-97
Page 218 of 442

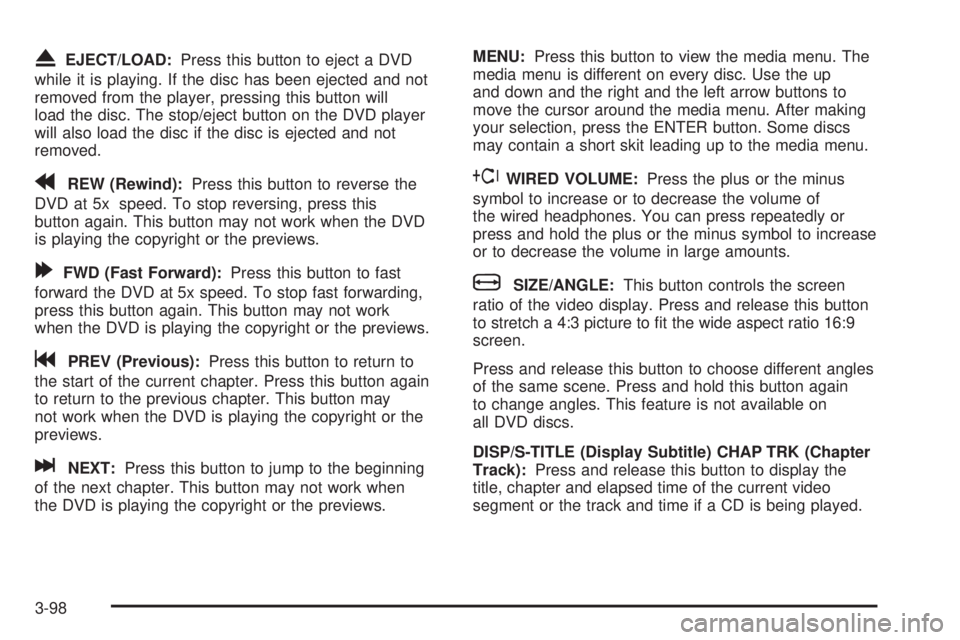
XEJECT/LOAD:Press this button to eject a DVD
while it is playing. If the disc has been ejected and not
removed from the player, pressing this button will
load the disc. The stop/eject button on the DVD player
will also load the disc if the disc is ejected and not
removed.
rREW (Rewind):Press this button to reverse the
DVD at 5x speed. To stop reversing, press this
button again. This button may not work when the DVD
is playing the copyright or the previews.
[FWD (Fast Forward):Press this button to fast
forward the DVD at 5x speed. To stop fast forwarding,
press this button again. This button may not work
when the DVD is playing the copyright or the previews.
gPREV (Previous):Press this button to return to
the start of the current chapter. Press this button again
to return to the previous chapter. This button may
not work when the DVD is playing the copyright or the
previews.
lNEXT:Press this button to jump to the beginning
of the next chapter. This button may not work when
the DVD is playing the copyright or the previews.MENU:Press this button to view the media menu. The
media menu is different on every disc. Use the up
and down and the right and the left arrow buttons to
move the cursor around the media menu. After making
your selection, press the ENTER button. Some discs
may contain a short skit leading up to the media menu.
~WIRED VOLUME:Press the plus or the minus
symbol to increase or to decrease the volume of
the wired headphones. You can press repeatedly or
press and hold the plus or the minus symbol to increase
or to decrease the volume in large amounts.
bSIZE/ANGLE:This button controls the screen
ratio of the video display. Press and release this button
to stretch a 4:3 picture to ®t the wide aspect ratio 16:9
screen.
Press and release this button to choose different angles
of the same scene. Press and hold this button again
to change angles. This feature is not available on
all DVD discs.
DISP/S-TITLE (Display Subtitle) CHAP TRK (Chapter
Track):Press and release this button to display the
title, chapter and elapsed time of the current video
segment or the track and time if a CD is being played.
3-98
Page 219 of 442

Press and hold this button to see the DVDs subtitle
language. Press and release this button again to change
it. This feature is not available on all DVD discs.
COMP/AUDIO (Compression) COMP:Press and
release this button to display the current compression
displayed on the screen. Press this button again to
select the next compression state. Three compression
states are available including minimum, standard
and off. The compression feature only functions on AC3
(Dolby
žDigital Surround) encoded DVD video discs.
Press and hold this button to see if the DVD playing has
optional audio tracks, such as different languages or
commentaries. Press and release to change selections.
INPUT/TITLE DVD AUX (Auxiliary):Press and
release this button to switch between the auxiliary input
device and the DVD player.
Press and hold this button to see a display of the DVD's
titles. Press and release to change the titles available.
qRTN (Return):When a DVD menu is active
and this button is pressed, the selected option will be
disabled. This button could have different functions with
different discs.
ESCREEN BRIGHTNESS:Press the plus or the
minus symbol to increase or to decrease the brightness
of the screen. This button can also be found on the
video screen.
OLIGHT:Press this button to illuminate the keypad
for about eight seconds.
Setup Menu
To access the setup menu, ensure a DVD is in the
player and the video is in stop mode. Press the menu
key. Once the menu is activated, use the UP, DOWN,
RIGHT, LEFT, and Enter buttons to navigate the screen.
The setup menu allows the use to select default
preferences for Menu Language, Subtitle Language,
Audio Language, TV Aspect, TV Mode, and Dynamic
Range Compression.
Not all DVDs support all the feature defaults in the
setup menus. In the event a particular feature is
not supported, defaults will be provided by the DVD
media.
Exit the setup menu by pressing the RETURN button on
the remote control. If you make changes to the system
setup defaults, the disc will resume play from the
beginning and not where it previously left off.
3-99
Page 220 of 442

Battery Replacement
To change the batteries, do the following:
1. Unclip the battery door located on the back of the
remote control.
2. Replace the two AAA batteries in the compartment.
Make sure that they are installed correctly.
3. Close the battery door securely.
If the remote control is to be stored for a long period of
time, remove the batteries and keep them in a cool,
dry place.
Problem Recommended Action
No power. The ignition might be off.
The parental control
button might have been
pressed. (The power LED
will ¯ash.)
Disc will not play. The Input/Title on the
remote might be set for
auxiliary.
The disc is upside down
or is not compatible.
Problem Recommended Action
No sound. The volume on the
headphones could be too
low. Adjust it on the wired
headphones on the front
panel or the remote. For
the wireless headphones,
adjust the dial on the right
earpiece on the
headphones.
The picture is distorted
during fast forward or fast
reverse.This is normal for this
operation.
The picture does not ®ll
the screen. There are
black borders on the top
and bottom or on both
sides or it looks stretched
out.Quickly press and release
the SIZE/ANGLE button
on the remote. This will ®ll
the screen. If the screen
looks stretched out, press
and release the SIZE/
ANGLE button again. If
there are borders on the
top and bottom, the movie
may have been made that
way for a standard screen.
Pressing the SIZE/
ANGLE button should ®ll
the sides.
3-100
Page 221 of 442

Problem Recommended Action
I ejected the disc and tried
to take it out, but it was
pulled back into the slot.Eject the disc again.
The language in the
audio or on the screen is
wrong.Press and hold the
COMP/AUDIO button on
the remote. This will
access the DVD's main
menu. Then follow the
prompts.
The remote does not
work.Point the remote directly
at the player, but not the
screen.
The batteries could be
dead or put in wrong.
If the power button on the
player is ¯ashing, the
parental control is on,
which disables the
remote.Problem Recommended Action
I can not hear anything
when I lower the volume.Quickly press and release
the COMP/AUDIO button
on the remote. This tells
you the current default
setting. Press and
release the
COMP/AUDIO button
again to choose another
setting.
How do I get subtitles on
or off?Press and hold the
DISP/S-TITLE buttons on
the remote to go to the
DVDs main menu. Then
follow the prompts.
After stopping the player,
I push PLAY but
sometimes the DVD
starts where I left off and
sometimes at the
beginning.Press the STOP button
on the remote to resume
where the DVD left off.
Press the STOP button
twice to start the DVD at
the beginning.
If the power is off and the
DVD is still in the player,
press and release the
PLAY button.
3-101
Page 222 of 442

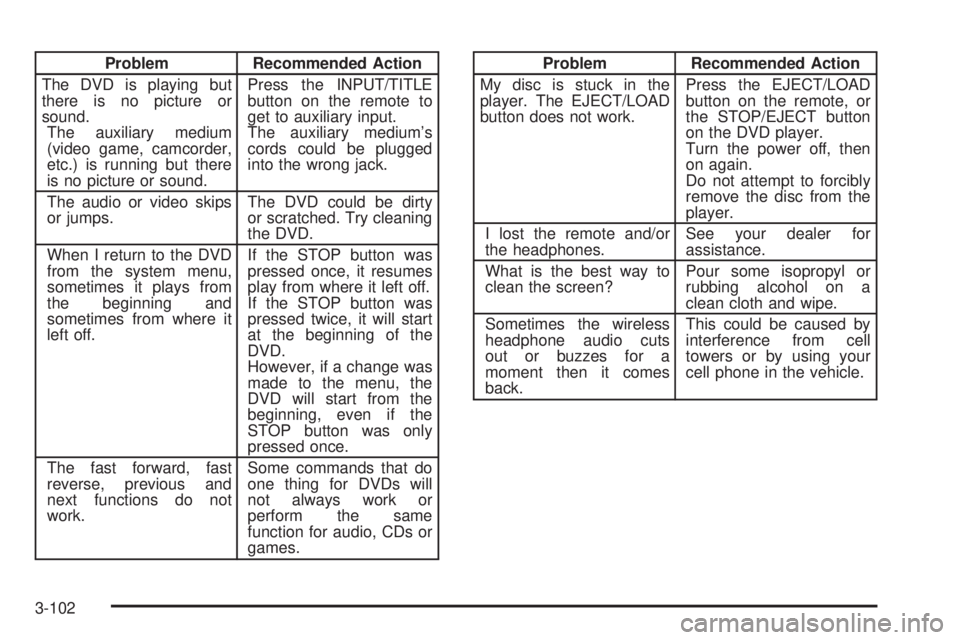
Problem Recommended Action
The DVD is playing but
there is no picture or
sound.
The auxiliary medium
(video game, camcorder,
etc.) is running but there
is no picture or sound.Press the INPUT/TITLE
button on the remote to
get to auxiliary input.
The auxiliary medium's
cords could be plugged
into the wrong jack.
The audio or video skips
or jumps.The DVD could be dirty
or scratched. Try cleaning
the DVD.
When I return to the DVD
from the system menu,
sometimes it plays from
the beginning and
sometimes from where it
left off.If the STOP button was
pressed once, it resumes
play from where it left off.
If the STOP button was
pressed twice, it will start
at the beginning of the
DVD.
However, if a change was
made to the menu, the
DVD will start from the
beginning, even if the
STOP button was only
pressed once.
The fast forward, fast
reverse, previous and
next functions do not
work.Some commands that do
one thing for DVDs will
not always work or
perform the same
function for audio, CDs or
games.Problem Recommended Action
My disc is stuck in the
player. The EJECT/LOAD
button does not work.Press the EJECT/LOAD
button on the remote, or
the STOP/EJECT button
on the DVD player.
Turn the power off, then
on again.
Do not attempt to forcibly
remove the disc from the
player.
I lost the remote and/or
the headphones.See your dealer for
assistance.
What is the best way to
clean the screen?Pour some isopropyl or
rubbing alcohol on a
clean cloth and wipe.
Sometimes the wireless
headphone audio cuts
out or buzzes for a
moment then it comes
back.This could be caused by
interference from cell
towers or by using your
cell phone in the vehicle.
3-102
Page 223 of 442

Rear Seat Audio (RSA)
This feature allows rear seat passengers to listen to any
of the music sources: radio, cassette tapes or CDs.
The rear seat passengers can only control the music
sources that the front seat passengers are not listening
to. For example, rear seat passengers may listen to
a cassette tape or CD through headphones while
the driver listens to the radio through the front speakers.
The rear seat passengers have control of the volume
for each set of headphones. The front seat audio
controls always override the rear seat audio controls.
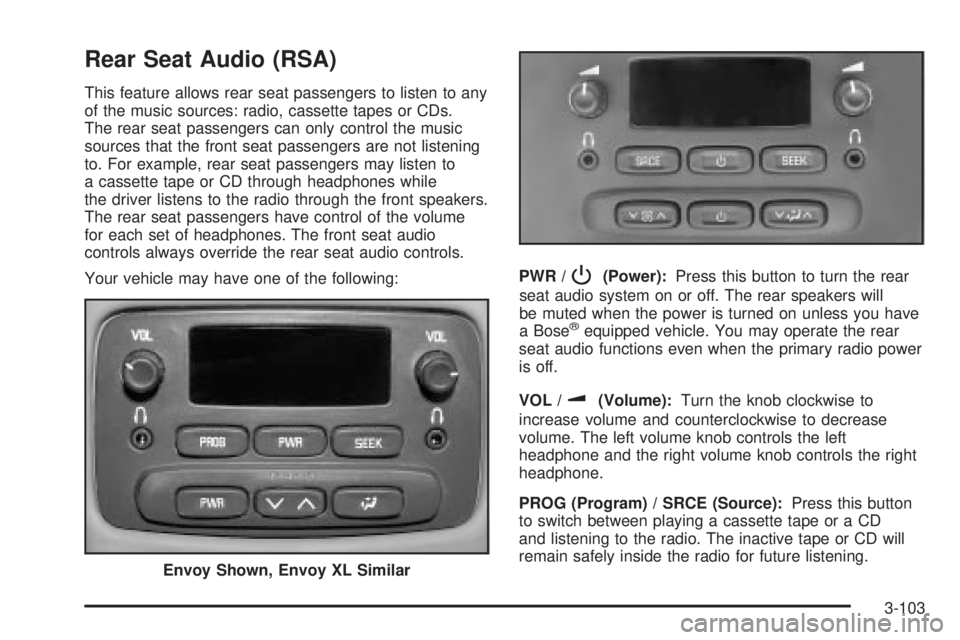
Your vehicle may have one of the following:PWR /
P(Power):Press this button to turn the rear
seat audio system on or off. The rear speakers will
be muted when the power is turned on unless you have
a Bose
žequipped vehicle. You may operate the rear
seat audio functions even when the primary radio power
is off.
VOL /
u(Volume):Turn the knob clockwise to
increase volume and counterclockwise to decrease
volume. The left volume knob controls the left
headphone and the right volume knob controls the right
headphone.
PROG (Program) / SRCE (Source):Press this button
to switch between playing a cassette tape or a CD
and listening to the radio. The inactive tape or CD will
remain safely inside the radio for future listening.
Envoy Shown, Envoy XL Similar
3-103
Page 224 of 442

SEEK:Press the SEEK button to seek to the next
station and stay there. The display will show your
selection.
To scan preset stations, press and hold the SEEK
button. The radio will scan to a preset station, play for a
few seconds, then go the next preset station. The
display will show your selections. The SEEK button is
inactive if the front radio is in use.
While listening to a cassette tape, press the SEEK
button to hear the next selection on the tape. Press and
hold the SEEK button to go to the other side of the
tape. The SEEK button is inactive if the tape mode on
the front radio is in use.
While listening to a CD, press the SEEK button to hear
the next track on the CD. The SEEK button is inactive
if the CD mode on the front radio or the CD changer
is in use.
Radio Personalization
If your vehicle has this feature, it allows the driver to
return to the last used audio source (radio, cassette or
CD) using the remote keyless entry transmitter. This
feature can also store and recall AM and FM presets,
volume, tone and the last selected radio station.The number on the back of each transmitter (1 or 2)
corresponds to driver 1 or 2. If transmitter 1 is used to
enter the vehicle, the last used audio source and/or
settings set by driver 1 will be recalled. If transmitter 2 is
used to enter the vehicle, the last used audio source
and/or settings set by driver 2 will be recalled.
Theft-Deterrent Feature
(RDS Radios)
THEFTLOCKžis designed to discourage theft of your
radio. The feature works automatically by learning
a portion of the Vehicle Identi®cation Number (VIN). If
the radio is moved to a different vehicle, it will not
operate and LOCKED will be displayed.
When the radio and vehicle are turned off, the blinking
red light indicates that THEFTLOCK
žis armed.
With THEFTLOCK
žactivated, your radio will not operate
if stolen.
3-104