Page 53 of 240
POWER ADJUSTABLE FOOT PEDALS (IF EQUIPPED)
The accelerator and brake pedal
should only be adjusted when the
vehicle is stopped and the gearshift
lever is in the P(Park) position.
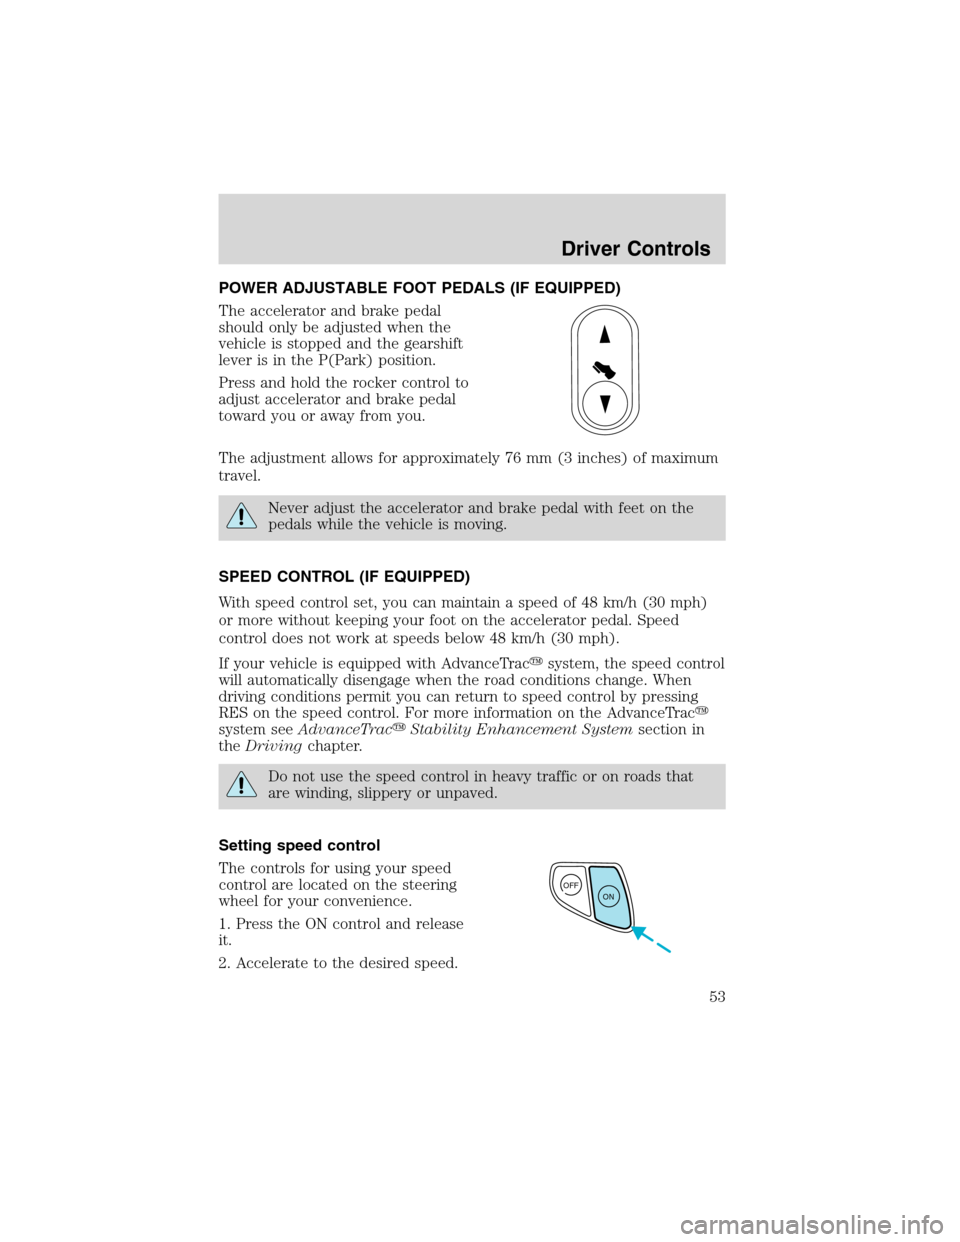
Press and hold the rocker control to
adjust accelerator and brake pedal
toward you or away from you.
The adjustment allows for approximately 76 mm (3 inches) of maximum
travel.
Never adjust the accelerator and brake pedal with feet on the
pedals while the vehicle is moving.
SPEED CONTROL (IF EQUIPPED)
With speed control set, you can maintain a speed of 48 km/h (30 mph)
or more without keeping your foot on the accelerator pedal. Speed
control does not work at speeds below 48 km/h (30 mph).
If your vehicle is equipped with AdvanceTrac�system, the speed control
will automatically disengage when the road conditions change. When
driving conditions permit you can return to speed control by pressing
RES on the speed control. For more information on the AdvanceTrac�
system seeAdvanceTrac�Stability Enhancement Systemsection in
theDrivingchapter.
Do not use the speed control in heavy traffic or on roads that
are winding, slippery or unpaved.
Setting speed control
The controls for using your speed
control are located on the steering
wheel for your convenience.
1. Press the ON control and release
it.
2. Accelerate to the desired speed.
OFF
ON
Driver Controls
53
Page 54 of 240
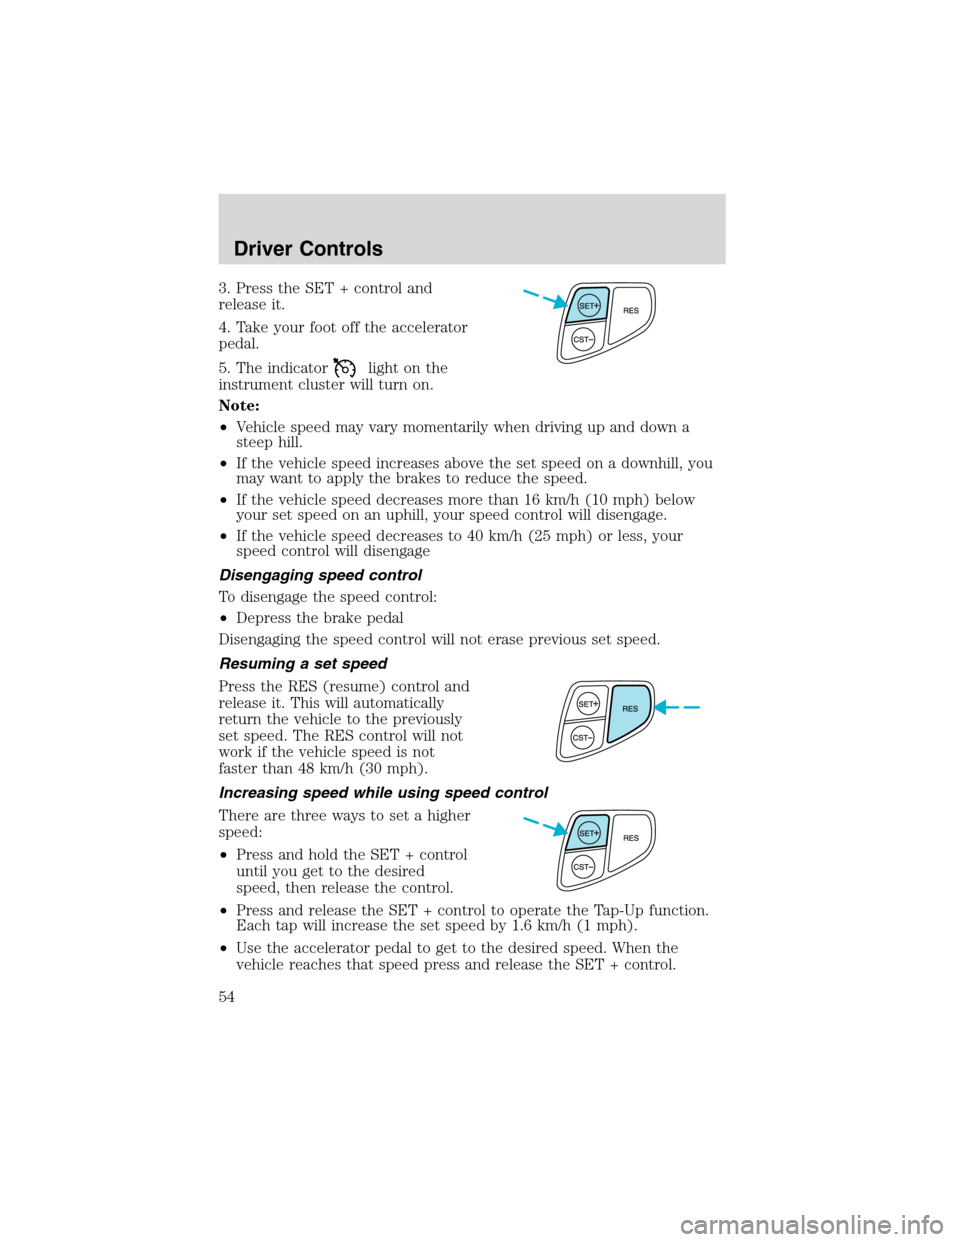
3. Press the SET + control and
release it.
4. Take your foot off the accelerator
pedal.
5. The indicator
light on the
instrument cluster will turn on.
Note:
•Vehicle speed may vary momentarily when driving up and down a
steep hill.
•If the vehicle speed increases above the set speed on a downhill, you
may want to apply the brakes to reduce the speed.
•If the vehicle speed decreases more than 16 km/h (10 mph) below
your set speed on an uphill, your speed control will disengage.
•If the vehicle speed decreases to 40 km/h (25 mph) or less, your
speed control will disengage
Disengaging speed control
To disengage the speed control:
•Depress the brake pedal
Disengaging the speed control will not erase previous set speed.
Resuming a set speed
Press the RES (resume) control and
release it. This will automatically
return the vehicle to the previously
set speed. The RES control will not
work if the vehicle speed is not
faster than 48 km/h (30 mph).
Increasing speed while using speed control
There are three ways to set a higher
speed:
•Press and hold the SET + control
until you get to the desired
speed, then release the control.
•Press and release the SET + control to operate the Tap-Up function.
Each tap will increase the set speed by 1.6 km/h (1 mph).
•Use the accelerator pedal to get to the desired speed. When the
vehicle reaches that speed press and release the SET + control.
Driver Controls
54
Page 55 of 240
Reducing speed while using speed control
There are three ways to reduce a
set speed:
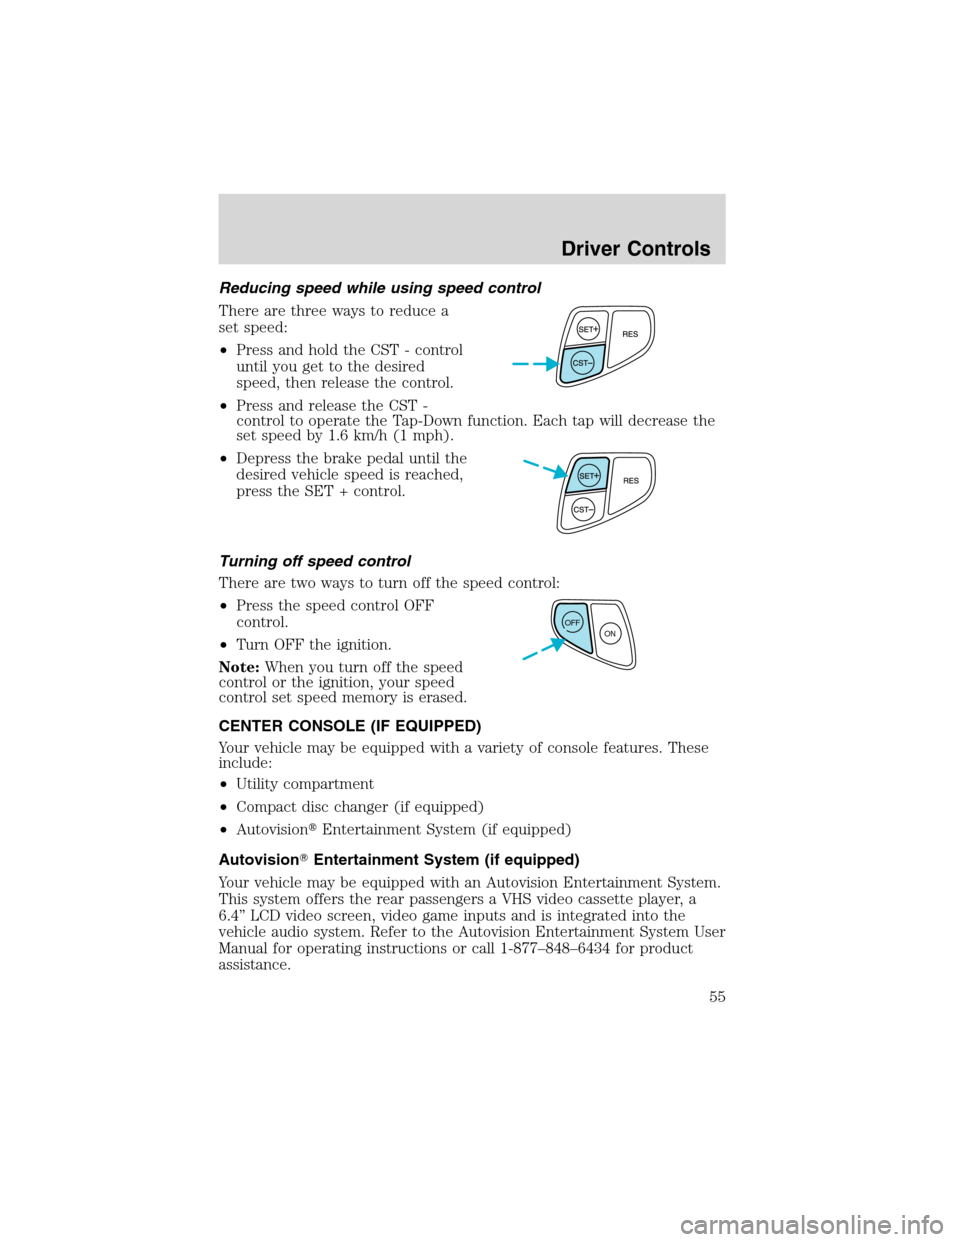
•Press and hold the CST - control
until you get to the desired
speed, then release the control.
•Press and release the CST -
control to operate the Tap-Down function. Each tap will decrease the
set speed by 1.6 km/h (1 mph).
•Depress the brake pedal until the
desired vehicle speed is reached,
press the SET + control.
Turning off speed control
There are two ways to turn off the speed control:
•Press the speed control OFF
control.
•Turn OFF the ignition.
Note:When you turn off the speed
control or the ignition, your speed
control set speed memory is erased.
CENTER CONSOLE (IF EQUIPPED)
Your vehicle may be equipped with a variety of console features. These
include:
•Utility compartment
•Compact disc changer (if equipped)
•Autovision�Entertainment System (if equipped)
Autovision�Entertainment System (if equipped)
Your vehicle may be equipped with an Autovision Entertainment System.
This system offers the rear passengers a VHS video cassette player, a
6.4”LCD video screen, video game inputs and is integrated into the
vehicle audio system. Refer to the Autovision Entertainment System User
Manual for operating instructions or call 1-877–848–6434 for product
assistance.
OFF
ON
Driver Controls
55
Page 57 of 240
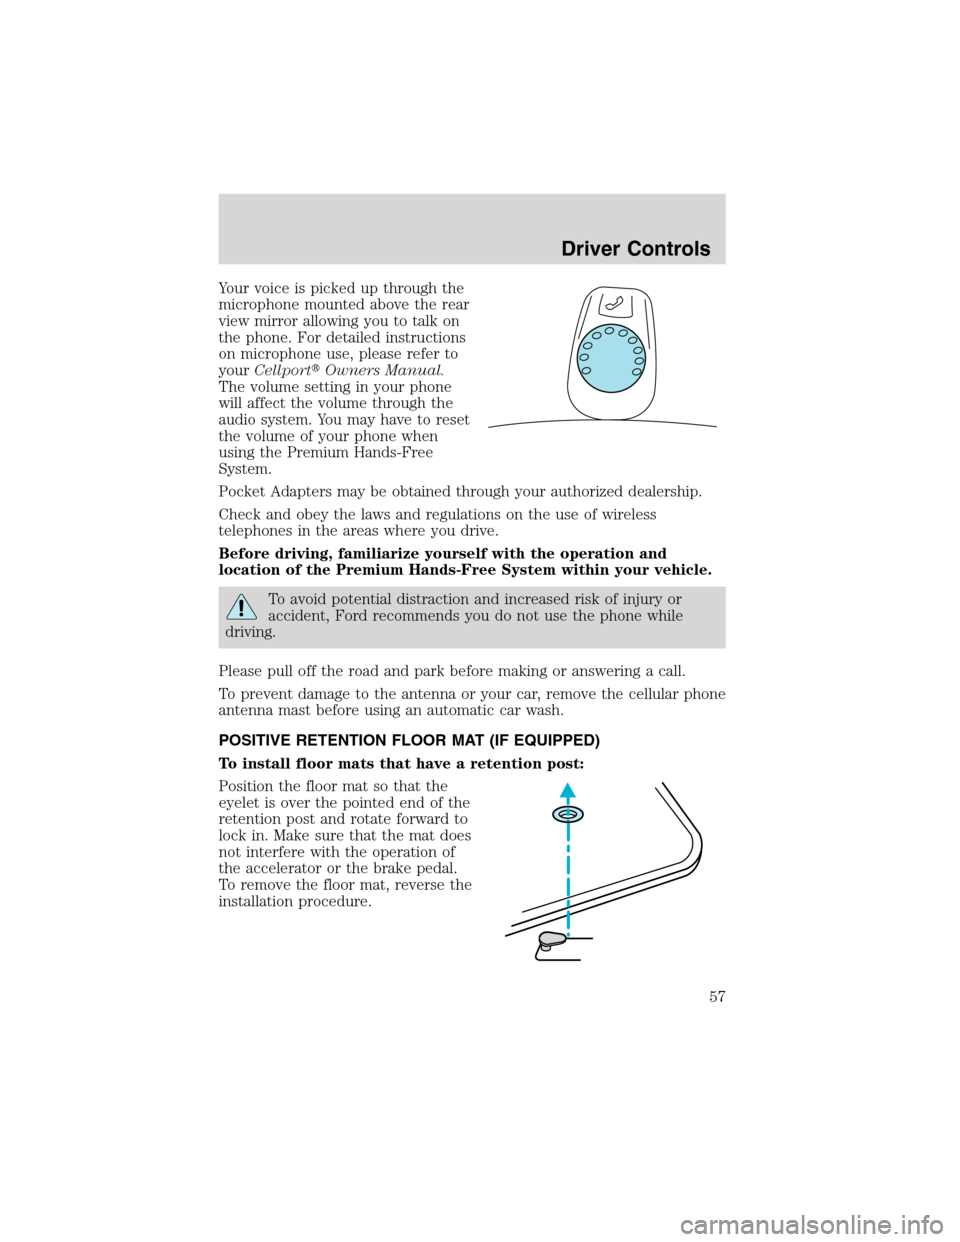
Your voice is picked up through the
microphone mounted above the rear
view mirror allowing you to talk on
the phone. For detailed instructions
on microphone use, please refer to
yourCellport�Owners Manual.
The volume setting in your phone
will affect the volume through the
audio system. You may have to reset
the volume of your phone when
using the Premium Hands-Free
System.
Pocket Adapters may be obtained through your authorized dealership.
Check and obey the laws and regulations on the use of wireless
telephones in the areas where you drive.
Before driving, familiarize yourself with the operation and
location of the Premium Hands-Free System within your vehicle.
To avoid potential distraction and increased risk of injury or
accident, Ford recommends you do not use the phone while
driving.
Please pull off the road and park before making or answering a call.
To prevent damage to the antenna or your car, remove the cellular phone
antenna mast before using an automatic car wash.
POSITIVE RETENTION FLOOR MAT (IF EQUIPPED)
To install floor mats that have a retention post:
Position the floor mat so that the
eyelet is over the pointed end of the
retention post and rotate forward to
lock in. Make sure that the mat does
not interfere with the operation of
the accelerator or the brake pedal.
To remove the floor mat, reverse the
installation procedure.
Driver Controls
57
Page 63 of 240
Language
1. Select this function from the
SETUP menu for the current
language to be displayed.
2. Pressing the RESET control
cycles the message center through
each of the language choices.
3. Press and hold the RESET
control to set the language choice.
Units (English/Metric)
1. Select this function from the
SETUP menu for the current units
to be displayed.
2. Press the RESET control to
change from English to Metric.
System check
Selecting this function from the
SETUP menu causes the message
center to cycle through each of the
systems being monitored. For each
of the monitored systems, the
message center will indicate either an OK message or a warning message
for three seconds.
Pressing the RESET control cycles the message center through each of
the systems being monitored.
The sequence of the system check report is as follows:
1. oil life in XX%
2. charging system
3. washer fluid level
4. brake fluid level
Driver Controls
63
Page 64 of 240
5. doors closed (driver and passenger side). This message can only be
reset by closing the door(s). If the RESET control is pressed, PLEASE
CLOSE DOOR will be displayed.
6. rear liftgate status
7. exterior lamps (headlamps, front turn, brake, tail and cornering/side
repeater lamp status)
8. Traction Control�or AdvanceTrac�(if equipped)
9. fuel level
10. distance to empty
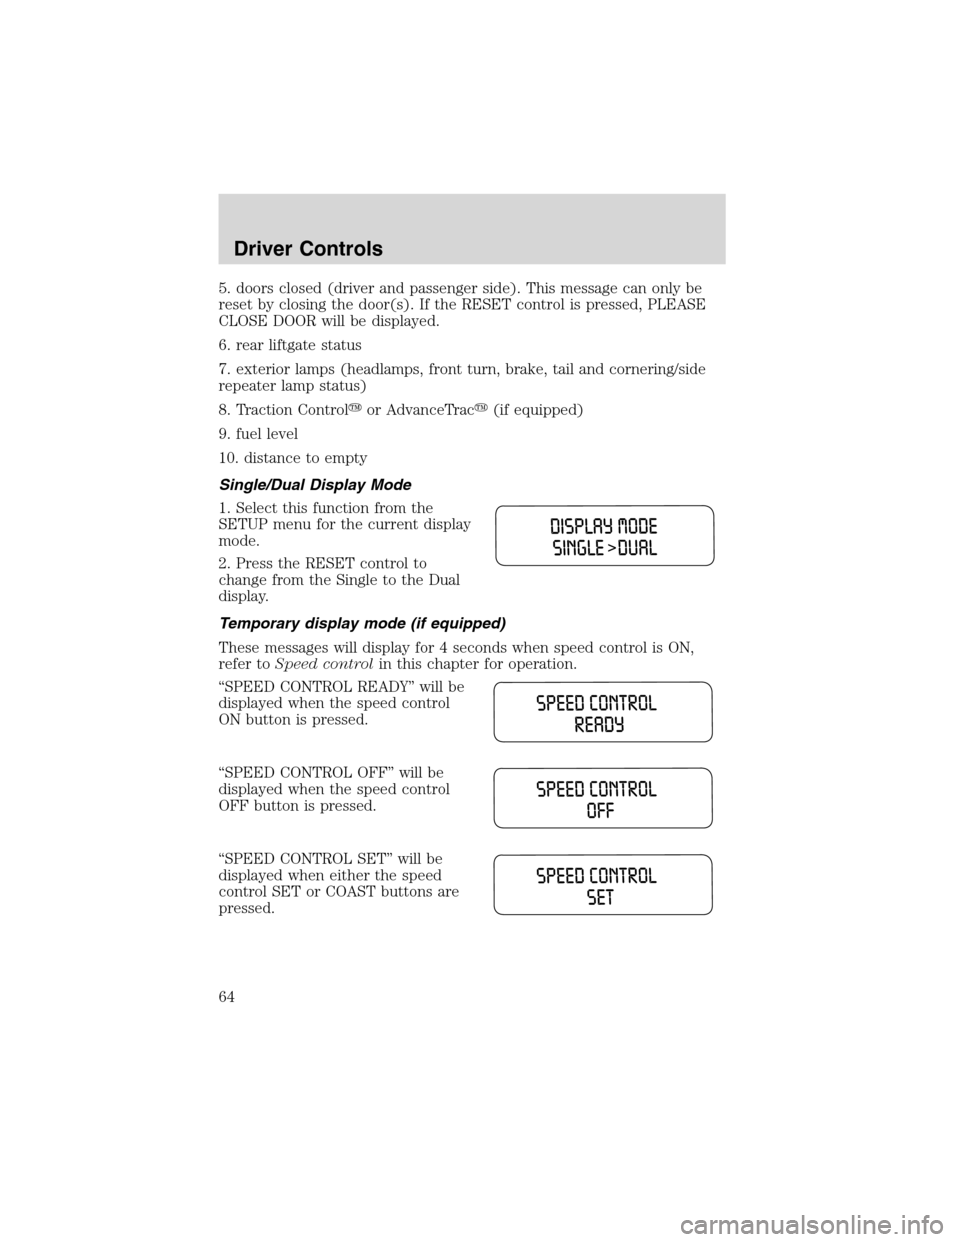
Single/Dual Display Mode
1. Select this function from the
SETUP menu for the current display
mode.
2. Press the RESET control to
change from the Single to the Dual
display.
Temporary display mode (if equipped)
These messages will display for 4 seconds when speed control is ON,
refer toSpeed controlin this chapter for operation.
“SPEED CONTROL READY”will be
displayed when the speed control
ON button is pressed.
“SPEED CONTROL OFF”will be
displayed when the speed control
OFF button is pressed.
“SPEED CONTROL SET”will be
displayed when either the speed
control SET or COAST buttons are
pressed.
Driver Controls
64
Page 65 of 240
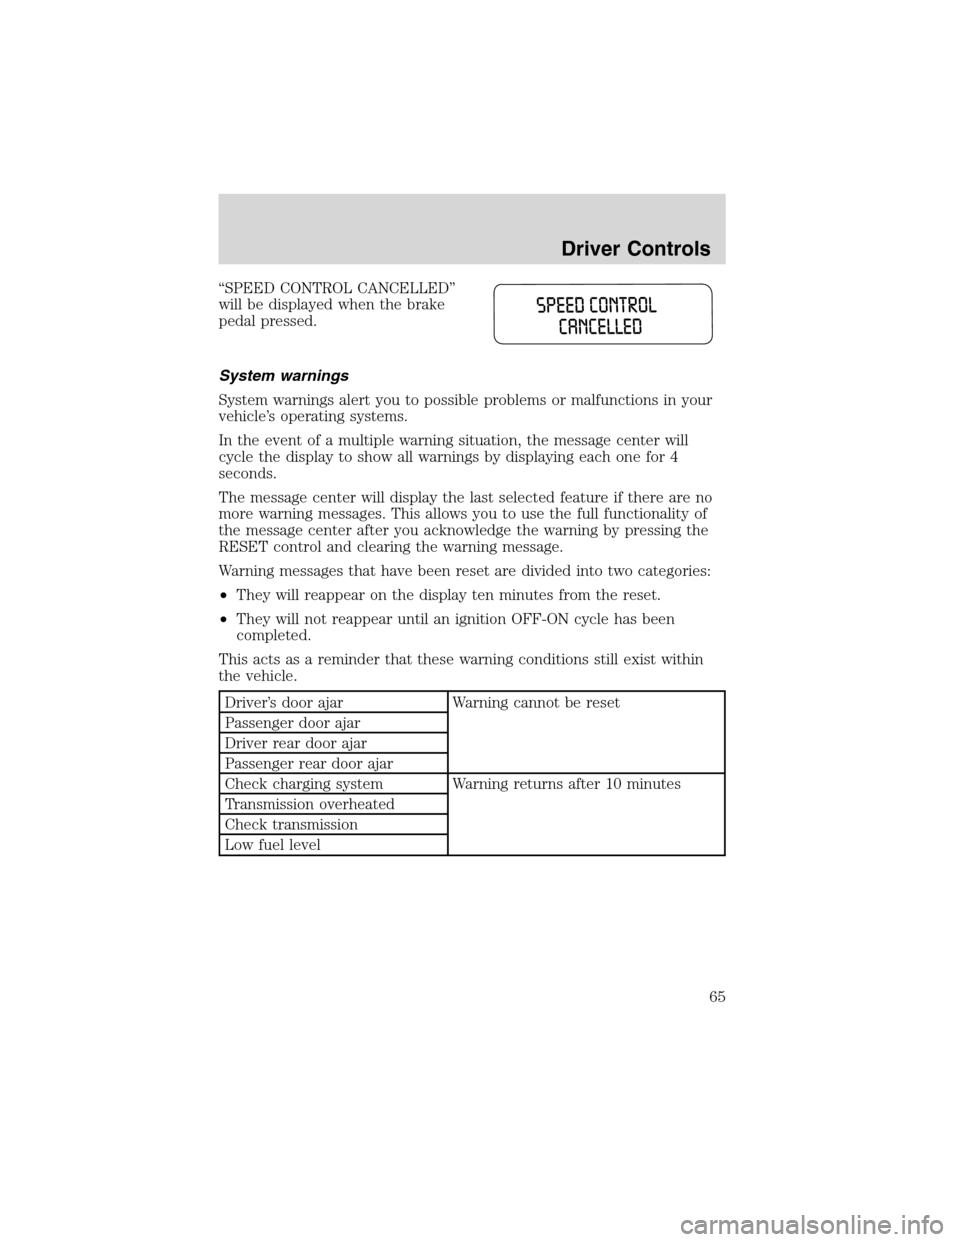
“SPEED CONTROL CANCELLED”
will be displayed when the brake
pedal pressed.
System warnings
System warnings alert you to possible problems or malfunctions in your
vehicle’s operating systems.
In the event of a multiple warning situation, the message center will
cycle the display to show all warnings by displaying each one for 4
seconds.
The message center will display the last selected feature if there are no
more warning messages. This allows you to use the full functionality of
the message center after you acknowledge the warning by pressing the
RESET control and clearing the warning message.
Warning messages that have been reset are divided into two categories:
•They will reappear on the display ten minutes from the reset.
•They will not reappear until an ignition OFF-ON cycle has been
completed.
This acts as a reminder that these warning conditions still exist within
the vehicle.
Driver’s door ajar Warning cannot be reset
Passenger door ajar
Driver rear door ajar
Passenger rear door ajar
Check charging system Warning returns after 10 minutes
Transmission overheated
Check transmission
Low fuel level
Driver Controls
65
Page 66 of 240

Liftgate ajar Warning returns after the ignition key
is turned from OFF to ON
Low brake fluid level
Check tail lamps
Check headlamps
Check rear turn lamps
Check front turn lamps
Check cornering/side repeater
lamps (if equipped)
Change oil soon
Oil change required
Check traction control (if
equipped)
Check advancetrac (if
equipped)
Low washer fluid
Check turn signal on reminder
DRIVER’S DOOR AJAR.Displayed when the driver’s door is not
completely closed.
PASSENGER DOOR AJAR.Displayed when the passenger side door is
not completely closed.
DRIVER’S REAR DOOR AJAR.Displayed when the driver’s rear door
is not completely closed.
PASSENGER REAR DOOR AJAR.Displayed when the passenger side
rear door is not completely closed.
LIFTGATE AJAR.Displayed when the liftgate is not completely closed.
CHECK CHARGING SYSTEM.Displayed when the electrical system is
not maintaining proper voltage. If you are operating electrical accessories
when the engine is idling at a low speed, turn off as many of the
electrical loads as soon as possible. If the warning stays on or comes on
when the engine is operating at normal speeds, have the electrical
system checked as soon as possible.
LOW FUEL LEVEL.Displayed as an early reminder of a low fuel
condition.
CHECK TRANSMISSION.Indicates the transmission is not operating
properly. If this warning stays on, contact your dealer as soon as
possible.
Driver Controls
66