Page 6 of 240

SPECIAL NOTICES
Emission warranty
The New Vehicle Limited Warranty includes Bumper-to-Bumper
Coverage, Safety Restraint Coverage, Corrosion Coverage, and 7.3L
Power Stroke Diesel Engine Coverage. In addition, your vehicle is eligible
for Emissions Defect and Emissions Performance Warranties. For a
detailed description of what is covered and what is not covered, refer to
theWarranty Guidethat is provided to you along with your Owner’s
Guide.
Event Data Recorder
The computer in your vehicle is capable of recording detailed data
potentially including but not limited to information such as:
•the use of restraint systems including seat belts by the driver and
passengers,
•information about the performance of various systems and modules in
the vehicle, and
•information related to engine, throttle, steering, brake or other system
status potentially including information related to how the driver
operates the vehicle including but not limited to vehicle speed.
This information may be stored during regular operation or in a crash or
near crash event. This stored information may be read out and used by:
•Ford Motor Company.
•service and repair facilities.
•law enforcement or government agencies.
•others who may assert a right or obtain your consent to know such
information.
Introduction
6
Page 8 of 240
These are some of the symbols you may see on your vehicle.
Vehicle Symbol Glossary
Safety Alert
See Owner’s Guide
Fasten Safety BeltAir Bag-Front
Air Bag-SideChild Seat
Child Seat Installation
WarningChild Seat Lower
Anchor
Child Seat Tether
AnchorBrake System
Anti-Lock Brake SystemBrake Fluid -
Non-Petroleum Based
Traction ControlAdvanceTrac
Master Lighting SwitchHazard Warning Flasher
Fog Lamps-FrontFuse Compartment
Fuel Pump ResetWindshield Wash/Wipe
Windshield
Defrost/DemistRear Window
Defrost/Demist
Introduction
8
Page 11 of 240

Driving a vehicle with the brake system warning light on is
dangerous. A significant decrease in braking performance may
occur. It will take you longer to stop the vehicle. Have the vehicle
checked by your dealer immediately.
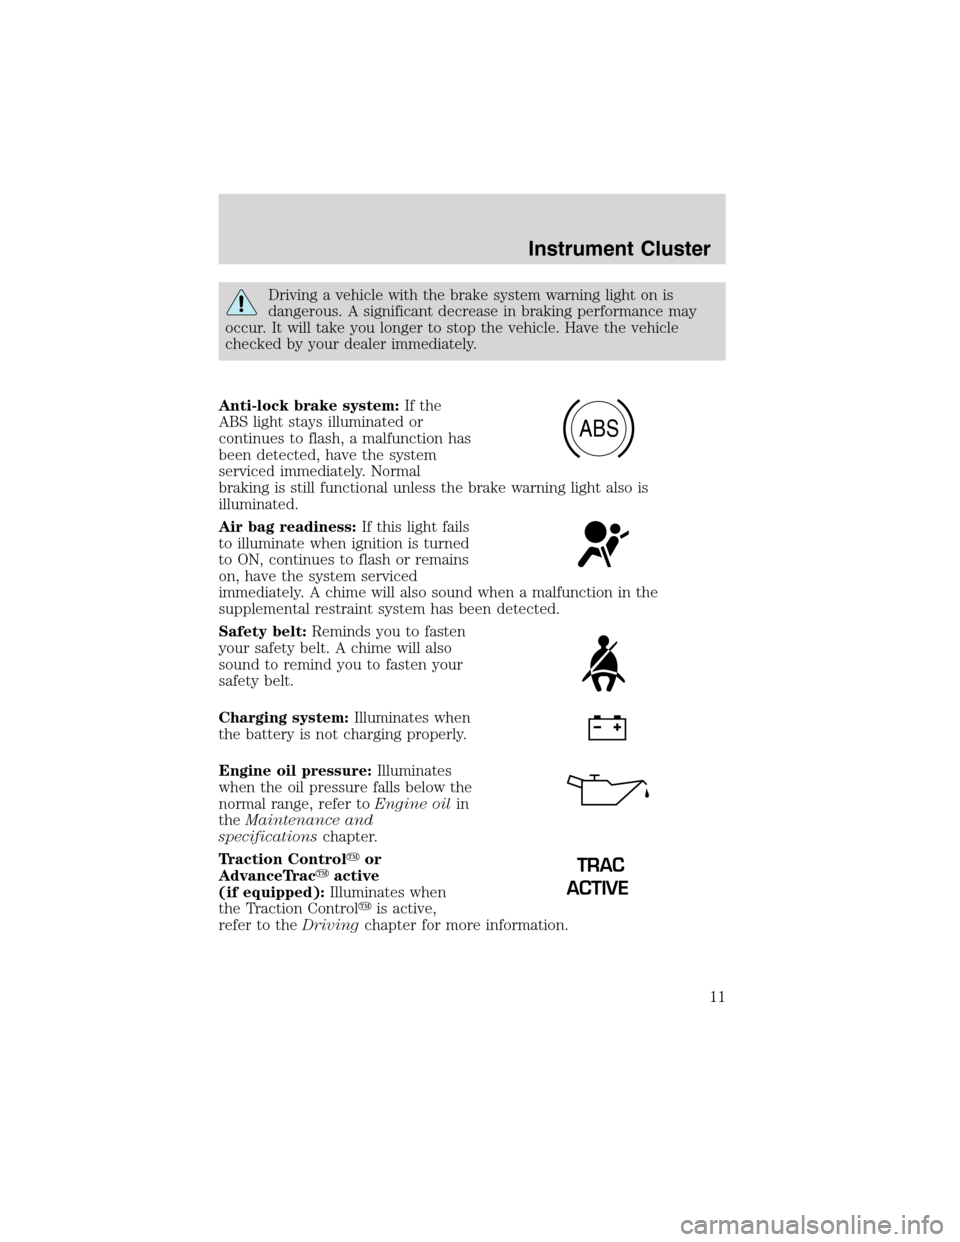
Anti-lock brake system:If the
ABS light stays illuminated or
continues to flash, a malfunction has
been detected, have the system
serviced immediately. Normal
braking is still functional unless the brake warning light also is
illuminated.
Air bag readiness:If this light fails
to illuminate when ignition is turned
to ON, continues to flash or remains
on, have the system serviced
immediately. A chime will also sound when a malfunction in the
supplemental restraint system has been detected.
Safety belt:Reminds you to fasten
your safety belt. A chime will also
sound to remind you to fasten your
safety belt.
Charging system:Illuminates when
the battery is not charging properly.
Engine oil pressure:Illuminates
when the oil pressure falls below the
normal range, refer toEngine oilin
theMaintenance and
specificationschapter.
Traction Control�or
AdvanceTrac�active
(if equipped):Illuminates when
the Traction Control�is active,
refer to theDrivingchapter for more information.
ABS
TRAC
ACTIVE
Instrument Cluster
11
Page 87 of 240
SEATING
Notes:
Reclining the seatback can cause an occupant to slide under the
seat’s safety belt, resulting in severe personal injuries in the
event of a collision.
Do not pile cargo higher than the seatbacks to avoid injury in a
collision or sudden stop.
Adjustable head restraints (if equipped)
Head restraints help to limit head motion in the event of a rear collision.
Adjust your head restraint so that it is located directly or as close as
possible behind your head.
The head restraints can be moved
up and down.
Push control to lower head restraint.
Adjusting the front manual seat
Never adjust the driver’s seat or seatback when the vehicle is
moving.
Seating and Safety Restraints
87
Page 88 of 240
Always drive and ride with your seatback upright and the lap
belt snug and low across the hips.
Lift handle to move seat forward or
backward.
Pull lever up to adjust seatback.
Adjusting the power seats (if equipped)
Press control to move front or rear
of seat up and down.
Seating and Safety Restraints
88
Page 94 of 240
Bench seat or Bucket Console seat
To remove the seats:
1. (For 2nd row bench seat only.)
Disengage the lap/shoulder belt from
the side of the seat belt detach
anchors (if equipped) by inserting
the seatbelt tongue or a key into the
slot in the detachable anchor and
lifting upward.
Seating and Safety Restraints
94
Page 95 of 240
2. (For 2nd row bench seat only.) Using the clip attached to the end of
the shoulder belt(s), clip the end of the belt to the stationary portion of
the shoulder belt coming out of the trim panel. The end of the shoulder
beltmustbe clipped in order to keep it from striking anything during
vehicle operation.
If your bench seat is equipped with the forward fold down seatback,
position the seatback in the full down position to make removing the
seat easier.
3. From behind the seat, pull straight back on the release controls
located on each side of the seat, releasing the rear floor latches.
4. Lift up the back of the seat by the release controls to clear the floor
latches and then pull the seat rearward until the front hooks have come
out of the floor tubs.
5. Remove the seat.
Seating and Safety Restraints
95
Page 96 of 240

To install the seat:
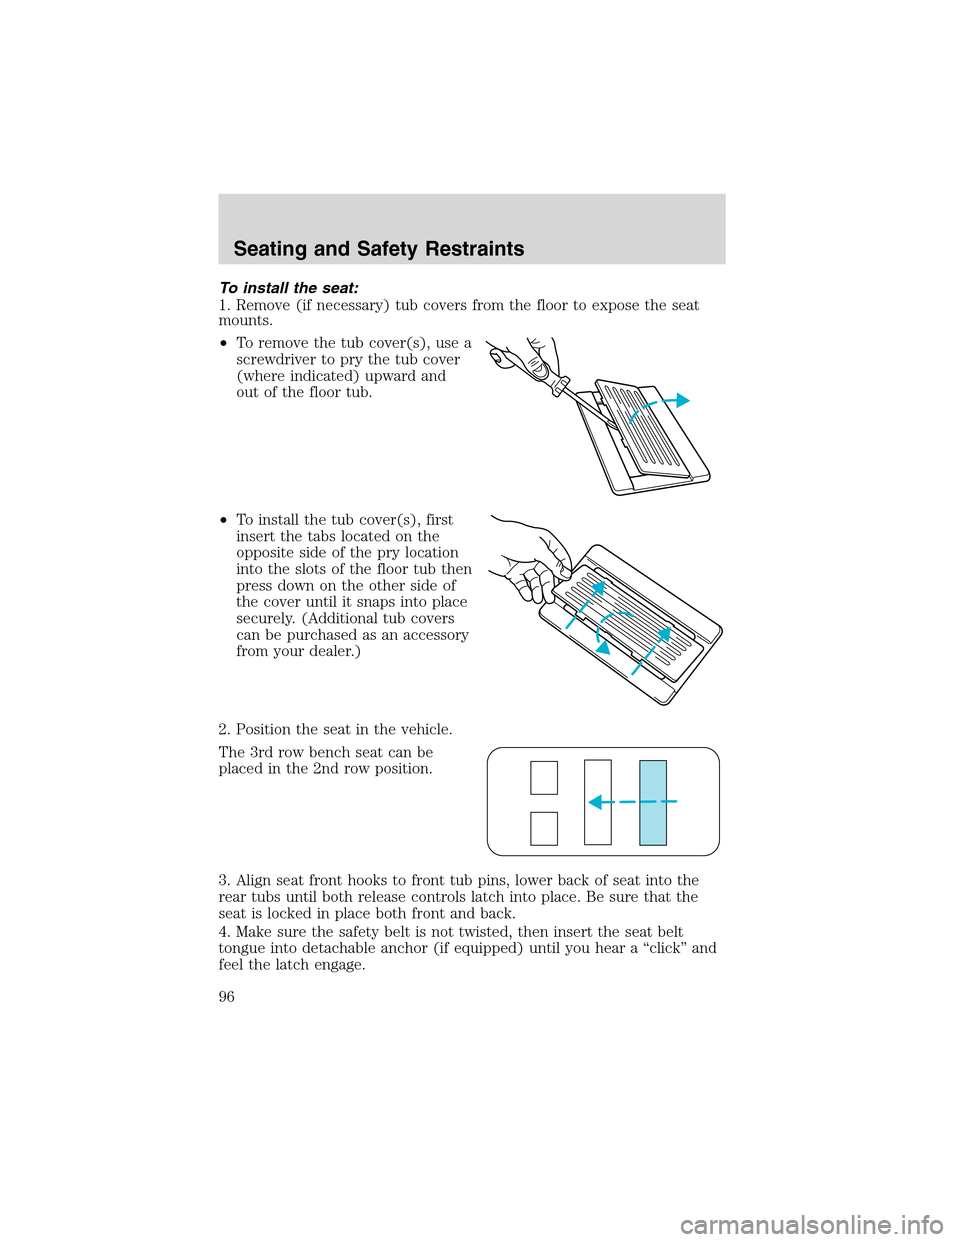
1. Remove (if necessary) tub covers from the floor to expose the seat
mounts.
•To remove the tub cover(s), use a
screwdriver to pry the tub cover
(where indicated) upward and
out of the floor tub.
•To install the tub cover(s), first
insert the tabs located on the
opposite side of the pry location
into the slots of the floor tub then
press down on the other side of
the cover until it snaps into place
securely. (Additional tub covers
can be purchased as an accessory
from your dealer.)
2. Position the seat in the vehicle.
The 3rd row bench seat can be
placed in the 2nd row position.
3. Align seat front hooks to front tub pins, lower back of seat into the
rear tubs until both release controls latch into place. Be sure that the
seat is locked in place both front and back.
4. Make sure the safety belt is not twisted, then insert the seat belt
tongue into detachable anchor (if equipped) until you hear a“click”and
feel the latch engage.
Seating and Safety Restraints
96