Page 8 of 256
These are some of the symbols you may see on your vehicle.
Vehicle Symbol Glossary
SafetyAlert
See Owner’s Guide
Fasten SafetyBeltAir Bag-Front
Air Bag-SideChild Seat
Child Seat Installation
WarningChild Seat Lower
Anchor
Child Seat Tether
AnchorBrake System
Anti-Lock Brake SystemBrake Fluid -
Non-Petroleum Based
Traction ControlAdvanceTrac
Master Lighting SwitchHazard Warning Flasher
Fog Lamps-FrontFuse Compartment
Fuel Pump ResetWindshield Wash/Wipe
Windshield
Defrost/DemistRear Window
Defrost/Demist
Introduction
8
Page 9 of 256
Vehicle Symbol Glossary
Power Windows
Front/Rear
Power Window Lockout
Child SafetyDoor
Lock/UnlockInterior Luggage
Compartment Release
Symbol
Panic AlarmEngine Oil
Engine CoolantEngine Coolant
Temperature
Do Not Open When HotBattery
Avoid Smoking, Flames,
or SparksBatteryAcid
Explosive GasFan Warning
Power Steering FluidMaintain Correct Fluid
LevelMAX
MIN
Emission SystemEngine Air Filter
Passenger Compartment
Air FilterJack
Check fuel capLow tire warning
Introduction
9
Page 39 of 256

Function Number of
bulbsTrade number
Rear fender clearance* 4
(a)
Interior visor lamp (if equipped) 4 194
Rear identification 3 194
All replacement bulbs are clear in color except where noted.
To replace all instrument panel lights - see your dealer
(a)Replace entire lamp assembly; bulb is not serviceable.
* Dual rear wheels or if equipped.
Replacing headlamp bulbs (aerodynamic)
1. Make sure that the headlamp control is in the OFF position open the
hood.
2. Disconnect the electrical connector from the bulb bypulling rearward.
3. Remove bulb retainer ring by
turning it counterclockwise, then
slide the ring off the plastic base
4. Pull bulb out of headlamp
assembly.
Handle a halogen headlamp bulb carefullyand keep out of
children’s reach. Grasp the bulb onlybyits plastic base and do
not touch the glass. The oil from your hand could cause the bulb to
break the next time the headlamps are operated.
Install the new bulb(s) in reverse order.
Replacing headlamp bulbs (sealed beam)
1. Make sure headlamp switch is in OFF position and open the hood.
Lights
39
Page 57 of 256
Childproof door locks
•When these locks are set, the
rear doors cannot be opened from
the inside.
•The rear doors can be opened
from the outside when the doors
are unlocked.
The childproof locks are located on
rear edge of each rear door and
must be set separatelyfor each
door. Setting the lock for one door
will not automaticallyset the lock
for both doors.
•Move lock control up to engage
the childproof lock.
•Move control down to disengage
childproof locks.
REMOTE ENTRY SYSTEM (IF EQUIPPED)
This device complies with part 15 of the FCC rules and with RS-210 of
IndustryCanada. Operation is subject to the following two conditions:
(1) This device maynot cause harmful interference, and (2) This device
must accept anyinterference received, including interference that may
cause undesired operation.
Changes or modifications not expressly approved by the party
responsible for compliance could void the user’s authority to
operate the equipment.
Locks and Security
57
Page 68 of 256

RETURNING THE SEAT TO SEATING POSITION
Always be sure that the seat is in a latched position, whether the
seat is occupied or empty. If not latched, the seat may cause
injuryduring a sudden stop.
1. Pull lever on the side of the seat to release seat cushion from storage
position.
2. Push seat cushion down until it locks into horizontal position.
SAFETY RESTRAINTS
Safety restraints precautions
Always drive and ride with your seatback upright and the lap
belt snug and low across the hips.
To reduce the risk of injury, make sure children sit where they
can be properlyrestrained.
Never let a passenger hold a child on his or her lap while the
vehicle is moving. The passenger cannot protect the child from
injuryin a collision.
All occupants of the vehicle, including the driver, should always
properlywear their safetybelts, even when an air bag (SRS) is
provided.
It is extremelydangerous to ride in a cargo area, inside or
outside of a vehicle. In a collision, people riding in these areas
are more likelyto be seriouslyinjured or killed. Do not allow people to
ride in anyarea of your vehicle that is not equipped with seats and
safety belts. Be sure everyone in your vehicle is in a seat and using a
safetybelt properly.
In a rollover crash, an unbelted person is significantlymore likely
to die than a person wearing a safetybelt.
Seating and Safety Restraints
68
Page 70 of 256

The front and rear outboard safetyrestraints in the vehicle are
combination lap and shoulder belts. The front passenger and rear seat
outboard safetybelts have two types of locking modes described below:
Vehicle sensitive mode
This is the normal retractor mode, which allows free shoulder belt length
adjustment to your movements and locking in response to vehicle
movement. For example, if the driver brakes suddenlyor turns a corner
sharply, or the vehicle receives an impact of approximately 8 km/h (5
mph) or more, the combination safetybelts will lock to help reduce
forward movement of the driver and passengers.
On SuperCab and CrewCab models, the front seat belt system can also
be made to lock manuallybyquicklypulling on the shoulder belt.
Rear seat belts (if equipped) cannot be made to lock up bypulling
quicklyon the belt.
Automatic locking mode
The automatic locking mode is not available on the driver safetybelt.
When to use the automatic locking mode
In this mode, the shoulder belt is automaticallypre-locked. The belt will
still retract to remove anyslack in the shoulder belt. The automatic
locking mode is not available on the driver safetybelt.
This mode should be usedany timea child safetyseat is installed in a
passenger front or outboard rear seating position (if equipped). Children
12 years old and under should be properly restrained in the rear seat
whenever possible. Refer toSafety restraints for childrenorSafety
seats for childrenlater in this chapter.
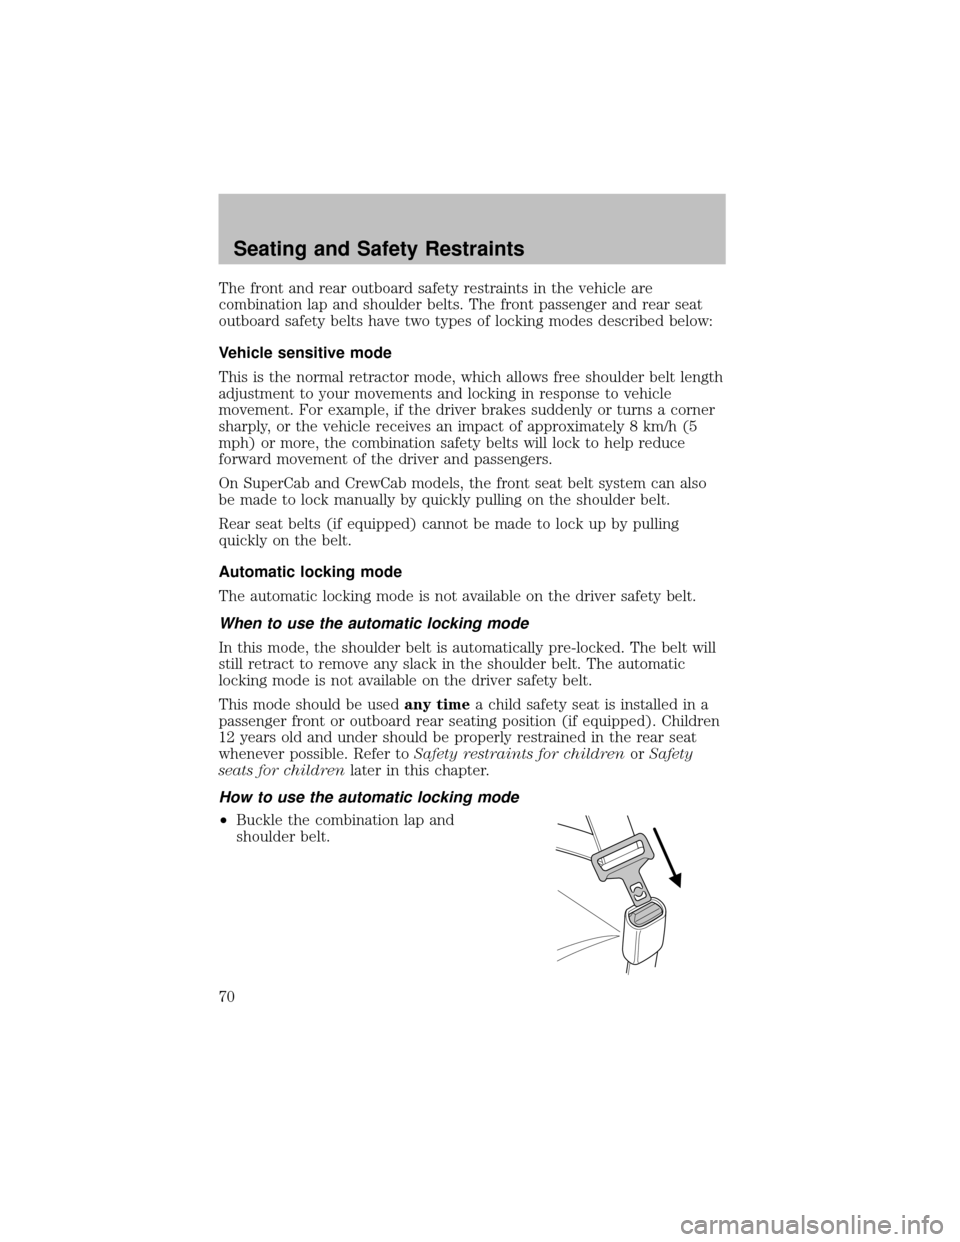
How to use the automatic locking mode
•Buckle the combination lap and
shoulder belt.
Seating and Safety Restraints
70
Page 71 of 256

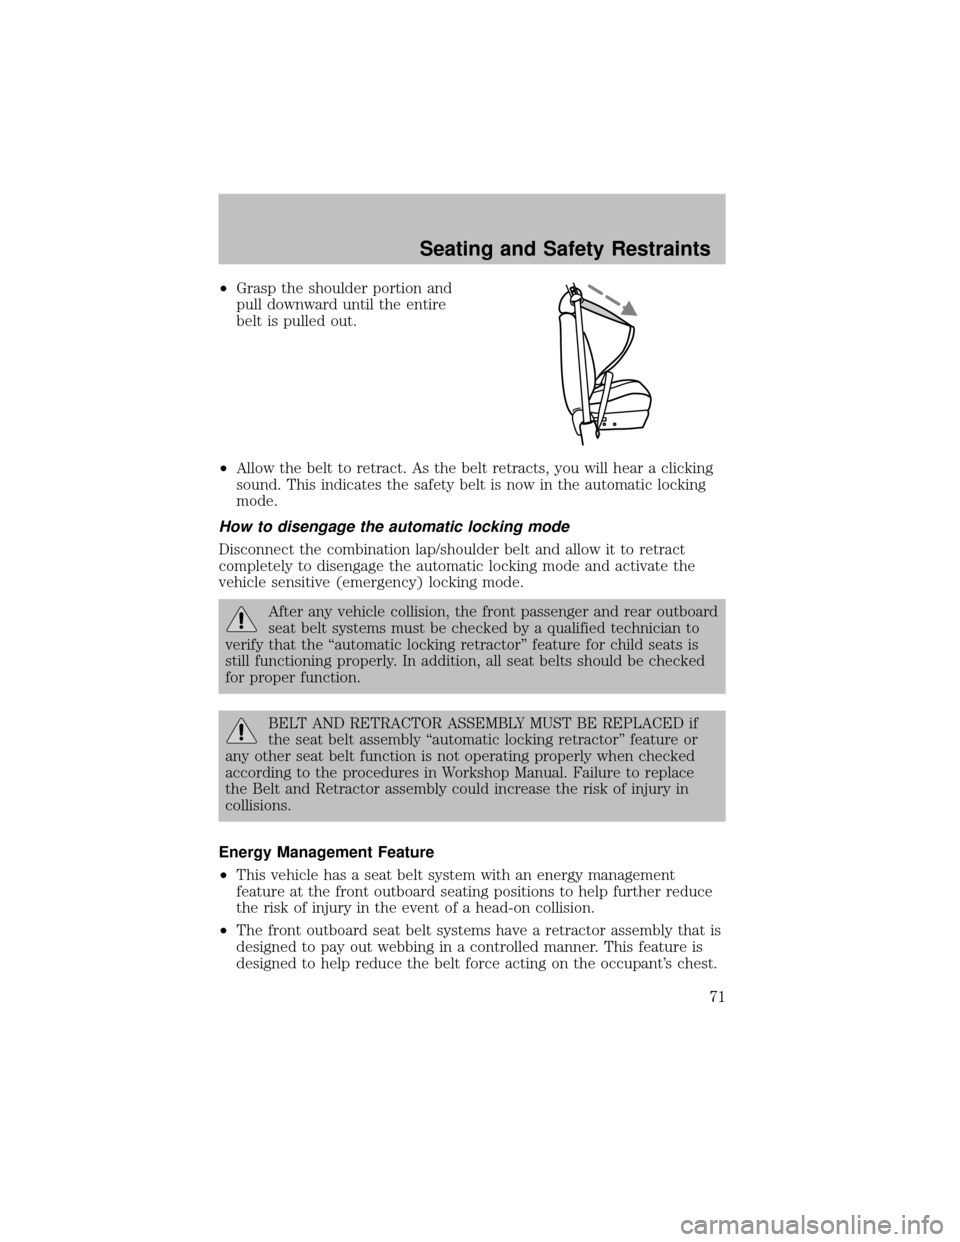
•Grasp the shoulder portion and
pull downward until the entire
belt is pulled out.
•Allow the belt to retract. As the belt retracts, you will hear a clicking
sound. This indicates the safetybelt is now in the automatic locking
mode.
How to disengage the automatic locking mode
Disconnect the combination lap/shoulder belt and allow it to retract
completelyto disengage the automatic locking mode and activate the
vehicle sensitive (emergency) locking mode.
After anyvehicle collision, the front passenger and rear outboard
seat belt systems must be checked by a qualified technician to
verifythat the “automatic locking retractor” feature for child seats is
still functioning properly. In addition, all seat belts should be checked
for proper function.
BELT AND RETRACTOR ASSEMBLY MUST BE REPLACED if
the seat belt assembly“automatic locking retractor” feature or
anyother seat belt function is not operating properlywhen checked
according to the procedures in Workshop Manual. Failure to replace
the Belt and Retractor assemblycould increase the risk of injuryin
collisions.
Energy Management Feature
•This vehicle has a seat belt system with an energy management
feature at the front outboard seating positions to help further reduce
the risk of injuryin the event of a head-on collision.
•The front outboard seat belt systems have a retractor assembly that is
designed to payout webbing in a controlled manner. This feature is
designed to help reduce the belt force acting on the occupant’s chest.
Seating and Safety Restraints
71
Page 80 of 256

Never place your arm over the air bag module as a deploying air
bag can result in serious arm fractures or other injuries.
To properlyposition yourself awayfrom the air bag:
•Move your seat to the rear as far as you can while still reaching the
pedals comfortably.
•Recline the seat slightlyone or two degrees from the upright position.
Do not put anything on or over the air bag module. Placing
objects on or over the air bag inflation area maycause those
objects to be propelled bythe air bag into your face and torso causing
serious injury.
Do not attempt to service, repair, or modifythe air bag
supplemental restraint systems or its fuses. See your Ford or
Lincoln Mercurydealer.
The front passenger air bag is not designed to offer protection to
an occupant in the center front seating position.
Modifying or adding equipment to the front end of the vehicle
(including frame, bumper, front end bodystructure and tow
hooks) mayaffect the performance of the air bag system, increasing
the risk of injury. Do not modify the front end of the vehicle.
Additional equipment such as snowplow equipment mayeffect
the performance of the air bag sensors increasing the risk of
injury. Please refer to the Body Builders Lay out Book for instructions
about the appropriate installation of additional equipment.
Removing the blocker beam without installing snow plow
attachment hardware mayeffect air bag deployment in a crash.
Do not operate the truck unless either the blocker beam or snow plow
attachment hardware is installed on the vehicle.
Children and air bags
For additional important safetyinformation, read all information on
safetyrestraints in this guide.
Seating and Safety Restraints
80