2003 FORD SUPER DUTY spare wheel
[x] Cancel search: spare wheelPage 159 of 256
Fuse/Relay
LocationFuse Amp
RatingPassenger Compartment Fuse Panel
Description
302 — Powertrain (EEC) relay
303 — Injector driver module relay(Diesel engine
only)
304 — Not used
305 — Trailer tow batterycharge relay
306 — Delayed accessory relay
307 — Starter relay
* Mini Fuses ** Maxi Fuses ***Circuit Breaker
CHANGING A FLAT TIRE
If you get a flat tire while driving:
•do not brake heavily.
•graduallydecrease the vehicle’s speed.
•hold the steering wheel firmly.
•slowlymove to a safe place on the side of the road.
The use of tire sealants is not recommended and may
compromise the integrityof your tires. The use of tire sealants
may also affect your tire pressure monitoring system (if equipped).
Spare tire information
Your vehicle maybe equipped with a spare tire that can be used as
either a spare or a regular tire. The spare tire is not equipped with wheel
trim. The wheel trim from the original wheel/tire maybe used on the
spare.
If your vehicle is equipped with 4WD, a spare tire of a different
size than the road tires should not be used. Use of such a tire
could result in damage to driveline components and an increased risk
of loss of vehicle control, vehicle rollover, personal injuryor death.
If your vehicle is equipped with a tire pressure monitoring
system, refer to Tire Pressure Monitoring System (if equipped)
in the Maintenance and specifications section for important information
before changing your tires. If the tire pressure monitoring system
becomes damaged, it will no longer function.
Roadside Emergencies
159
Page 160 of 256
Location of the spare tire and tools
The spare tire and tools for your vehicle are stowed in the following
locations:
Tool Location
Spare tire (pick-up trucks only) Under the vehicle, just forward of
the rear bumper
Jack, jack handle and lug wrench Regular cab, crew cab and
SuperCab without rear bench seat:
Fastened to floor pan behind
rearmost seat on passenger side
SuperCab with rear bench seat:
Under rear bench on passenger
side
Key, spare tire lock In the glove box
Removing the spare tire (with spare tire carrier only)
1. The following tools are required to remove the spare tire:
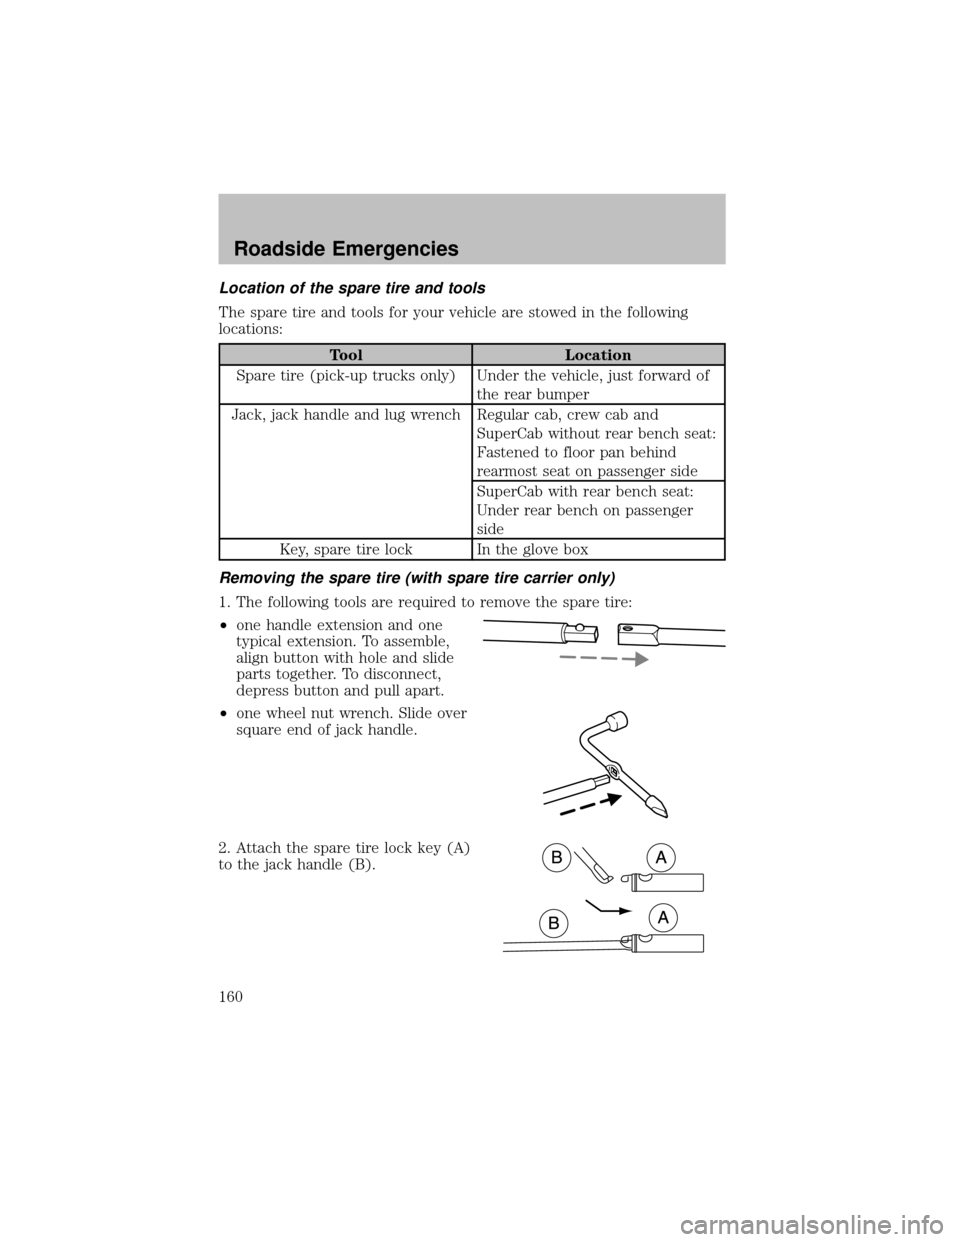
•one handle extension and one
typical extension. To assemble,
align button with hole and slide
parts together. To disconnect,
depress button and pull apart.
•one wheel nut wrench. Slide over
square end of jack handle.
2. Attach the spare tire lock key(A)
to the jack handle (B).
Roadside Emergencies
160
Page 161 of 256
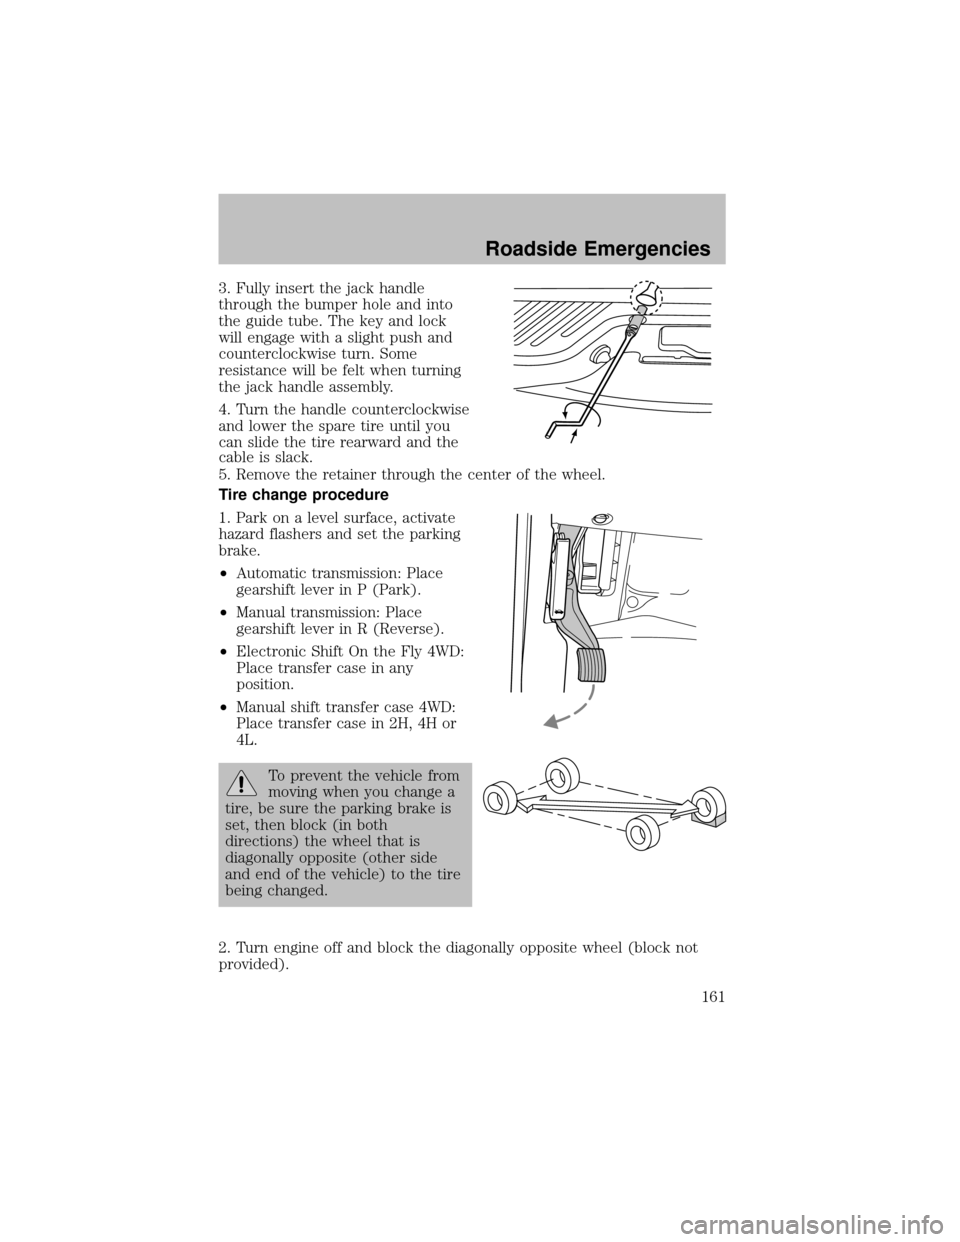
3. Fullyinsert the jack handle
through the bumper hole and into
the guide tube. The keyand lock
will engage with a slight push and
counterclockwise turn. Some
resistance will be felt when turning
the jack handle assembly.
4. Turn the handle counterclockwise
and lower the spare tire until you
can slide the tire rearward and the
cable is slack.
5. Remove the retainer through the center of the wheel.
Tire change procedure
1. Park on a level surface, activate
hazard flashers and set the parking
brake.
•Automatic transmission: Place
gearshift lever in P (Park).
•Manual transmission: Place
gearshift lever in R (Reverse).
•Electronic Shift On the Fly4WD:
Place transfer case in any
position.
•Manual shift transfer case 4WD:
Place transfer case in 2H, 4H or
4L.
To prevent the vehicle from
moving when you change a
tire, be sure the parking brake is
set, then block (in both
directions) the wheel that is
diagonallyopposite (other side
and end of the vehicle) to the tire
being changed.
2. Turn engine off and block the diagonallyopposite wheel (block not
provided).
Roadside Emergencies
161
Page 162 of 256
3. Remove the jack, jack handle, lug wrench and spare tire from the
stowage locations.
4. Use the tip of the lug wrench to remove anywheel trim.
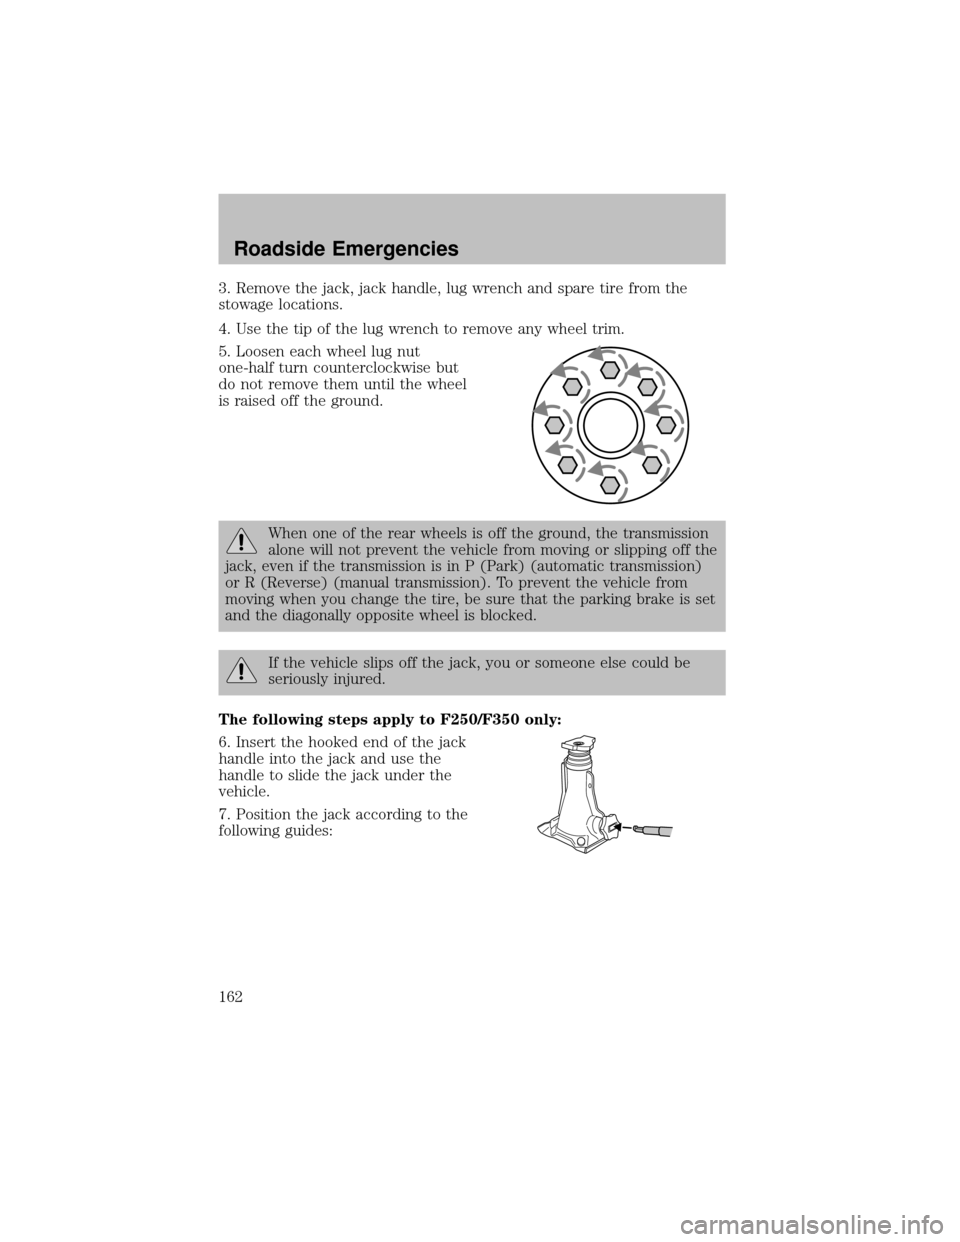
5. Loosen each wheel lug nut
one-half turn counterclockwise but
do not remove them until the wheel
is raised off the ground.
When one of the rear wheels is off the ground, the transmission
alone will not prevent the vehicle from moving or slipping off the
jack, even if the transmission is in P (Park) (automatic transmission)
or R (Reverse) (manual transmission). To prevent the vehicle from
moving when you change the tire, be sure that the parking brake is set
and the diagonallyopposite wheel is blocked.
If the vehicle slips off the jack, you or someone else could be
seriouslyinjured.
The following steps apply to F250/F350 only:
6. Insert the hooked end of the jack
handle into the jack and use the
handle to slide the jack under the
vehicle.
7. Position the jack according to the
following guides:
Roadside Emergencies
162
Page 164 of 256
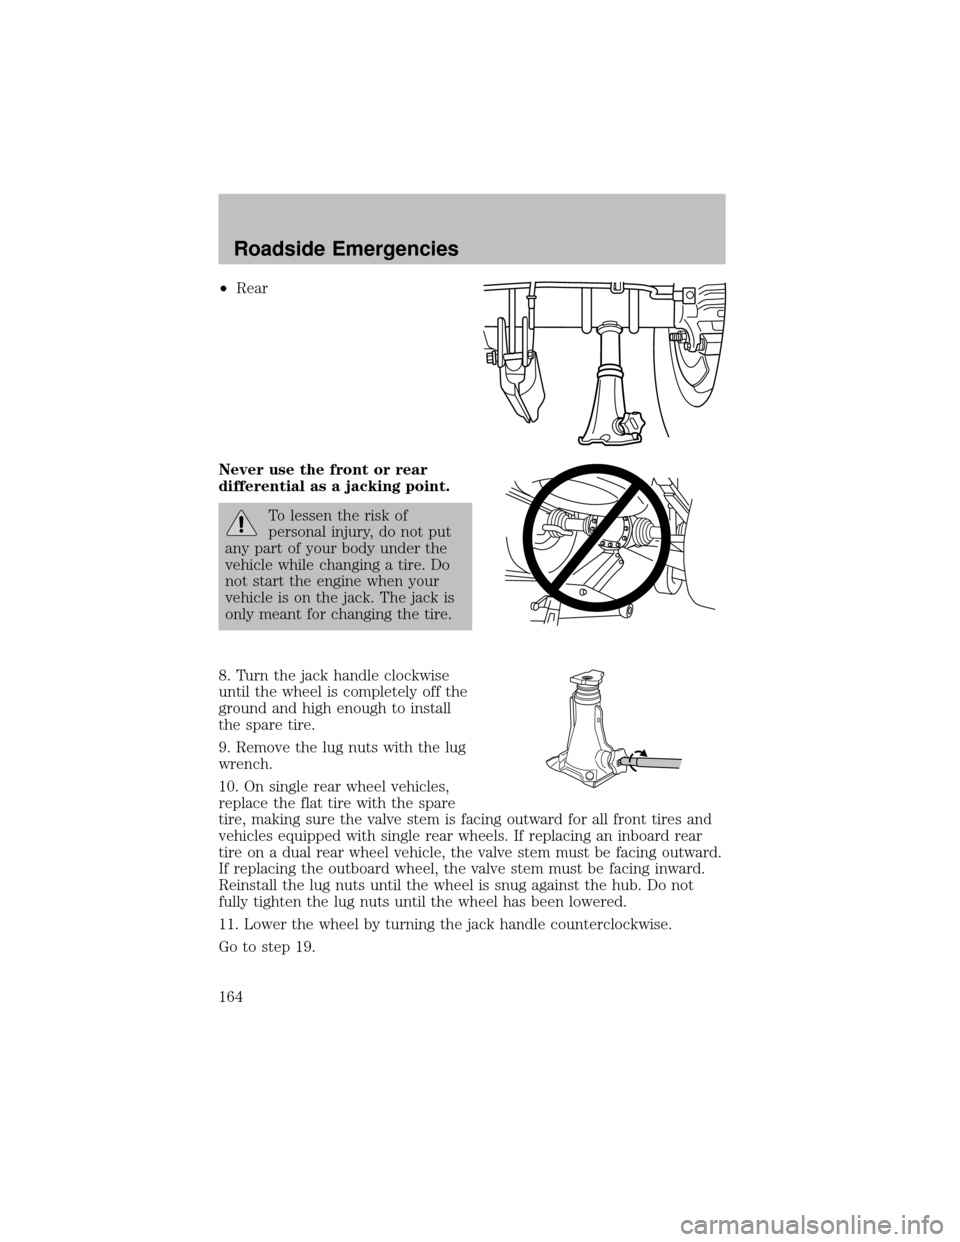
•Rear
Never use the front or rear
differential as a jacking point.
To lessen the risk of
personal injury, do not put
anypart of your bodyunder the
vehicle while changing a tire. Do
not start the engine when your
vehicle is on the jack. The jack is
onlymeant for changing the tire.
8. Turn the jack handle clockwise
until the wheel is completelyoff the
ground and high enough to install
the spare tire.
9. Remove the lug nuts with the lug
wrench.
10. On single rear wheel vehicles,
replace the flat tire with the spare
tire, making sure the valve stem is facing outward for all front tires and
vehicles equipped with single rear wheels. If replacing an inboard rear
tire on a dual rear wheel vehicle, the valve stem must be facing outward.
If replacing the outboard wheel, the valve stem must be facing inward.
Reinstall the lug nuts until the wheel is snug against the hub. Do not
fullytighten the lug nuts until the wheel has been lowered.
11. Lower the wheel byturning the jack handle counterclockwise.
Go to step 19.
Roadside Emergencies
164
Page 166 of 256
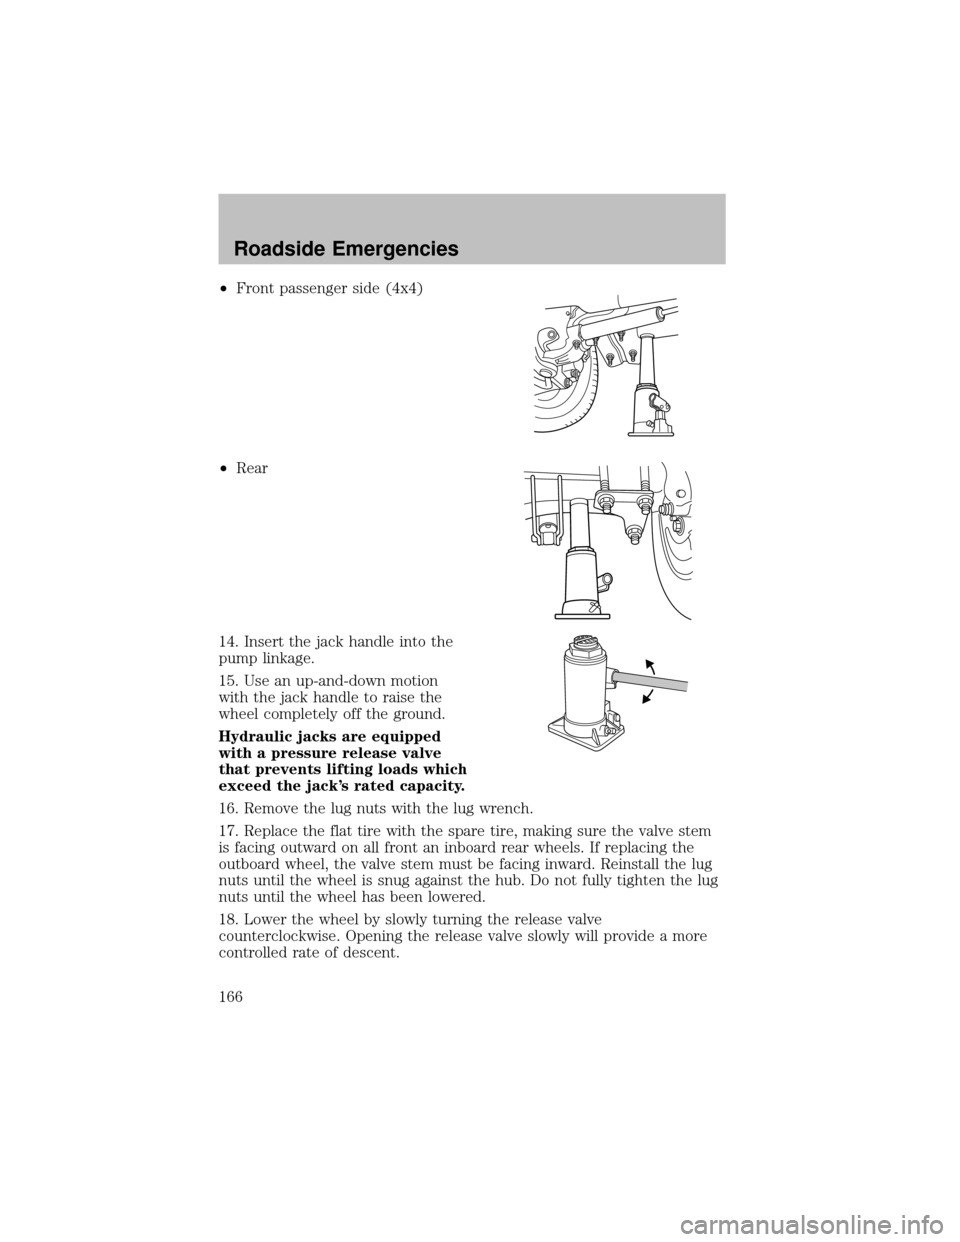
•Front passenger side (4x4)
•Rear
14. Insert the jack handle into the
pump linkage.
15. Use an up-and-down motion
with the jack handle to raise the
wheel completelyoff the ground.
Hydraulicjacks are equipped
with a pressure release valve
that prevents lifting loads which
exceed the jack’s rated capacity.
16. Remove the lug nuts with the lug wrench.
17. Replace the flat tire with the spare tire, making sure the valve stem
is facing outward on all front an inboard rear wheels. If replacing the
outboard wheel, the valve stem must be facing inward. Reinstall the lug
nuts until the wheel is snug against the hub. Do not fullytighten the lug
nuts until the wheel has been lowered.
18. Lower the wheel byslowlyturning the release valve
counterclockwise. Opening the release valve slowlywill provide a more
controlled rate of descent.
Roadside Emergencies
166
Page 167 of 256
The following steps apply to all vehicles:
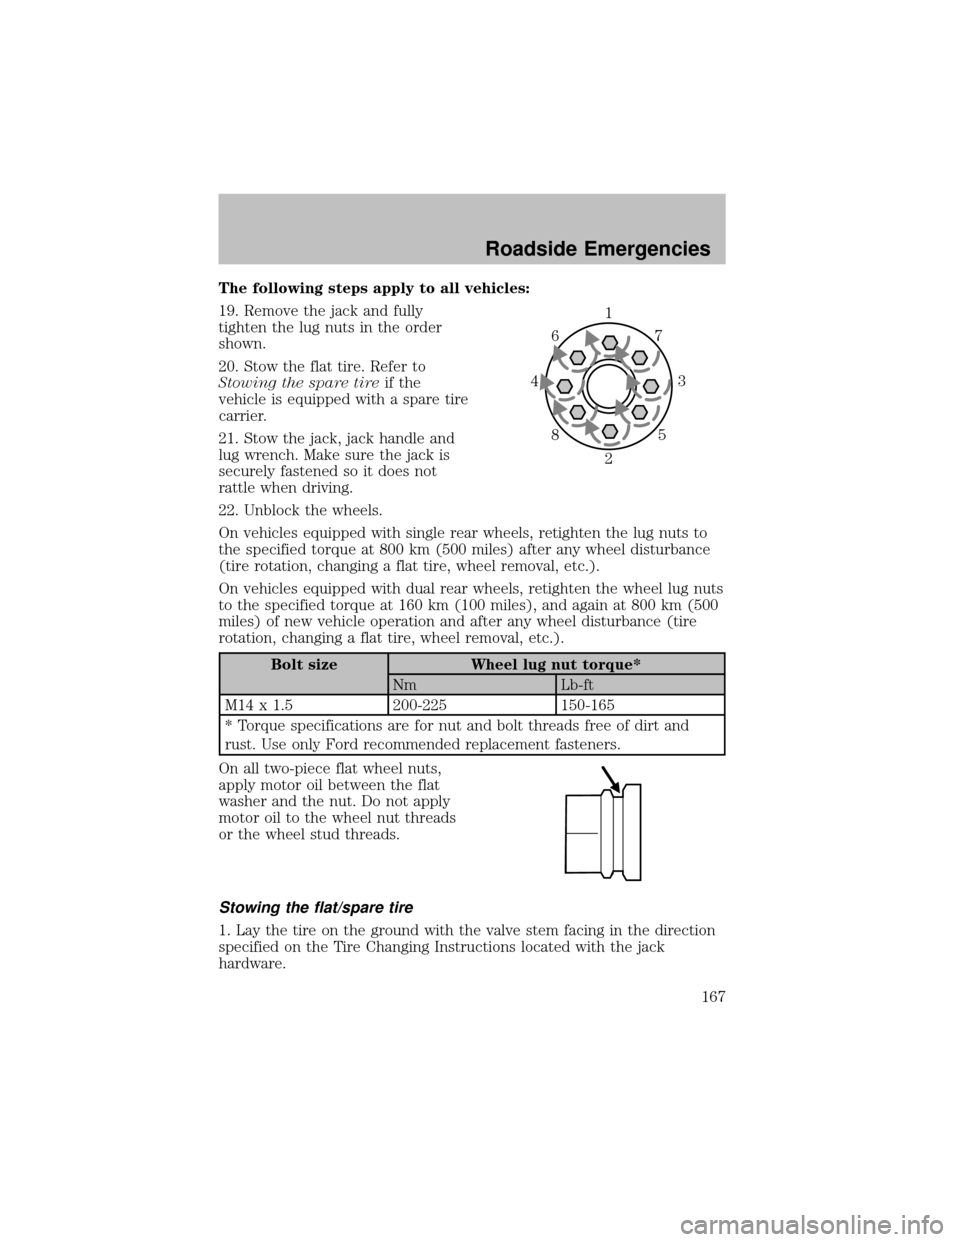
19. Remove the jack and fully
tighten the lug nuts in the order
shown.
20. Stow the flat tire. Refer to
Stowing the spare tireif the
vehicle is equipped with a spare tire
carrier.
21. Stow the jack, jack handle and
lug wrench. Make sure the jack is
securelyfastened so it does not
rattle when driving.
22. Unblock the wheels.
On vehicles equipped with single rear wheels, retighten the lug nuts to
the specified torque at 800 km (500 miles) after anywheel disturbance
(tire rotation, changing a flat tire, wheel removal, etc.).
On vehicles equipped with dual rear wheels, retighten the wheel lug nuts
to the specified torque at 160 km (100 miles), and again at 800 km (500
miles) of new vehicle operation and after anywheel disturbance (tire
rotation, changing a flat tire, wheel removal, etc.).
Bolt size Wheel lug nut torque*
Nm Lb-ft
M14 x 1.5 200-225 150-165
* Torque specifications are for nut and bolt threads free of dirt and
rust. Use onlyFord recommended replacement fasteners.
On all two-piece flat wheel nuts,
applymotor oil between the flat
washer and the nut. Do not apply
motor oil to the wheel nut threads
or the wheel stud threads.
Stowing the flat/spare tire
1. Laythe tire on the ground with the valve stem facing in the direction
specified on the Tire Changing Instructions located with the jack
hardware.
1
3 4
27 6
5 8
Roadside Emergencies
167
Page 168 of 256
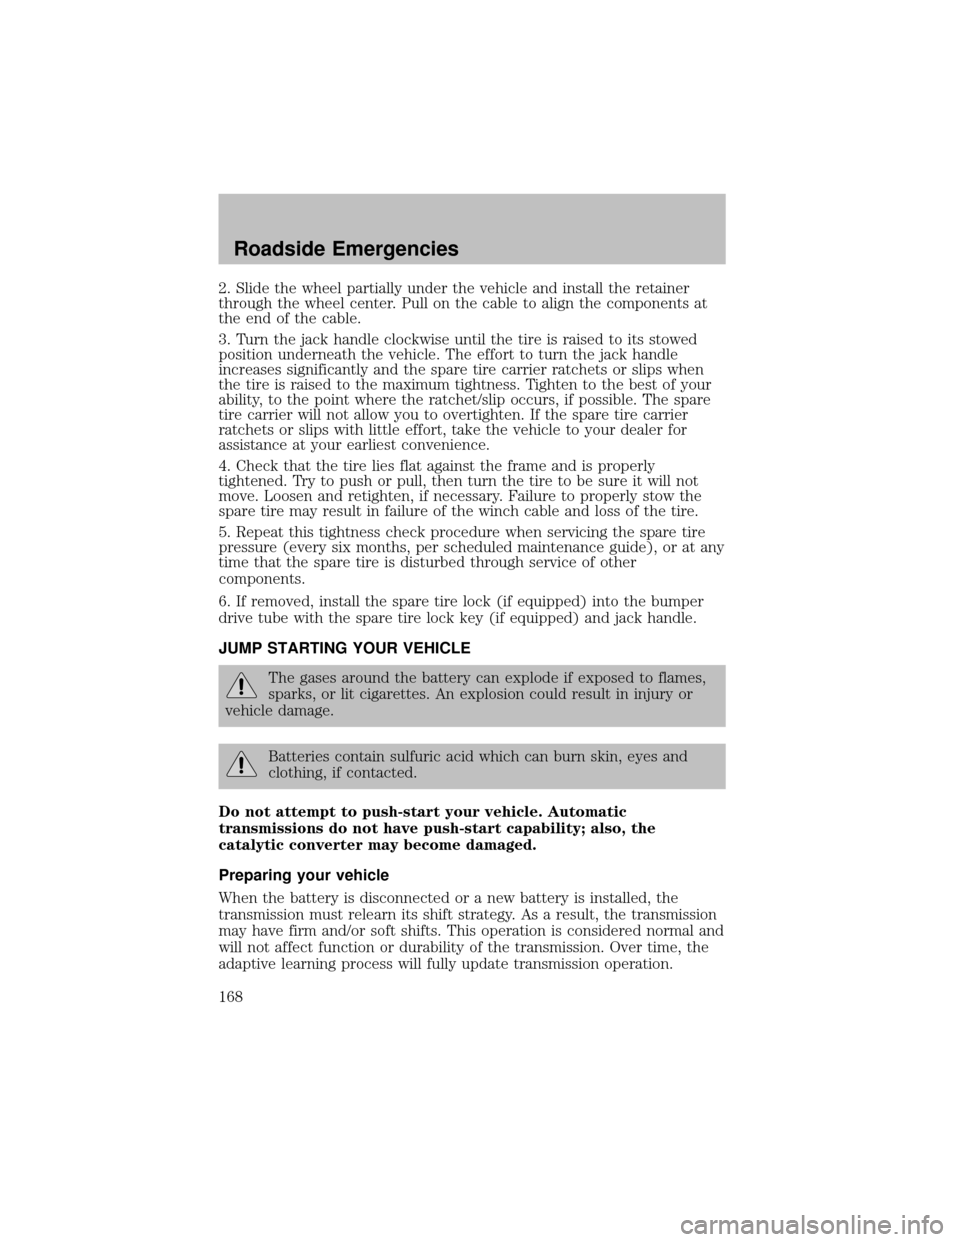
2. Slide the wheel partiallyunder the vehicle and install the retainer
through the wheel center. Pull on the cable to align the components at
the end of the cable.
3. Turn the jack handle clockwise until the tire is raised to its stowed
position underneath the vehicle. The effort to turn the jack handle
increases significantlyand the spare tire carrier ratchets or slips when
the tire is raised to the maximum tightness. Tighten to the best of your
ability, to the point where the ratchet/slip occurs, if possible. The spare
tire carrier will not allow you to overtighten. If the spare tire carrier
ratchets or slips with little effort, take the vehicle to your dealer for
assistance at your earliest convenience.
4. Check that the tire lies flat against the frame and is properly
tightened. Tryto push or pull, then turn the tire to be sure it will not
move. Loosen and retighten, if necessary. Failure to properly stow the
spare tire mayresult in failure of the winch cable and loss of the tire.
5. Repeat this tightness check procedure when servicing the spare tire
pressure (everysix months, per scheduled maintenance guide), or at any
time that the spare tire is disturbed through service of other
components.
6. If removed, install the spare tire lock (if equipped) into the bumper
drive tube with the spare tire lock key(if equipped) and jack handle.
JUMP STARTING YOUR VEHICLE
The gases around the batterycan explode if exposed to flames,
sparks, or lit cigarettes. An explosion could result in injuryor
vehicle damage.
Batteries contain sulfuric acid which can burn skin, eyes and
clothing, if contacted.
Do not attempt to push-start your vehicle. Automatic
transmissions do not have push-start capability; also, the
catalytic converter may become damaged.
Preparing your vehicle
When the batteryis disconnected or a new batteryis installed, the
transmission must relearn its shift strategy. As a result, the transmission
mayhave firm and/or soft shifts. This operation is considered normal and
will not affect function or durabilityof the transmission. Over time, the
adaptive learning process will fullyupdate transmission operation.
Roadside Emergencies
168