Page 5 of 256
Warning symbols on your vehicle
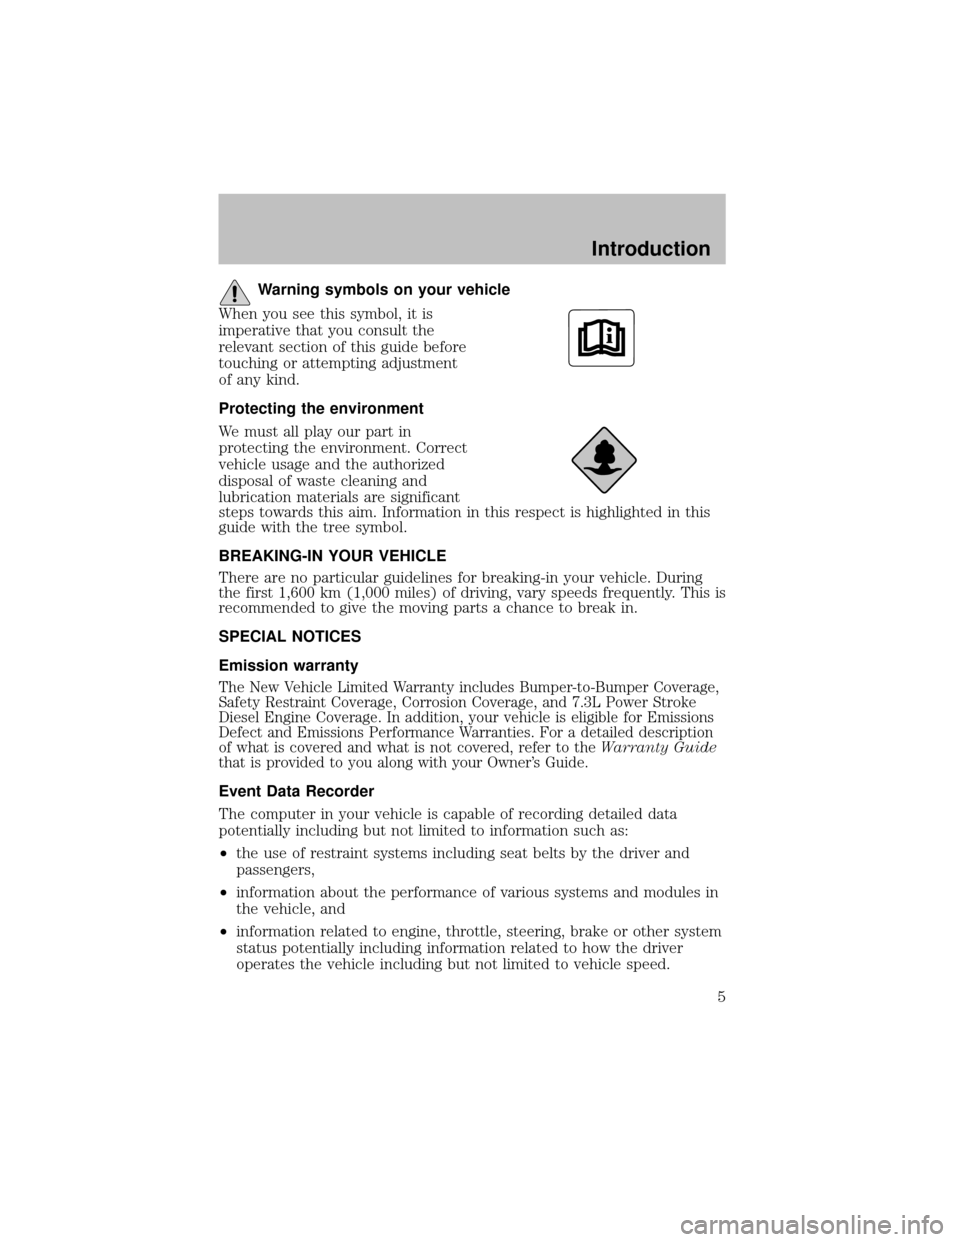
When you see this symbol, it is
imperative that you consult the
relevant section of this guide before
touching or attempting adjustment
of anykind.
Protecting the environment
We must all playour part in
protecting the environment. Correct
vehicle usage and the authorized
disposal of waste cleaning and
lubrication materials are significant
steps towards this aim. Information in this respect is highlighted in this
guide with the tree symbol.
BREAKING-IN YOUR VEHICLE
There are no particular guidelines for breaking-in your vehicle. During
the first 1,600 km (1,000 miles) of driving, varyspeeds frequently. This is
recommended to give the moving parts a chance to break in.
SPECIAL NOTICES
Emission warranty
The New Vehicle Limited Warrantyincludes Bumper-to-Bumper Coverage,
SafetyRestraint Coverage, Corrosion Coverage, and 7.3L Power Stroke
Diesel Engine Coverage. In addition, your vehicle is eligible for Emissions
Defect and Emissions Performance Warranties. For a detailed description
of what is covered and what is not covered, refer to theWarranty Guide
that is provided to you along with your Owner’s Guide.
Event Data Recorder
The computer in your vehicle is capable of recording detailed data
potentiallyincluding but not limited to information such as:
•the use of restraint systems including seat belts by the driver and
passengers,
•information about the performance of various systems and modules in
the vehicle, and
•information related to engine, throttle, steering, brake or other system
status potentiallyincluding information related to how the driver
operates the vehicle including but not limited to vehicle speed.
Introduction
5
Page 8 of 256
These are some of the symbols you may see on your vehicle.
Vehicle Symbol Glossary
SafetyAlert
See Owner’s Guide
Fasten SafetyBeltAir Bag-Front
Air Bag-SideChild Seat
Child Seat Installation
WarningChild Seat Lower
Anchor
Child Seat Tether
AnchorBrake System
Anti-Lock Brake SystemBrake Fluid -
Non-Petroleum Based
Traction ControlAdvanceTrac
Master Lighting SwitchHazard Warning Flasher
Fog Lamps-FrontFuse Compartment
Fuel Pump ResetWindshield Wash/Wipe
Windshield
Defrost/DemistRear Window
Defrost/Demist
Introduction
8
Page 11 of 256

Brake system warning light:To
confirm the brake system warning
light is functional, it will
momentarilyilluminate when the
ignition is turned to the ON position when the engine is not running, or
in a position between ON and START, or byapplying the parking brake
when the ignition is turned to the ON position. If the brake system
warning light does not illuminate at this time, seek service immediately
from your dealership. Illumination after releasing the parking brake
indicates low brake fluid level and the brake system should be inspected
immediatelybyyour servicing dealership.
Driving a vehicle with the brake system warning light on is
dangerous. A significant decrease in braking performance may
occur. It will take you longer to stop the vehicle. Have the vehicle
checked byyour dealer immediately.
Anti-lock brake system:If the
ABS light stays illuminated or
continues to flash, a malfunction has
been detected, have the system
serviced immediately. Normal
braking is still functional unless the brake warning light also is
illuminated.
Air bag readiness:If this light fails
to illuminate when ignition is turned
to ON, continues to flash or remains
on, have the system serviced
immediately. A chime will also sound when a malfunction in the
supplemental restraint system has been detected.
Safety belt:Reminds you to fasten
your safety belt. A chime will also
sound to remind you to fasten your
safetybelt.
Charging system:Illuminates when
the batteryis not charging properly.
ABS
Instrument Cluster
11
Page 63 of 256
SEATING
Notes:
Reclining the seatback can cause an occupant to slide under the
seat’s safetybelt, resulting in severe personal injuries in the
event of a collision.
Do not pile cargo higher than the seatbacks to reduce the risk of
injuryin a collision or sudden stop.
Full bench seat (if equipped)
•Lift the release bar to move the
seat forward or backward. Ensure
that the seat is relatched into
place.
•Pull up on the lever located at
the bottom of the seatback to
quicklyfold the seatback forward.
Seating and Safety Restraints
63
Page 68 of 256
RETURNING THE SEAT TO SEATING POSITION
Always be sure that the seat is in a latched position, whether the
seat is occupied or empty. If not latched, the seat may cause
injuryduring a sudden stop.
1. Pull lever on the side of the seat to release seat cushion from storage
position.
2. Push seat cushion down until it locks into horizontal position.
SAFETY RESTRAINTS
Safety restraints precautions
Always drive and ride with your seatback upright and the lap
belt snug and low across the hips.
To reduce the risk of injury, make sure children sit where they
can be properlyrestrained.
Never let a passenger hold a child on his or her lap while the
vehicle is moving. The passenger cannot protect the child from
injuryin a collision.
All occupants of the vehicle, including the driver, should always
properlywear their safetybelts, even when an air bag (SRS) is
provided.
It is extremelydangerous to ride in a cargo area, inside or
outside of a vehicle. In a collision, people riding in these areas
are more likelyto be seriouslyinjured or killed. Do not allow people to
ride in anyarea of your vehicle that is not equipped with seats and
safety belts. Be sure everyone in your vehicle is in a seat and using a
safetybelt properly.
In a rollover crash, an unbelted person is significantlymore likely
to die than a person wearing a safetybelt.
Seating and Safety Restraints
68
Page 69 of 256
Each seating position in your vehicle has a specific safety belt
assemblywhich is made up of one buckle and one tongue that
are designed to be used as a pair. 1) Use the shoulder belt on the
outside shoulder only. Never wear the shoulder belt under the arm.
2) Never swing the safetybelt around your neck over the inside
shoulder. 3) Never use a single belt for more than one person.
Always transport children 12 years old and under in the back
seat and always properly use appropriate child restraints.
Safetybelts and seats can become hot in a vehicle that has been
closed up in sunnyweather; theycould burn a small child. Check
seat covers and buckles before you place a child anywhere near them.
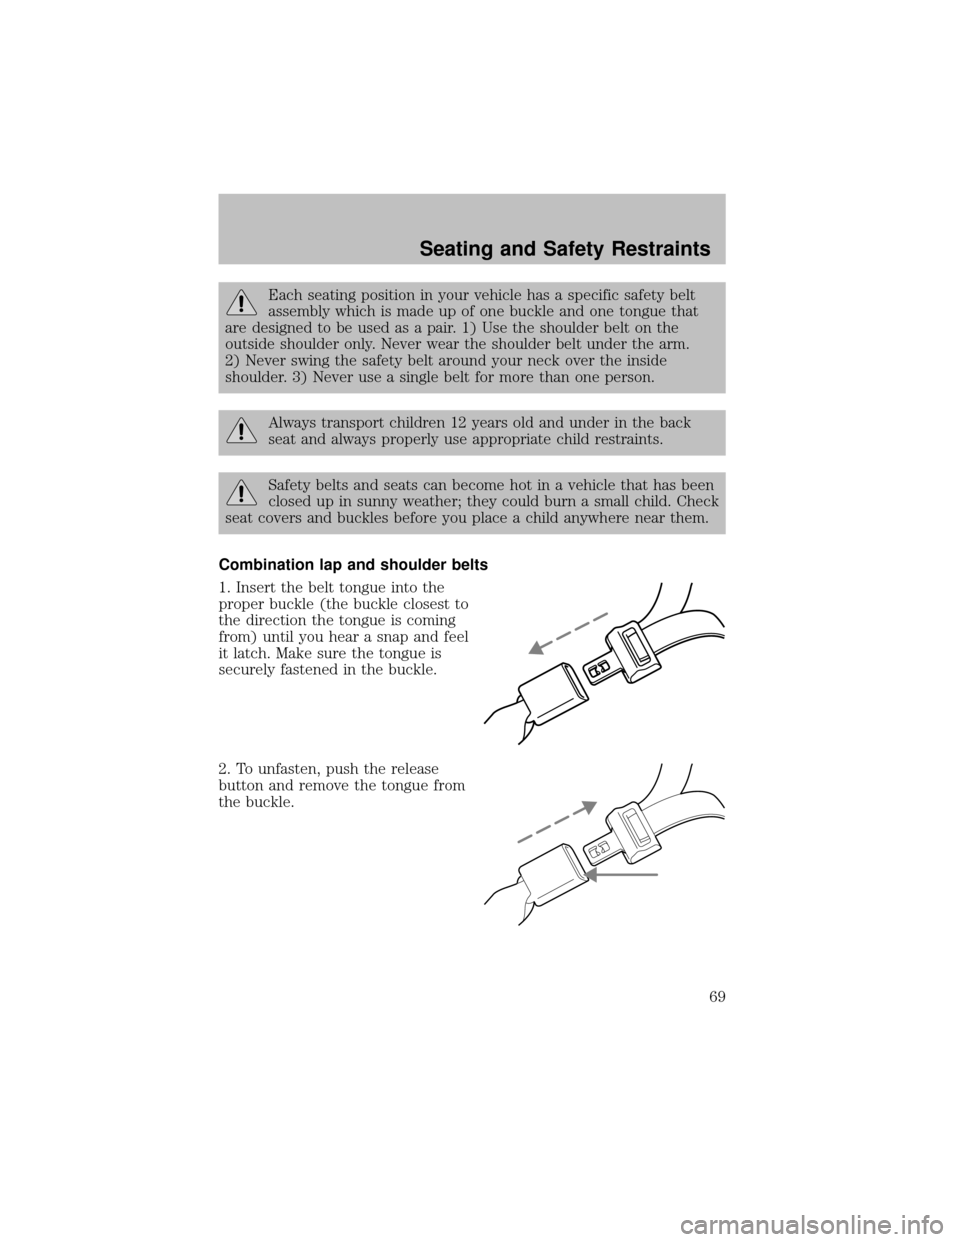
Combination lap and shoulder belts
1. Insert the belt tongue into the
proper buckle (the buckle closest to
the direction the tongue is coming
from) until you hear a snap and feel
it latch. Make sure the tongue is
securelyfastened in the buckle.
2. To unfasten, push the release
button and remove the tongue from
the buckle.
Seating and Safety Restraints
69
Page 70 of 256
The front and rear outboard safetyrestraints in the vehicle are
combination lap and shoulder belts. The front passenger and rear seat
outboard safetybelts have two types of locking modes described below:
Vehicle sensitive mode
This is the normal retractor mode, which allows free shoulder belt length
adjustment to your movements and locking in response to vehicle
movement. For example, if the driver brakes suddenlyor turns a corner
sharply, or the vehicle receives an impact of approximately 8 km/h (5
mph) or more, the combination safetybelts will lock to help reduce
forward movement of the driver and passengers.
On SuperCab and CrewCab models, the front seat belt system can also
be made to lock manuallybyquicklypulling on the shoulder belt.
Rear seat belts (if equipped) cannot be made to lock up bypulling
quicklyon the belt.
Automatic locking mode
The automatic locking mode is not available on the driver safetybelt.
When to use the automatic locking mode
In this mode, the shoulder belt is automaticallypre-locked. The belt will
still retract to remove anyslack in the shoulder belt. The automatic
locking mode is not available on the driver safetybelt.
This mode should be usedany timea child safetyseat is installed in a
passenger front or outboard rear seating position (if equipped). Children
12 years old and under should be properly restrained in the rear seat
whenever possible. Refer toSafety restraints for childrenorSafety
seats for childrenlater in this chapter.
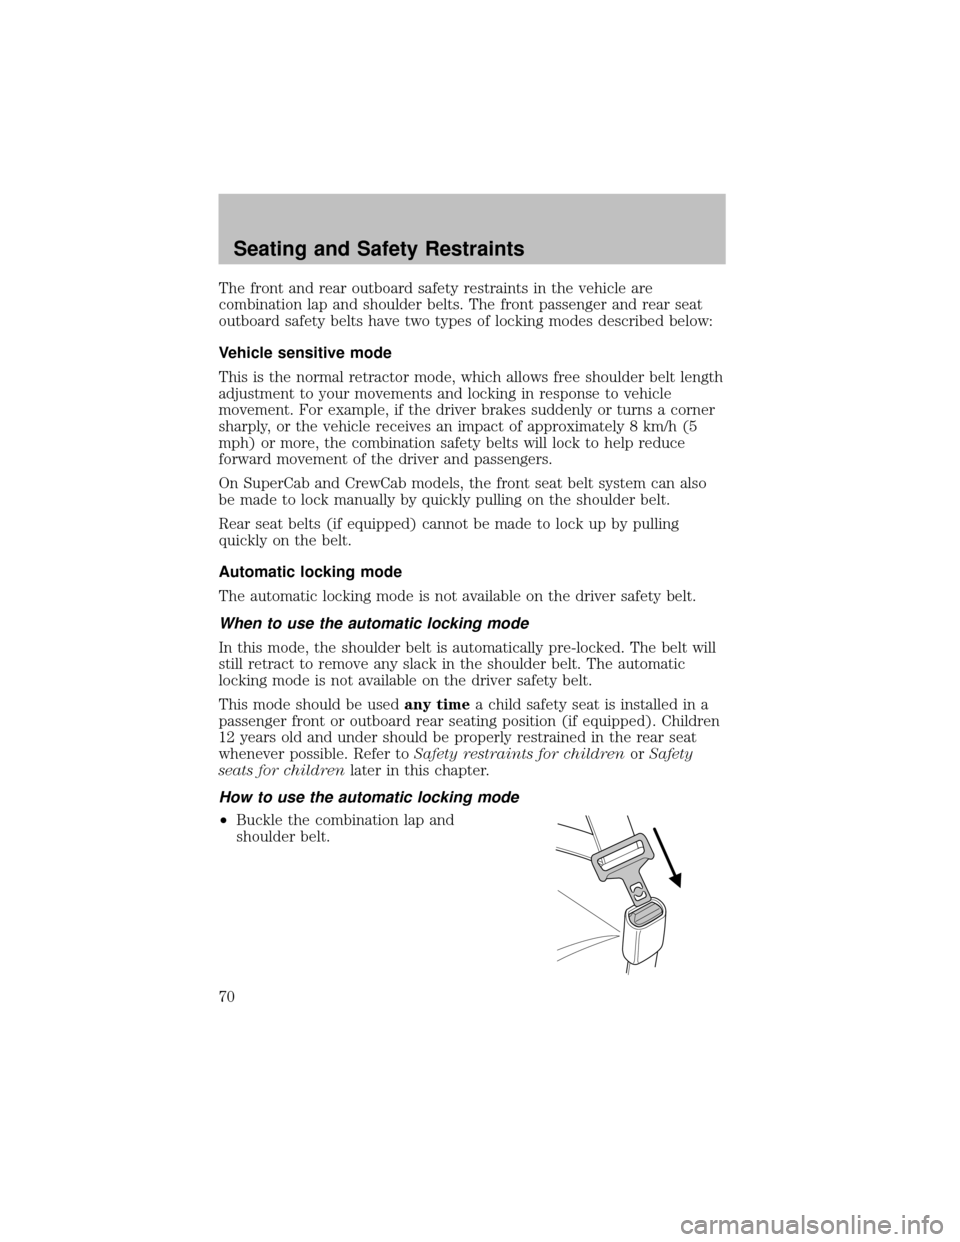
How to use the automatic locking mode
•Buckle the combination lap and
shoulder belt.
Seating and Safety Restraints
70
Page 71 of 256
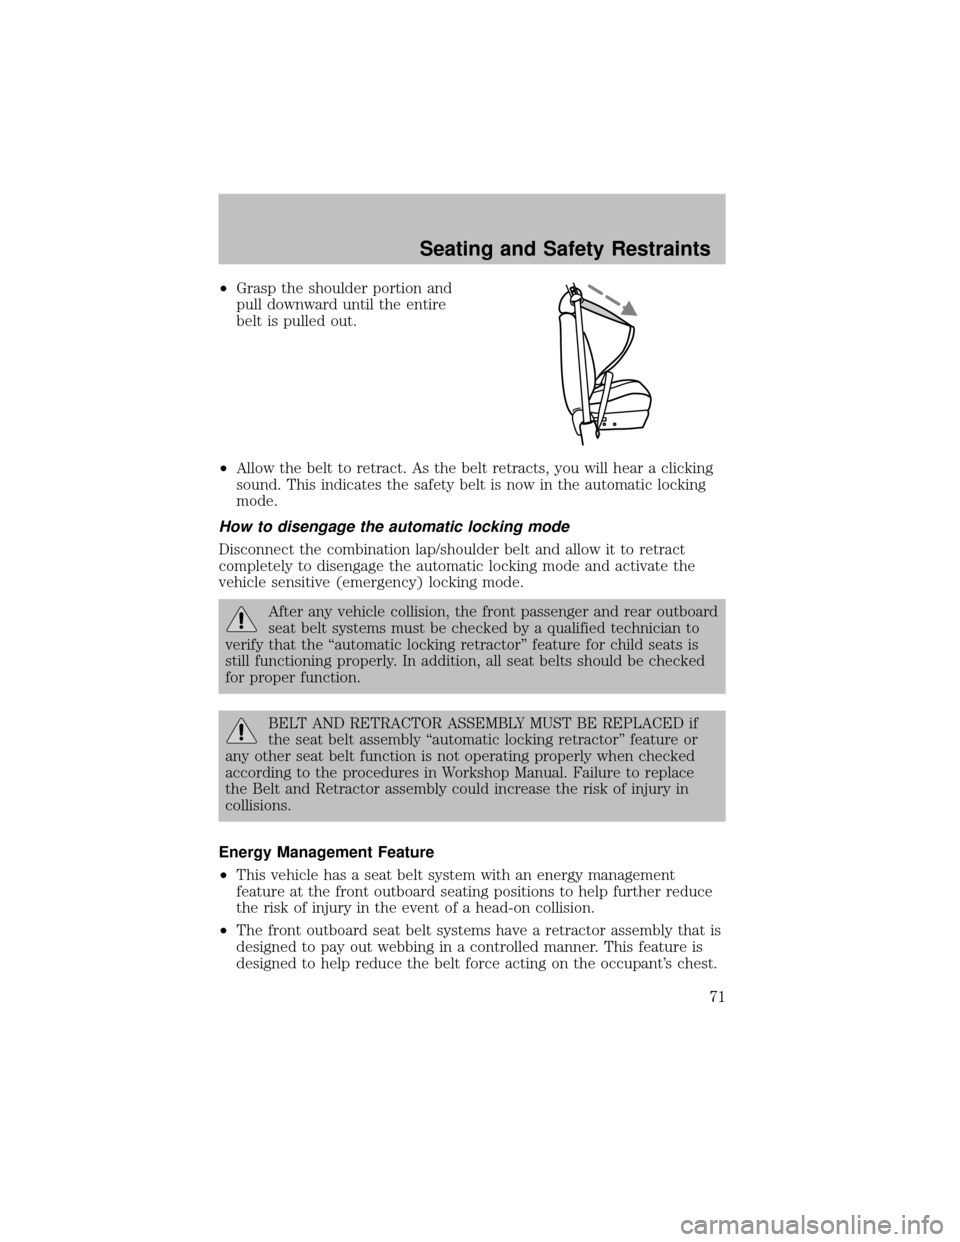
•Grasp the shoulder portion and
pull downward until the entire
belt is pulled out.
•Allow the belt to retract. As the belt retracts, you will hear a clicking
sound. This indicates the safetybelt is now in the automatic locking
mode.
How to disengage the automatic locking mode
Disconnect the combination lap/shoulder belt and allow it to retract
completelyto disengage the automatic locking mode and activate the
vehicle sensitive (emergency) locking mode.
After anyvehicle collision, the front passenger and rear outboard
seat belt systems must be checked by a qualified technician to
verifythat the “automatic locking retractor” feature for child seats is
still functioning properly. In addition, all seat belts should be checked
for proper function.
BELT AND RETRACTOR ASSEMBLY MUST BE REPLACED if
the seat belt assembly“automatic locking retractor” feature or
anyother seat belt function is not operating properlywhen checked
according to the procedures in Workshop Manual. Failure to replace
the Belt and Retractor assemblycould increase the risk of injuryin
collisions.
Energy Management Feature
•This vehicle has a seat belt system with an energy management
feature at the front outboard seating positions to help further reduce
the risk of injuryin the event of a head-on collision.
•The front outboard seat belt systems have a retractor assembly that is
designed to payout webbing in a controlled manner. This feature is
designed to help reduce the belt force acting on the occupant’s chest.
Seating and Safety Restraints
71