Page 26 of 64
2. Locate the HFCM and place an
appropriate container under the
drain plug (see illustration).
3. Remove the drain plug, using a 6mm hex drive, by turning it
counterclockwise. Allow the HFCM to drain for approximately 25 seconds
or until clean fuel is observed. Install the drain plug by turning it
clockwise until it is firmly seated.
4. Verify that the drain plug is closed and sealed, then remove the
container from under the vehicle.
5. Restart the engine and check WATER IN FUEL indicator light; it
should not be illuminated. If it continues to illuminate, have the fuel
system checked and repaired.
Removal - HFCM filter
1. Remove the fuel filter cap by
turning counterclockwise.
2. Remove and discard the old fuel
filter element.
3. Carefully clean the mating
surfaces.
General maintenance information
26
Page 27 of 64

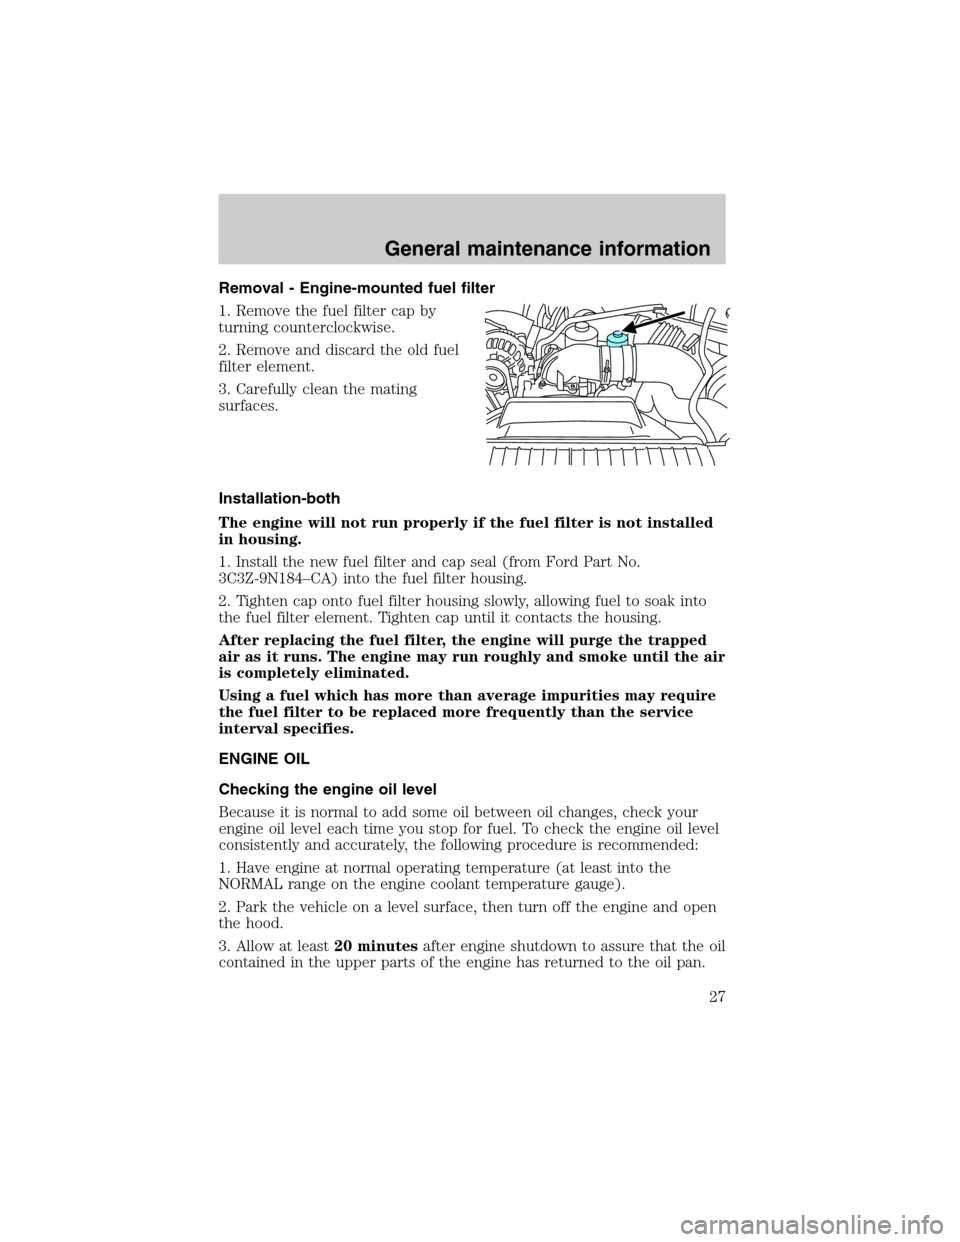
Removal - Engine-mounted fuel filter
1. Remove the fuel filter cap by
turning counterclockwise.
2. Remove and discard the old fuel
filter element.
3. Carefully clean the mating
surfaces.
Installation-both
The engine will not run properly if the fuel filter is not installed
in housing.
1. Install the new fuel filter and cap seal (from Ford Part No.
3C3Z-9N184–CA) into the fuel filter housing.
2. Tighten cap onto fuel filter housing slowly, allowing fuel to soak into
the fuel filter element. Tighten cap until it contacts the housing.
After replacing the fuel filter, the engine will purge the trapped
air as it runs. The engine may run roughly and smoke until the air
is completely eliminated.
Using a fuel which has more than average impurities may require
the fuel filter to be replaced more frequently than the service
interval specifies.
ENGINE OIL
Checking the engine oil level
Because it is normal to add some oil between oil changes, check your
engine oil level each time you stop for fuel. To check the engine oil level
consistently and accurately, the following procedure is recommended:
1. Have engine at normal operating temperature (at least into the
NORMAL range on the engine coolant temperature gauge).
2. Park the vehicle on a level surface, then turn off the engine and open
the hood.
3. Allow at least20 minutesafter engine shutdown to assure that the oil
contained in the upper parts of the engine has returned to the oil pan.
General maintenance information
27
Page 34 of 64

To reduce the risk of personal injury, make sure the engine is
cool before unscrewing the coolant pressure relief cap. The
cooling system is under pressure; steam and hot liquid can come out
forcefully when the cap is loosened slightly.
1. Before you begin, turn the engine off and let it cool.
2. When the engine is cool, wrap a thick cloth around the coolant
pressure relief cap on the coolant reservoir (an semi-clear plastic bottle).
Slowly turn cap counterclockwise (left) until pressure begins to release.
3. Step back while the pressure releases.
4. When you are sure that all the pressure has been released, use the
cloth to turn it counterclockwise and remove the cap.
5. Fill the coolant reservoir slowly with the proper coolant mixture (see
above), to within the“cold fill range”or the“cold full”level on the
reservoir. If you removed the radiator cap in an overflow system, fill the
radiator until the coolant is visible and radiator is almost full.
6. Replace the cap. Turn until tightly installed. (Cap must be tightly
installed to prevent coolant loss.)
After any coolant has been added, check the coolant concentration see
Checking engine coolantsection). If the concentration is not 50/50
(protection to–34°F/–36°C), drain some coolant and adjust the
concentration. It may take several drains and additions to obtain a 50/50
coolant concentration.
Whenever coolant has been added, the coolant level in the coolant
reservoir should be checked the next few times you drive the vehicle. If
necessary, add enough 50/50 concentration of engine coolant and
distilled water to bring the liquid level to the proper level.
If you have to add more than 1.0 liter (1.0 quart) of engine coolant per
month, have your dealer check the engine cooling system. Your cooling
system may have a leak. Operating an engine with a low level of coolant
can result in engine overheating and possible engine damage.
General maintenance information
34