Page 1 of 256
Introduction 3
Instrument Cluster 10
Warning and control lights 10
Gauges 15
Entertainment Systems 19
AM/FM stereo cassette with CD 19
AM/FM stereo with CD 28
AM/FM stereo cassette (CD changer compatible) 43
Climate Controls 63
Lights 67
Headlamps 67
Turn signal control 70
Bulb replacement 71
Driver Controls 76
Windshield wiper/washer control 76
Steering wheel adjustment 77
Power windows 78
Mirrors 80
Speed control 80
Locks and Security 89
Keys 89
Locks 89
Anti-theft system 91
Seating and Safety Restraints 99
Seating 99
Safety restraints 102
Air bags 114
Child restraints 119
Driving 133
Starting 133
Table of Contents
1
Page 10 of 256
WARNING LIGHTS AND CHIMES
Base instrument cluster
Optional instrument cluster
Turn signals
Illuminates when the
turn signals or the
hazard lights are
turned on. If the lights stay on continuously or flash
faster, check for a burned-out bulb.
High beams
Illuminates when the
high beam headlamps
are turned on.
Safety belt
Illuminates to remind
you to fasten your
safety belts. For more
information, refer to
theSeating and safety restraintschapter.
P! BRAKE
L
0
00000 00
C
E
FH
LH
10 203020 406080100
120
140
160
180
405060 70
80
90
100
11 0
1204
5
6
7 3
2
1
H
THEFT
RPMX1000
FUEL DOORSELECT/RESET
LOW
FUELO/D
OFF AIR
BAGSERVICE
ENGINE
SOON
MPH km/h
ABS
.
CHECK
FUEL
CAP
P! BRAKE
L
0
00000 00
C
E
FH
LH
102040608020 40608010 012 0 14 0
160
180
200
220
240
100
120
140
305070 90
110
13 0
1504
5
6
7
8 3
2
1
H
THEFT
RPMX1000
FUEL DOORSELECT/RESET
LOW
FUELO/D
OFF AIR
BAGSERVICE
ENGINE
SOONCHECK
FUEL
CAP
MPH km/h
ABS
.
Instrument Cluster
10
Page 71 of 256

BULBS
Replacing exterior bulbs
Check the operation of the following lamps
frequently:
•Headlamps
•Tail lamps
•Brakelamps
•High-mount brakelamp•Turn signal lamps
•Backup lamps
•License plate lamp
Do not remove lamp bulbs unless they will be
replaced immediately. If a bulb is removed for an
extended period of time, contaminants may enter
the lamp housings and affect performance.
Using the right bulbs
Replacement bulbs are specified in the chart below.
Headlamp bulbs must be marked with an authorized
“D.O.T.”for North America and an“E”for Europe to
assure lamp performance, light brightness and pattern
and safe visibility. The correct bulbs will not damage
the lamp assembly or void the lamp assembly
warranty and will provide quality bulb burn time.
Function Trade Number
Tail lamp, brakelamp, turn lamp 3157K
Park lamp, turn lamp, side marker (front) 3157 AK (amber)
Backup lamp 3156K
License plate lamp 168
High-mount brakelamp 906
Headlamps 9007
Luggage compartment lamp 906
Dome lamp 575
Map lamp 575
Visor vanity lamp 74
Glove compartment 194
Rearview mirror map lamps 192
Fog lamp 899
All replacement bulbs are clear in color except where noted.
To replace all instrument panel lights - see your dealer.
Lights
71
Page 73 of 256

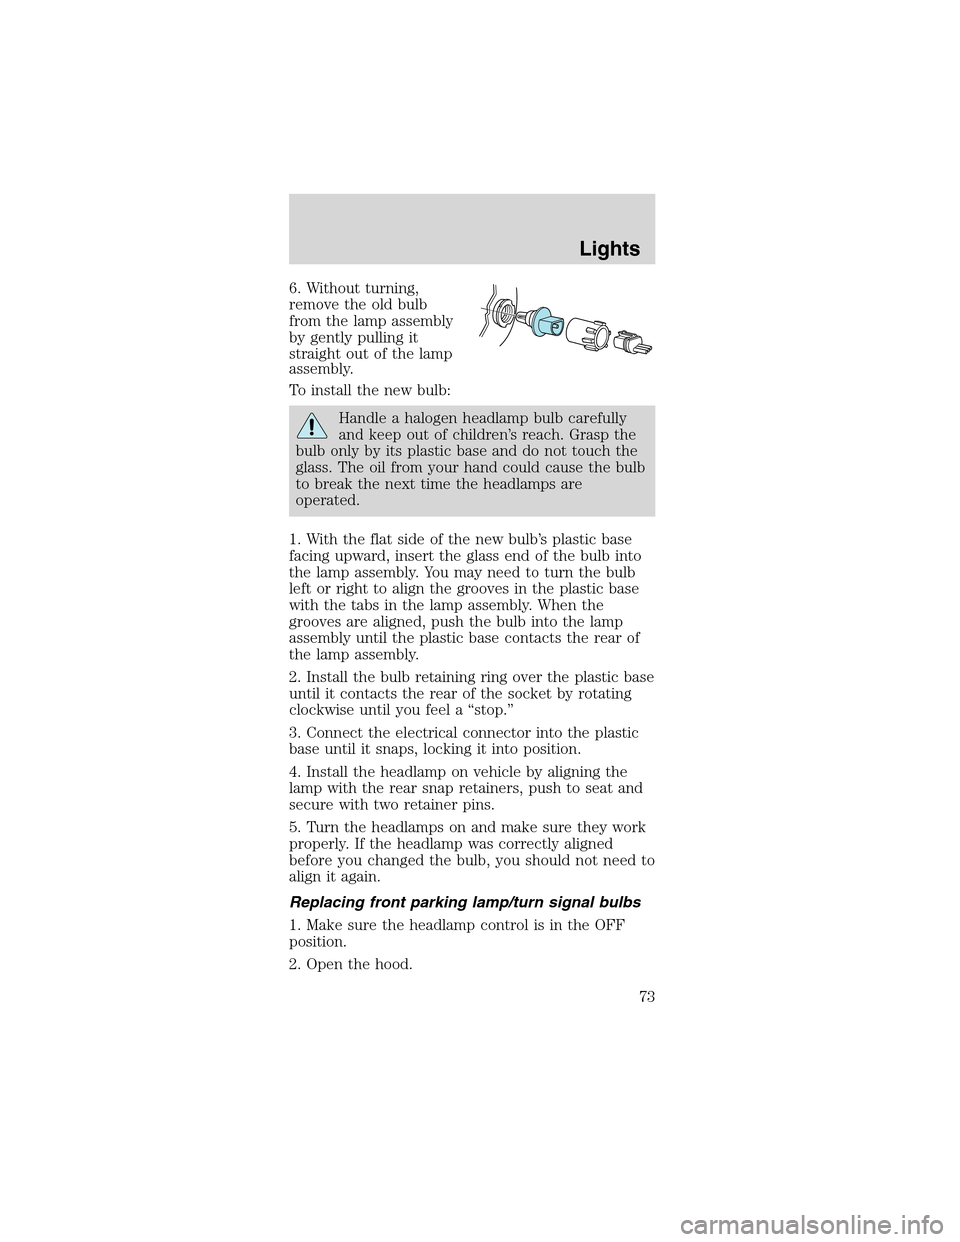
6. Without turning,
remove the old bulb
from the lamp assembly
by gently pulling it
straight out of the lamp
assembly.
To install the new bulb:
Handle a halogen headlamp bulb carefully
and keep out of children’s reach. Grasp the
bulb only by its plastic base and do not touch the
glass. The oil from your hand could cause the bulb
to break the next time the headlamps are
operated.
1. With the flat side of the new bulb’s plastic base
facing upward, insert the glass end of the bulb into
the lamp assembly. You may need to turn the bulb
left or right to align the grooves in the plastic base
with the tabs in the lamp assembly. When the
grooves are aligned, push the bulb into the lamp
assembly until the plastic base contacts the rear of
the lamp assembly.
2. Install the bulb retaining ring over the plastic base
until it contacts the rear of the socket by rotating
clockwise until you feel a“stop.”
3. Connect the electrical connector into the plastic
base until it snaps, locking it into position.
4. Install the headlamp on vehicle by aligning the
lamp with the rear snap retainers, push to seat and
secure with two retainer pins.
5. Turn the headlamps on and make sure they work
properly. If the headlamp was correctly aligned
before you changed the bulb, you should not need to
align it again.
Replacing front parking lamp/turn signal bulbs
1. Make sure the headlamp control is in the OFF
position.
2. Open the hood.
Lights
73
Page 252 of 256

Jump-starting your
vehicle ...................... 170
K
Keys ..................... 95–97
key in ignition
chime ....................... 14
positions of the
ignition .................. 133
removing from
the ignition ............ 153
L
Lamps
bulb replacement
specifications
chart ........................ 71
cargo lamps ............. 68
daytime running
light .......................... 67
fog lamps ................. 67
headlamps ......... 67, 72
headlamps, flash
to pass ..................... 68
instrument panel,
dimming ................... 68
interior lamps ... 70, 72
replacing
bulbs .................. 71–75
Lane change indicator
(see Turn signal) ...... 70
Lights, warning and
indicator .................... 10
air bag ...................... 11
anti-lock brakes
(ABS) .............. 13, 141
anti-theft ................. 11
brake ........................ 14
charging system ...... 11
fuel cap light ........... 12high beam ............... 10
low fuel .................... 13
overdrive off ............ 13
safety belt ............... 10
service engine
soon ......................... 11
traction control
active ....................... 13
turn signal
indicator .................. 10
Limited slip axle
(see Traction Loc) .. 144
Load limits ............... 154
GAWR .................... 154
GVWR .................... 154
trailer towing ........ 154
Locks
doors ........................ 89
Lubricant
specifications ... 240, 242
Lug nuts,
anti-theft .................. 169
Lumbar support,
seats ......................... 100
M
Manual
transmission ............ 150
fluid capacities ...... 238
lubricant
specifications ........ 242
reverse ................... 152
Mirrors
side view mirrors
(power) ................... 80
Motorcraft
parts ................. 219, 237
O
Octane rating .......... 217
Index
252