Page 69 of 256
If your vehicle has been in an accident the alignment
of your headlamps should be checked by a qualified
service technician.
Headlamp vertical aim adjustment
1. Park the vehicle on a level surface approximately
7.6 meters (25 feet) from a vertical wall or screen
directly in front of it.
•(1) Eight feet
•(2) Center height of lamp to ground
•(3) Twenty five feet
•(4) Horizontal reference line
2. Measure the height from the center of your
headlamp to the ground and mark a 2.4 meter
(8 foot) horizontal reference line on the vertical wall
or screen at this height (a piece of masking tape
works well). The center of the lamp is marked by a
3.0 mm circle on the headlamp lens.
3. Turn on the low beam headlamps to illuminate the
wall or screen and open the hood.
Lights
69
Page 72 of 256
Interior bulbs
Check the operation of the following interior bulbs
frequently:
•interior overhead lamp
•map lamp
For bulb replacement, see a dealer or qualified
technician.
Map lamps
For bulb replacement, see a qualified service
technician or your dealer.
Replacing headlamp bulbs
To remove the headlamp bulb:
1. Make sure headlamp switch is in OFF position,
then open the hood.
2. At the back of the
headlamp, pull two
retainer pins up to
release the headlamp
assembly.
3. Pull headlamp
assembly forward
disengaging the lamp
from the rear hidden snap retainers to expose the
back of the bulb.
4. Disconnect the
electrical connector
from the bulb by
pulling rearward.
5. Remove the bulb
retaining ring by
rotating it
counterclockwise
(when viewed from the
rear) to free it from the
bulb socket, and slide the ring off the plastic base.
Keep the ring to retain the new bulb.
Lights
72
Page 73 of 256

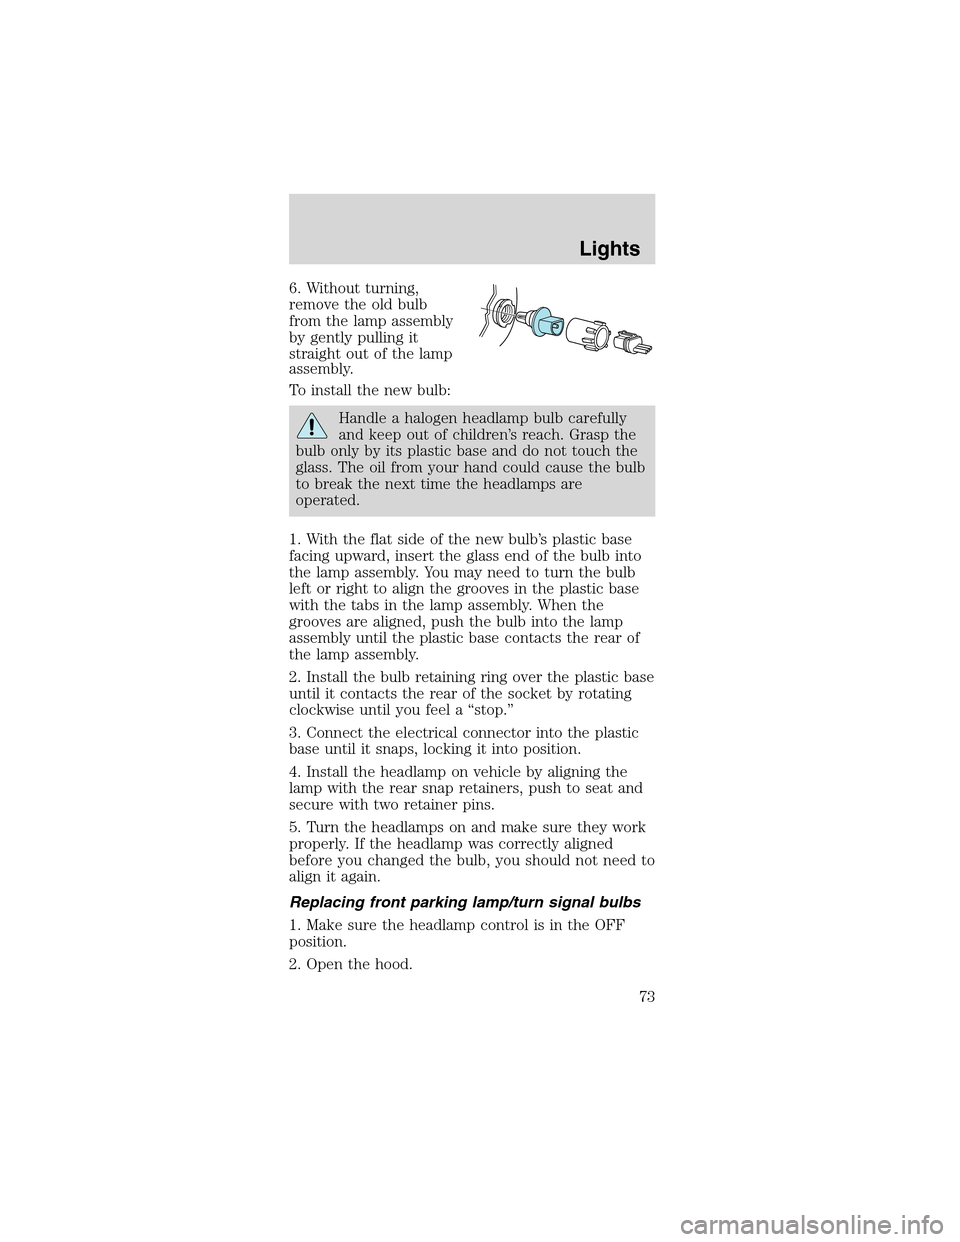
6. Without turning,
remove the old bulb
from the lamp assembly
by gently pulling it
straight out of the lamp
assembly.
To install the new bulb:
Handle a halogen headlamp bulb carefully
and keep out of children’s reach. Grasp the
bulb only by its plastic base and do not touch the
glass. The oil from your hand could cause the bulb
to break the next time the headlamps are
operated.
1. With the flat side of the new bulb’s plastic base
facing upward, insert the glass end of the bulb into
the lamp assembly. You may need to turn the bulb
left or right to align the grooves in the plastic base
with the tabs in the lamp assembly. When the
grooves are aligned, push the bulb into the lamp
assembly until the plastic base contacts the rear of
the lamp assembly.
2. Install the bulb retaining ring over the plastic base
until it contacts the rear of the socket by rotating
clockwise until you feel a“stop.”
3. Connect the electrical connector into the plastic
base until it snaps, locking it into position.
4. Install the headlamp on vehicle by aligning the
lamp with the rear snap retainers, push to seat and
secure with two retainer pins.
5. Turn the headlamps on and make sure they work
properly. If the headlamp was correctly aligned
before you changed the bulb, you should not need to
align it again.
Replacing front parking lamp/turn signal bulbs
1. Make sure the headlamp control is in the OFF
position.
2. Open the hood.
Lights
73
Page 196 of 256
OPENING THE HOOD
1. Inside the vehicle,
pull the hood release
handle located under
the bottom left corner
of the instrument
panel.
2. Go to the front of the vehicle and release the
auxiliary latch that is located under the front center
of the hood.
3. Lift the hood and secure it with the prop rod.
HOOD
Maintenance and Specifications
196
Page 199 of 256

WINDSHIELD WASHER FLUID
Check the washer fluid
whenever you stop for
fuel. The reservoir is
highlighted with a
symbol.
Add fluid to fill the
reservoir if the level is
low. In very cold
weather, do not fill the
reservoir completely.
Only use a washer fluid that meets Ford
specification ESR-M17P5–A . Refer toLubricant
specificationsin this chapter.
State or local regulations on volatile organic
compounds may restrict the use of methanol, a
common windshield washer antifreeze additive.
Washer fluids containing non-methanol antifreeze
agents should be used only if they provide cold
weather protection without damaging the vehicle’s
paint finish, wiper blades or washer system.
Note:Do not put washer fluid in the engine coolant
reservoir. Washer fluid placed in the cooling system
may harm engine and cooling system components.
ENGINE OIL
Checking the engine oil
Refer to the scheduled maintenance guide for the
appropriate intervals for checking the engine oil.
1. Make sure the vehicle is on level ground.
2. Turn the engine off and wait 5 to 10 minutes for
the oil to drain into the oil pan.
3. Set the parking brake and ensure the gearshift is
securely latched in P (Park) (automatic
transmissions) or 1 (First) (manual transmissions).
4. Open the hood. Protect yourself from engine heat.
Maintenance and Specifications
199
Page 247 of 256

Sideair deflector
Spoiler
Styled hood deflector
Tonneau cover (mini, for convertible top)
Universal floor mats
Wheels (chrome and painted)
For maximum vehicle performance, keep the
following information in mind when adding
accessories or equipment to your vehicle:
•When adding accessories, equipment, passengers
and luggage to your vehicle, do not exceed the
total weight capacity of the vehicle or of the front
or rear axle (GVWR or GAWR as indicated on the
Safety compliance certification label). Consult
your dealer for specific weight information.
•The Federal Communications Commission (FCC)
and Canadian Radio Telecommunications
Commission (CRTC) regulate the use of mobile
communications systems - such as two-way
radios, telephones and theft alarms - that are
equipped with radio transmitters. Any such
equipment installed in your vehicle should comply
with FCC or CRTC regulations and should be
installed only by a qualified service technician.
•Mobile communications systems may harm the
operation of your vehicle, particularly if they are
not properly designed for automotive use or are
not properly installed. When operated, such
systems may cause the engine to stumble or stall
or cause the transmission to be damaged or
operate improperly. In addition, such systems may
be damaged or their performance may be affected
by operating your vehicle. (Citizens band [CB]
transceivers, garage door openers and other
transmitters with outputs of five watts or less will
not ordinarily affect your vehicle’s operation.)
•Ford cannot assume responsibility for any adverse
effects or damage that may result from the use of
such equipment.
Accessories
247