Page 147 of 256
Understanding gearshift positions
P (Park)
Always come to a
complete stop before
shifting into P (Park).
Make sure the gearshift
lever is securely
latched in P (Park).
This position locks the
transmission and
prevents the rear
wheels from turning.
Always set the parking brake fully and make
sure the gearshift lever is latched in P
(Park). Turn the ignition to the LOCK position and
remove the key whenever you leave your vehicle.
R (Reverse)
With the gearshift lever
in R (Reverse), the
vehicle will move
backward. Always come
to a complete stop
before shifting into and
out of R (Reverse).
N (Neutral)
With the gearshift lever
in N (Neutral), the
vehicle can be started
and is free to roll. Hold
the brake pedal down
while in this gear.
Driving
147
Page 153 of 256

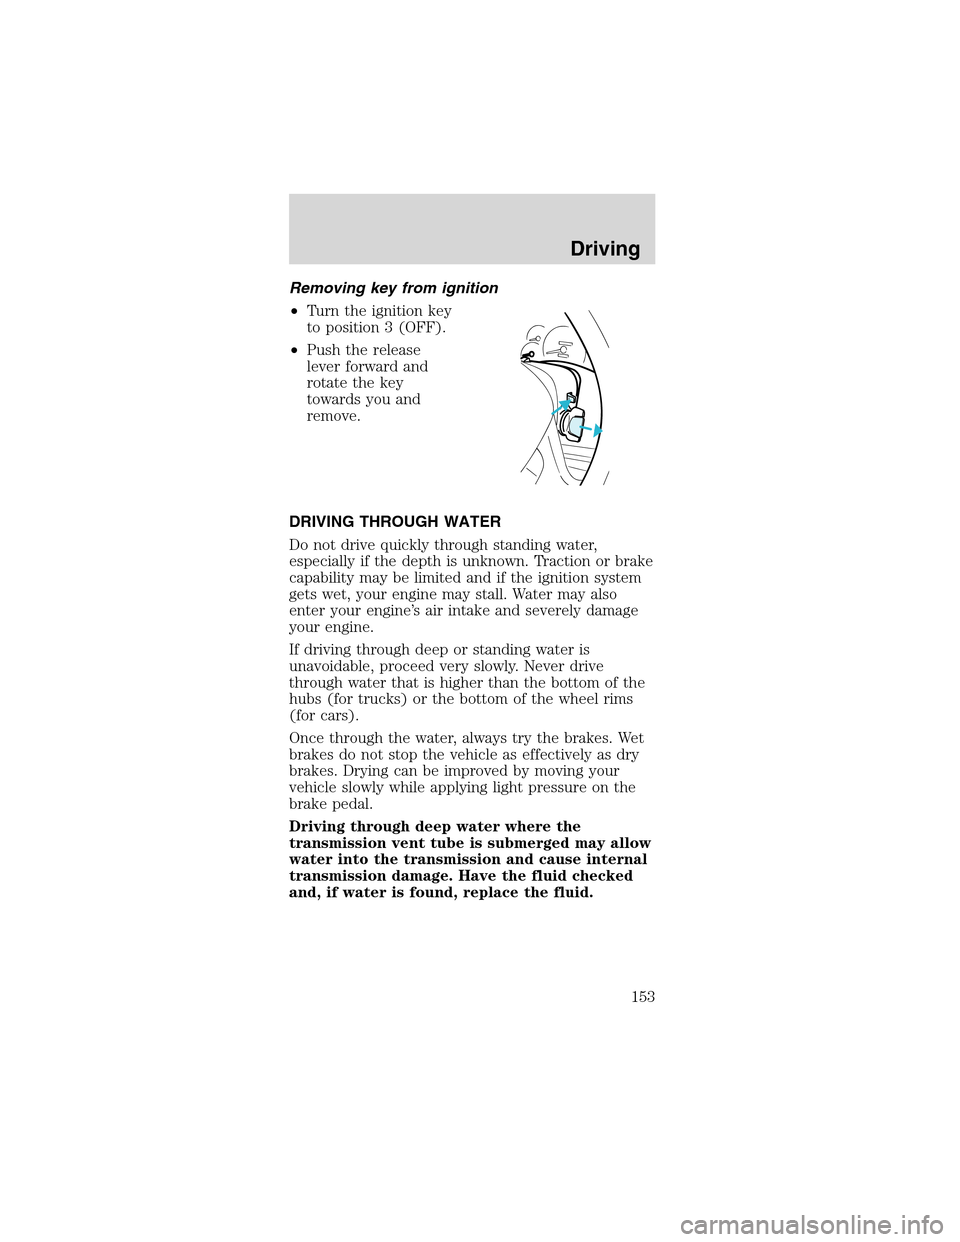
Removingkeyfrom ignition
•Turn the ignition key
to position 3 (OFF).
•Push the release
lever forward and
rotate the key
towards you and
remove.
DRIVING THROUGH WATER
Do not drive quickly through standing water,
especially if the depth is unknown. Traction or brake
capability may be limited and if the ignition system
gets wet, your engine may stall. Water may also
enter your engine’s air intake and severely damage
your engine.
If driving through deep or standing water is
unavoidable, proceed very slowly. Never drive
through water that is higher than the bottom of the
hubs (for trucks) or the bottom of the wheel rims
(for cars).
Once through the water, always try the brakes. Wet
brakes do not stop the vehicle as effectively as dry
brakes. Drying can be improved by moving your
vehicle slowly while applying light pressure on the
brake pedal.
Driving through deep water where the
transmission vent tube is submerged may allow
water into the transmission and cause internal
transmission damage. Have the fluid checked
and, if water is found, replace the fluid.
Driving
153
Page 156 of 256

TRAILERTOWING
Your vehicle is not equipped to tow. No towing
packages are available through Ford or
Lincoln/Mercury dealers.
RECREATIONAL TOWING
(ALL WHEELS ON THE GROUND)
Follow these guidelines for your specific powertrain
combination to tow your vehicle with all four wheels
on the ground (such as behind a recreational
vehicle).
These guidelines are designed to ensure that your
transmission is not damaged due to insufficient
lubrication.
All Rear Wheel Drive (RWD) vehicles:
This applies to all cars and 4x2 trucks/sport utilities
with rear wheel drive capability.
An example of recreational towing is towing your
vehicle behind a motorhome. The following
recreational towing guidelines are designed to
ensure that your transmission is not damaged.
•Place the transmission in N (Neutral)
•Maximum speed is 56 km/h (35 mph)
•Maximum distance is 80 km (50 miles)
If a distance of 80 km (50 miles) or a speed of 56
km/h (35 mph) must be exceeded, you must
disconnect the driveshaft. Ford recommends the
driveshaft be removed/installed only by a qualified
technician. See your local dealer for driveshaft
removal/installation.
Improper removal/installation of the driveshaft
can cause transmission fluid loss, damage to
the driveshaft and internal transmission
components.
Driving
156
Page 160 of 256

FUSES AND RELAYS
Fuses
If electrical
components in the
vehicle are not
working, a fuse may
have blown. Blown
fuses are identified by a broken wire within the fuse.
Check the appropriate fuses before replacing any
electrical components.
Note:Always replace a fuse with one that has the
specified amperage rating. Using a fuse with a higher
amperage rating can cause severe wire damage and
could start a fire.
Standard fuse amperage rating and color
COLOR
Fuse
ratingMini
fusesStandard
fusesMaxi
fusesCartridge
maxi
fusesFuse
link
cartridge
2A Grey Grey—— —
3A Violet Violet—— —
4A Pink Pink—— —
5A Tan Tan—— —
7.5A Brown Brown—— —
10A Red Red—— —
15A Blue Blue—— —
20A Yellow Yellow Yellow Blue Blue
25A Natural Natural—— —
30A Green Green Green Pink Pink
40A——Orange Green Green
50A——Red Red Red
60A——Blue—Yellow
70A——Ta n—Brown
80A——Natural—Black
Passenger compartment fuse panel
The fuse panel is located below and to the left of
the steering wheel by the brake pedal. Remove the
panel cover to access the fuses.
15
Roadside Emergencies
160
Page 165 of 256

Fuse/Relay
LocationFuse Amp
RatingPower Distribution Box
Description
22—Not used
23—Not used
24 20A* A/C pressure
25—Not used
26 30A** PCM
27 20A** Daytime Running Lamps
(DRL) module, Foglamp
relay
28 25A CB Convertible top
29 Diode Convertible top circuit
breaker
* Mini Fuses ** Maxi Fuses
CHANGING THE TIRES
If you get a flat tire while driving, do not apply the
brake heavily. Instead, gradually decrease your
speed. Hold the steering wheel firmly and slowly
move to a safe place on the side of the road.
The use of tire sealants is not recommended and
may compromise the integrity of your tires. The use
of tire sealants may also affect your tire pressure
monitoring system (if equipped).
Temporary spare tire information
Your vehicle may have a temporary spare tire. The
temporary spare tire for your vehicle is labeled as
such. It is smaller than a regular tire and is designed
for emergency use only. Replace this tire with a
full-size tire as soon as possible.
Roadside Emergencies
165
Page 166 of 256

Ifyou use the temporary spare tire
continuously or do not follow these
precautions, the tire could fail, causing you to lose
control of the vehicle, possibly injuring yourself or
others.
When driving with the temporary spare tiredo not:
•use more than one temporary spare tire at a time
•exceed 80 km/h (50 mph) or drive further than 3
200 km (2 000 miles) total under any
circumstances
•load the vehicle beyond maximum vehicle load
rating listed on the tire pressure label on the
inside of the glove compartment door
•tow a trailer
•use tire chains
•drive through an automatic car wash, because of
the vehicle’s reduced ground clearance
•try to repair the temporary spare tire or remove it
from its wheel
•use the wheel for any other type of vehicle
Use of a temporary spare tire at any one wheel
location can lead to impairment of the following:
•handling, stability and braking performance
•comfort and noise
•ground clearance and parking at curbs
•Winter driving capability
Tire change procedure
To prevent the vehicle from moving when
you change a tire, be sure the parking brake
is set, then block (in both directions) the wheel
that is diagonally opposite (other side and end of
the vehicle) to the tire being changed.
Roadside Emergencies
166
Page 167 of 256
If the vehicle slips off the jack, you or
someone else could be seriously injured.
1. Park on a level
surface, activate hazard
flashers and set
parking brake.
2. Place gearshift lever
in P (Park) or R (manual transmission), turn engine
OFF, and block the diagonally opposite wheel.
3. Remove the spare
tire, jack and lug
wrench.
4. Remove the center
ornament (if equipped)
from the wheel. Loosen
each wheel lug nut
one-half turn
counterclockwise but
do not remove them
until the wheel is
raised off the ground.
Roadside Emergencies
167
Page 168 of 256
5. Put the jack in the
jack notch next to the
tire you are changing.
Turn the jack handle
clockwise until the
wheel is completely off
the ground.
Never use the rear
differential as a
jacking point.
To lessen the
risk of personal
injury, do not put any
part of your body
under the vehicle
while changing a tire.
Do not start the
engine when your
vehicle is on the jack.
The jack is only
meant for changing
the tire.
6. Remove the lug nuts with the lug wrench.
7. Replace the flat tire with the spare tire, making
sure the valve stem is facing outward. Reinstall lug
nuts until the wheel is snug against the hub. Do not
fully tighten the lug nuts until the wheel has been
lowered.
If you are using the temporary tire, the lug nut
washers will not appear to be flush with the rim.
This is normal only when using the temporary spare
tire.
8. Lower the wheel by turning the jack handle
counterclockwise.
Roadside Emergencies
168