Page 4 of 256

This Owner’s Guide describes every option and
model variant available and therefore some of the
items covered may not apply to your particular
vehicle. Furthermore, due to printing cycles it may
describe options before they are generally available.
Remember to pass on the Owner’s Guide when
reselling the vehicle. It is an integral part of the
vehicle.
Fuel pump shut-off switchIn the event of
an accident the safety switch will
automatically cut off the fuel supply to the engine.
The switch can also be activated through sudden
vibration (e.g. collision when parking). To reset
the switch, refer to theFuel pump shut-off
switchin theRoadside emergencieschapter.
SAFETY AND ENVIRONMENT PROTECTION
Warning symbols in this guide
How can you reduce the risk of personal injury and
prevent possible damage to others, your vehicle and
its equipment? In this guide, answers to such
questions are contained in comments highlighted by
the warning triangle symbol. These comments
should be read and observed.
Introduction
4
Page 8 of 256
These are some of the symbols you may see on your
vehicle.
Vehicle Symbol Glossary
Safety Alert
See Owner’s Guide
Fasten Safety BeltAir Bag-Front
Air Bag-SideChild Seat
Child Seat
Installation WarningChild Seat Tether
Anchorage
Brake SystemAnti-Lock Brake
System
Brake Fluid -
Non-Petroleum
BasedTraction Control
AdvanceTracMaster Lighting
Switch
Hazard Warning
FlasherFog Lamps-Front
Fuse CompartmentFuel Pump Reset
Windshield
Wash/WipeWindshield
Defrost/Demist
Rear Window
Defrost/DemistPower Windows
Front/Rear
Power Window
LockoutChild Safety Door
Lock/Unlock
Introduction
8
Page 10 of 256
WARNING LIGHTS AND CHIMES
Base instrument cluster
Optional instrument cluster
Turn signals
Illuminates when the
turn signals or the
hazard lights are
turned on. If the lights stay on continuously or flash
faster, check for a burned-out bulb.
High beams
Illuminates when the
high beam headlamps
are turned on.
Safety belt
Illuminates to remind
you to fasten your
safety belts. For more
information, refer to
theSeating and safety restraintschapter.
P! BRAKE
L
0
00000 00
C
E
FH
LH
10 203020 406080100
120
140
160
180
405060 70
80
90
100
11 0
1204
5
6
7 3
2
1
H
THEFT
RPMX1000
FUEL DOORSELECT/RESET
LOW
FUELO/D
OFF AIR
BAGSERVICE
ENGINE
SOON
MPH km/h
ABS
.
CHECK
FUEL
CAP
P! BRAKE
L
0
00000 00
C
E
FH
LH
102040608020 40608010 012 0 14 0
160
180
200
220
240
100
120
140
305070 90
110
13 0
1504
5
6
7
8 3
2
1
H
THEFT
RPMX1000
FUEL DOORSELECT/RESET
LOW
FUELO/D
OFF AIR
BAGSERVICE
ENGINE
SOONCHECK
FUEL
CAP
MPH km/h
ABS
.
Instrument Cluster
10
Page 15 of 256

Headlamps on warning chime
Sounds when the headlamps or parking lamps are
on, the key is removed from the ignition and the
driver’s door is opened.
GAUGES
Base instrument cluster gauges
Optional instrument cluster gauges
Engine coolant temperature gauge
Indicates the
temperature of the
engine coolant. At
normal operating
temperature, the needle remains within the normal
area (the area between the“H”and“C”). If it enters
the red section, the engine is overheating. Stop the
vehicle as soon as safely possible, switch off the
engine immediately and let the engine cool. Refer to
Engine coolantin theMaintenance and
specificationschapter.
P! BRAKE
L C
EFH
LH
10 203020 406080100
120
140
160
180
405060 70
80
90
100
11 0
1204
5
6
7 3
2
1
H
THEFT
RPMX1000
FUEL DOORSELECT/RESET
LOW
FUELO/D
OFF AIR
BAGSERVICE
ENGINE
SOON
MPH km/h
ABS
00000 00.
CHECK
FUEL
CAP
P! BRAKE
0
00000 00
FH
H
102040608020 40608010 012 0 14 0
160
180
200
220
240
100
120
140
305070 90
110
13 0
1504
5
6
7
8 3
2
1
H
THEFT
RPMX1000
FUEL DOORSELECT/RESET
LOW
FUELO/D
OFF AIR
BAGSERVICE
ENGINE
SOON
MPH km/h
ABS
.
L
LCHECK
FUEL
CAP
CH
Instrument Cluster
15
Page 18 of 256
•Base instrument
cluster gauge
•Optional instrument
cluster gauge
Trip odometer
Registers the
kilometers (miles) of
individual journeys.
Press and release the
reset button until a’T’
appears in the display
(this represents the
trip mode). Press and hold the button for three
seconds to reset.
0
00000 00
4
5
6
7
8 3
2
1RPMX1000
SELECT/RESET
.
Instrument Cluster
18
Page 22 of 256

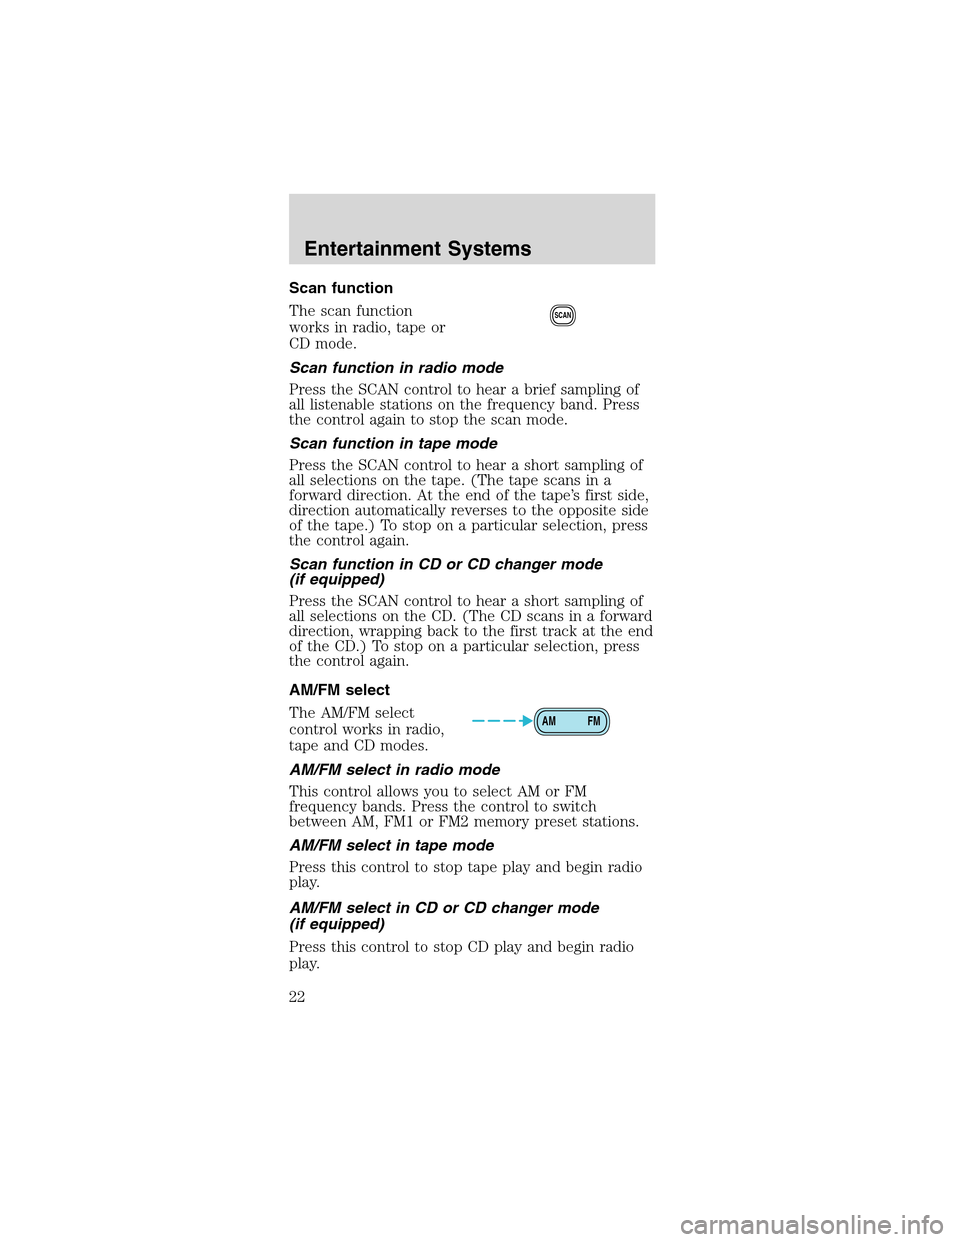
Scan function
The scan function
works in radio, tape or
CD mode.
Scan function in radio mode
Press the SCAN control to hear a brief sampling of
all listenable stations on the frequency band. Press
the control again to stop the scan mode.
Scan function in tape mode
Press the SCAN control to hear a short sampling of
all selections on the tape. (The tape scans in a
forward direction. At the end of the tape’s first side,
direction automatically reverses to the opposite side
of the tape.) To stop on a particular selection, press
the control again.
Scan function in CD or CD changer mode
(if equipped)
Press the SCAN control to hear a short sampling of
all selections on the CD. (The CD scans in a forward
direction, wrapping back to the first track at the end
of the CD.) To stop on a particular selection, press
the control again.
AM/FM select
The AM/FM select
control works in radio,
tape and CD modes.
AM/FM select in radio mode
This control allows you to select AM or FM
frequency bands. Press the control to switch
between AM, FM1 or FM2 memory preset stations.
AM/FM select in tape mode
Press this control to stop tape play and begin radio
play.
AM/FM select in CD or CD changer mode
(if equipped)
Press this control to stop CD play and begin radio
play.
SCAN
AM FM
Entertainment Systems
22
Page 23 of 256

Radio station memory preset
The radio is equipped with six station memory
preset controls. These controls can be used to select
up to six preset AM stations and twelve FM stations
(six in FM1 and six in FM2).
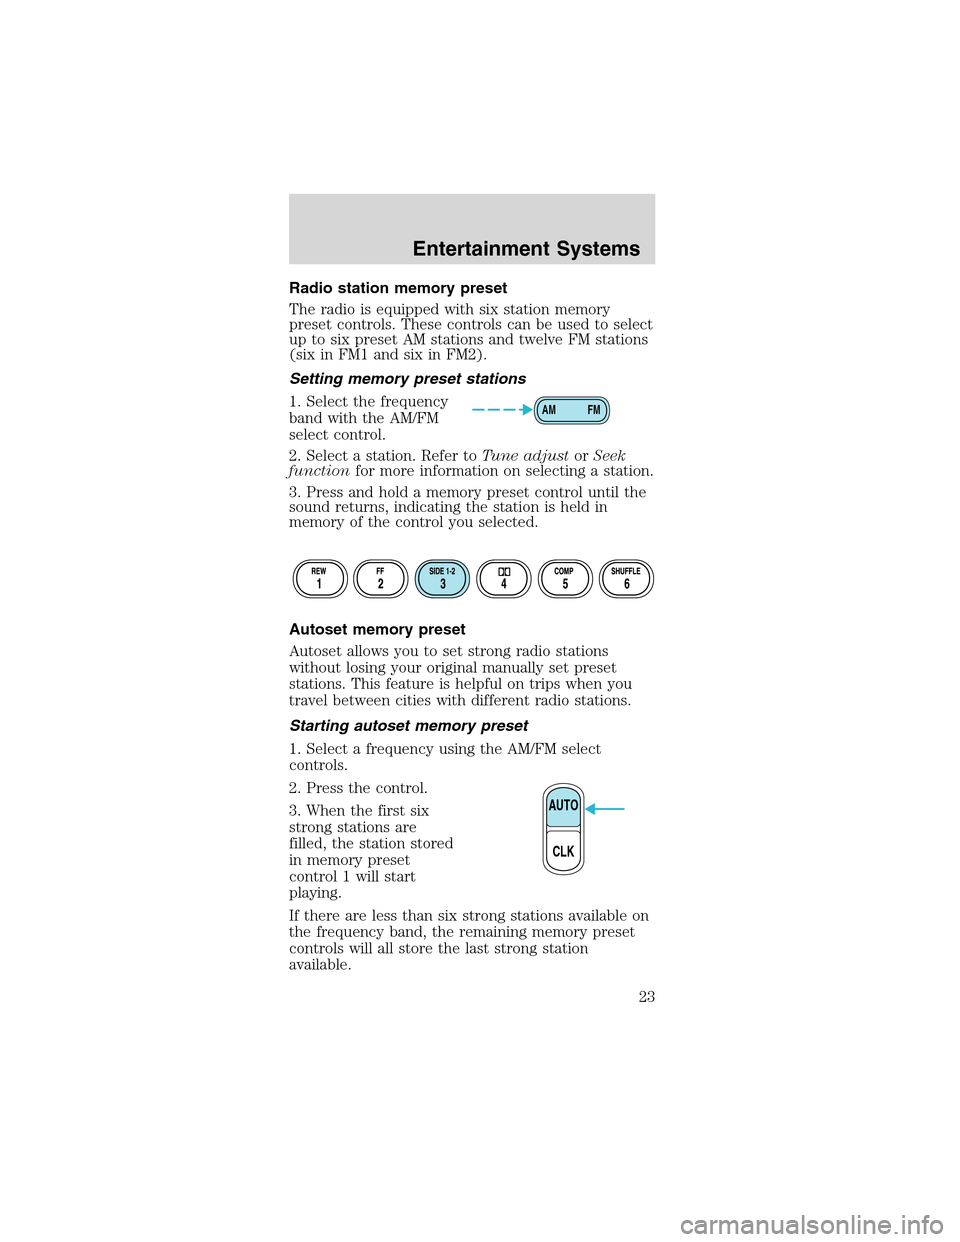
Setting memory preset stations
1. Select the frequency
band with the AM/FM
select control.
2. Select a station. Refer toTune adjustorSeek
functionfor more information on selecting a station.
3. Press and hold a memory preset control until the
sound returns, indicating the station is held in
memory of the control you selected.
Autoset memory preset
Autoset allows you to set strong radio stations
without losing your original manually set preset
stations. This feature is helpful on trips when you
travel between cities with different radio stations.
Starting autoset memory preset
1. Select a frequency using the AM/FM select
controls.
2. Press the control.
3. When the first six
strong stations are
filled, the station stored
in memory preset
control 1 will start
playing.
If there are less than six strong stations available on
the frequency band, the remaining memory preset
controls will all store the last strong station
available.
AM FM
AUTO
CLK
Entertainment Systems
23
Page 24 of 256
These stations are temporarily stored in the memory
preset controls (until deactivated) and are accessed
in the same manner as your original presets.
To deactivate autoset and return to your audio
system’s manually set memory stations, press the
AUTO control again.
Setting the clock
To set the hour, press
and hold the CLK
control and press
SEEK:
•
to decrease
hours and
•
to increase
hours.
To set the minute,
press and hold the CLK
control and press
TUNE:
•
to decrease
minutes and
•
to increase
minutes.
If your vehicle has a separate clock, (other than the
digital radio display), the CLK control will not
function in the above manner.
The CLK control will
allow you to switch
between media display
mode (radio station,
stereo information,
etc.) and clock display
mode (time). When in
AUTO
CLK
AUTO
CLK
AUTO
CLK
Entertainment Systems
24