Page 19 of 216

Press the security release control and remove the front panel. To
reposition the panel, insert the right-hand edge first, then the left-hand
side, until the retaining latch is engaged.
Replacement panels:Your Ford Dealer will require the following if you
need to order a replacement panel:
•Your name and address.
•The vehicle identification number (visible in the corner of the
windscreen).
•The audio unit type.
•Proof of identification (i.e. driver’s license).
•A vehicle invoice (if the audio unit was installed in the vehicle prior to
delivery) or a parts invoice if the audio unit was purchased separately
form the vehicle, or an appropriate vehicle registration document.
9.Clock:Press and hold CLK until
the hour digit flashes. Turn the
volume control to increase/decrease
the hours. Press again to set the minutes. Turn the volume control to
increase/decrease the minutes.
10.Power/volume:Press to turn
ON/OFF; turn to increase or
decrease volume levels. The display
will indicate the level selected.
11.Scan:Press SCAN to hear a
brief sampling of all listenable radio
stations. Press again to stop.
12.Bass/Treble:Press once for
bass, twice for treble. Turn the
volume control to decrease/increase
the output. The display will indicate the level selected.
13.AMS(Automatic Music Search):
Press to advance to the next tape
selection.
14.Fade/Balance:Press once for
fade and twice for balance. Turn the
volume control to shift sound to the
rear/front speakers, or to the left and right speakers.
VOL ON/OFF
SCAN
FADE/BALBASS/TREB
FADE/BALBASS/TREB
Entertainment Systems
19
Page 22 of 216

Replacement panels:Your Ford Dealer will require the following if you
need to order a replacement panel:
•Your name and address.
•The vehicle identification number (visible in the corner of the
windscreen).
•The audio unit type.
•Proof of identification (i.e. driver’s license).
•A vehicle invoice (if the audio unit was installed in the vehicle prior to
delivery) or a parts invoice if the audio unit was purchased separately
form the vehicle, or an appropriate vehicle registration document.
8.Clock:Press and hold until the
hour digit flashes. Turn the volume
control to increase/decrease the
hours. Press again to set the minutes. Turn the volume control to
increase/decrease the minutes.
9.Power/volume:Press to turn
ON/OFF; turn to increase or
decrease volume levels. The system
may function for up to an hour after
the ignition is turned off.
10.Scan:Press for a brief sampling
of all listenable radio stations or CD
tracks. Press again to stop.
11.Bass/Treble:Press once for
bass, twice for treble. Turn the
volume control to increase/decrease
the output. The display will indicate the level selected.
12.Fade/Balance:Press once for
fade and twice for balance. Turn the
volume control to shift sound to the
rear/front speakers or to the left/right speakers.
13.Eject:Press to eject the CD.
VOL ON/OFF
SCAN
FADE/BALBASS/TREB
FADE/BALBASS/TREB
Entertainment Systems
22
Page 26 of 216

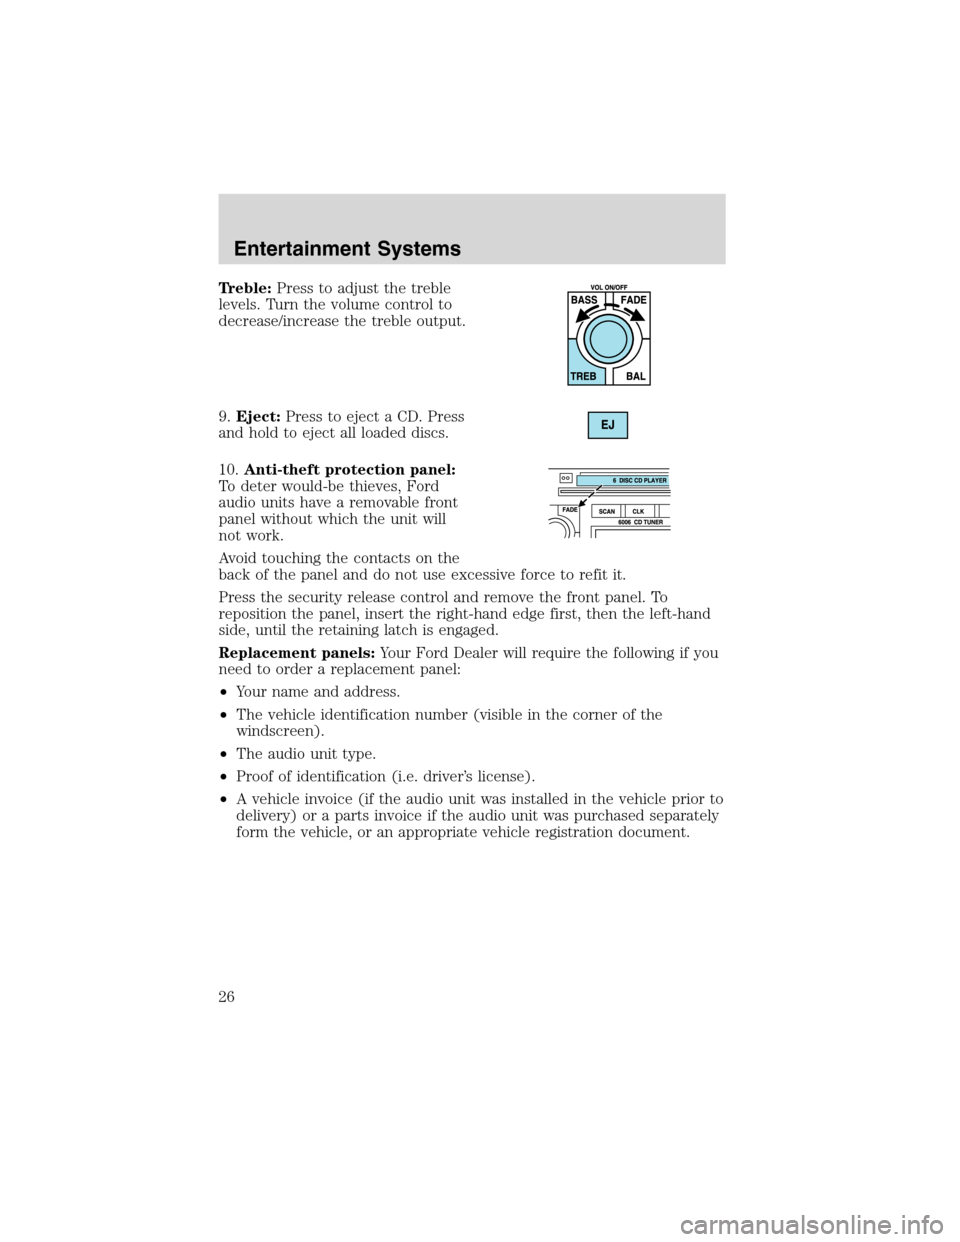
Treble:Press to adjust the treble
levels. Turn the volume control to
decrease/increase the treble output.
9.Eject:Press to eject a CD. Press
and hold to eject all loaded discs.
10.Anti-theft protection panel:
To deter would-be thieves, Ford
audio units have a removable front
panel without which the unit will
not work.
Avoid touching the contacts on the
back of the panel and do not use excessive force to refit it.
Press the security release control and remove the front panel. To
reposition the panel, insert the right-hand edge first, then the left-hand
side, until the retaining latch is engaged.
Replacement panels:Your Ford Dealer will require the following if you
need to order a replacement panel:
•Your name and address.
•The vehicle identification number (visible in the corner of the
windscreen).
•The audio unit type.
•Proof of identification (i.e. driver’s license).
•A vehicle invoice (if the audio unit was installed in the vehicle prior to
delivery) or a parts invoice if the audio unit was purchased separately
form the vehicle, or an appropriate vehicle registration document.
Entertainment Systems
26
Page 56 of 216
•Depress the brake pedal until the
desired vehicle speed is reached,
press the SET ACCEL control.
Turning off speed control
Press the speed control OFF
control.
Note:When you turn off the speed
control or the ignition, your speed
control set speed memory is erased.
MOON ROOF (SUNROOF) (IF EQUIPPED)
You can move the glass panel of the moon roof back to open or tilt up to
ventilate the vehicle.
To open the moon roof:
•Press and release the
portion
of the moon roof control to open.
•Press and hold (as desired)
the
portion of the moon roof
control to close.
•To halt motion at any point
during one-touch opening, press
the control a second time.
Driver Controls
56
Page 57 of 216

To vent:
•To tilt the moon roof into the vent position (when the glass panel is
closed), press and hold the front portion of the control.
•To close the moon roof from the vent position, press and hold the rear
portion of the control until the glass panel stops moving.
Before operating the moonroof you should verify that it is free of
obstructions and ensure that children and/or pets are not in the
proximity of moon roof opening.
Do not let children play with the moon roof. They may seriously
hurt themselves.
Relearning function:In case the moon roof does not close properly
anymore, follow this relearning procedure.
•Tilt the moon roof into the vent position as far as possible. Release the
switch.
•Press and hold the same switch again for 30 seconds until you see the
moon roof move.
•Release the switch and immediately press and hold it again. The moon
roof will close, open fully and then close again. Do not release the
switch before the moon roof has reached the closed position for the
second time.
Safety mode:If the system detects a malfunction, it enters a safety
mode. The moon roof will move about 0.5 seconds at a time and then
stop again. Press the switch again and again until the moon roof is
closed. Have the system checked by your Ford Dealer immediately.
REMOTE LUGGAGE COMPARTMENT RELEASE (IF EQUIPPED)
To open the luggage compartment,
press the control.
The control does not function if the
vehicle is traveling faster then 7
km/h (4 mph).
Driver Controls
57
Page 61 of 216
LUGGAGE RACK (IF EQUIPPED)
The maximum recommended load is
100 kg (220 lbs) on the luggage
rack structure. The loadmust be
placed directly on the luggage rack.
The vehicle’s roof panelis not
designed to carry a load.
When loading the luggage rack, it is
recommended to evenly distribute
the load, as well as maintain a low center of gravity. Ensure that the load
is securely fastened.
Your fuel economy will decrease when you drive with items on the
luggage rack. When the rack is loaded, check the tightness of the rear
adjusting thumbwheel before driving and at each refueling stop.
Loaded vehicles, with a higher center of gravity, may handle
differently than unloaded vehicles. Extra precautions, such as
slower speeds and increased stopping distance, should be taken when
driving a heavily loaded vehicle.
Driver Controls
61
Page 63 of 216
Childproof door locks
•When these locks are set, the
rear doors cannot be opened from
the inside.
•The rear doors can be opened
from the outside when the doors
are unlocked.
The childproof locks are located on
rear edge of each rear door and
must be set separately for each
door. Setting the lock for one door
will not automatically set the lock
for both doors.
•Insert the key and turn to the
lock position (key vertical) to
engage the childproof locks.
•Insert the key and turn to the
unlock position (key horizontal)
to disengage the childproof locks.
INTERIOR LUGGAGE COMPARTMENT RELEASE
Your vehicle is equipped with a mechanical interior luggage compartment
release handle that provides a means of escape for children and adults in
the event they become locked inside the luggage compartment.
Adults are advised to familiarize themselves with the operation and
location of the release handle.
Locks and Security
63
Page 130 of 216
The fuses are coded as follows.
Fuse/Relay
LocationFuse Amp
RatingPassenger Compartment Fuse
Panel Description
R17—Starter relay
R18–Rear intermittent relay
R19—Front wiper intermittent relay
R20—Not used
R21—Not used
R22—Not used
R23—Horn relay
R24—Battery saver relay
R25—Rear defrost relay
30 10A Light switch
31 15A Radio
32 15A Turn signal
33 20A Horn, Power seats (SVT only)
34 20A Power sunroof
35 7.5A Interior lamps, Power mirrors
36 7.5A A/C switch, Hazard flasher,
Instrument cluster
37—Not used
38—Not used
39—Not used
40 10A Backup lamps (automatic
transaxle)
41 7.5A Radio and cluster (accessory)
42 15A Stop lamps
43 15A Rear wiper
44 20A Fog lamps
45 7.5A Recirculated air, Air conditioning
46 7.5A Anti-lock Brake System (ABS)
47 20A Cigar lighter, Rear power point
(SVT only)
Roadside Emergencies
130