2003 FORD F350 roof
[x] Cancel search: roofPage 43 of 280

“E”for Europe to assure lamp performance, light brightness and pattern
and safe visibility. The correct bulbs will not damage the lamp assembly
or void the lamp assembly warranty and will provide quality bulb burn
time.
Function Number of
bulbsTrade number
Headlamps (aerodynamic) 2 9007
Headlamps (sealed beam) 2 H6054
Park/turn 2 3157
Sidemarker 2 194
Tail/stop/turn/sidemarker 2 3157 K
Backup 2 3156K
High-mount stoplamp 1 921
Foglamp 2 899
License plate lamp 2 168
Cargo lamp 2 906
Roofmarker 5 194
Rear fender clearance* 4
(a)
Interior visor lamp (if equipped) 4 194
Rear identification 3 194
All replacement bulbs are clear in color except where noted.
To replace all instrument panel lights - see your dealer
(a)Replace entire lamp assembly; bulb is not serviceable.
* Dual rear wheels or if equipped.
Replacing headlamp bulbs (aerodynamic)
1. Make sure that the headlamp control is in the OFF position open the
hood.
2. Disconnect the electrical connector from the bulb by pulling rearward.
Lights
43
ProCarManuals.com
Page 47 of 280

Replacing cargo lamp and high-mount brakelamp bulbs
1. Make sure the headlamp switch is
in the OFF position.
2. Remove the two screws and lamp
assembly from vehicle as wiring
permits.
3. Remove the bulb socket by
rotating counterclockwise.
4. Pull the bulb straight out of the
socket.
Replacing roof marker bulbs
1. Make sure the headlamp switch is
in the OFF position.
2. Remove the screw and lens from
the lamp assembly.
3. Pull the bulb straight out of the
socket.
Replacing foglamp bulbs (if equipped)
1. Make sure the headlamp switch is
in the OFF position.
2. Remove the bulb socket from the
foglamp by turning
counterclockwise.
3. Disconnect the electrical connector from the foglamp bulb.
Install the new bulb(s) in reverse order.
Lights
47
ProCarManuals.com
Page 52 of 280

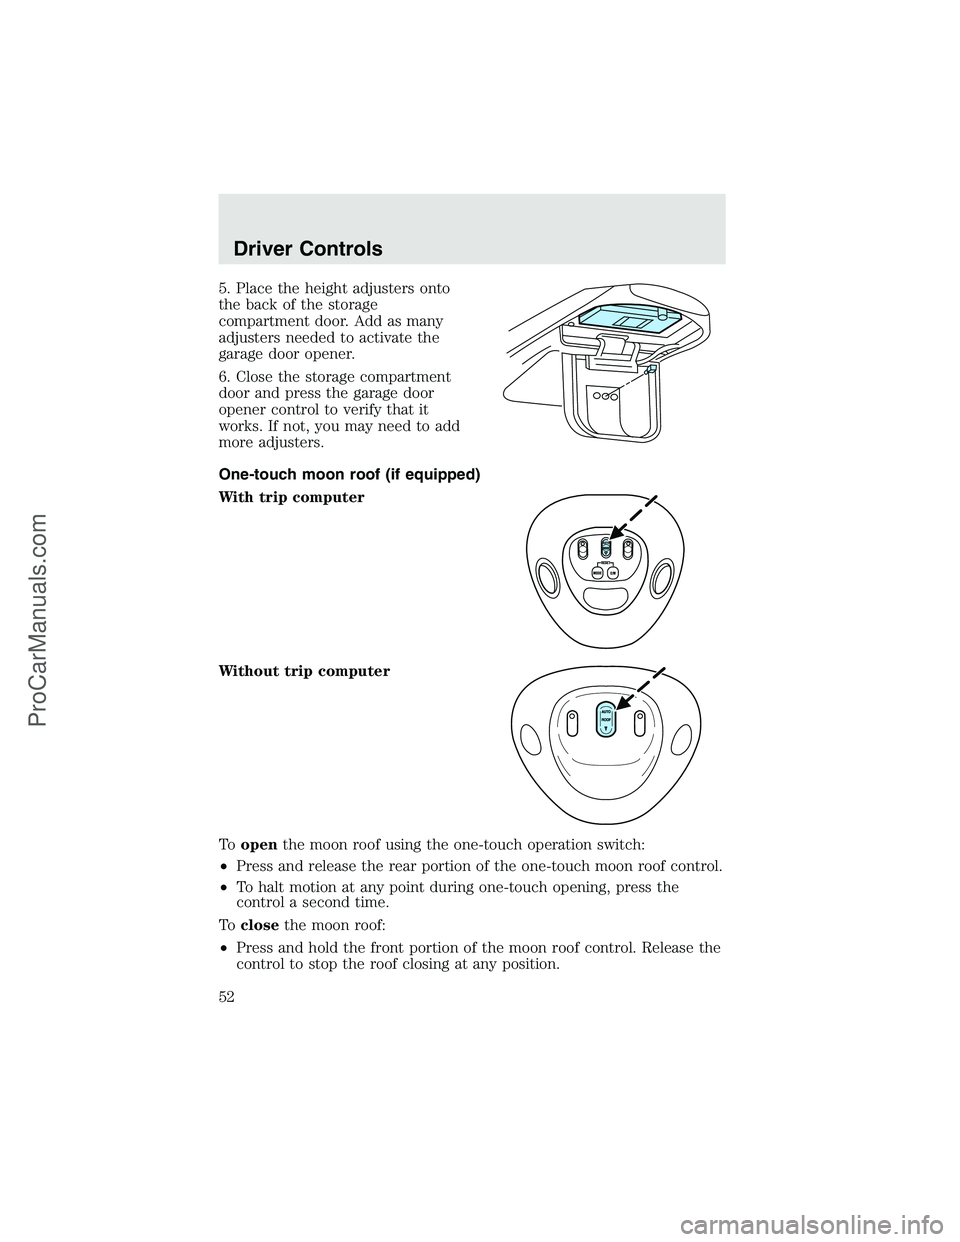
5. Place the height adjusters onto
the back of the storage
compartment door. Add as many
adjusters needed to activate the
garage door opener.
6. Close the storage compartment
door and press the garage door
opener control to verify that it
works. If not, you may need to add
more adjusters.
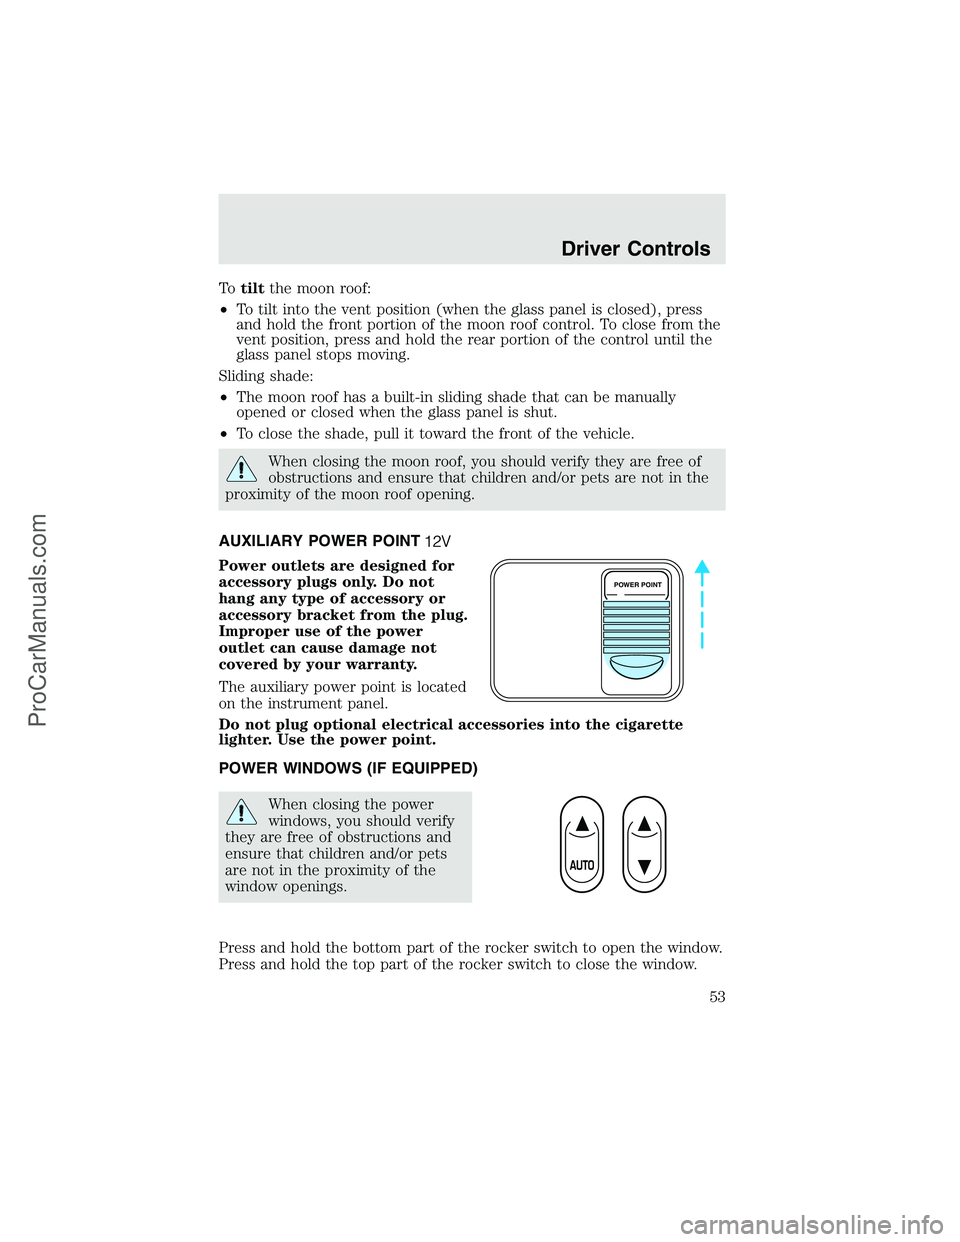
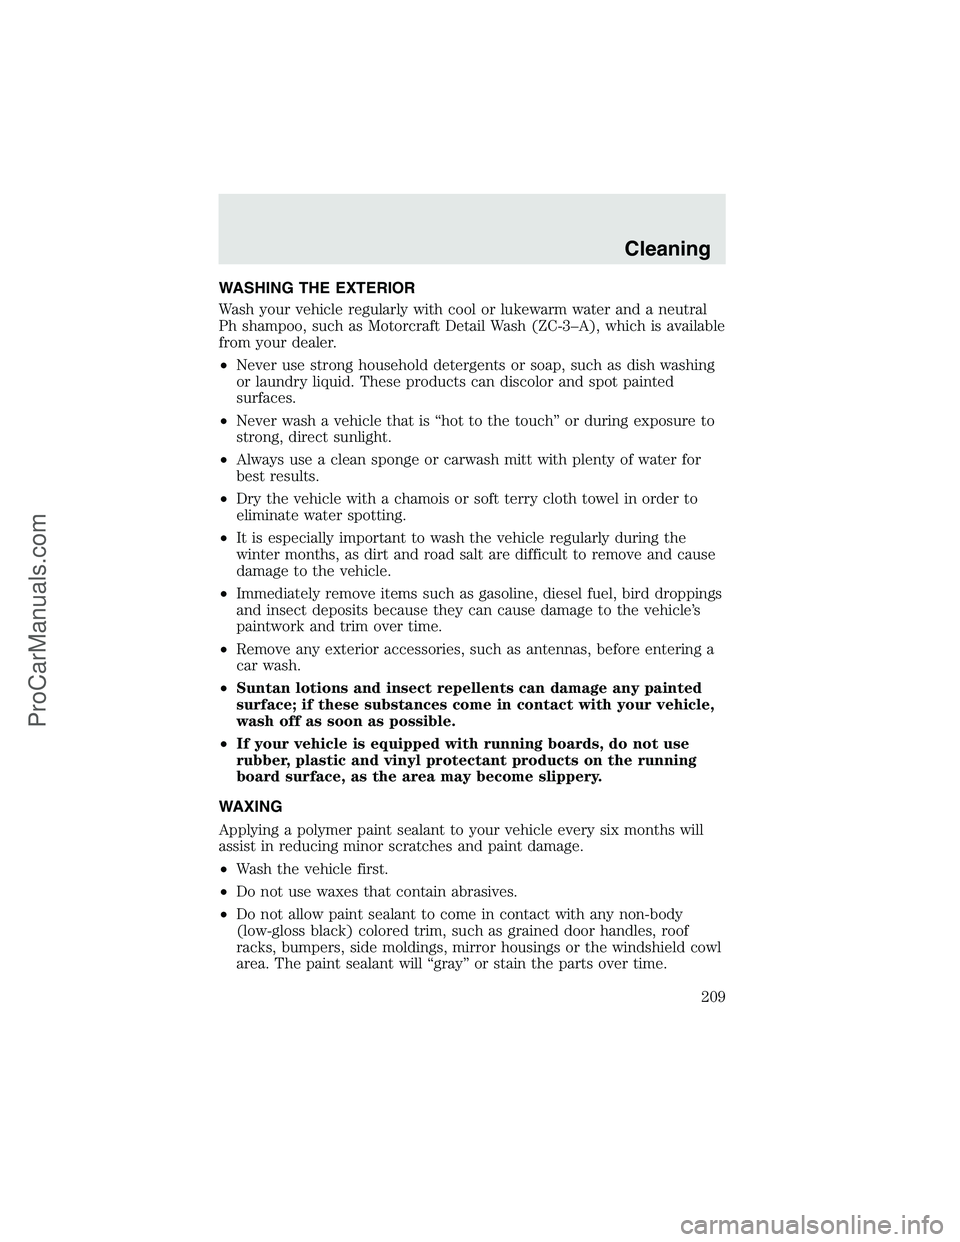
One-touch moon roof (if equipped)
With trip computer
Without trip computer
Toopenthe moon roof using the one-touch operation switch:
•Press and release the rear portion of the one-touch moon roof control.
•To halt motion at any point during one-touch opening, press the
control a second time.
Toclosethe moon roof:
•Press and hold the front portion of the moon roof control. Release the
control to stop the roof closing at any position.
Driver Controls
52
ProCarManuals.com
Page 53 of 280

Totiltthe moon roof:
•To tilt into the vent position (when the glass panel is closed), press
and hold the front portion of the moon roof control. To close from the
vent position, press and hold the rear portion of the control until the
glass panel stops moving.
Sliding shade:
•The moon roof has a built-in sliding shade that can be manually
opened or closed when the glass panel is shut.
•To close the shade, pull it toward the front of the vehicle.
When closing the moon roof, you should verify they are free of
obstructions and ensure that children and/or pets are not in the
proximity of the moon roof opening.
AUXILIARY POWER POINT
Power outlets are designed for
accessory plugs only. Do not
hang any type of accessory or
accessory bracket from the plug.
Improper use of the power
outlet can cause damage not
covered by your warranty.
The auxiliary power point is located
on the instrument panel.
Do not plug optional electrical accessories into the cigarette
lighter. Use the power point.
POWER WINDOWS (IF EQUIPPED)
When closing the power
windows, you should verify
they are free of obstructions and
ensure that children and/or pets
are not in the proximity of the
window openings.
Press and hold the bottom part of the rocker switch to open the window.
Press and hold the top part of the rocker switch to close the window.
POWER POINT
Driver Controls
53
ProCarManuals.com
Page 66 of 280

Childproof door locks
•When these locks are set, the
rear doors cannot be opened from
the inside.
•The rear doors can be opened
from the outside when the doors
are unlocked.
The childproof locks are located on
rear edge of each rear door and
must be set separately for each
door. Setting the lock for one door
will not automatically set the lock
for both doors.
•Move lock control up to engage
the childproof lock.
•Move control down to disengage
childproof locks.
REMOTE ENTRY SYSTEM (IF EQUIPPED)
This device complies with part 15 of the FCC rules and with RS-210 of
Industry Canada. Operation is subject to the following two conditions:
(1) This device may not cause harmful interference, and (2) This device
must accept any interference received, including interference that may
cause undesired operation.
Changes or modifications not expressly approved by the party
responsible for compliance could void the user’s authority to
operate the equipment.
Locks and Security
66
ProCarManuals.com
Page 181 of 280

Fuse/Relay
LocationFuse Amp
RatingPassenger Compartment Fuse Panel
Description
36 10A* PCM Memory
37 15A* Horn
38 20A* Trailer tow park lamps
39 15A* Trailer tow back-up lamps
40 20A* Fuel pump
41 10A* Instrument cluster
42 15A* Delayed accessory
43 10A* Fog lamps
44—Not used
45 10A* Ignition switch Run/Start feed
46 10A* Left-hand lowbeam
47 10A* Right-hand lowbeam
48—Not used
101 30A** Trailer tow electric brake
102 30A** Door locks/Body security module
103 50A** Ignition switch (gasoline engine only),
FICM power (Diesel engine only)
104 40A** Heated backlight
105 30A** Fuel heater (Diesel engine only)
106 30A** Front wiper main
107 40A** Front blower motor
108—Not used
109 30A** Heated seats
110 50A** Ignition switch
111 30A** 4WD/Shift on the fly
112 30A** Left-hand power seats
113 30A** Starter motor
114 30A** Right-hand power seats
115 20A** Trailer tow battery charge
116 30A** Ignition switch
601 30A CB*** Window motors, Moonroof
Roadside Emergencies
181
ProCarManuals.com
Page 209 of 280

WASHING THE EXTERIOR
Wash your vehicle regularly with cool or lukewarm water and a neutral
Ph shampoo, such as Motorcraft Detail Wash (ZC-3–A), which is available
from your dealer.
•Never use strong household detergents or soap, such as dish washing
or laundry liquid. These products can discolor and spot painted
surfaces.
•Never wash a vehicle that is“hot to the touch”or during exposure to
strong, direct sunlight.
•Always use a clean sponge or carwash mitt with plenty of water for
best results.
•Dry the vehicle with a chamois or soft terry cloth towel in order to
eliminate water spotting.
•It is especially important to wash the vehicle regularly during the
winter months, as dirt and road salt are difficult to remove and cause
damage to the vehicle.
•Immediately remove items such as gasoline, diesel fuel, bird droppings
and insect deposits because they can cause damage to the vehicle’s
paintwork and trim over time.
•Remove any exterior accessories, such as antennas, before entering a
car wash.
•Suntan lotions and insect repellents can damage any painted
surface; if these substances come in contact with your vehicle,
wash off as soon as possible.
•If your vehicle is equipped with running boards, do not use
rubber, plastic and vinyl protectant products on the running
board surface, as the area may become slippery.
WAXING
Applying a polymer paint sealant to your vehicle every six months will
assist in reducing minor scratches and paint damage.
•Wash the vehicle first.
•Do not use waxes that contain abrasives.
•Do not allow paint sealant to come in contact with any non-body
(low-gloss black) colored trim, such as grained door handles, roof
racks, bumpers, side moldings, mirror housings or the windshield cowl
area. The paint sealant will“gray”or stain the parts over time.
Cleaning
209
ProCarManuals.com
Page 278 of 280

Inspection/maintenance (I/M)
testing ........................................239
Instrument panel
cleaning ...................................212
cluster ........................................12
lighting up panel and
interior .......................................41
J
Jump-starting your vehicle ......193
K
Keyless entry system
autolock .....................................70
Keys
positions of the ignition .........110
L
Lamps
autolamp system .......................39
bulb replacement
specifications chart ..................42
cargo lamps ...............................41
daytime running light ...............40
fog lamps ...................................40
headlamps .................................39
headlamps, flash to pass ..........41
instrument panel, dimming .....41
interior lamps ...........................42
replacing bulbs ...................42–48
Lane change indicator
(see Turn signal) ........................41
Lights, warning and indicator ....12
anti-lock brakes (ABS) ..........115
speed control ............................59
Load limits .................................144
GAWR ......................................144
GVWR ......................................144trailer towing ..........................144
Loading instructions .................145
Locks
autolock .....................................70
childproof ..................................66
Lubricant specifications ...258, 261
Lumbar support, seats ...............76
M
Manual transmission .................124
fluid capacities ........................254
lubricant specifications ..........261
reverse .....................................125
Message center ...........................60
english/metric button ...............61
menu button .............................61
Mirrors .........................................51
fold away ...................................56
heated ........................................55
side view mirrors (power) .......54
Moon roof ....................................52
Motorcraft parts ................234, 254
O
Octane rating ............................233
Oil (see Engine oil) ..................219
Overdrive .....................................50
P
Parking brake ............................116
Parts (see Motorcraft parts) ....254
Pedals (see Power adjustable
foot pedals) .................................57
Power adjustable foot pedals .....57
Index
278
ProCarManuals.com