Page 1 of 280
Introduction 4
Instrument Cluster 12
Warning and control lights 12
Gauges 16
Entertainment Systems 20
AM/FM stereo 20
AM/FM stereo cassette 22
AM/FM stereo cassette with CD 25
AM/FM stereo with CD 29
CD changer 32
Climate Controls 36
Heater only 36
Manual heating and air conditioning 37
Lights 39
Headlamps 39
Turn signal control 41
Bulb replacement 42
Driver Controls 49
Windshield wiper/washer control 49
Steering wheel adjustment 50
Power windows 53
Mirrors 54
Speed control 57
Message center 60
Table of Contents
1
ProCarManuals.com
Page 51 of 280

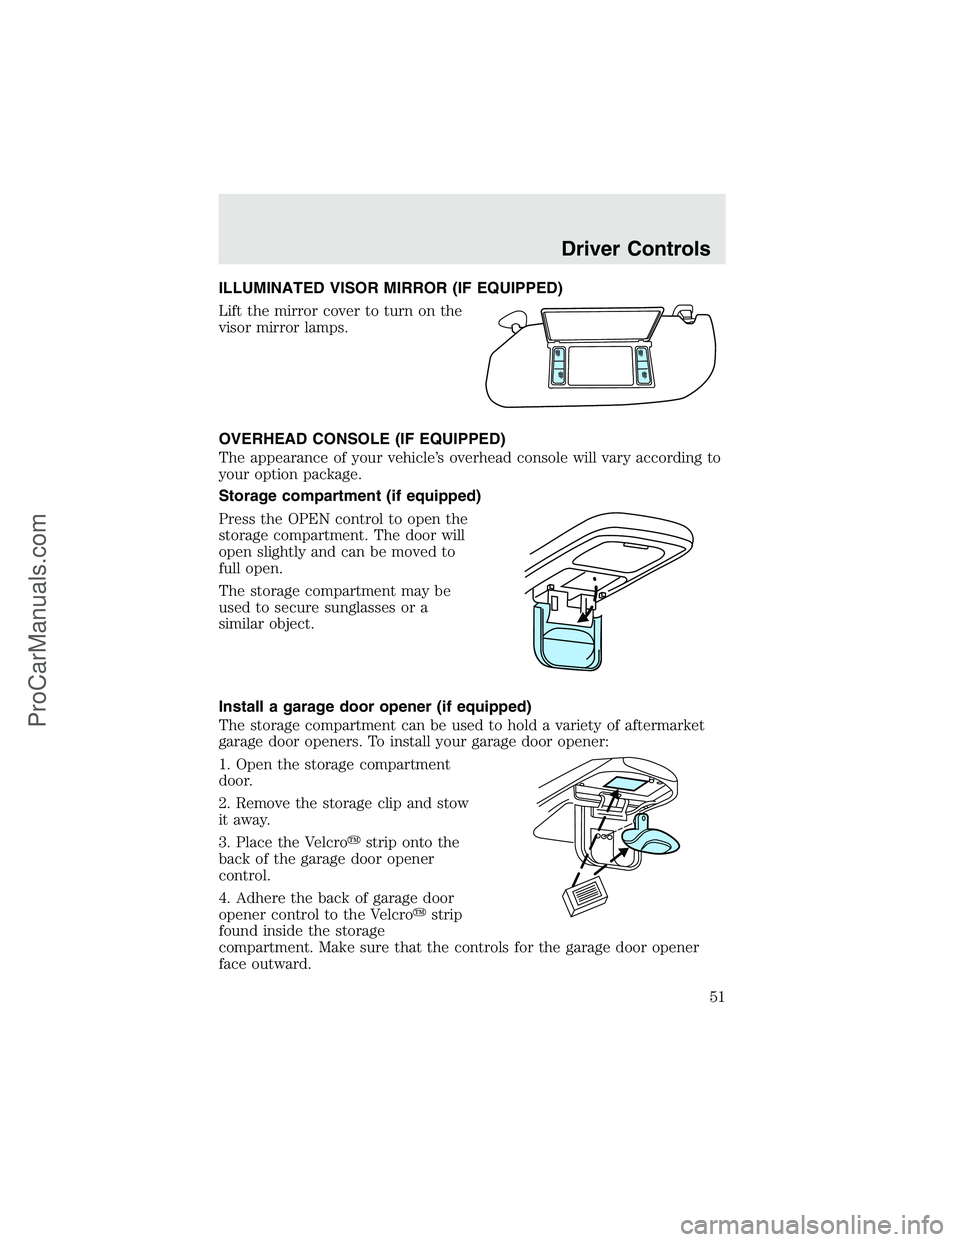
ILLUMINATED VISOR MIRROR (IF EQUIPPED)
Lift the mirror cover to turn on the
visor mirror lamps.
OVERHEAD CONSOLE (IF EQUIPPED)
The appearance of your vehicle’s overhead console will vary according to
your option package.
Storage compartment (if equipped)
Press the OPEN control to open the
storage compartment. The door will
open slightly and can be moved to
full open.
The storage compartment may be
used to secure sunglasses or a
similar object.
Install a garage door opener (if equipped)
The storage compartment can be used to hold a variety of aftermarket
garage door openers. To install your garage door opener:
1. Open the storage compartment
door.
2. Remove the storage clip and stow
it away.
3. Place the Velcro�strip onto the
back of the garage door opener
control.
4. Adhere the back of garage door
opener control to the Velcro�strip
found inside the storage
compartment. Make sure that the controls for the garage door opener
face outward.
Driver Controls
51
ProCarManuals.com
Page 54 of 280
One touch down
Allows the driver’s window to open
fully without holding the control
down. Press completely down on
AUTO and release quickly. Press
again to stop.
Window lock (if equipped)
The window lock feature allows only
the driver to operate the power
windows.
To lock out all the window controls
except for the driver’s press the left
side of the control. Press the right
side to restore the window controls.
Accessory delay (if equipped)
With accessory delay, the window switches may be used for up to ten
minutes after the ignition switch is turned to the OFF position or until
any door is opened.
POWER SIDE VIEW MIRRORS (IF EQUIPPED)
To adjust your mirrors
1. SelectLto adjust the left mirror
orRto adjust the right mirror.
2. Move the control in the direction
you wish to tilt the mirror.
3. Return to the center position to
disable the adjust function.
Driver Controls
54
ProCarManuals.com
Page 55 of 280

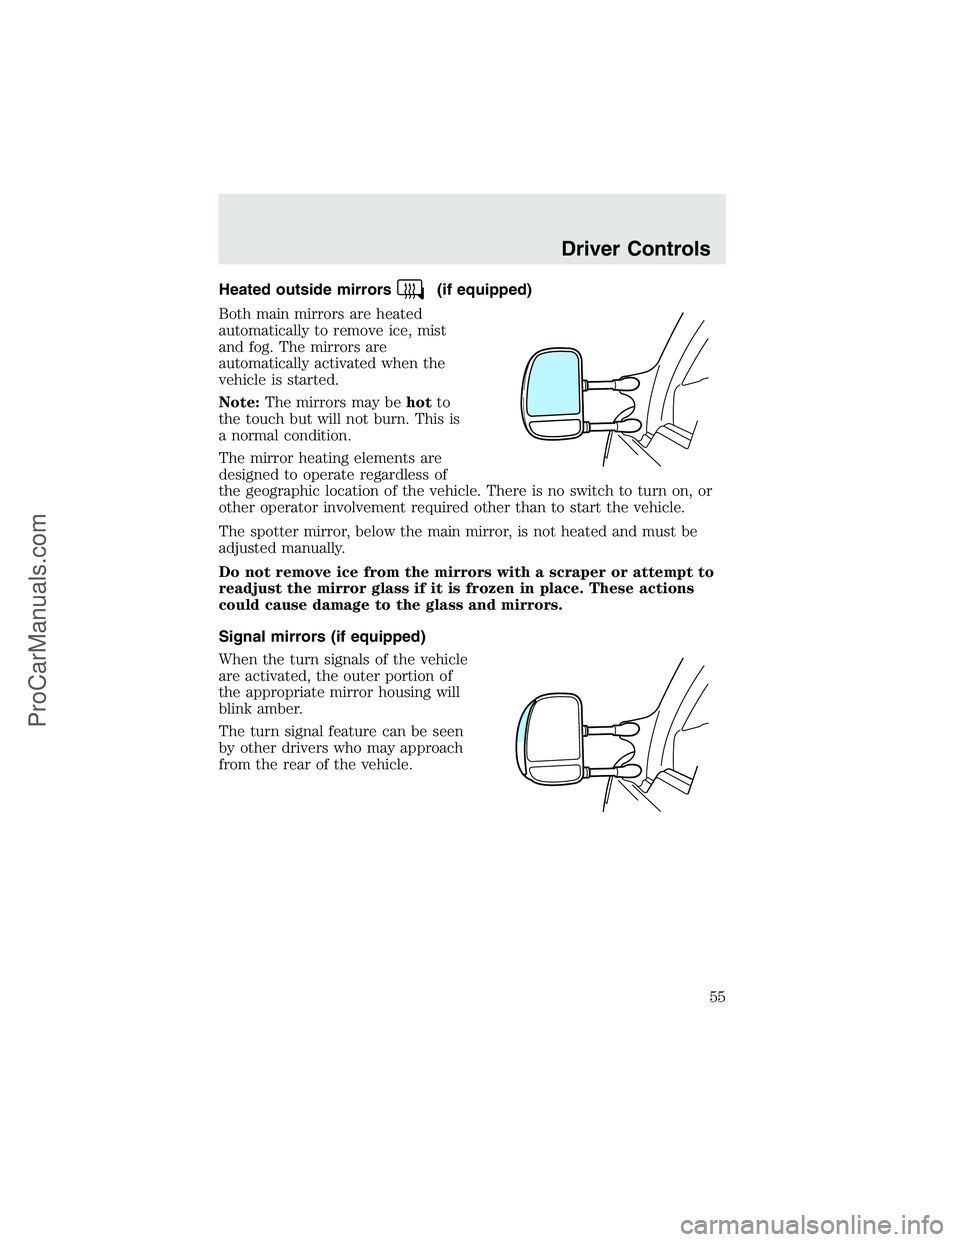
Heated outside mirrors(if equipped)
Both main mirrors are heated
automatically to remove ice, mist
and fog. The mirrors are
automatically activated when the
vehicle is started.
Note:The mirrors may behotto
the touch but will not burn. This is
a normal condition.
The mirror heating elements are
designed to operate regardless of
the geographic location of the vehicle. There is no switch to turn on, or
other operator involvement required other than to start the vehicle.
The spotter mirror, below the main mirror, is not heated and must be
adjusted manually.
Do not remove ice from the mirrors with a scraper or attempt to
readjust the mirror glass if it is frozen in place. These actions
could cause damage to the glass and mirrors.
Signal mirrors (if equipped)
When the turn signals of the vehicle
are activated, the outer portion of
the appropriate mirror housing will
blink amber.
The turn signal feature can be seen
by other drivers who may approach
from the rear of the vehicle.
Driver Controls
55
ProCarManuals.com
Page 56 of 280
Running lamps
Illuminates when the headlamps or
parking lamps are on.
This provides additional visibility of
your vehicle to other drivers on the
road.
Fold-away mirrors
The mirrors can be manually folded forward or backwards for narrow
spaces like driving through an automatic car wash or backing out of a
garage with the trailer tow mirror.
The telescoping feature (if equipped) allows the mirror to extend
approximately 76 mm (3 inches). This feature is especially useful to the
driver when towing a trailer.
Driver Controls
56
ProCarManuals.com
Page 179 of 280
To remove a fuse use the fuse puller
tool provided on the fuse panel
cover.
The fuses are coded as follows.
Fuse/Relay
LocationFuse Amp
RatingPassenger Compartment Fuse Panel
Description
1 15A* Adjustable pedals
2—Not used
3—Not used
4 20A* Power point - instrument panel
5—Not used
6 20A* Trailer tow turn/stop relay
7 30A* High beam headlamps/Flash to pass
8 15A* Backup lamps (Diesel engine only)
9 20A* Heated mirrors
10 10A* A/C clutch
11 20A* Radio (main)
Roadside Emergencies
179
ProCarManuals.com
Page 180 of 280

Fuse/Relay
LocationFuse Amp
RatingPassenger Compartment Fuse Panel
Description
12 20A* Cigar lighter / OBD II
13 5A* Power mirrors/switches
14 15A* Daytime running lamps (DRL)
15—Not used
16—Not used
17 15A* Exterior lamps
18 20A* Turn lamps/Brake on-off switch (high)
19 10A* Body security module/4x4 module
20 10A* Fuel Injection Control Module (FICM)
relay (Diesel engine only)
21—Not used
22 20A* Engine control
23 20A* Engine control (gasoline engine only),
Climate control (Diesel engine only)
24 2A* Brake pressure switch/Speed control
25 10A* 4-Wheel Anti-lock Brake System (4WABS)
module, Variable Fan Control (VFC)
(Diesel engine only)
26 10A* Air bags
27 15A* Ignition switch Run feed
28 10A* EATC module/Front blower relay coil
29 10A* Customer access
30 15A* Highbeam headlamps
31 15A* Clutch interlock switch (manual
transmissions only), Transmission range
sensor (automatic transmissions only)
then to starter relay coil (all
transmissions), 4x4
32 5A* Radio (start)
33 15A* Front wiper
34 10A* Brake on-off switch
35 10A* Instrument cluster
Roadside Emergencies
180
ProCarManuals.com
Page 209 of 280

WASHING THE EXTERIOR
Wash your vehicle regularly with cool or lukewarm water and a neutral
Ph shampoo, such as Motorcraft Detail Wash (ZC-3–A), which is available
from your dealer.
•Never use strong household detergents or soap, such as dish washing
or laundry liquid. These products can discolor and spot painted
surfaces.
•Never wash a vehicle that is“hot to the touch”or during exposure to
strong, direct sunlight.
•Always use a clean sponge or carwash mitt with plenty of water for
best results.
•Dry the vehicle with a chamois or soft terry cloth towel in order to
eliminate water spotting.
•It is especially important to wash the vehicle regularly during the
winter months, as dirt and road salt are difficult to remove and cause
damage to the vehicle.
•Immediately remove items such as gasoline, diesel fuel, bird droppings
and insect deposits because they can cause damage to the vehicle’s
paintwork and trim over time.
•Remove any exterior accessories, such as antennas, before entering a
car wash.
•Suntan lotions and insect repellents can damage any painted
surface; if these substances come in contact with your vehicle,
wash off as soon as possible.
•If your vehicle is equipped with running boards, do not use
rubber, plastic and vinyl protectant products on the running
board surface, as the area may become slippery.
WAXING
Applying a polymer paint sealant to your vehicle every six months will
assist in reducing minor scratches and paint damage.
•Wash the vehicle first.
•Do not use waxes that contain abrasives.
•Do not allow paint sealant to come in contact with any non-body
(low-gloss black) colored trim, such as grained door handles, roof
racks, bumpers, side moldings, mirror housings or the windshield cowl
area. The paint sealant will“gray”or stain the parts over time.
Cleaning
209
ProCarManuals.com