2003 FORD F350 trailer
[x] Cancel search: trailerPage 2 of 280
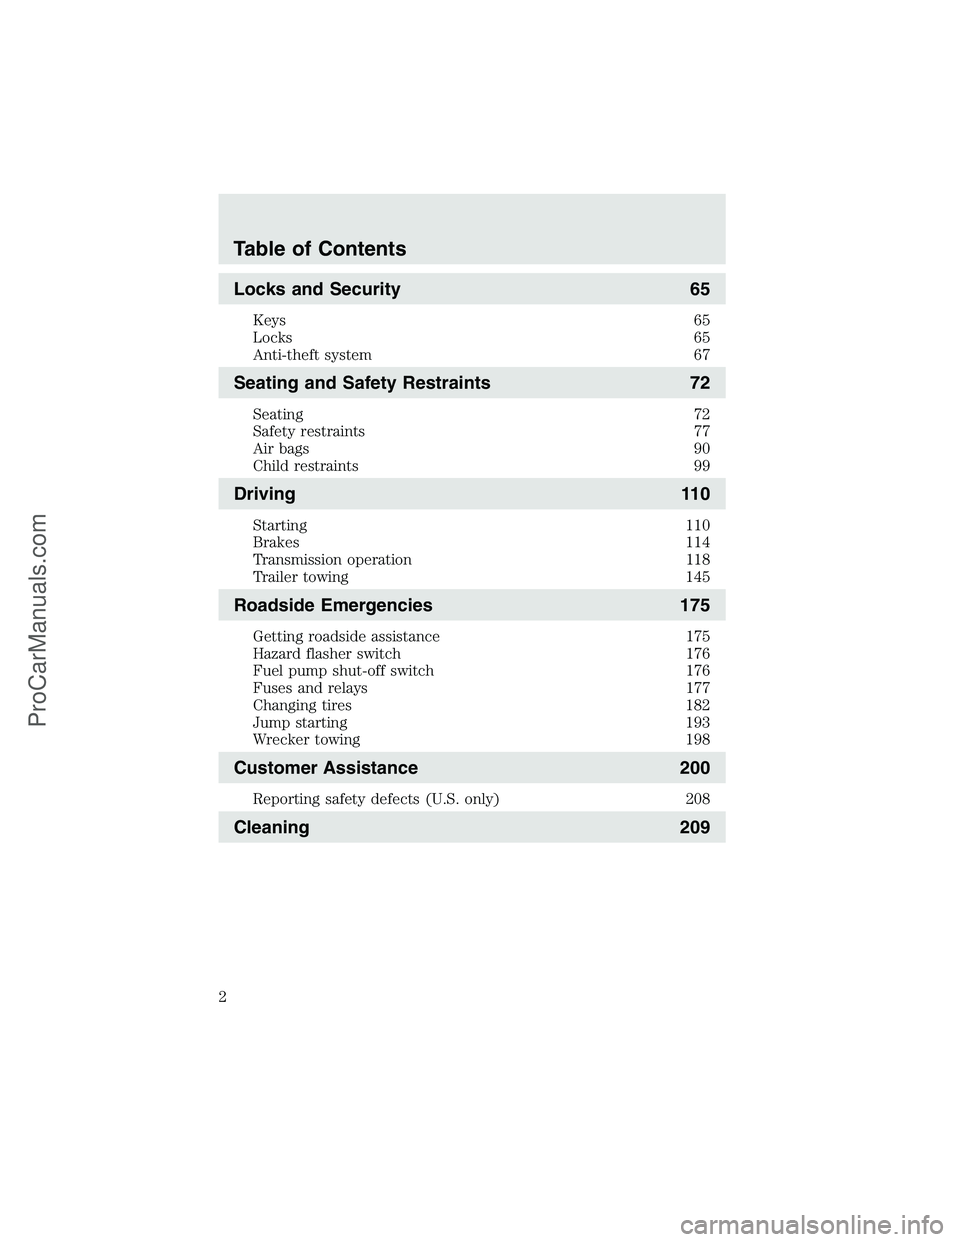
Locks and Security 65
Keys 65
Locks 65
Anti-theft system 67
Seating and Safety Restraints 72
Seating 72
Safety restraints 77
Air bags 90
Child restraints 99
Driving 110
Starting 110
Brakes 114
Transmission operation 118
Trailer towing 145
Roadside Emergencies 175
Getting roadside assistance 175
Hazard flasher switch 176
Fuel pump shut-off switch 176
Fuses and relays 177
Changing tires 182
Jump starting 193
Wrecker towing 198
Customer Assistance 200
Reporting safety defects (U.S. only) 208
Cleaning 209
Table of Contents
2
ProCarManuals.com
Page 6 of 280
BREAKING-IN YOUR VEHICLE
Your vehicle does not need an extensive break-in. Try not to drive
continuously at the same speed for the first 1,600 km (1,000 miles) of
new vehicle operation. Vary your speed to allow parts to adjust
themselves to other parts.
Drive your new vehicle for at least 800 km (500 miles) before towing a
trailer or snowplowing.
Do not add friction modifier compounds or special break-in oils during
the first few thousand kilometers (miles) of operation, since these
additives may prevent piston ring seating. SeeEngine oilin the
Maintenance and specificationschapter for more information on oil
usage.
SPECIAL NOTICES
Emission warranty
The New Vehicle Limited Warranty includes Bumper-to-Bumper
Coverage, Safety Restraint Coverage, Corrosion Coverage, and 6.0L
Power Stroke Diesel Engine Coverage. In addition, your vehicle is eligible
for Emissions Defect and Emissions Performance Warranties. For a
detailed description of what is covered and what is not covered, refer to
theWarranty Guidethat is provided to you along with your Owner’s
Guide.
Introduction
6
ProCarManuals.com
Page 56 of 280
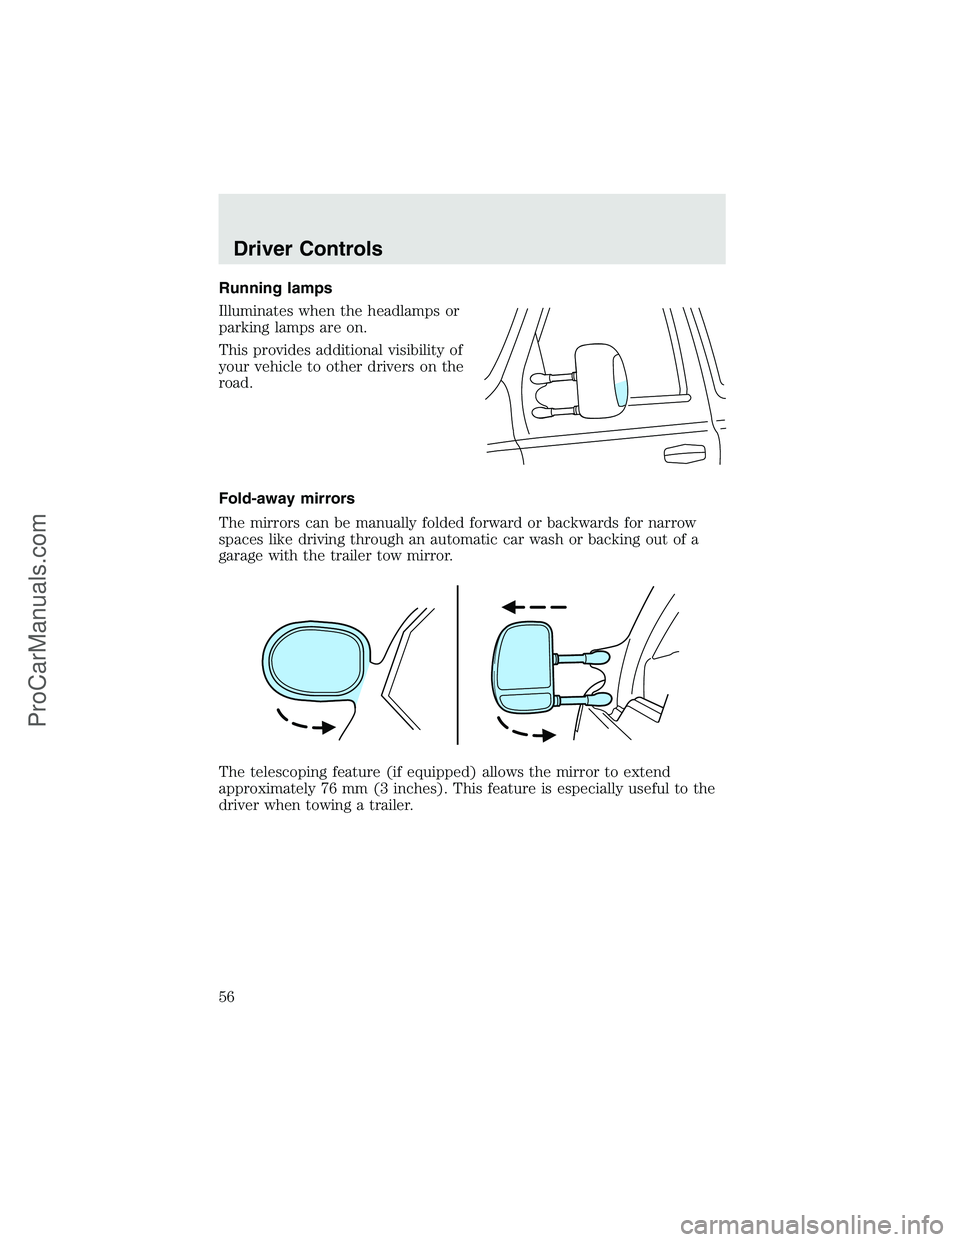
Running lamps
Illuminates when the headlamps or
parking lamps are on.
This provides additional visibility of
your vehicle to other drivers on the
road.
Fold-away mirrors
The mirrors can be manually folded forward or backwards for narrow
spaces like driving through an automatic car wash or backing out of a
garage with the trailer tow mirror.
The telescoping feature (if equipped) allows the mirror to extend
approximately 76 mm (3 inches). This feature is especially useful to the
driver when towing a trailer.
Driver Controls
56
ProCarManuals.com
Page 62 of 280
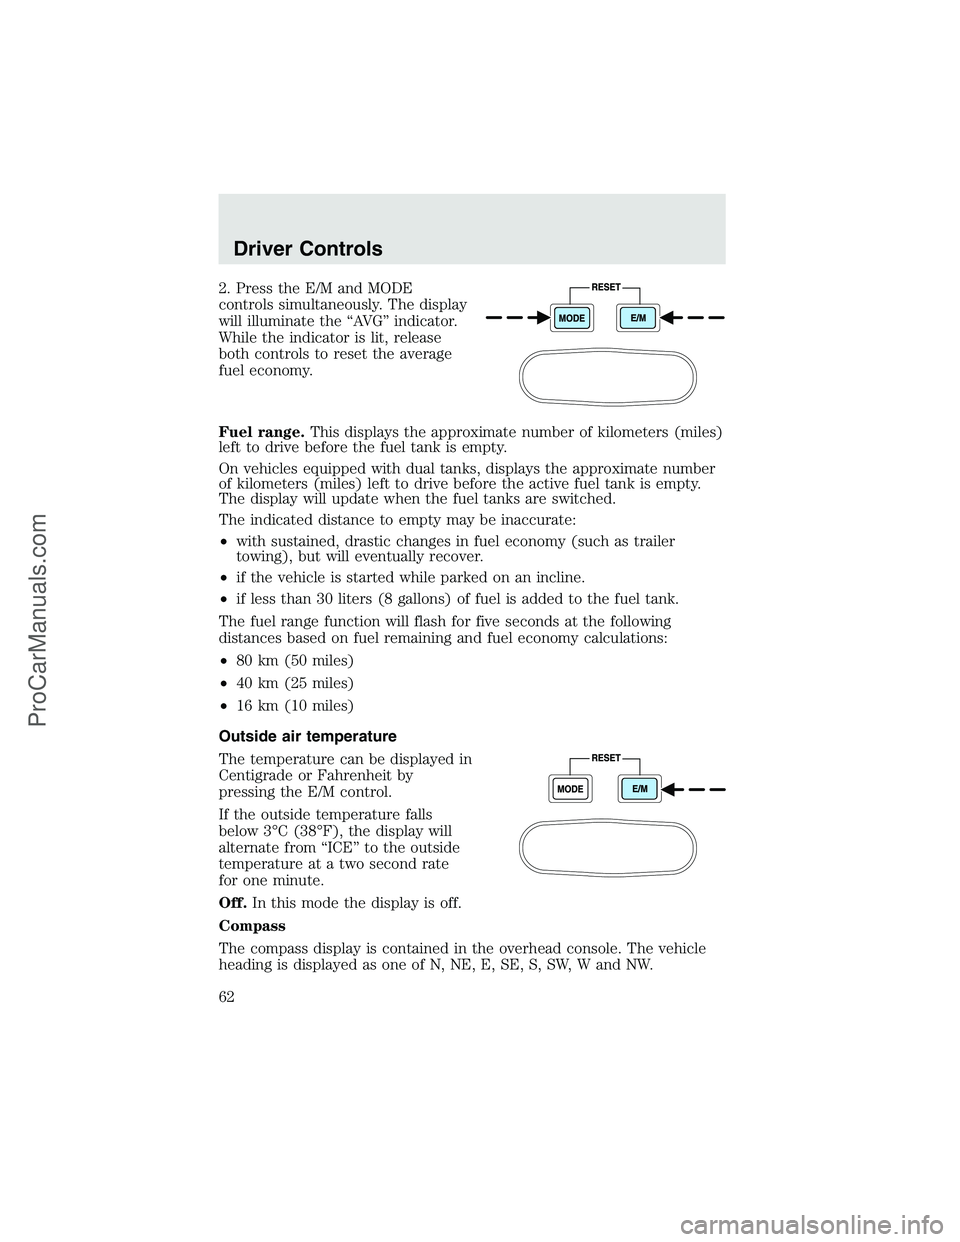
2. Press the E/M and MODE
controls simultaneously. The display
will illuminate the“AV G”indicator.
While the indicator is lit, release
both controls to reset the average
fuel economy.
Fuel range.This displays the approximate number of kilometers (miles)
left to drive before the fuel tank is empty.
On vehicles equipped with dual tanks, displays the approximate number
of kilometers (miles) left to drive before the active fuel tank is empty.
The display will update when the fuel tanks are switched.
The indicated distance to empty may be inaccurate:
•with sustained, drastic changes in fuel economy (such as trailer
towing), but will eventually recover.
•if the vehicle is started while parked on an incline.
•if less than 30 liters (8 gallons) of fuel is added to the fuel tank.
The fuel range function will flash for five seconds at the following
distances based on fuel remaining and fuel economy calculations:
•80 km (50 miles)
•40 km (25 miles)
•16 km (10 miles)
Outside air temperature
The temperature can be displayed in
Centigrade or Fahrenheit by
pressing the E/M control.
If the outside temperature falls
below 3°C (38°F), the display will
alternate from“ICE”to the outside
temperature at a two second rate
for one minute.
Off.In this mode the display is off.
Compass
The compass display is contained in the overhead console. The vehicle
heading is displayed as one of N, NE, E, SE, S, SW, W and NW.
Driver Controls
62
ProCarManuals.com
Page 116 of 280
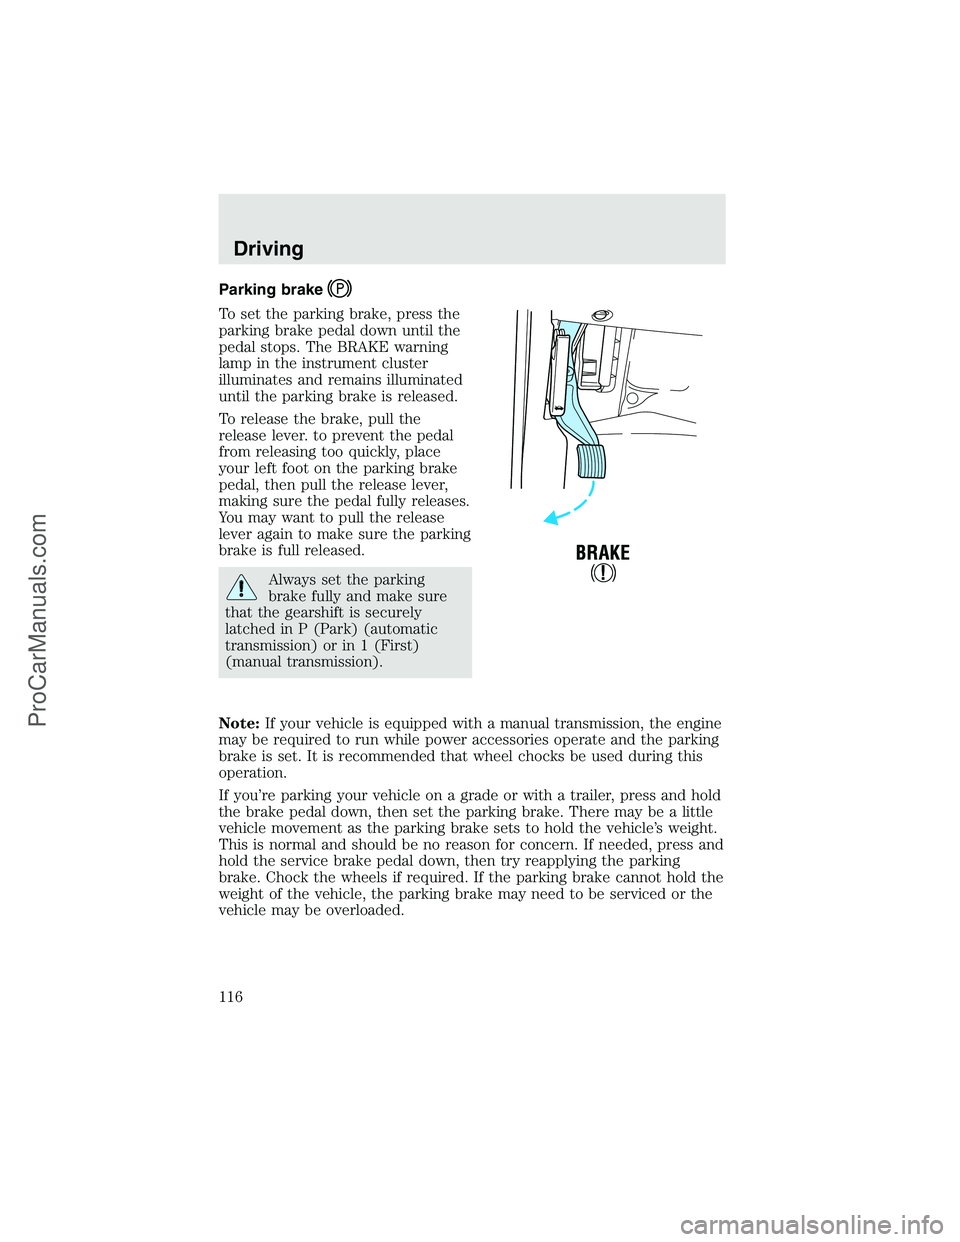
Parking brake
To set the parking brake, press the
parking brake pedal down until the
pedal stops. The BRAKE warning
lamp in the instrument cluster
illuminates and remains illuminated
until the parking brake is released.
To release the brake, pull the
release lever. to prevent the pedal
from releasing too quickly, place
your left foot on the parking brake
pedal, then pull the release lever,
making sure the pedal fully releases.
You may want to pull the release
lever again to make sure the parking
brake is full released.
Always set the parking
brake fully and make sure
that the gearshift is securely
latched in P (Park) (automatic
transmission) or in 1 (First)
(manual transmission).
Note:If your vehicle is equipped with a manual transmission, the engine
may be required to run while power accessories operate and the parking
brake is set. It is recommended that wheel chocks be used during this
operation.
If you’re parking your vehicle on a grade or with a trailer, press and hold
the brake pedal down, then set the parking brake. There may be a little
vehicle movement as the parking brake sets to hold the vehicle’s weight.
This is normal and should be no reason for concern. If needed, press and
hold the service brake pedal down, then try reapplying the parking
brake. Chock the wheels if required. If the parking brake cannot hold the
weight of the vehicle, the parking brake may need to be serviced or the
vehicle may be overloaded.
Driving
116
ProCarManuals.com
Page 120 of 280
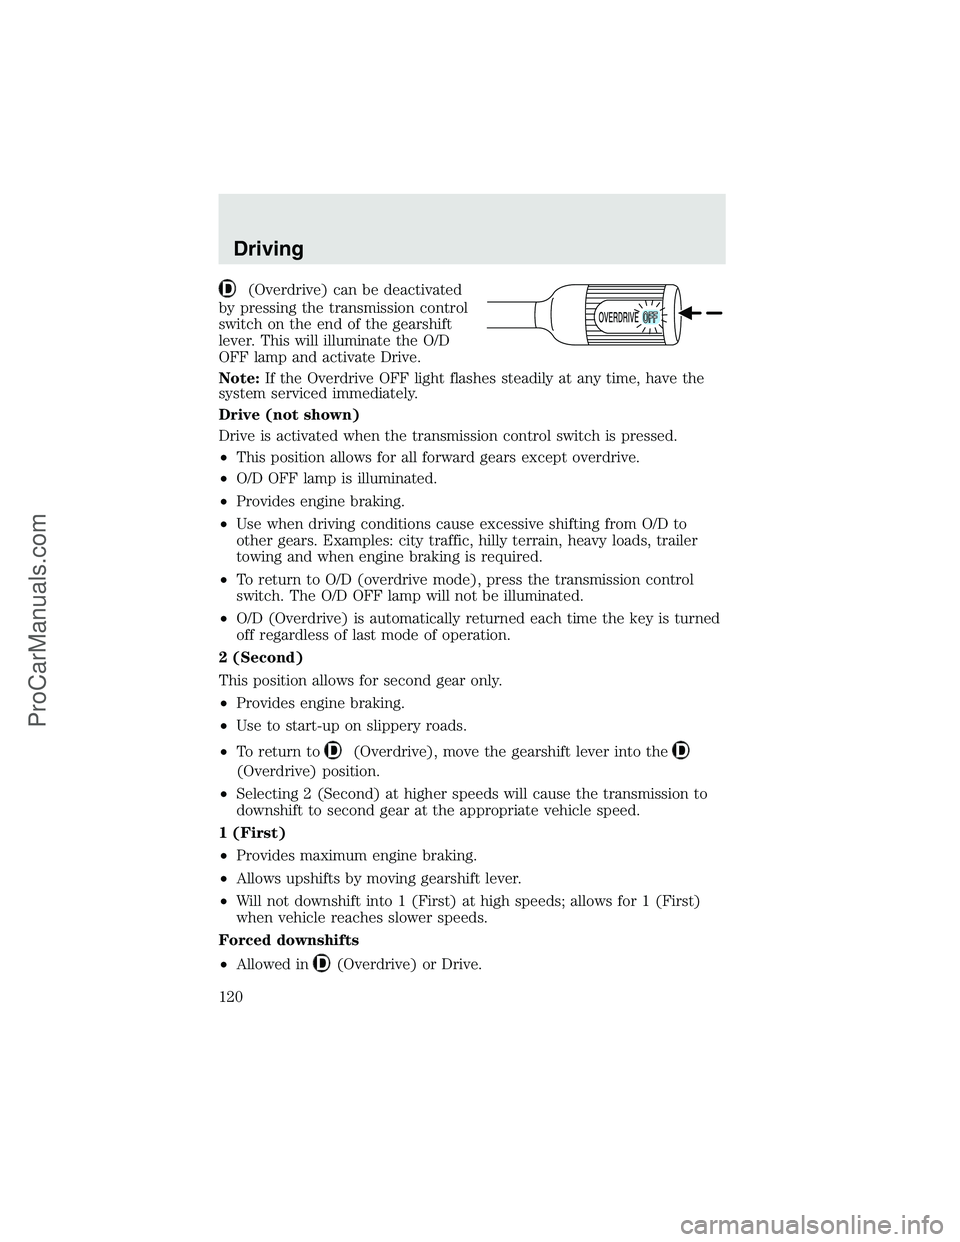
(Overdrive) can be deactivated
by pressing the transmission control
switch on the end of the gearshift
lever. This will illuminate the O/D
OFF lamp and activate Drive.
Note:If the Overdrive OFF light flashes steadily at any time, have the
system serviced immediately.
Drive (not shown)
Drive is activated when the transmission control switch is pressed.
•This position allows for all forward gears except overdrive.
•O/D OFF lamp is illuminated.
•Provides engine braking.
•Use when driving conditions cause excessive shifting from O/D to
other gears. Examples: city traffic, hilly terrain, heavy loads, trailer
towing and when engine braking is required.
•To return to O/D (overdrive mode), press the transmission control
switch. The O/D OFF lamp will not be illuminated.
•O/D (Overdrive) is automatically returned each time the key is turned
off regardless of last mode of operation.
2 (Second)
This position allows for second gear only.
•Provides engine braking.
•Use to start-up on slippery roads.
•To return to
(Overdrive), move the gearshift lever into the
(Overdrive) position.
•Selecting 2 (Second) at higher speeds will cause the transmission to
downshift to second gear at the appropriate vehicle speed.
1 (First)
•Provides maximum engine braking.
•Allows upshifts by moving gearshift lever.
•Will not downshift into 1 (First) at high speeds; allows for 1 (First)
when vehicle reaches slower speeds.
Forced downshifts
•Allowed in
(Overdrive) or Drive.
Driving
120
ProCarManuals.com
Page 122 of 280

To put your vehicle in P (Park):
•Come to a complete stop
•Move the gearshift lever and securely latch it in P (Park)
Always set the parking brake fully and make sure the gearshift is
latched in P (Park). Turn the ignition to the LOCK position and
remove the key whenever you leave your vehicle.
R (Reverse)
With the gearshift lever in R (Reverse), the vehicle will move backward.
Always come to a complete stop before shifting into and out of R
(Reverse).
N (Neutral)
With the gearshift lever in N (Neutral), the vehicle can be started and is
free to roll. Hold the brake pedal down while in this position.
D (Overdrive) with Tow/Haul OFF
D (Overdrive) with Tow/Haul OFF is the normal driving position for the
best fuel economy. The overdrive function allows automatic upshifts and
downshifts through gears one through five.
D (Overdrive) with Tow/Haul ON
The Tow/Haul feature improves transmission operation when towing a
trailer or a heavy load. All transmission gear ranges are available when
using Tow/Haul.
To activate Tow/Haul, press the
button on the end of the gearshift
lever.
The ON light on the end of the
gearshift lever will illuminate when
it is activated.
Tow/Haul delays upshifts to reduce frequency of transmission shifting.
Tow/Haul also provides engine braking in all forward gears when the
Driving
122
ProCarManuals.com
Page 144 of 280
VEHICLE LOADING
Before loading a vehicle, familiarize yourself with the following terms:
•Base Curb Weight:Weight of the vehicle including any standard
equipment, fluids, lubricants, etc. It does not include occupants or
aftermarket equipment.
•Payload:Combined maximum allowable weight of cargo, occupants
and optional equipment. The payload equals the gross vehicle weight
rating minus base curb weight.
•GVW (Gross Vehicle Weight):Base curb weight plus payload
weight.
•GVWR (Gross Vehicle Weight Rating):Maximum allowable total
weight of the base vehicle, occupants, optional equipment and cargo.
The GVWR is specific to each vehicle and is listed on the Safety
Certification Label on the driver’s door pillar.
•GAWR (Gross Axle Weight Rating):Carrying capacity for each axle
system. The GAWR is specific to each vehicle and is listed on the
Safety Certification Label on the driver’s door pillar.
•GCW (Gross Combined Weight):The combined weight of the
towing vehicle (including occupants and cargo) and the loaded trailer.
•GCWR (Gross Combined Weight Rating):Maximum allowable
combined weight of towing vehicle (including occupants and cargo)
and the loaded trailer.
•Maximum Trailer Weight Rating:Maximum weight of a trailer the
vehicle is permitted to tow. The maximum trailer weight rating is
determined by subtracting the vehicle curb weight for each
engine/transmission combination, any required option weight for trailer
towing and the weight of the driver from the GCWR for the towing
vehicle.
•Maximum Trailer Weight:Maximum weight of a trailer the loaded
vehicle (including occupants and cargo) is permitted to tow. It is
determined by subtracting the weight of the loaded trailer towing
vehicle from the GCWR for the towing vehicle.
•Trailer Weight Range:Specified range of trailer weight from zero to
the maximum trailer weight rating.
Remember to figure in the tongue load of your loaded trailer when
figuring the total weight.
The Safety Certification Label, located on the driver’s door pillar, lists
vehicle weight rating limitations. Before adding any additional equipment,
refer to these limitations.
Driving
144
ProCarManuals.com