Page 171 of 280

RWD vehicles with 4x4 electronic shift transfer case or All Wheel
Drive (AWD) vehicles with automatic transmissions:
Regarding recreational towing or having your vehicle towed, 4x4 vehicles
with electronic shift on the fly and AWD vehicles cannot be towed with
any wheels on the ground (with the exception of moving it as a disabled
vehicle off the road out of traffic).
SNOWPLOWING
Note:Do not use your vehicle to snowplow until it has been driven at
least 800 km (500 miles). Follow the severe duty schedule in your
scheduled maintenance guide for engine oil and transmission fluid
change intervals.
Note:Ford does not install snowplows.
For low speed snow removal, Ford offers a Snowplow Package Option on
select 4x4 vehicles. To assist Ford dealers and equipment installers
further prepare the vehicle for snowplowing, Ford includes instructions
in theFord Truck Body Builders Layout BookandFord Truck Source
Book. These instructions are available through your Ford dealer; they
include the list of vehicle models recommended for snowplowing and
snowplow weight limits. Use of the Snowplow Package Option, or its
equivalent, along with these instructions will help avoid possible
powertrain and chassis damage from snowplowing.
The front and rear GAWR, GVWR, Total Accessory Reserve Capacity
(TARC) and tire inflation pressures are found on the Safety Compliance
Certification Label located on one of the vehicle’s door jambs. This label
is applied to all vehicles completed by Ford Motor Company. Incomplete
vehicles built by Ford Motor Company will have an Incomplete Vehicle
Label in place of the Safety Compliance Label. The TARC does not apply
to Incomplete Vehicles and will not be shown on the Incomplete Vehicle
Label. The weight of the vehicle with occupants must never exceed the
front and rear GAWR or the GVWR.
The TARC is the weight of the permanently attached equipment that can
be added to the vehicle without violating the vehicle’s Safety Compliance
Certification. This includes the snowplow mounting hardware but does
not include the removable portion of the snowplow assembly.
Installing the snowplow
Read the following instructions before installing a snowplow:
•Front GAWR must not exceed 63% of the GVW. Add ballast weight to
the back of the vehicle, if necessary. Refer to the Safety Compliance
Certification Label to find your vehicle’s front GAWR.
Driving
171
ProCarManuals.com
Page 173 of 280

Snowplowing with your air bag-equipped vehicle
Your vehicle is equipped with a driver and passenger air bag
Supplemental Restraint System (SRS) The SRS is designed to activate in
certain frontal and offset frontal collisions when the vehicle sustains
sufficient longitudinal deceleration.
Careless or high speed driving while plowing snow which results in
sufficient vehicle decelerations can deploy the air bag. Such driving also
increases the risk of accidents.
All occupants of the vehicle, including the driver, should always
properly wear their safety belts, even when an air bag (SRS) is
provided.
Never remove or defeat the“tripping mechanisms”designed into the
snow removal equipment by its manufacturer. Doing so may cause
damage to the vehicle and the snow removal equipment as well as
possible air bag deployment.
Do not attempt to service, repair, or modify the Air Bag
Supplemental Restraint System or its fuses. See your Ford or
Lincoln Mercury dealer.
Additional equipment such as snowplow equipment may effect
the performance of the air bag sensors increasing the risk of
injury. Please refer to the Body Builders Layout Book for instructions
about the appropriate installation of additional equipment.
Engine temperature while plowing
When driving with a snowplow, your engine may run at a higher
temperature than normal because the attached snowplow blade will
restrict airflow to the radiator.
If you are driving more than 24 km (15 miles) at temperatures above
freezing, angle the plow blade either full left or full right to provide
maximum airflow to the radiator.
If you are driving less than 24 km (15 miles) at speeds up to 64 km/h
(40 mph) in cold weather, you will not need to worry about blade
position to provide maximum airflow.
Refer toTransmission temperaturegauge in theInstrument cluster
chapter for transmission fluid temperature information.
Driving
173
ProCarManuals.com
Page 174 of 280
4WD operation while plowing
•Shift transfer case to 4x4 LOW (4WD Low) when plowing in small
areas at speeds below 8 km/h (5 mph).
•Shift transfer case to 4x4 HIGH (4WD High) when plowing larger
areas or light snow at higher speeds. Do not exceed 24 km/h (15
mph).
•Do not shift the transmission from a forward gear to R (Reverse) until
the engine is at idle and the wheels are stopped.
•If the vehicle is stuck, shift the transmission in a steady motion
between forward and reverse gears. Do not rock the vehicle for more
than a few minutes. The transmission and tires may be damaged or
the engine can overheat.
It is the owner’s responsibility to avoid engine overheating which
can cause damage.
Refer toTransmission temperature gaugein theInstrument cluster
chapter for transmission fluid temperature information.
Do not spin the wheels at over 35 mph (55 km/h). The tires may
fail and injure a passenger or bystander.
Driving
174
ProCarManuals.com
Page 176 of 280

Canadian customers who require roadside assistance, call
1–800–665–2006.
If you need to arrange roadside assistance for yourself, Ford Motor
Company will reimburse a reasonable amount. To obtain reimbursement
information, U.S. Ford or Mercury vehicles customers call
1-800-241-3673; Lincoln vehicle customers call 1–800–521–4140.
Canadian customers who need to obtain reimbursement information, call
1–800–665–2006.
ROADSIDE COVERAGE BEYOND BASIC WARRANTY
In the United States, you may purchase additional roadside assistance
coverage beyond this period through the Ford Auto Club by contacting
your Ford or Lincoln Mercury dealer.
Similarly in Canada, for uninterrupted Roadside Assistance coverage, you
may purchase extended coverage prior to your Basic Warranty’s Roadside
Assistance expiring. For more information and enrollment, contact
1–877–294–2582 or visit our website at www.ford.ca.
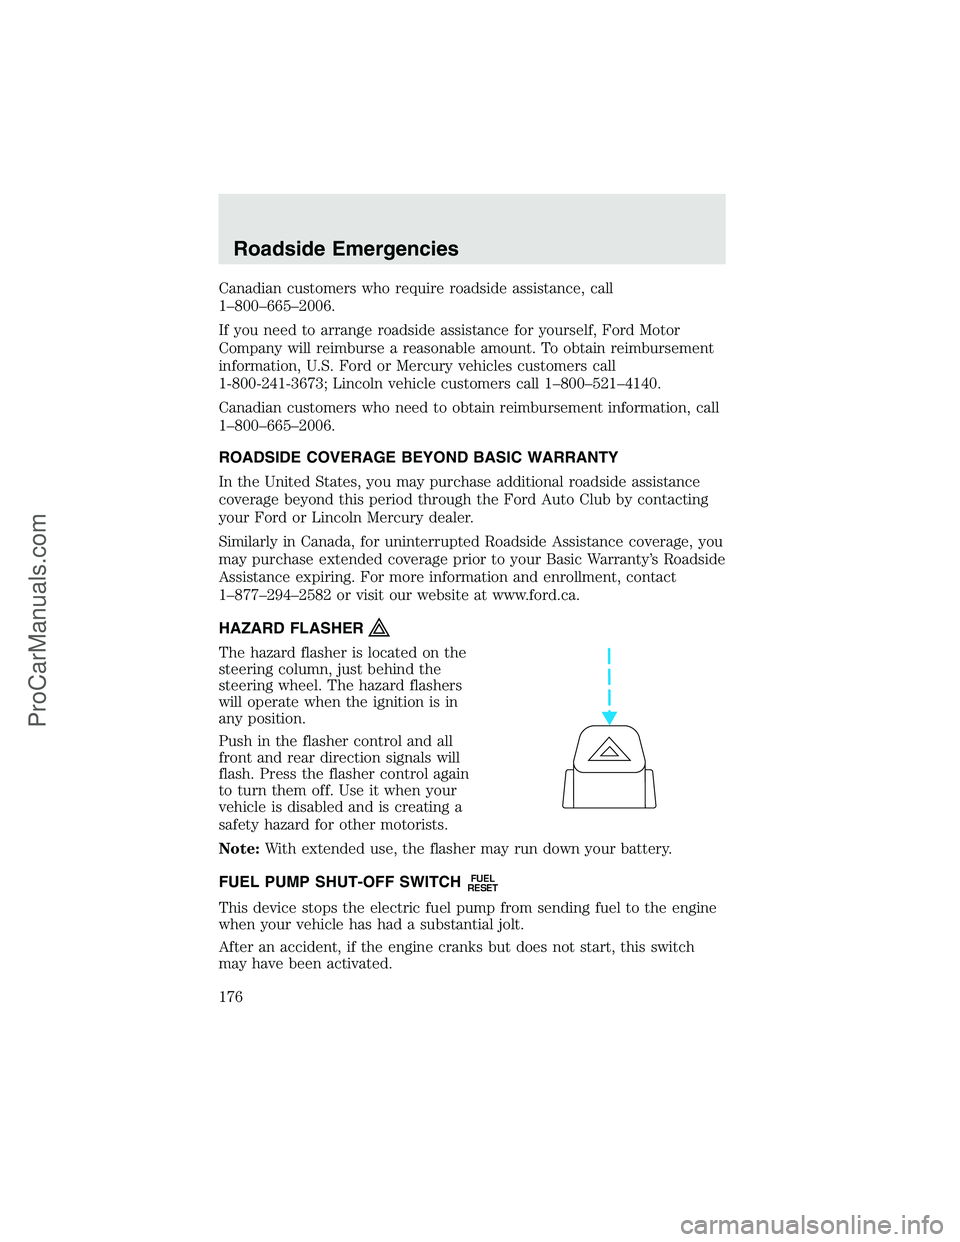
HAZARD FLASHER
The hazard flasher is located on the
steering column, just behind the
steering wheel. The hazard flashers
will operate when the ignition is in
any position.
Push in the flasher control and all
front and rear direction signals will
flash. Press the flasher control again
to turn them off. Use it when your
vehicle is disabled and is creating a
safety hazard for other motorists.
Note:With extended use, the flasher may run down your battery.
FUEL PUMP SHUT-OFF SWITCH
FUEL
RESET
This device stops the electric fuel pump from sending fuel to the engine
when your vehicle has had a substantial jolt.
After an accident, if the engine cranks but does not start, this switch
may have been activated.
Roadside Emergencies
176
ProCarManuals.com
Page 179 of 280
To remove a fuse use the fuse puller
tool provided on the fuse panel
cover.
The fuses are coded as follows.
Fuse/Relay
LocationFuse Amp
RatingPassenger Compartment Fuse Panel
Description
1 15A* Adjustable pedals
2—Not used
3—Not used
4 20A* Power point - instrument panel
5—Not used
6 20A* Trailer tow turn/stop relay
7 30A* High beam headlamps/Flash to pass
8 15A* Backup lamps (Diesel engine only)
9 20A* Heated mirrors
10 10A* A/C clutch
11 20A* Radio (main)
Roadside Emergencies
179
ProCarManuals.com
Page 180 of 280

Fuse/Relay
LocationFuse Amp
RatingPassenger Compartment Fuse Panel
Description
12 20A* Cigar lighter / OBD II
13 5A* Power mirrors/switches
14 15A* Daytime running lamps (DRL)
15—Not used
16—Not used
17 15A* Exterior lamps
18 20A* Turn lamps/Brake on-off switch (high)
19 10A* Body security module/4x4 module
20 10A* Fuel Injection Control Module (FICM)
relay (Diesel engine only)
21—Not used
22 20A* Engine control
23 20A* Engine control (gasoline engine only),
Climate control (Diesel engine only)
24 2A* Brake pressure switch/Speed control
25 10A* 4-Wheel Anti-lock Brake System (4WABS)
module, Variable Fan Control (VFC)
(Diesel engine only)
26 10A* Air bags
27 15A* Ignition switch Run feed
28 10A* EATC module/Front blower relay coil
29 10A* Customer access
30 15A* Highbeam headlamps
31 15A* Clutch interlock switch (manual
transmissions only), Transmission range
sensor (automatic transmissions only)
then to starter relay coil (all
transmissions), 4x4
32 5A* Radio (start)
33 15A* Front wiper
34 10A* Brake on-off switch
35 10A* Instrument cluster
Roadside Emergencies
180
ProCarManuals.com
Page 181 of 280

Fuse/Relay
LocationFuse Amp
RatingPassenger Compartment Fuse Panel
Description
36 10A* PCM Memory
37 15A* Horn
38 20A* Trailer tow park lamps
39 15A* Trailer tow back-up lamps
40 20A* Fuel pump
41 10A* Instrument cluster
42 15A* Delayed accessory
43 10A* Fog lamps
44—Not used
45 10A* Ignition switch Run/Start feed
46 10A* Left-hand lowbeam
47 10A* Right-hand lowbeam
48—Not used
101 30A** Trailer tow electric brake
102 30A** Door locks/Body security module
103 50A** Ignition switch (gasoline engine only),
FICM power (Diesel engine only)
104 40A** Heated backlight
105 30A** Fuel heater (Diesel engine only)
106 30A** Front wiper main
107 40A** Front blower motor
108—Not used
109 30A** Heated seats
110 50A** Ignition switch
111 30A** 4WD/Shift on the fly
112 30A** Left-hand power seats
113 30A** Starter motor
114 30A** Right-hand power seats
115 20A** Trailer tow battery charge
116 30A** Ignition switch
601 30A CB*** Window motors, Moonroof
Roadside Emergencies
181
ProCarManuals.com
Page 182 of 280

Fuse/Relay
LocationFuse Amp
RatingPassenger Compartment Fuse Panel
Description
602 60A** 4WABS module
210—Not used
211—Backup lamps relay (Diesel engine only)
212—Not used
301—Front blower motor relay
302—Powertrain Control Module (PCM) relay
303—Fuel heater relay (Diesel engine only)
304—Heated backlight relay
305—Trailer tow battery charge relay
306—Delayed accessory relay
307—Starter relay
* Mini Fuses ** Maxi Fuses ***Circuit Breaker
Note: (Diesel engine only)The Fuel Injection Control Module (FICM)
logic 15A mini-fuse is located in the underhood relay block.
CHANGING A FLAT TIRE
If you get a flat tire while driving:
•do not brake heavily.
•gradually decrease the vehicle’s speed.
•hold the steering wheel firmly.
•slowly move to a safe place on the side of the road.
The use of tire sealants is not recommended and may
compromise the integrity of your tires. The use of tire sealants
may also affect your tire pressure monitoring system (if equipped).
Spare tire information
Your vehicle may be equipped with a spare tire that can be used as
either a spare or a regular tire. The spare tire is not equipped with wheel
trim. The wheel trim from the original wheel/tire may be used on the
spare.
Roadside Emergencies
182
ProCarManuals.com