2003 FORD F350 light
[x] Cancel search: lightPage 113 of 280
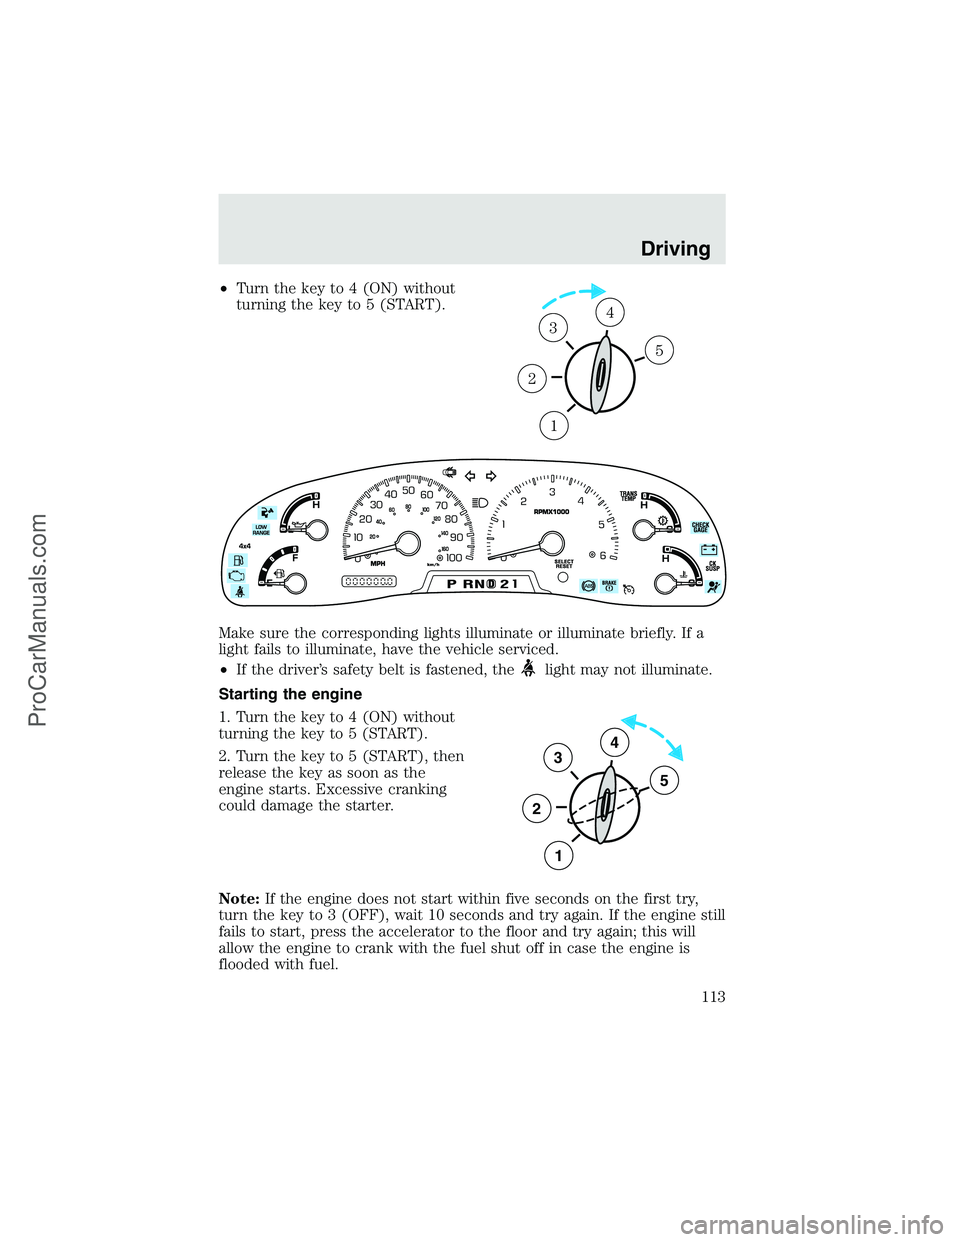
•Turn the key to 4 (ON) without
turning the key to 5 (START).
Make sure the corresponding lights illuminate or illuminate briefly. If a
light fails to illuminate, have the vehicle serviced.
•If the driver’s safety belt is fastened, the
light may not illuminate.
Starting the engine
1. Turn the key to 4 (ON) without
turning the key to 5 (START).
2. Turn the key to 5 (START), then
release the key as soon as the
engine starts. Excessive cranking
could damage the starter.
Note:If the engine does not start within five seconds on the first try,
turn the key to 3 (OFF), wait 10 seconds and try again. If the engine still
fails to start, press the accelerator to the floor and try again; this will
allow the engine to crank with the fuel shut off in case the engine is
flooded with fuel.
1
2
34
5
3
2
1
5
4
Driving
113
ProCarManuals.com
Page 115 of 280
Four-wheel anti-lock brake system (ABS) (if equipped)
Your vehicle may be equipped with an Anti-lock Braking System (ABS).
This system helps you maintain steering control during emergency stops
by keeping the brakes from locking. Noise from the ABS pump motor
and brake pedal pulsation may be observed during ABS braking; any
pulsation or mechanical noise you may feel or hear is normal.
ABS warning lamp
ABS
TheABSlamp in the instrument cluster momentarily illuminates when
the ignition is turned to ON. If the light does not illuminate during start
up, remains on or flashes, the ABS may be disabled and may need to be
serviced.
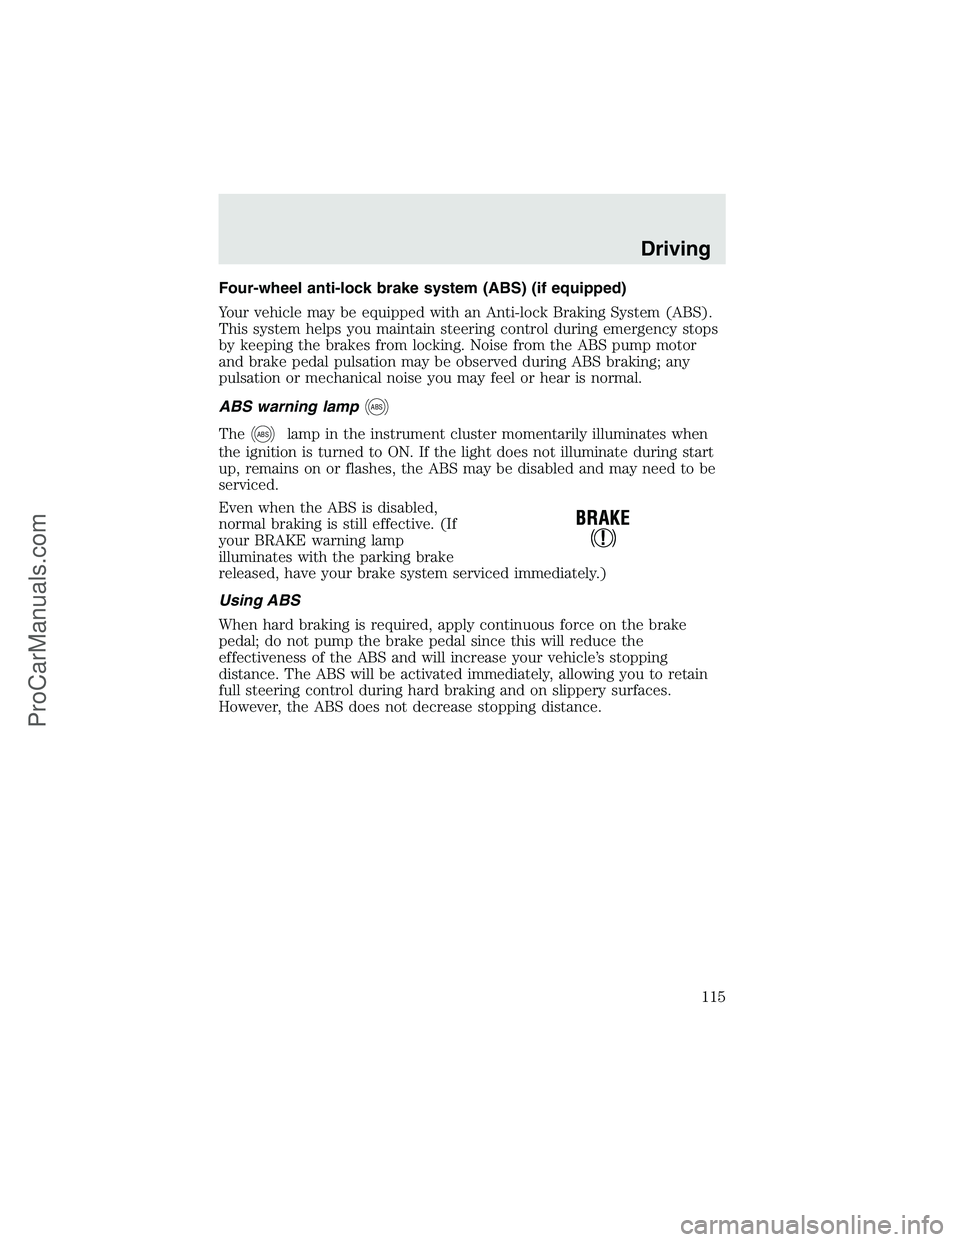
Even when the ABS is disabled,
normal braking is still effective. (If
your BRAKE warning lamp
illuminates with the parking brake
released, have your brake system serviced immediately.)
Using ABS
When hard braking is required, apply continuous force on the brake
pedal; do not pump the brake pedal since this will reduce the
effectiveness of the ABS and will increase your vehicle’s stopping
distance. The ABS will be activated immediately, allowing you to retain
full steering control during hard braking and on slippery surfaces.
However, the ABS does not decrease stopping distance.
Driving
115
ProCarManuals.com
Page 120 of 280
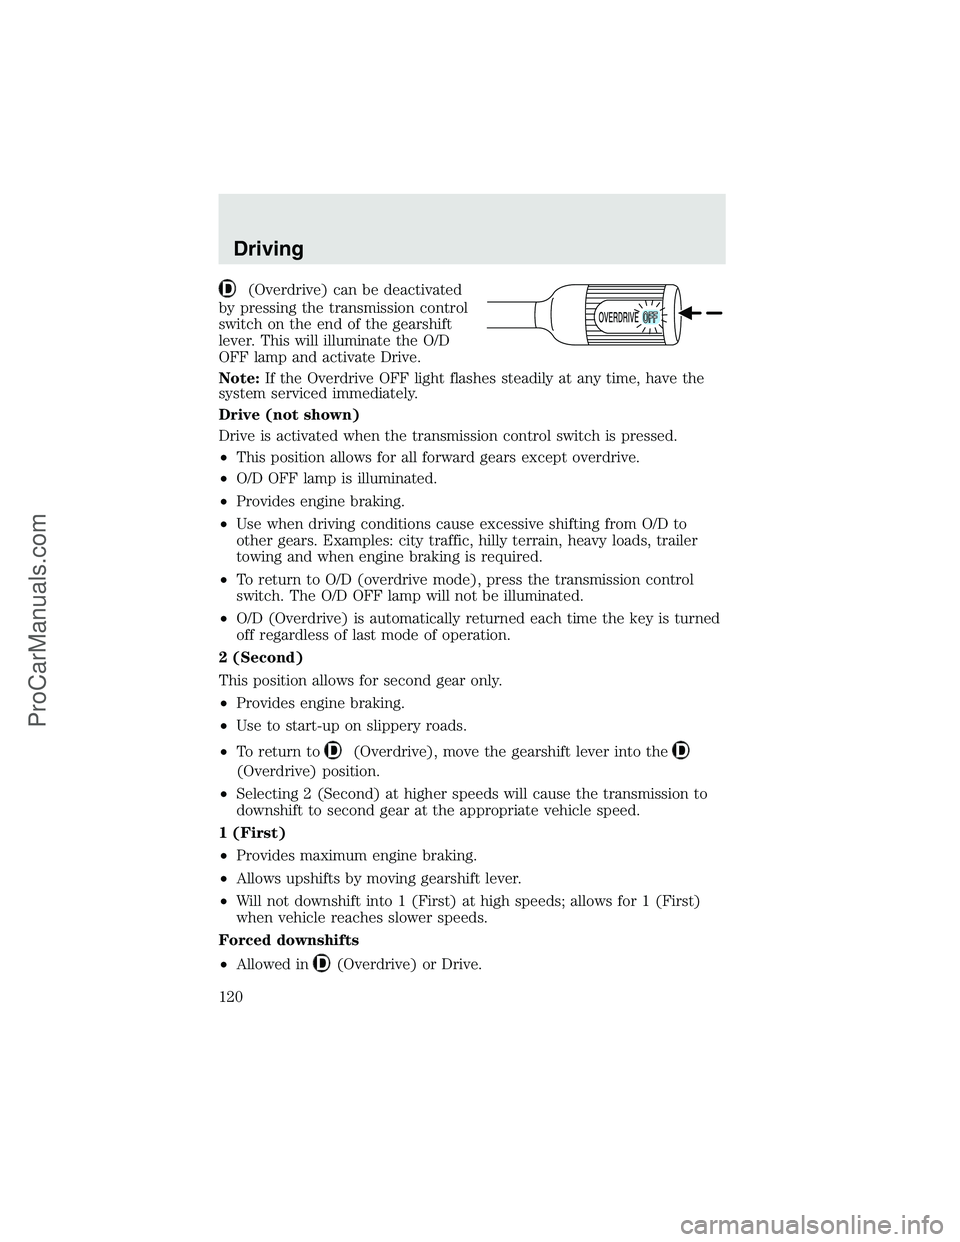
(Overdrive) can be deactivated
by pressing the transmission control
switch on the end of the gearshift
lever. This will illuminate the O/D
OFF lamp and activate Drive.
Note:If the Overdrive OFF light flashes steadily at any time, have the
system serviced immediately.
Drive (not shown)
Drive is activated when the transmission control switch is pressed.
•This position allows for all forward gears except overdrive.
•O/D OFF lamp is illuminated.
•Provides engine braking.
•Use when driving conditions cause excessive shifting from O/D to
other gears. Examples: city traffic, hilly terrain, heavy loads, trailer
towing and when engine braking is required.
•To return to O/D (overdrive mode), press the transmission control
switch. The O/D OFF lamp will not be illuminated.
•O/D (Overdrive) is automatically returned each time the key is turned
off regardless of last mode of operation.
2 (Second)
This position allows for second gear only.
•Provides engine braking.
•Use to start-up on slippery roads.
•To return to
(Overdrive), move the gearshift lever into the
(Overdrive) position.
•Selecting 2 (Second) at higher speeds will cause the transmission to
downshift to second gear at the appropriate vehicle speed.
1 (First)
•Provides maximum engine braking.
•Allows upshifts by moving gearshift lever.
•Will not downshift into 1 (First) at high speeds; allows for 1 (First)
when vehicle reaches slower speeds.
Forced downshifts
•Allowed in
(Overdrive) or Drive.
Driving
120
ProCarManuals.com
Page 122 of 280

To put your vehicle in P (Park):
•Come to a complete stop
•Move the gearshift lever and securely latch it in P (Park)
Always set the parking brake fully and make sure the gearshift is
latched in P (Park). Turn the ignition to the LOCK position and
remove the key whenever you leave your vehicle.
R (Reverse)
With the gearshift lever in R (Reverse), the vehicle will move backward.
Always come to a complete stop before shifting into and out of R
(Reverse).
N (Neutral)
With the gearshift lever in N (Neutral), the vehicle can be started and is
free to roll. Hold the brake pedal down while in this position.
D (Overdrive) with Tow/Haul OFF
D (Overdrive) with Tow/Haul OFF is the normal driving position for the
best fuel economy. The overdrive function allows automatic upshifts and
downshifts through gears one through five.
D (Overdrive) with Tow/Haul ON
The Tow/Haul feature improves transmission operation when towing a
trailer or a heavy load. All transmission gear ranges are available when
using Tow/Haul.
To activate Tow/Haul, press the
button on the end of the gearshift
lever.
The ON light on the end of the
gearshift lever will illuminate when
it is activated.
Tow/Haul delays upshifts to reduce frequency of transmission shifting.
Tow/Haul also provides engine braking in all forward gears when the
Driving
122
ProCarManuals.com
Page 123 of 280

transmission is in the D (Overdrive) position; this engine braking will
slow the vehicle and assist the driver in controlling the vehicle when
descending a grade. Depending on driving conditions and load
conditions, the transmission may downshift, slow the vehicle and control
the vehicle speed when descending a hill, without the accelerator pedal
being pressed. The amount of downshift braking provided will vary based
upon the amount the brake pedal is depressed.
To deactivate the Tow/Haul feature and return to normal driving mode,
press the button on the end of the gearshift lever. The ON light will no
longer be illuminated.
When you shut-off and restart the engine, the transmission will
automatically return to normal D (Overdrive) mode (Tow/Haul OFF).
3 (Third)
Transmission operates up to third gear only.
Used for improved traction on slippery roads. Selecting 3 (Third)
provides engine braking.
2 (Second)
Use 2 (Second) to start-up on slippery roads or to provide additional
engine braking on downgrades.
1 (First)
•Provides maximum engine braking.
•Allows upshifts by moving gearshift lever.
•The transmission will not downshift into 1 (First) at high speeds; it
will downshift to a lower gear and then shift into 1 (First) when the
vehicle reaches slower speeds.
Forced downshifts
•Allowed in
(Overdrive) or Drive.
•Depress the accelerator to the floor.
•Allows transmission to select an appropriate gear.
If your vehicle gets stuck in mud or snow
If your vehicle gets stuck in mud or snow, it may be rocked out by
shifting from forward and reverse gears, stopping between shifts in a
steady pattern. Press lightly on the accelerator in each gear.
Driving
123
ProCarManuals.com
Page 127 of 280

The RSS detects obstacles up to 2
meters (6 ft.) from the rear bumper
with a decreased coverage area at
the outer corners of the bumper,
(refer to the figures for approximate
zone coverage areas). As you move
closer to the obstacle, the rate of
the tone increases. When the
obstacle is less than 25.0 cm (10
in.) away, the tone will sound
continuously. If the RSS detects a
stationary or receding object further
than 25.0 cm (10 in.) from the side
of the vehicle, the tone will sound
for only three seconds. Once the
system detects an object
approaching, the tone will sound
again.
The RSS may have reduced
performance or an increased chance
of false detection if the tailgate is
not locked and in the upright position. If the tailgate is down, the RSS
tone may be heard intermittently or continuously. The tone may also be
heard if items in the truck bed protrude rearward outside the bed.
The RSS automatically turns on
when the gear selector is placed in
R (Reverse) and the ignition is ON.
An RSS control allows the driver to
turn the RSS on and off. To turn the
RSS off, the ignition must be ON,
and the gear selector in R
(Reverse). An indicator light on the
control will illuminate when the
system is turned off. If the indicator light illuminates when the RSS is
not turned off, it may indicate a failure in the RSS.
Keep the RSS sensors (located on the rear bumper/fascia) free
from snow, ice and large accumulations of dirt (do not clean the
sensors with sharp objects). If the sensors are covered, it will
affect the accuracy of the RSS.
If your vehicle sustains damage to the rear bumper/fascia, leaving
it misaligned or bent, the sensing zone may be altered causing
inaccurate measurement of obstacles or false alarms.
OFF
Driving
127
ProCarManuals.com
Page 129 of 280
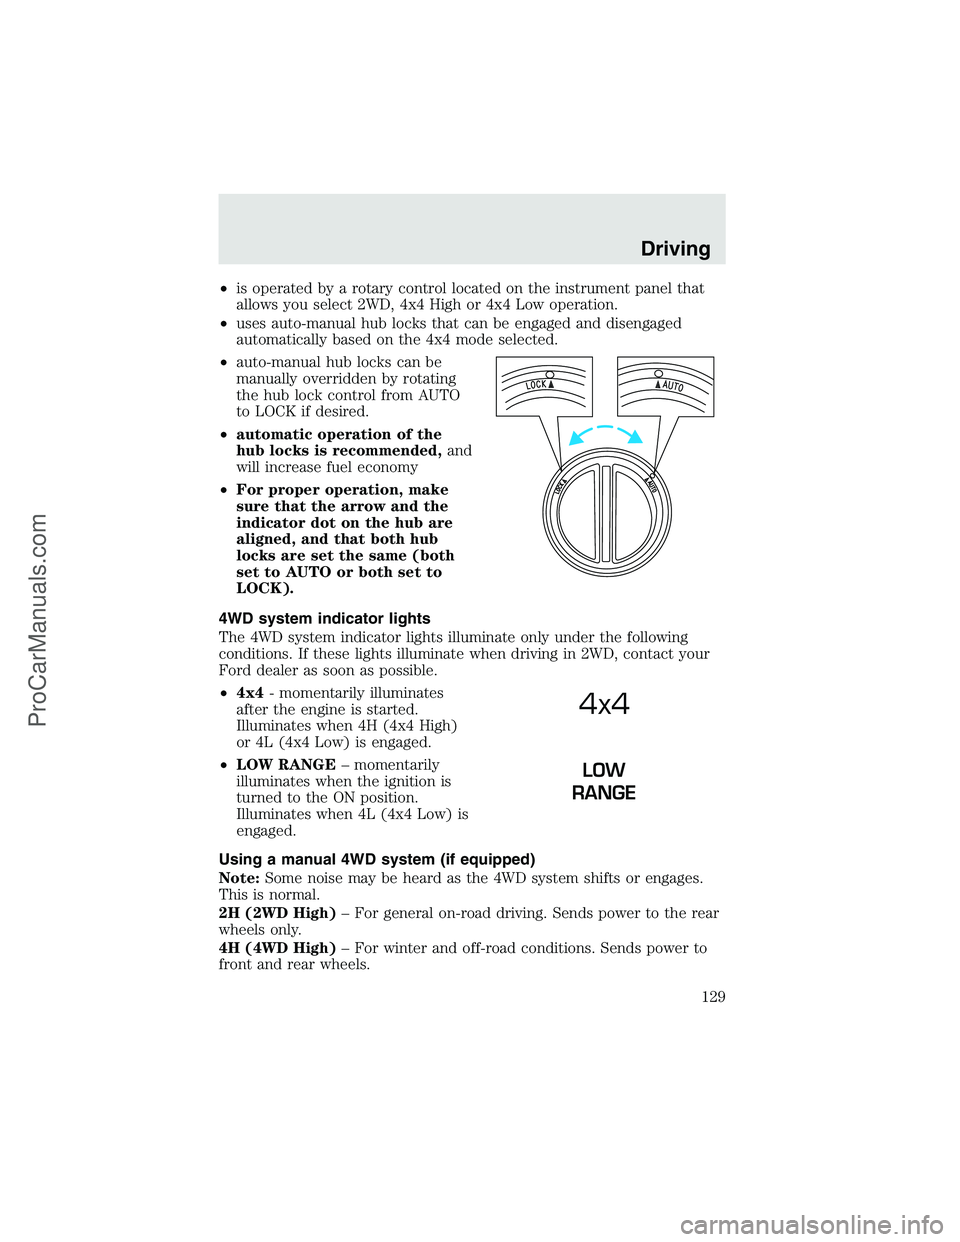
•is operated by a rotary control located on the instrument panel that
allows you select 2WD, 4x4 High or 4x4 Low operation.
•uses auto-manual hub locks that can be engaged and disengaged
automatically based on the 4x4 mode selected.
•auto-manual hub locks can be
manually overridden by rotating
the hub lock control from AUTO
to LOCK if desired.
•automatic operation of the
hub locks is recommended,and
will increase fuel economy
•For proper operation, make
sure that the arrow and the
indicator dot on the hub are
aligned, and that both hub
locks are set the same (both
set to AUTO or both set to
LOCK).
4WD system indicator lights
The 4WD system indicator lights illuminate only under the following
conditions. If these lights illuminate when driving in 2WD, contact your
Ford dealer as soon as possible.
•4x4- momentarily illuminates
after the engine is started.
Illuminates when 4H (4x4 High)
or 4L (4x4 Low) is engaged.
•LOW RANGE–momentarily
illuminates when the ignition is
turned to the ON position.
Illuminates when 4L (4x4 Low) is
engaged.
Using a manual 4WD system (if equipped)
Note:Some noise may be heard as the 4WD system shifts or engages.
This is normal.
2H (2WD High)–For general on-road driving. Sends power to the rear
wheels only.
4H (4WD High)–For winter and off-road conditions. Sends power to
front and rear wheels.
4x4
LOW
RANGE
Driving
129
ProCarManuals.com
Page 134 of 280
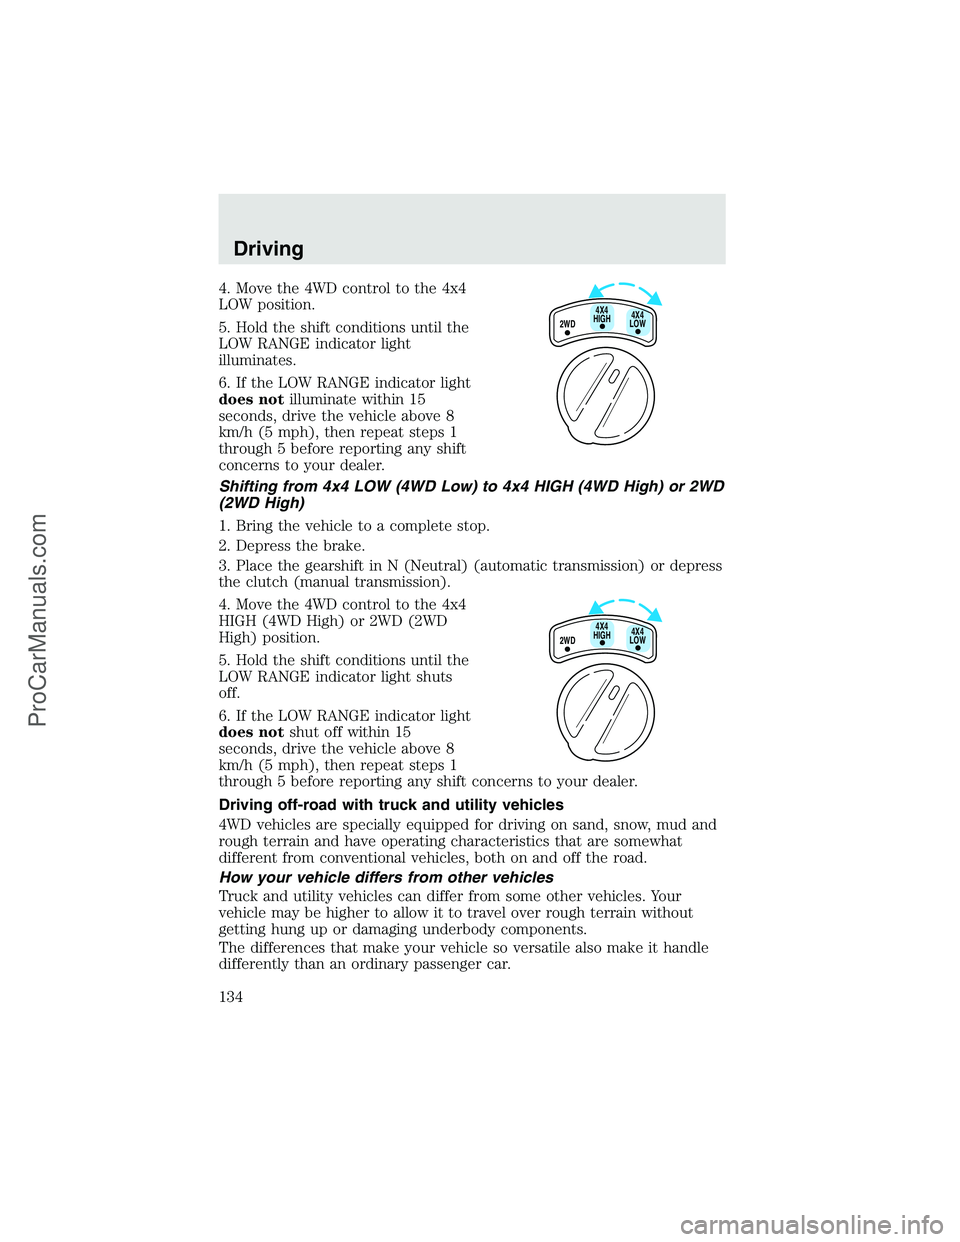
4. Move the 4WD control to the 4x4
LOW position.
5. Hold the shift conditions until the
LOW RANGE indicator light
illuminates.
6. If the LOW RANGE indicator light
does notilluminate within 15
seconds, drive the vehicle above 8
km/h (5 mph), then repeat steps 1
through 5 before reporting any shift
concerns to your dealer.
Shifting from 4x4 LOW (4WD Low) to 4x4 HIGH (4WD High) or 2WD
(2WD High)
1. Bring the vehicle to a complete stop.
2. Depress the brake.
3. Place the gearshift in N (Neutral) (automatic transmission) or depress
the clutch (manual transmission).
4. Move the 4WD control to the 4x4
HIGH (4WD High) or 2WD (2WD
High) position.
5. Hold the shift conditions until the
LOW RANGE indicator light shuts
off.
6. If the LOW RANGE indicator light
does notshut off within 15
seconds, drive the vehicle above 8
km/h (5 mph), then repeat steps 1
through 5 before reporting any shift concerns to your dealer.
Driving off-road with truck and utility vehicles
4WD vehicles are specially equipped for driving on sand, snow, mud and
rough terrain and have operating characteristics that are somewhat
different from conventional vehicles, both on and off the road.
How your vehicle differs from other vehicles
Truck and utility vehicles can differ from some other vehicles. Your
vehicle may be higher to allow it to travel over rough terrain without
getting hung up or damaging underbody components.
The differences that make your vehicle so versatile also make it handle
differently than an ordinary passenger car.
2WD4X4
LOW4X4
HIGH
2WD4X4
LOW4X4
HIGH
Driving
134
ProCarManuals.com