2003 FORD F SERIES MOTORHOME AND COMMERCIAL CHASSIS tires
[x] Cancel search: tiresPage 1 of 96
Introduction
3
Instrumentation
8
Warning and control lights 8
Gauges 11
Lights
14
Headlamps 14
Bulb replacement 15
Driver controls
16
Windshield wiper/washer control 16
Speed control (Cruise control) 17
Driving
20
Starting 20
Brakes 23
Transmission operation 27
Vehicle loading 31
Trailer towing 33
Roadside emergencies
36
Hazard flasher switch 36
Fuel pump shut-off switch 36
Fuses and relays 38
Changing tires 45
Jump starting 48
Wrecker towing 52
Table of contents
1
Page 30 of 96
Each time the vehicle is started, the transmission will automatically
return to normal overdrive mode.
Every time the vehicle is shut off and restarted, you must press the
transmission control switch to cancel overdrive operation if driving in
overdrive is not desired.
2 (Second)
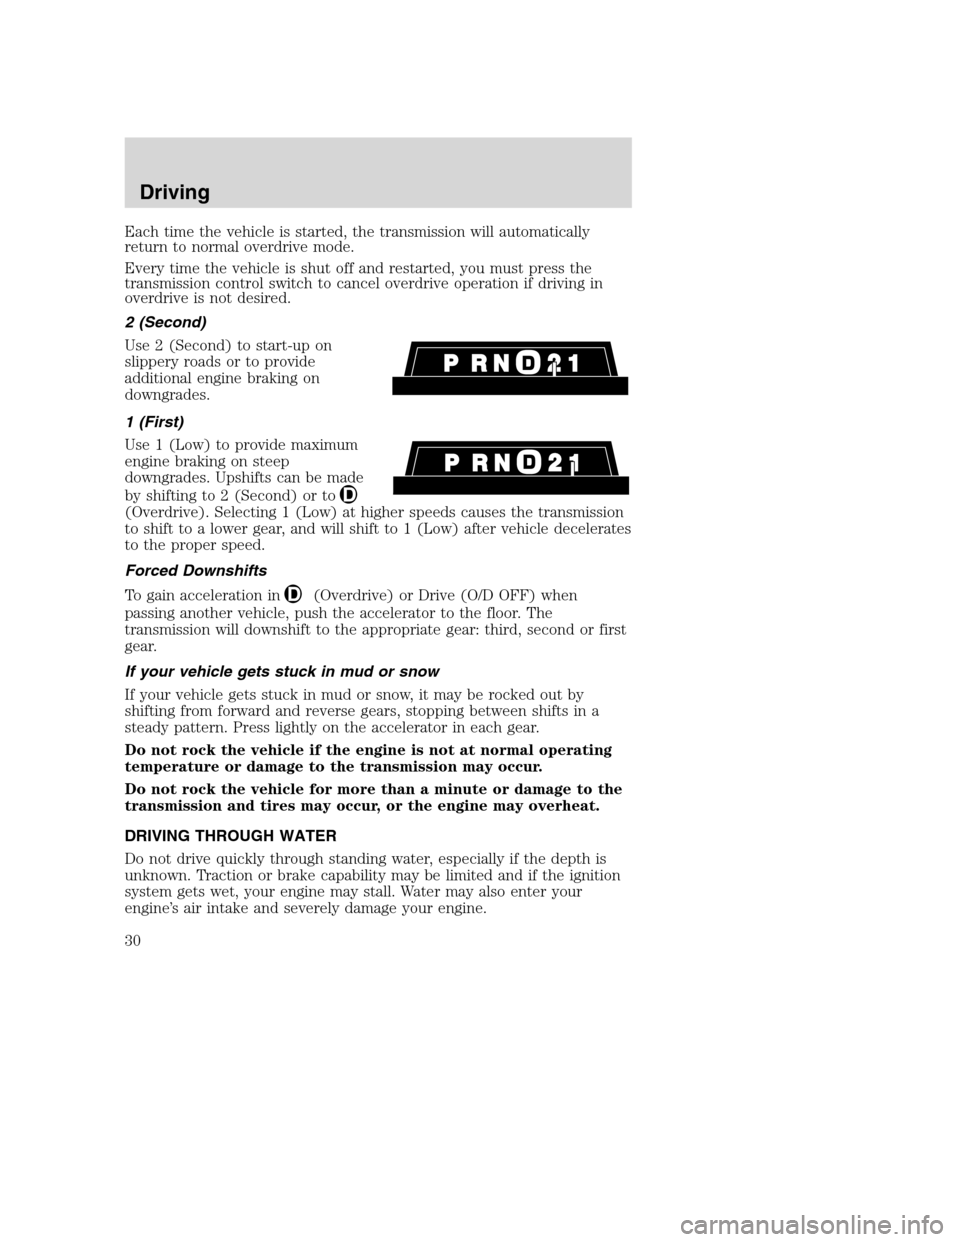
Use 2 (Second) to start-up on
slippery roads or to provide
additional engine braking on
downgrades.
1 (First)
Use 1 (Low) to provide maximum
engine braking on steep
downgrades. Upshifts can be made
by shifting to 2 (Second) or to
(Overdrive). Selecting 1 (Low) at higher speeds causes the transmission
to shift to a lower gear, and will shift to 1 (Low) after vehicle decelerates
to the proper speed.
Forced Downshifts
To gain acceleration in
(Overdrive) or Drive (O/D OFF) when
passing another vehicle, push the accelerator to the floor. The
transmission will downshift to the appropriate gear: third, second or first
gear.
If your vehicle gets stuck in mud or snow
If your vehicle gets stuck in mud or snow, it may be rocked out by
shifting from forward and reverse gears, stopping between shifts in a
steady pattern. Press lightly on the accelerator in each gear.
Do not rock the vehicle if the engine is not at normal operating
temperature or damage to the transmission may occur.
Do not rock the vehicle for more than a minute or damage to the
transmission and tires may occur, or the engine may overheat.
DRIVING THROUGH WATER
Do not drive quickly through standing water, especially if the depth is
unknown. Traction or brake capability may be limited and if the ignition
system gets wet, your engine may stall. Water may also enter your
engine’s air intake and severely damage your engine.
Driving
30
Page 32 of 96
•Maximum Trailer Weight Rating:Maximum weight of a trailer the
loaded vehicle (including occupants and cargo) is permitted to tow.
The maximum trailer weight rating is determined by subtracting the
vehicle curb weight for each engine/transmission combination, any
required option weight for trailer towing and the weight of the driver
from the GCWR for the towing vehicle.
•Trailer Weight Range:Specified weight range that the trailer must
fall within that ranges from zero to the maximum trailer weight rating.
Remember to figure in the tongue load of your loaded trailer when
figuring the total weight.
Exceeding any vehicle weight rating limitation could result in
serious damage to the vehicle loss of vehicle control, vehicle
rollover, and/or personal injury.
Do not use replacement tires with lower weight capacities than the
originals because they may lower the vehicle’s GVWR and GAWR
limitations. Replacement tires with a higher weight limit than the
originals do not increase the GVWR and GAWR limitations.
Calculating the load your vehicle can carry/tow
1. Use the appropriate maximum gross combined weight rating (GCWR)
chart to find the maximum GCWR for your type engine and rear axle
ratio.
2. Weigh your vehicle as you customarily operate the vehicle without
cargo. To obtain correct weights, try taking your vehicle to a shipping
company or an inspection station for trucks.
3. Subtract your loaded vehicle weight from the maximum GCWR on the
following charts. This is the maximum combined cargo and trailer weight
your vehicle can carry/tow and must fall below the maximum shown
under maximum trailer weight on the chart. Refer to the definition of
Maximum Trailer Weight below Vehicle Loading in this chapter to
determine the maximum trailer weight permitted for a loaded vehicle.
Driving
32
Page 45 of 96
CHANGING THE TIRES
If you get a flat tire while driving, do not apply the brake heavily.
Instead, gradually decrease your speed. Hold the steering wheel firmly
and slowly move to a safe place on the side of the road.
The use of tire sealants is not recommended and may
compromise the integrity of your tires.
Tire change procedure
Preparing to change the tire
To prevent the vehicle from moving when you change a tire, be
sure the parking brake is set, then block (in both directions) the
wheel that is diagonally opposite (other side and end of the vehicle) to
the tire being changed.
1. Park on a level surface.
2. Activate the warning flashers.
3. Place the gearshift in P (Park).
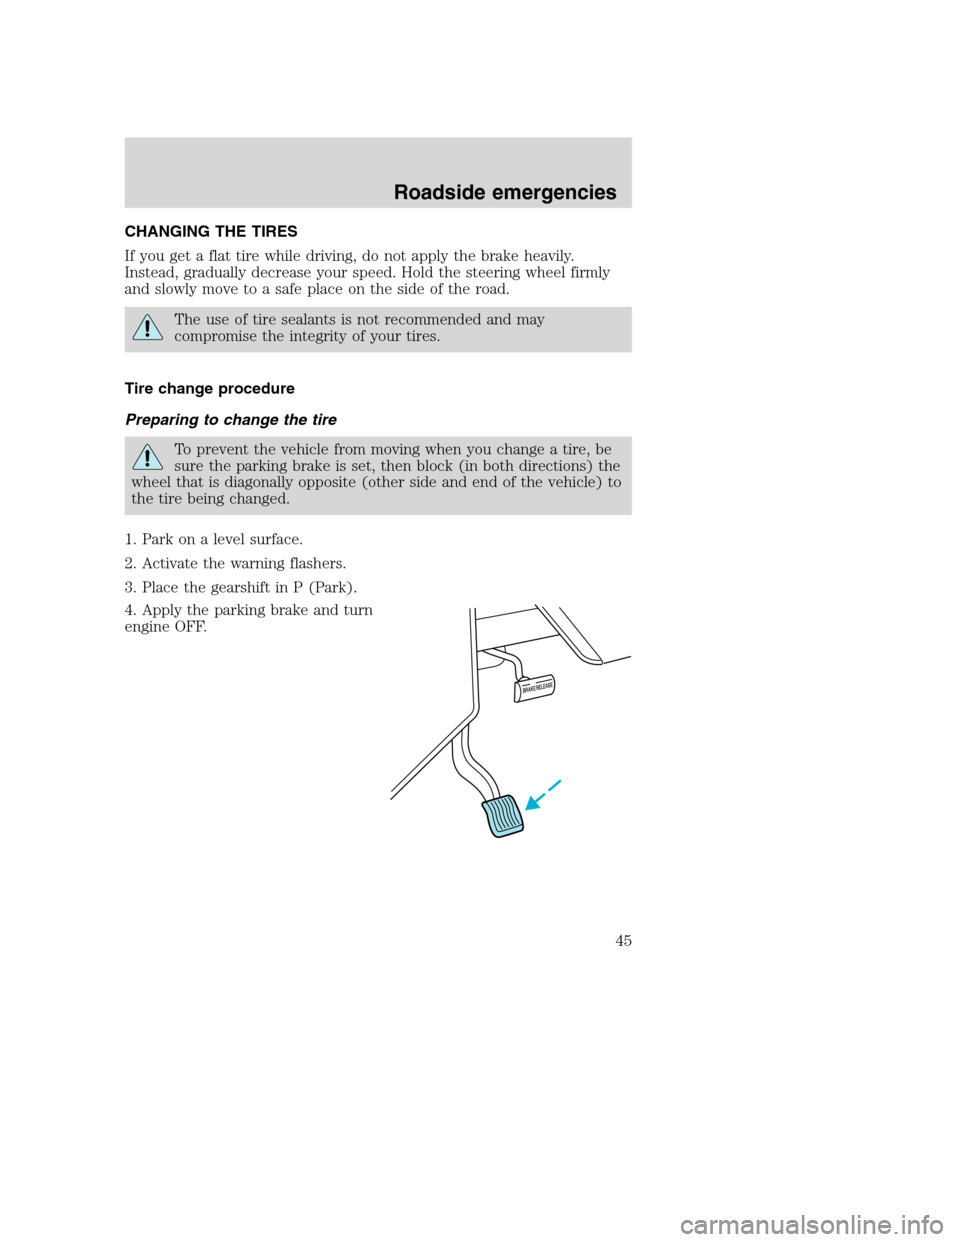
4. Apply the parking brake and turn
engine OFF.
Roadside emergencies
45
Page 75 of 96
economy under current driving conditions. Additionally, keeping records
during summer and winter will show how temperature impacts fuel
economy. In general, lower temperatures give lower fuel economy.
Driving style — good driving and fuel economy habits
Give consideration to the lists that follow and you may be able to change
a number of variables and improve your fuel economy.
Habits
•Smooth, moderate operation can yield up to 10% savings in fuel.
•Steady speeds without stopping will usually give the best fuel
economy.
•Idling for long periods of time (greater than one minute) may waste
fuel.
•Anticipate stopping; slowing down may eliminate the need to stop.
•Sudden or hard accelerations may reduce fuel economy.
•Slow down gradually.
•Driving at reasonable speeds (traveling at 88 km/h [55 mph] uses 15%
less fuel than traveling at 105 km/h [65 mph]).
•Revving the engine before turning it off may reduce fuel economy.
•Using the air conditioner or defroster may reduce fuel economy.
•You may want to turn off the speed control in hilly terrain if
unnecessary shifting between third and fourth gear occurs.
Unnecessary shifting of this type could result in reduced fuel
economy.
•Warming up a vehicle on cold mornings is not required and may
reduce fuel economy.
•Resting your foot on the brake pedal while driving may reduce fuel
economy.
•Combine errands and minimize stop-and-go driving.
Maintenance
•Keep tires properly inflated and use only recommended size.
•Operating a vehicle with the wheels out of alignment will reduce fuel
economy.
•Use recommended engine oil. Refer toLubricant specificationsin
this chapter.
Maintenance and specifications
75
Page 84 of 96
4. Install a new air filter element, ensuring the arrow on the top half of
the air filter housing lines up with the notch on the bottom half of air
filter housing. Be careful not to crimp the filter element edges between
the air filter housing. This could cause filter damage and allow
unmetered air to enter the engine if not properly seated.
5. Replace the two halves of the air filter housing and secure the clamp.
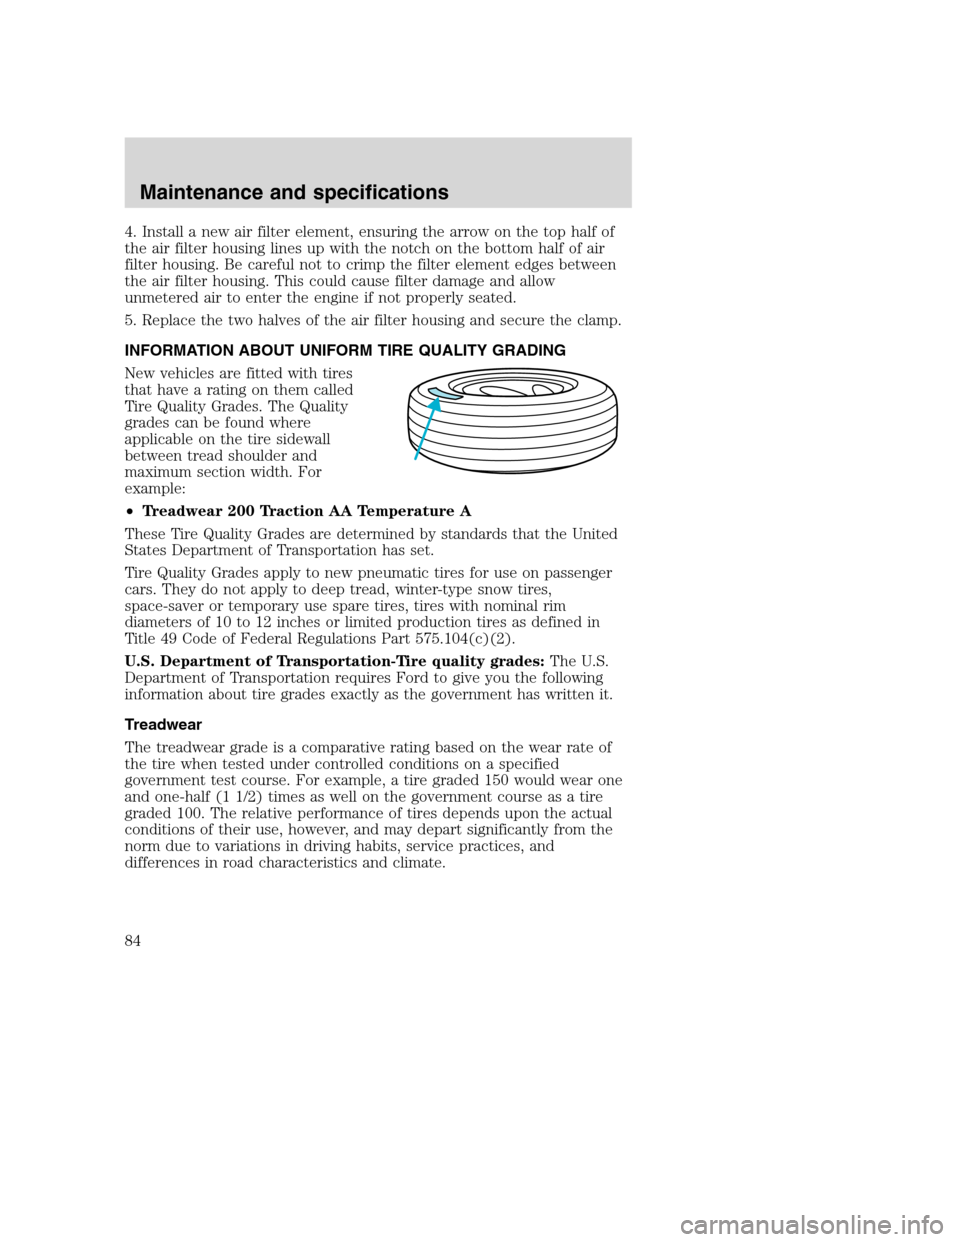
INFORMATION ABOUT UNIFORM TIRE QUALITY GRADING
New vehicles are fitted with tires
that have a rating on them called
Tire Quality Grades. The Quality
grades can be found where
applicable on the tire sidewall
between tread shoulder and
maximum section width. For
example:
•Treadwear 200 Traction AA Temperature A
These Tire Quality Grades are determined by standards that the United
States Department of Transportation has set.
Tire Quality Grades apply to new pneumatic tires for use on passenger
cars. They do not apply to deep tread, winter-type snow tires,
space-saver or temporary use spare tires, tires with nominal rim
diameters of 10 to 12 inches or limited production tires as defined in
Title 49 Code of Federal Regulations Part 575.104(c)(2).
U.S. Department of Transportation-Tire quality grades:The U.S.
Department of Transportation requires Ford to give you the following
information about tire grades exactly as the government has written it.
Treadwear
The treadwear grade is a comparative rating based on the wear rate of
the tire when tested under controlled conditions on a specified
government test course. For example, a tire graded 150 would wear one
and one-half (1 1/2) times as well on the government course as a tire
graded 100. The relative performance of tires depends upon the actual
conditions of their use, however, and may depart significantly from the
norm due to variations in driving habits, service practices, and
differences in road characteristics and climate.
Maintenance and specifications
84
Page 85 of 96
Traction AA A B C
The traction grades, from highest to lowest are AA, A, B, and C. The
grades represent the tire’s ability to stop on wet pavement as measured
under controlled conditions on specified government test surfaces of
asphalt and concrete. A tire marked C may have poor traction
performance.
The traction grade assigned to this tire is based on
straight-ahead braking traction tests, and does not include
acceleration, cornering, hydroplaning or peak traction characteristics.
Temperature A B C
The temperature grades are A (the highest), B and C, representing the
tire’s resistance to the generation of heat and its ability to dissipate heat
when tested under controlled conditions on a specified indoor laboratory
test wheel. Sustained high temperature can cause the material of the tire
to degenerate and reduce tire life, and excessive temperature can lead to
sudden tire failure. The grade C corresponds to a level of performance
which all passenger car tires must meet under the Federal Motor Vehicle
Safety Standard No. 109. Grades B and A represent higher levels of
performance on the laboratory test wheel than the minimum required by
law.
The temperature grade for this tire is established for a tire that
is properly inflated and not overloaded. Excessive speed,
underinflation, or excessive loading, either separately or in
combination, can cause heat buildup and possible tire failure.
Maintenance and specifications
85
Page 86 of 96
SERVICING YOUR TIRES
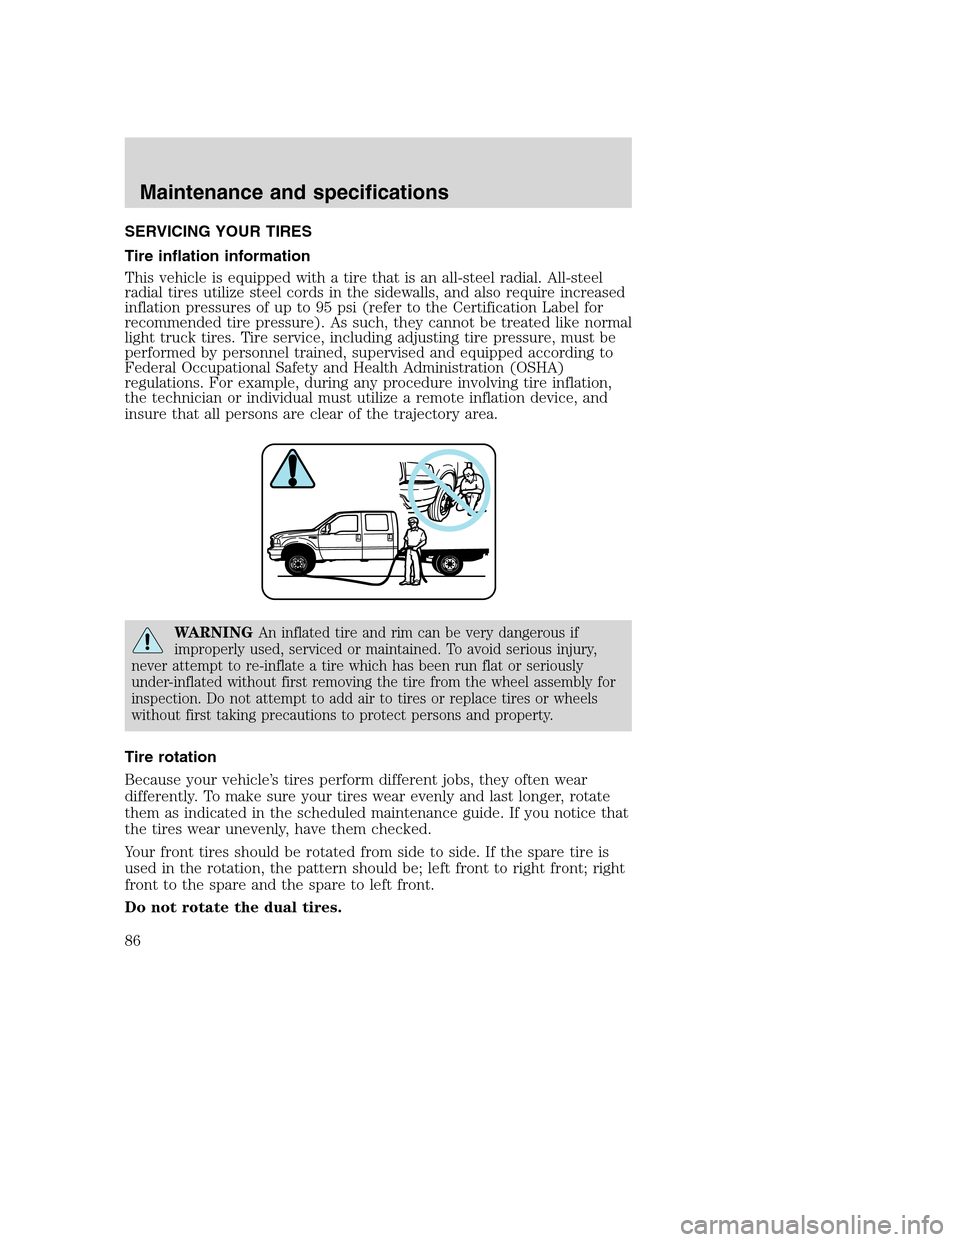
Tire inflation information
This vehicle is equipped with a tire that is an all-steel radial. All-steel
radial tires utilize steel cords in the sidewalls, and also require increased
inflation pressures of up to 95 psi (refer to the Certification Label for
recommended tire pressure). As such, they cannot be treated like normal
light truck tires. Tire service, including adjusting tire pressure, must be
performed by personnel trained, supervised and equipped according to
Federal Occupational Safety and Health Administration (OSHA)
regulations. For example, during any procedure involving tire inflation,
the technician or individual must utilize a remote inflation device, and
insure that all persons are clear of the trajectory area.
WARNINGAn inflated tire and rim can be very dangerous if
improperly used, serviced or maintained. To avoid serious injury,
never attempt to re-inflate a tire which has been run flat or seriously
under-inflated without first removing the tire from the wheel assembly for
inspection. Do not attempt to add air to tires or replace tires or wheels
without first taking precautions to protect persons and property.
Tire rotation
Because your vehicle’s tires perform different jobs, they often wear
differently. To make sure your tires wear evenly and last longer, rotate
them as indicated in the scheduled maintenance guide. If you notice that
the tires wear unevenly, have them checked.
Your front tires should be rotated from side to side. If the spare tire is
used in the rotation, the pattern should be; left front to right front; right
front to the spare and the spare to left front.
Do not rotate the dual tires.
Maintenance and specifications
86