Page 18 of 272

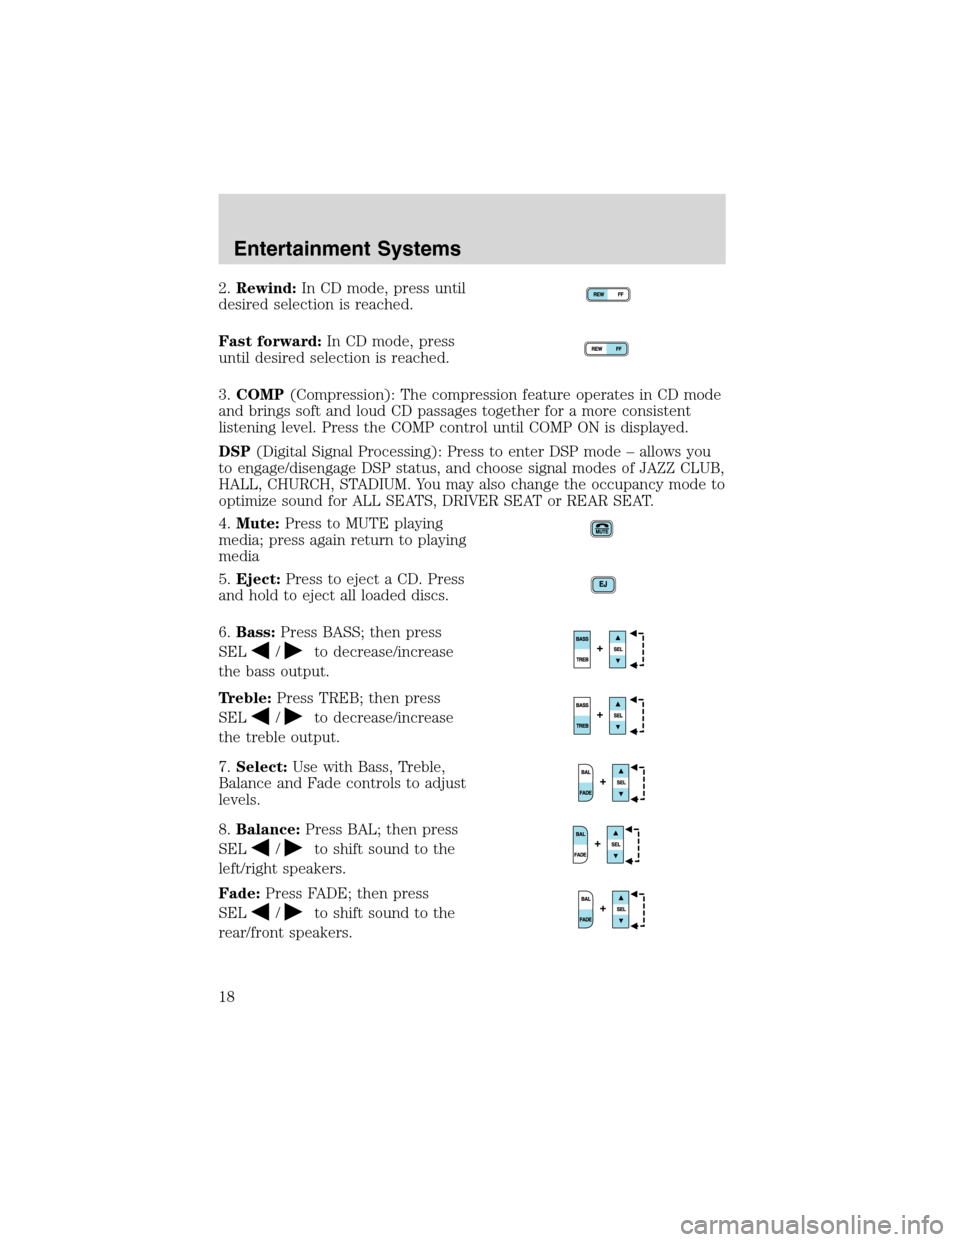
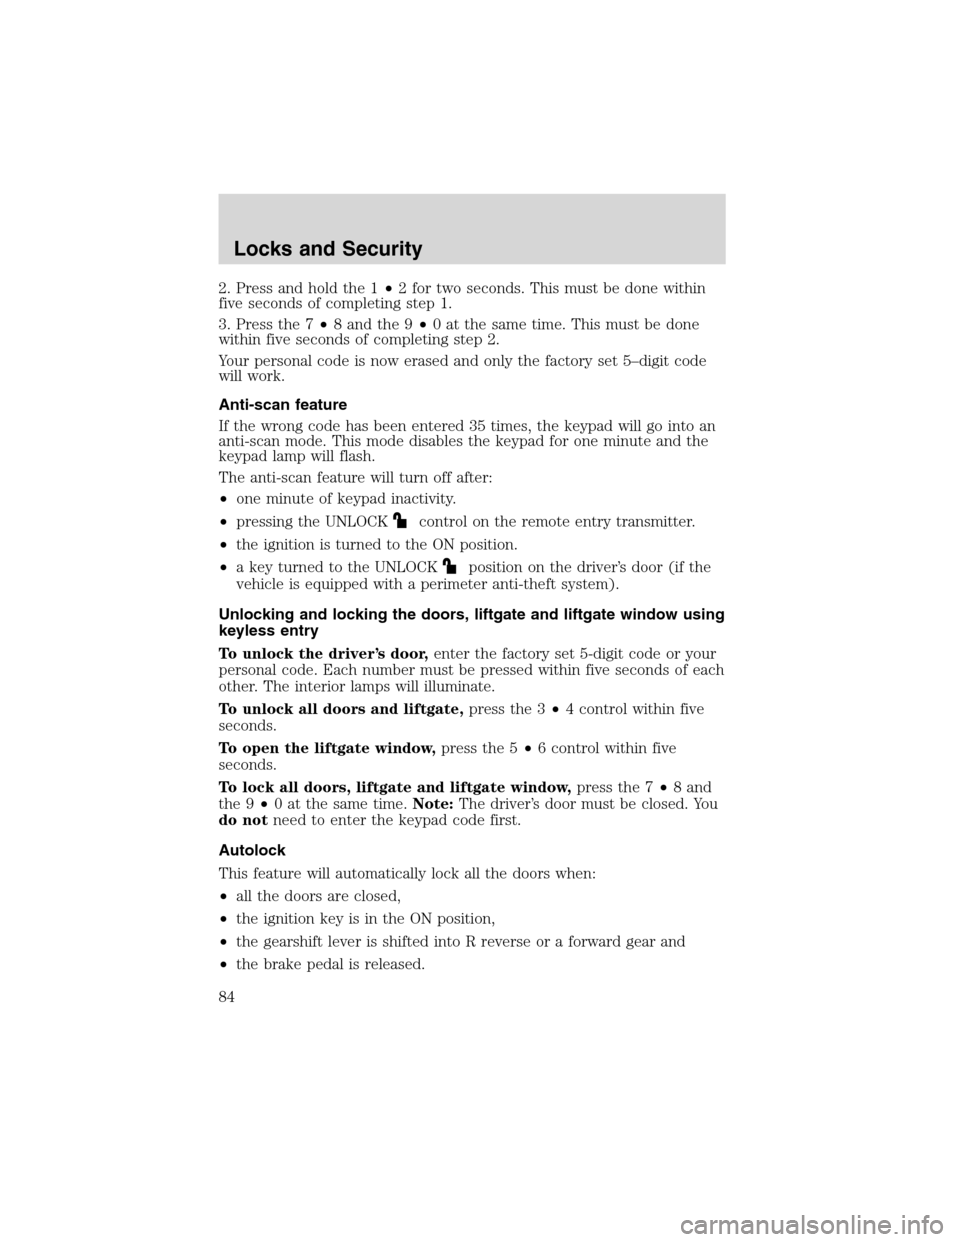
2.Rewind:In CD mode, press until
desired selection is reached.
Fast forward:In CD mode, press
until desired selection is reached.
3.COMP(Compression): The compression feature operates in CD mode
and brings soft and loud CD passages together for a more consistent
listening level. Press the COMP control until COMP ON is displayed.
DSP(Digital Signal Processing): Press to enter DSP mode–allows you
to engage/disengage DSP status, and choose signal modes of JAZZ CLUB,
HALL, CHURCH, STADIUM. You may also change the occupancy mode to
optimize sound for ALL SEATS, DRIVER SEAT or REAR SEAT.
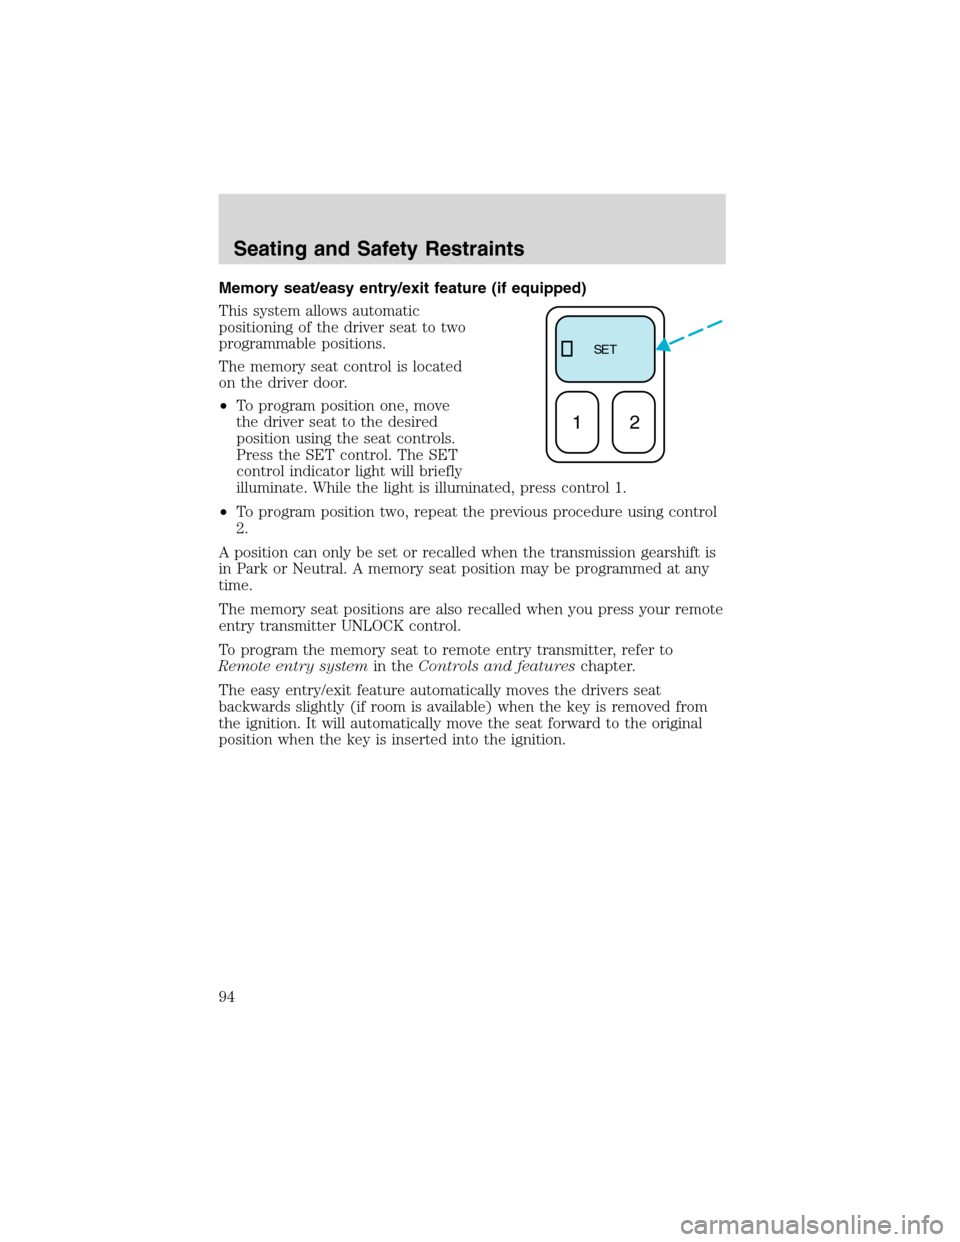
4.Mute:Press to MUTE playing
media; press again return to playing
media
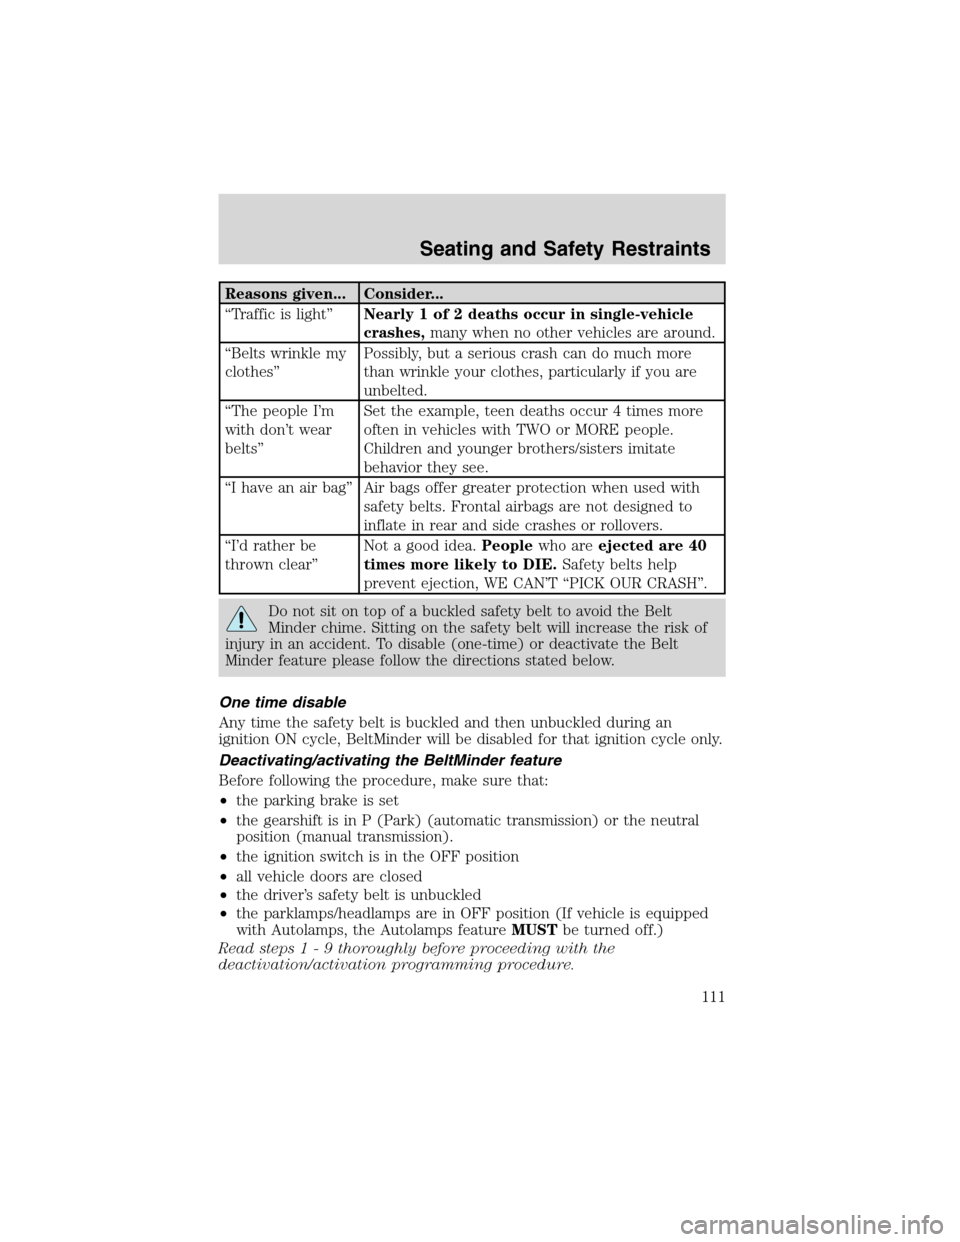
5.Eject:Press to eject a CD. Press
and hold to eject all loaded discs.
6.Bass:Press BASS; then press
SEL
/to decrease/increase
the bass output.
Treble:Press TREB; then press
SEL
/to decrease/increase
the treble output.
7.Select:Use with Bass, Treble,
Balance and Fade controls to adjust
levels.
8.Balance:Press BAL; then press
SEL
/to shift sound to the
left/right speakers.
Fade:Press FADE; then press
SEL
/to shift sound to the
rear/front speakers.
Entertainment Systems
18
Page 23 of 272
10.Balance:Press BAL; then press
SEL
/to shift sound to the
left/right speakers.
Fade:Press FADE; then press
SEL
/to shift sound to the
rear/front speakers.
11.Memory preset buttons:To
set a station: Select frequency band
AM/FM, tune to a station, press and
hold a preset button until sound returns.
12.Shuffle (CD):Press to play
tracks in random order.
13.Compression (CD):Press to
bring soft and loud passages
together for a more consistent
listening level.
14.
Dolby�noise reduction:
Works in tape mode only. Reduces
tape noise and hiss; press to
activate/deactivate.
15.Side 1–2:Works in tape mode
only. Press to play reverse side of
the tape.
16.Fast Forward (FF):Press for
a slow advance, press and hold for a
fast advance.
17.Rewind (REW):Press for a
slow rewind, press and hold for a
fast rewind.
FF2
REW1
Entertainment Systems
23
Page 50 of 272
POWER ADJUSTABLE FOOT PEDALS (IF EQUIPPED)
The accelerator and brake pedal
should only be adjusted when the
vehicle is stopped and the gearshift
lever is in the P(Park) position.
Press and hold the rocker control to
adjust accelerator and brake pedal
toward you or away from you.
The adjustment allows for approximately 76 mm (3 inches) of maximum
travel.
Never adjust the accelerator and brake pedal with feet on the
pedals while the vehicle is moving.
SPEED CONTROL (IF EQUIPPED)
With speed control set, you can maintain a speed of 48 km/h (30 mph)
or more without keeping your foot on the pedal. Speed control does not
work at speeds below 48 km/h (30 mph).
Do not use the speed control in heavy traffic or on roads that
are winding, slippery or unpaved.
Setting speed control
The controls for using your speed
control are located on the steering
wheel for your convenience.
1. Press the ON control and release
it.
2. Accelerate to the desired speed.
Driver Controls
50
Page 84 of 272

2. Press and hold the 1•2 for two seconds. This must be done within
five seconds of completing step 1.
3. Press the 7•8 and the 9•0 at the same time. This must be done
within five seconds of completing step 2.
Your personal code is now erased and only the factory set 5–digit code
will work.
Anti-scan feature
If the wrong code has been entered 35 times, the keypad will go into an
anti-scan mode. This mode disables the keypad for one minute and the
keypad lamp will flash.
The anti-scan feature will turn off after:
•one minute of keypad inactivity.
•pressing the UNLOCK
control on the remote entry transmitter.
•the ignition is turned to the ON position.
•a key turned to the UNLOCK
position on the driver’s door (if the
vehicle is equipped with a perimeter anti-theft system).
Unlocking and locking the doors, liftgate and liftgate window using
keyless entry
To unlock the driver’s door,enter the factory set 5-digit code or your
personal code. Each number must be pressed within five seconds of each
other. The interior lamps will illuminate.
To unlock all doors and liftgate,press the 3•4 control within five
seconds.
To open the liftgate window,press the 5•6 control within five
seconds.
To lock all doors, liftgate and liftgate window,press the 7•8 and
the 9•0 at the same time.Note:The driver’s door must be closed. You
do notneed to enter the keypad code first.
Autolock
This feature will automatically lock all the doors when:
•all the doors are closed,
•the ignition key is in the ON position,
•the gearshift lever is shifted into R reverse or a forward gear and
•the brake pedal is released.
Locks and Security
84
Page 94 of 272

Memory seat/easy entry/exit feature (if equipped)
This system allows automatic
positioning of the driver seat to two
programmable positions.
The memory seat control is located
on the driver door.
•To program position one, move
the driver seat to the desired
position using the seat controls.
Press the SET control. The SET
control indicator light will briefly
illuminate. While the light is illuminated, press control 1.
•To program position two, repeat the previous procedure using control
2.
A position can only be set or recalled when the transmission gearshift is
in Park or Neutral. A memory seat position may be programmed at any
time.
The memory seat positions are also recalled when you press your remote
entry transmitter UNLOCK control.
To program the memory seat to remote entry transmitter, refer to
Remote entry systemin theControls and featureschapter.
The easy entry/exit feature automatically moves the drivers seat
backwards slightly (if room is available) when the key is removed from
the ignition. It will automatically move the seat forward to the original
position when the key is inserted into the ignition.
SE T
12
Seating and Safety Restraints
94
Page 111 of 272

Reasons given... Consider...
“Traffic is light”Nearly 1 of 2 deaths occur in single-vehicle
crashes,many when no other vehicles are around.
“Belts wrinkle my
clothes”Possibly, but a serious crash can do much more
than wrinkle your clothes, particularly if you are
unbelted.
“The people I’m
with don’t wear
belts”Set the example, teen deaths occur 4 times more
often in vehicles with TWO or MORE people.
Children and younger brothers/sisters imitate
behavior they see.
“I have an air bag”Air bags offer greater protection when used with
safety belts. Frontal airbags are not designed to
inflate in rear and side crashes or rollovers.
“I’d rather be
thrown clear”Not a good idea.Peoplewho areejected are 40
times more likely to DIE.Safety belts help
prevent ejection, WE CAN’T“PICK OUR CRASH”.
Do not sit on top of a buckled safety belt to avoid the Belt
Minder chime. Sitting on the safety belt will increase the risk of
injury in an accident. To disable (one-time) or deactivate the Belt
Minder feature please follow the directions stated below.
One time disable
Any time the safety belt is buckled and then unbuckled during an
ignition ON cycle, BeltMinder will be disabled for that ignition cycle only.
Deactivating/activating the BeltMinder feature
Before following the procedure, make sure that:
•the parking brake is set
•the gearshift is in P (Park) (automatic transmission) or the neutral
position (manual transmission).
•the ignition switch is in the OFF position
•all vehicle doors are closed
•the driver’s safety belt is unbuckled
•the parklamps/headlamps are in OFF position (If vehicle is equipped
with Autolamps, the Autolamps featureMUSTbe turned off.)
Read steps1-9thoroughly before proceeding with the
deactivation/activation programming procedure.
Seating and Safety Restraints
111
Page 134 of 272
STARTING
Positions of the ignition
1. OFF/LOCK, shuts off the engine
and all accessories/locks the steering
wheel, gearshift lever and allows key
removal.
2. ACC, allows the electrical
accessories such as the radio to
operate while the engine is not
running. This position also unlocks
the steering wheel.
3. ON, all electrical circuits
operational. Warning lights illuminated. Key position when driving.
4. START, cranks the engine. Release the key as soon as the engine
starts.
Important safety precautions
When the engine starts, the idle RPM runs faster to warm the engine. If
the engine idle speed does not slow down automatically, have the vehicle
checked.
Before starting the vehicle:
1. Make sure all occupants buckle their safety belts. For more
information on safety belts and their proper usage, refer to theSeating
and safety restraintschapter.
2. Make sure the headlamps and electrical accessories are off.
•Make sure the parking brake is
set.
4
3
2
1
Driving
134
Page 135 of 272
•Make sure the gearshift is in P
(Park).
3. Turn the key to 3 (ON) without
turning the key to 4 (START).
Make sure the corresponding lights illuminate or illuminate briefly. If a
light fails to illuminate, have the vehicle serviced.
•If the driver’s safety belt is fastened, the
light may not illuminate.
4
3
2
1
O/D
OFF
4X4
LOW
4X4
HIGH
BRAKE
SERVICE
ENGINE
SOON
HI TEMP
LOW OIL
Driving
135