Page 89 of 272

The parking lamps will flash once when all doors/hood/liftgate and
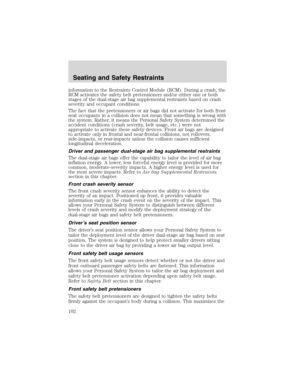
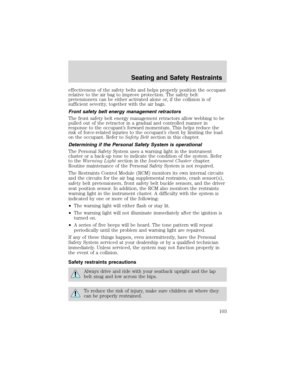
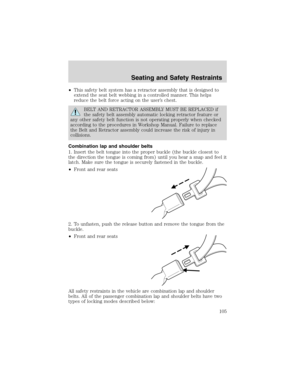
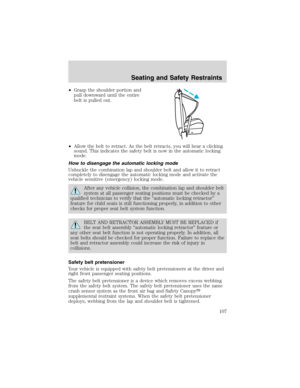
liftgate window are closed indicating the vehicle is locked and entering
the 20 second countdown.
DISARMING THE SYSTEM
You can disarm the system by any of the following actions:
•Unlock the doors by using the
on the remote entry transmitter.
•Unlock the doors by using your keyless entry pad.
•Unlock the driver’s door with a key. Turn the key full travel (toward
the front of the vehicle) to make sure the alarm disarms.
•Turn ignition to ON.
•Press the
on the remote entry transmitter. This will only shut off
the horn and parking lamps when the alarm is sounding. The alarm
system will still be armed.
•Press the liftgate window control on the remote entry transmitter. The
liftgate and liftgate window are no longer armed, but the doors and
hood are still armed. To disarm the doors and hood, press the liftgate
power door lock control.
Pressing the power door UNLOCK trim switch within the 20 second
prearmed mode will return the vehicle to a disarmed state.
TRIGGERING THE ANTI-THEFT SYSTEM
The armed system will be triggered if:
•Any door, the liftgate, liftgate window or hood is opened without using
the door key, keypad or the remote entry transmitter.
Power door lock disable feature
This feature disables the power door locks and liftgate power door lock
control switches if all doors are closed and the perimeter alarm becomes
armed.
Once the locks are disabled, they only become active when the perimeter
alarm is disarmed or a door, liftgate, liftgate window or hood is open.
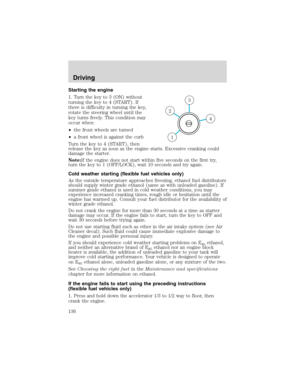
Locks and Security
89
Page 90 of 272
Deactivating/activating power door lock disable feature
Before beginning the activation/deactivation procedure, verify that:
•the perimeter alarm is not armed,
•the ignition is in the OFF position, and
•all doors, the liftgate and all windows are closed.
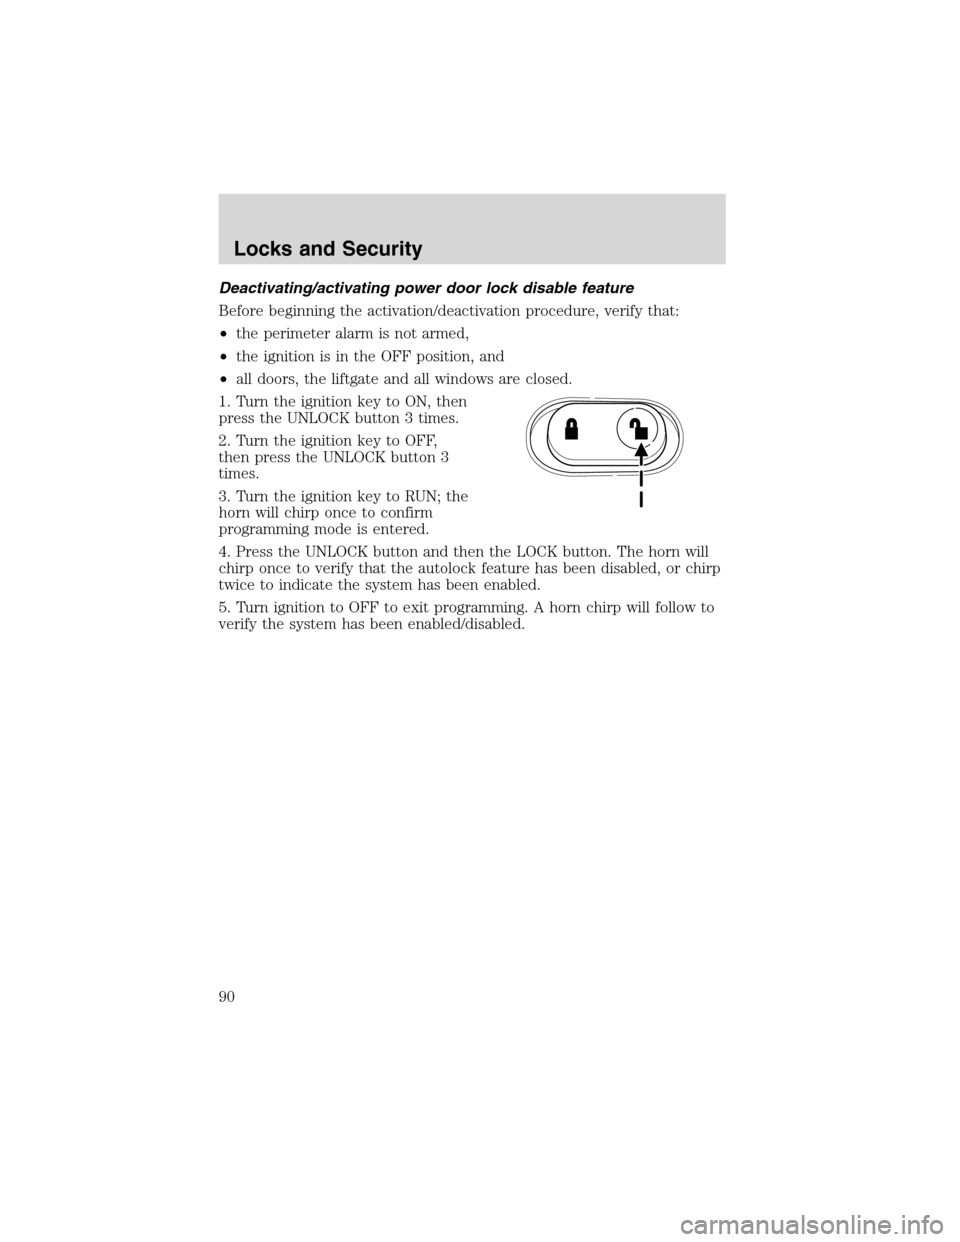
1. Turn the ignition key to ON, then
press the UNLOCK button 3 times.
2. Turn the ignition key to OFF,
then press the UNLOCK button 3
times.
3. Turn the ignition key to RUN; the
horn will chirp once to confirm
programming mode is entered.
4. Press the UNLOCK button and then the LOCK button. The horn will
chirp once to verify that the autolock feature has been disabled, or chirp
twice to indicate the system has been enabled.
5. Turn ignition to OFF to exit programming. A horn chirp will follow to
verify the system has been enabled/disabled.
Locks and Security
90
Page 91 of 272
SEATING
Notes:
Reclining the seatback can cause an occupant to slide under the
seat’s safety belt, resulting in severe personal injuries in the
event of a collision.
Do not pile cargo higher than the seatbacks to reduce the risk of
injury in a collision or sudden stop.
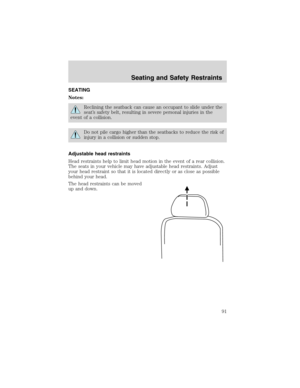
Adjustable head restraints
Head restraints help to limit head motion in the event of a rear collision.
The seats in your vehicle may have adjustable head restraints. Adjust
your head restraint so that it is located directly or as close as possible
behind your head.
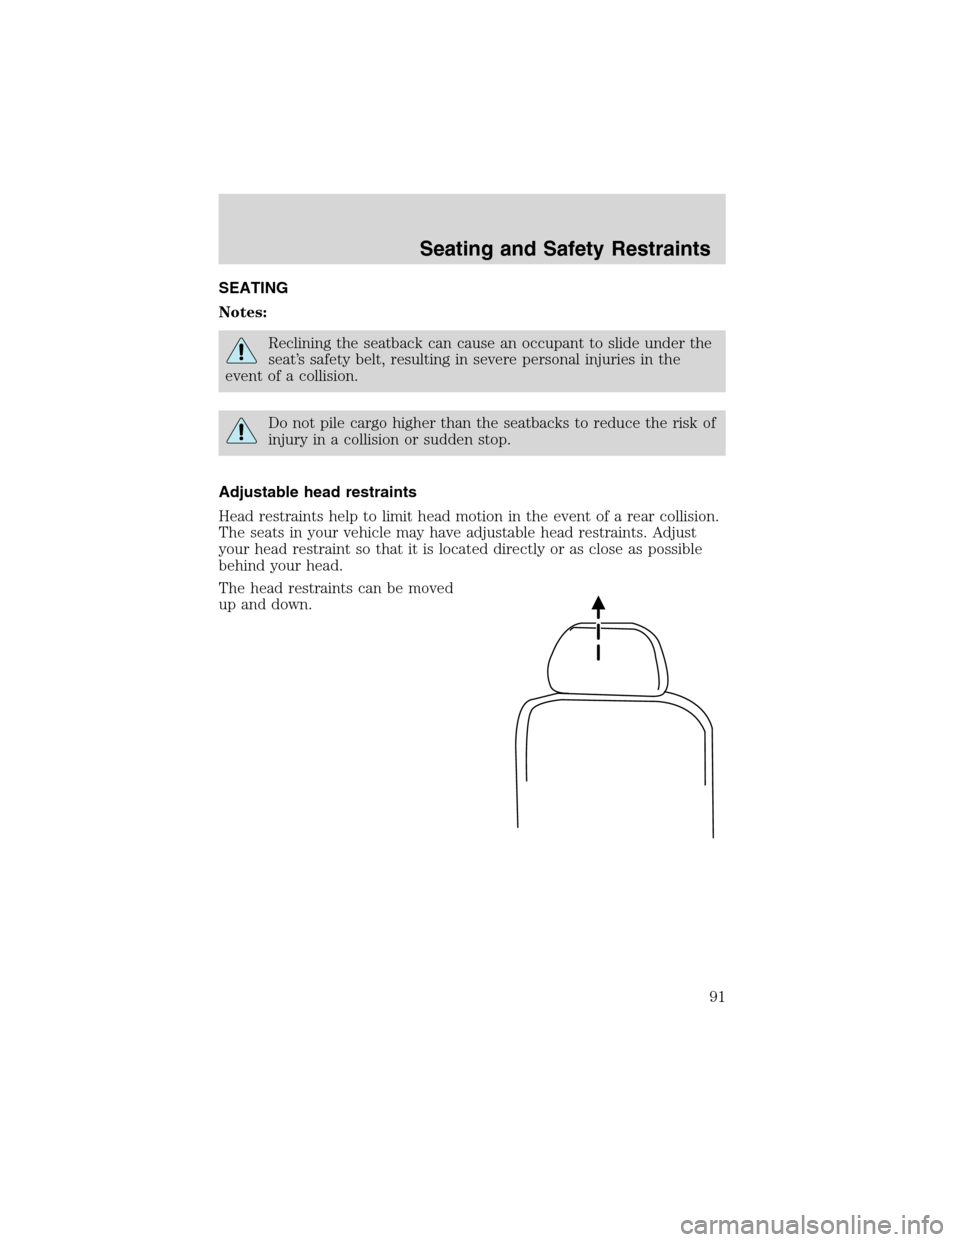
The head restraints can be moved
up and down.
Seating and Safety Restraints
91
Page 92 of 272
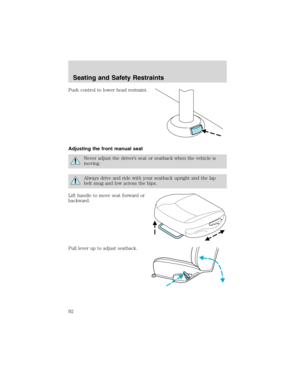
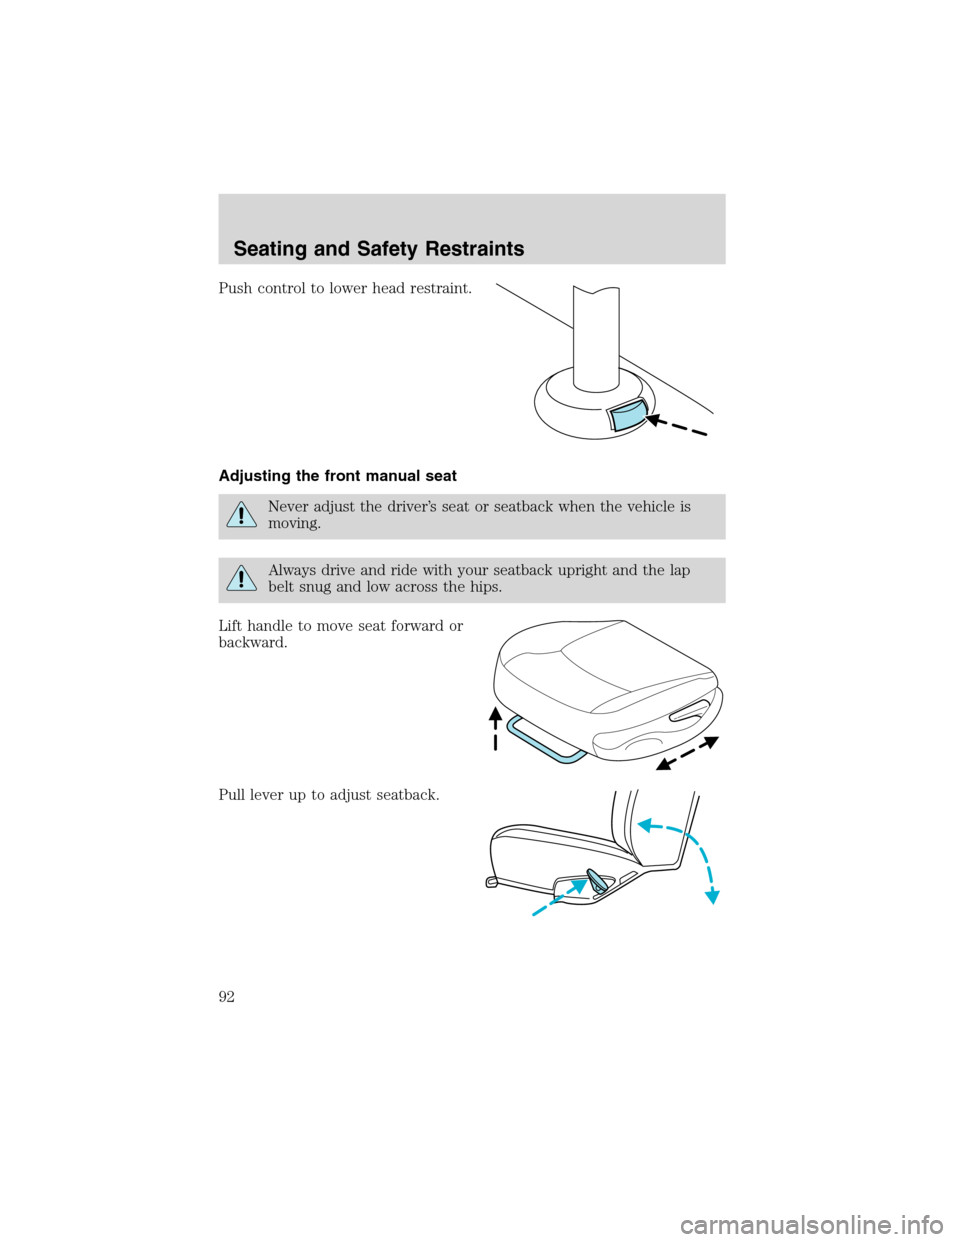
Push control to lower head restraint.
Adjusting the front manual seat
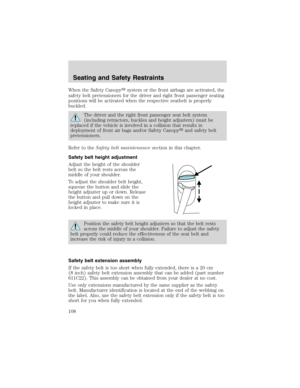
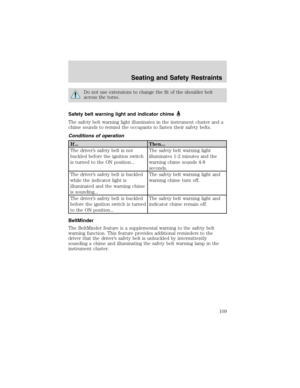
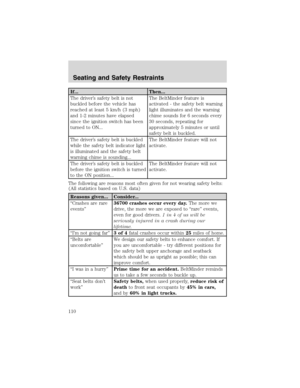
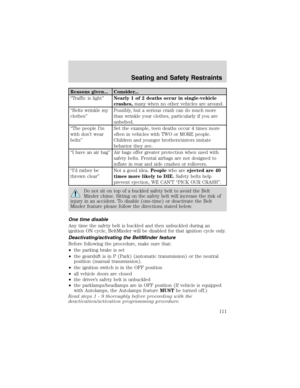
Never adjust the driver’s seat or seatback when the vehicle is
moving.
Always drive and ride with your seatback upright and the lap
belt snug and low across the hips.
Lift handle to move seat forward or
backward.
Pull lever up to adjust seatback.
Seating and Safety Restraints
92
Page 93 of 272
Adjusting the front power seat (if equipped)
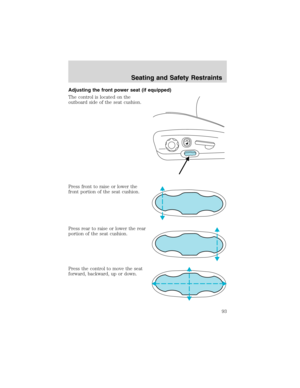
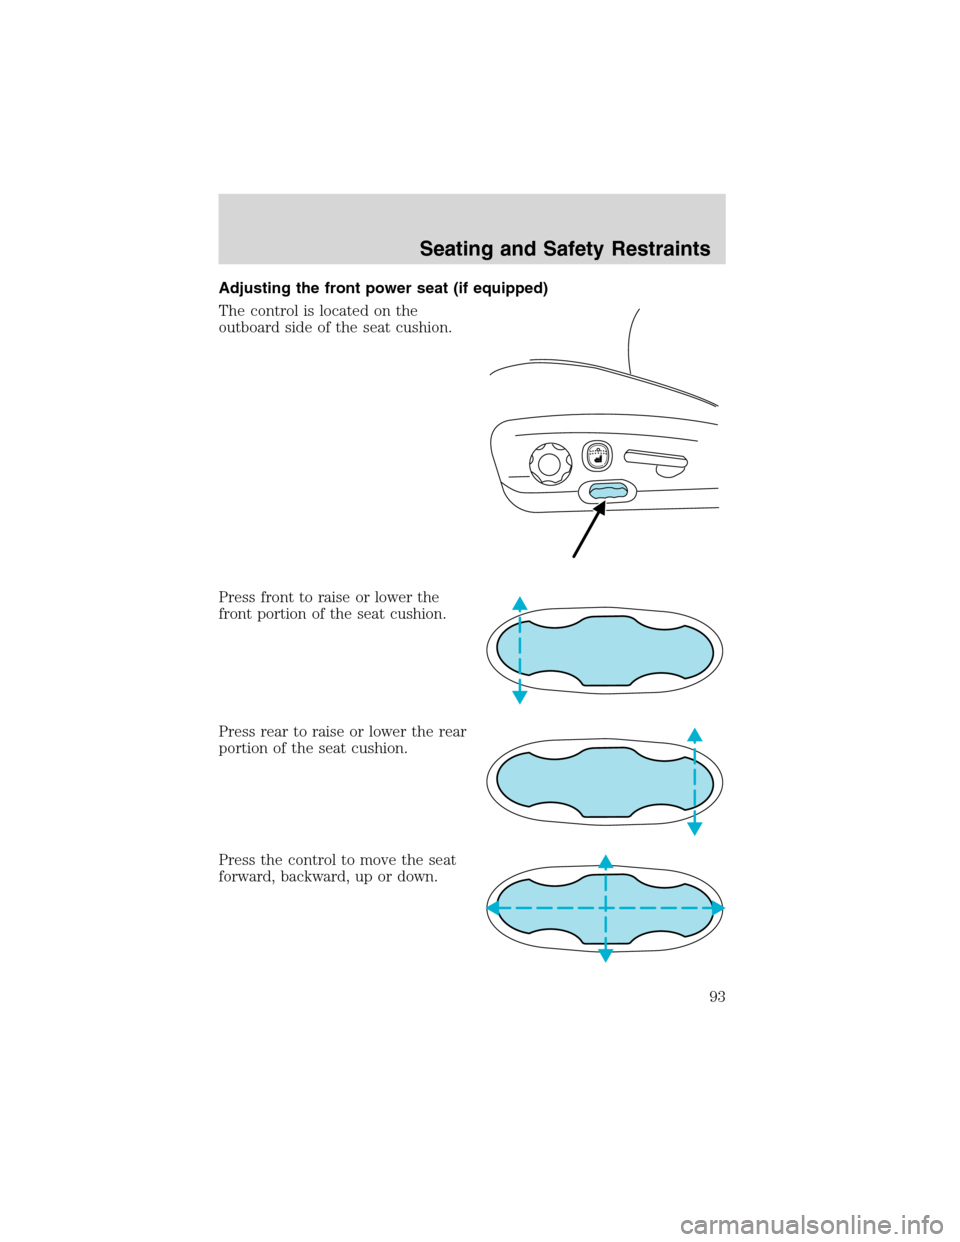
The control is located on the
outboard side of the seat cushion.
Press front to raise or lower the
front portion of the seat cushion.
Press rear to raise or lower the rear
portion of the seat cushion.
Press the control to move the seat
forward, backward, up or down.
Seating and Safety Restraints
93
Page 94 of 272

Memory seat/easy entry/exit feature (if equipped)
This system allows automatic
positioning of the driver seat to two
programmable positions.
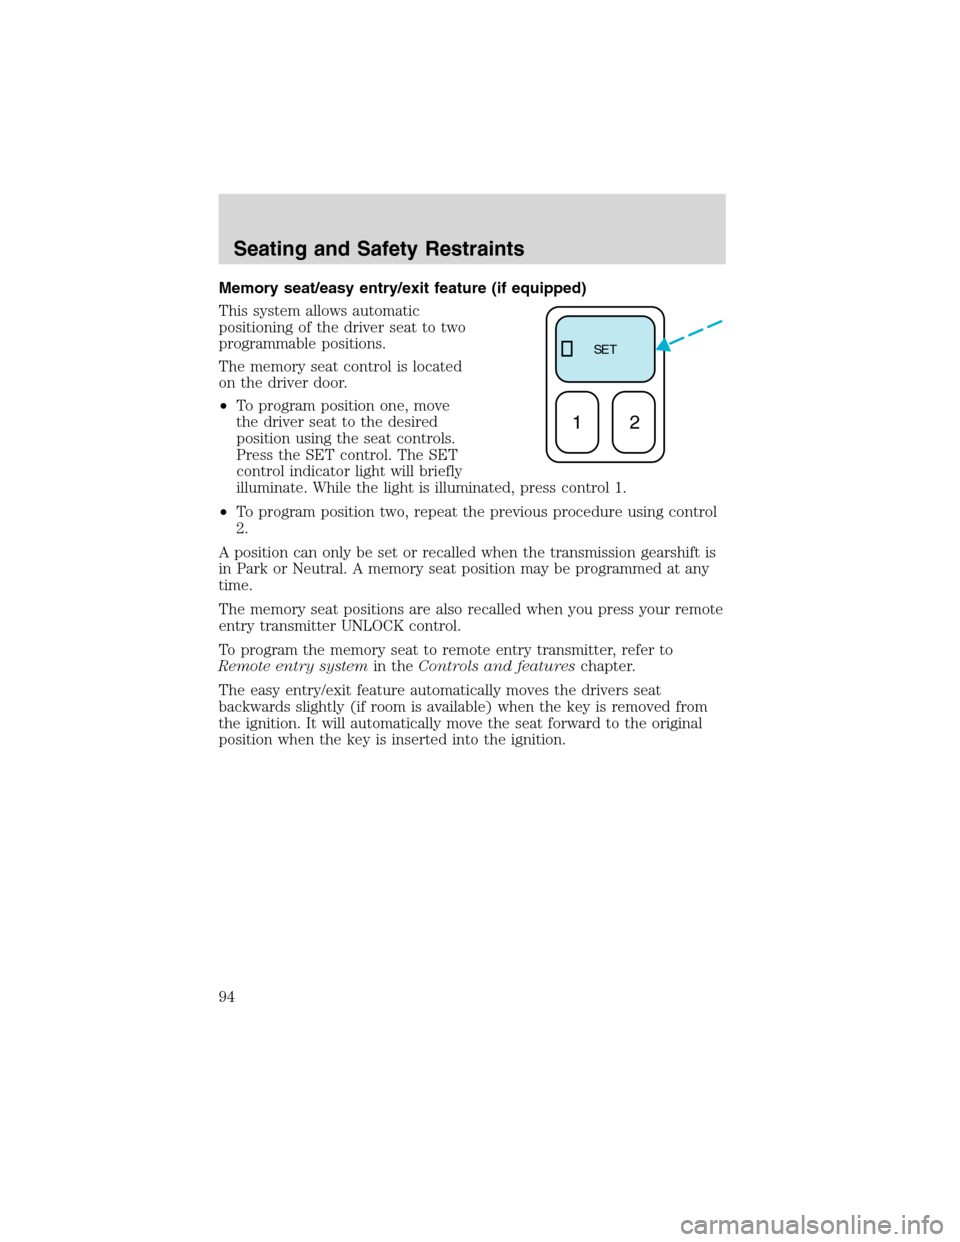
The memory seat control is located
on the driver door.
•To program position one, move
the driver seat to the desired
position using the seat controls.
Press the SET control. The SET
control indicator light will briefly
illuminate. While the light is illuminated, press control 1.
•To program position two, repeat the previous procedure using control
2.
A position can only be set or recalled when the transmission gearshift is
in Park or Neutral. A memory seat position may be programmed at any
time.
The memory seat positions are also recalled when you press your remote
entry transmitter UNLOCK control.
To program the memory seat to remote entry transmitter, refer to
Remote entry systemin theControls and featureschapter.
The easy entry/exit feature automatically moves the drivers seat
backwards slightly (if room is available) when the key is removed from
the ignition. It will automatically move the seat forward to the original
position when the key is inserted into the ignition.
SE T
12
Seating and Safety Restraints
94
Page 95 of 272
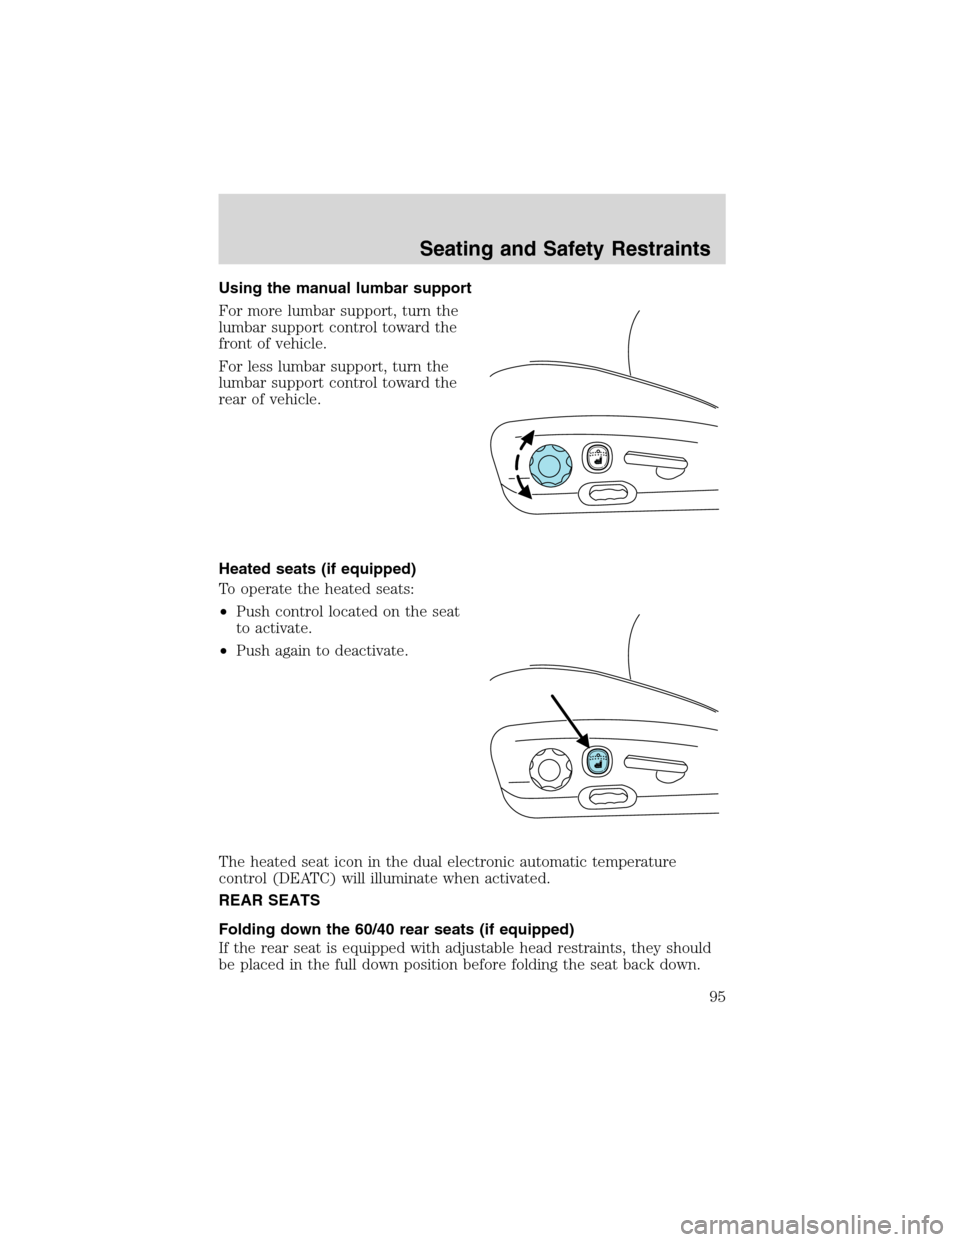
Using the manual lumbar support
For more lumbar support, turn the
lumbar support control toward the
front of vehicle.
For less lumbar support, turn the
lumbar support control toward the
rear of vehicle.
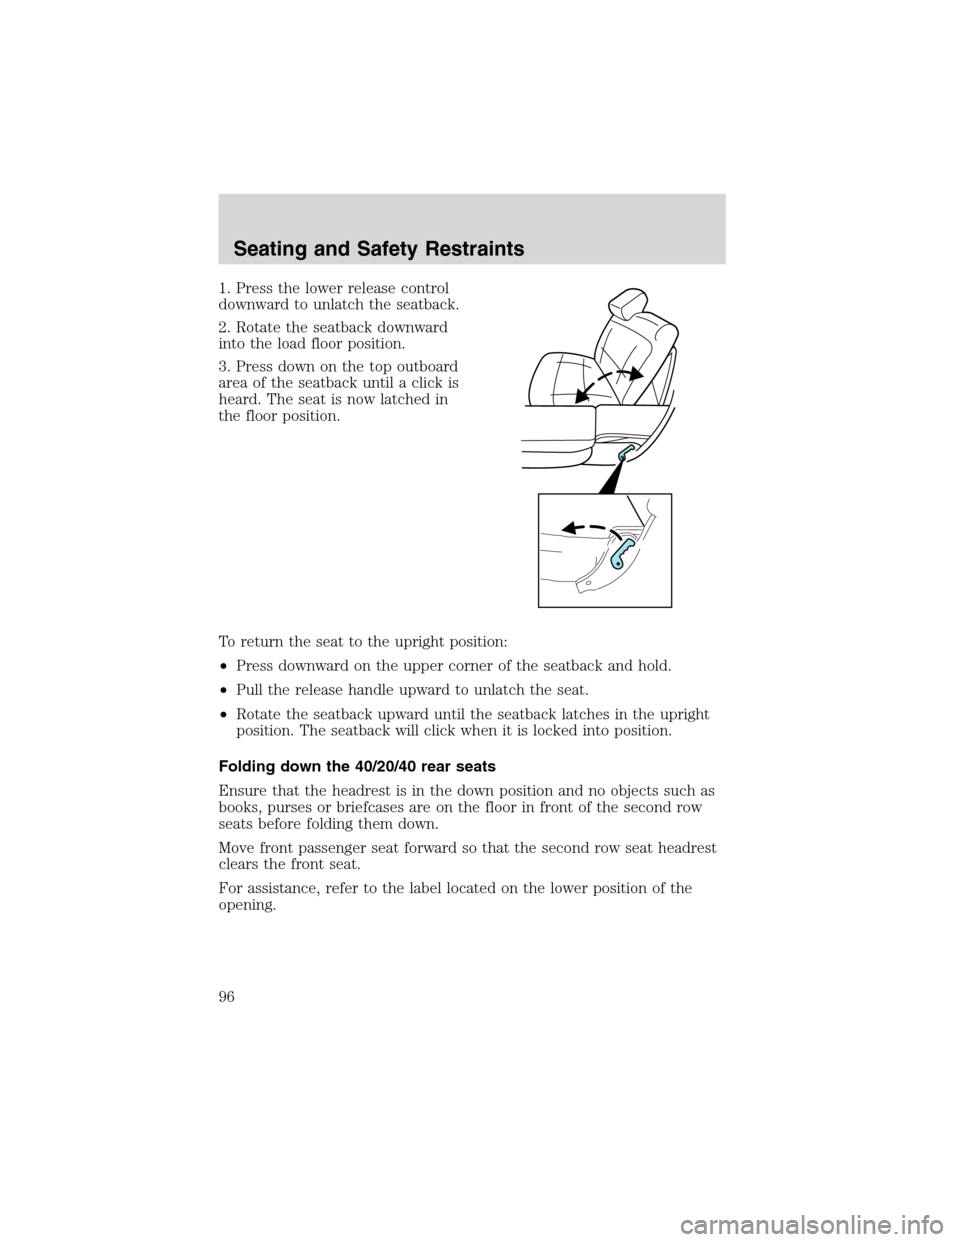
Heated seats (if equipped)
To operate the heated seats:
•Push control located on the seat
to activate.
•Push again to deactivate.
The heated seat icon in the dual electronic automatic temperature
control (DEATC) will illuminate when activated.
REAR SEATS
Folding down the 60/40 rear seats (if equipped)
If the rear seat is equipped with adjustable head restraints, they should
be placed in the full down position before folding the seat back down.
Seating and Safety Restraints
95
Page 96 of 272
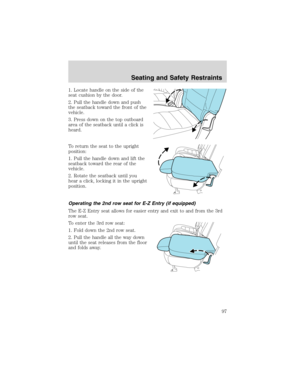
1. Press the lower release control
downward to unlatch the seatback.
2. Rotate the seatback downward
into the load floor position.
3. Press down on the top outboard
area of the seatback until a click is
heard. The seat is now latched in
the floor position.
To return the seat to the upright position:
•Press downward on the upper corner of the seatback and hold.
•Pull the release handle upward to unlatch the seat.
•Rotate the seatback upward until the seatback latches in the upright
position. The seatback will click when it is locked into position.
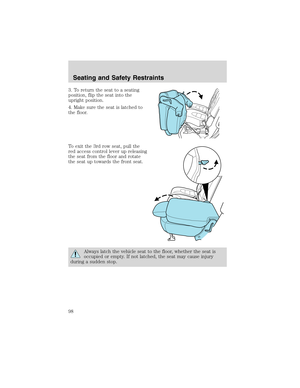
Folding down the 40/20/40 rear seats
Ensure that the headrest is in the down position and no objects such as
books, purses or briefcases are on the floor in front of the second row
seats before folding them down.
Move front passenger seat forward so that the second row seat headrest
clears the front seat.
For assistance, refer to the label located on the lower position of the
opening.
Seating and Safety Restraints
96