2003 FORD EXPEDITION lights
[x] Cancel search: lightsPage 100 of 320

Window lock
The window lock feature allows only
the driver to operate the power
windows.
To lock out all the window controls
except for the driver’s press the left
side of the control. Press the right
side to restore the window controls.
Accessory delay
With accessory delay, the window switches and audio system may be
used for up to ten minutes after the ignition switch is turned to the OFF
position or until any door is opened.
MIRRORS
Automatic dimming rear view mirrors (if equipped)
Your vehicle may be equipped with an inside rear view mirror with an
auto-dimming function. The electronic day/night mirror will change from
the normal state to the non-glare state when bright lights (glare) reach
the inside rear view mirror. When the inside rear view mirror detects
bright light from in front of or behind the vehicle, the inside rear view
mirror will automatically adjust (darken) to minimize glare.
Do not block the sensor on the backside of the inside rear view mirror
since this may impair proper system performance.
Press the control to turn the mirror
OFF or AUTO.
The mirror will automatically return
to the normal state whenever the
vehicle is placed in R
(Reverse)(when the mirror is on) to ensure a bright clear view when
backing up.
OFF AUTO
Driver Controls
100
Page 118 of 320

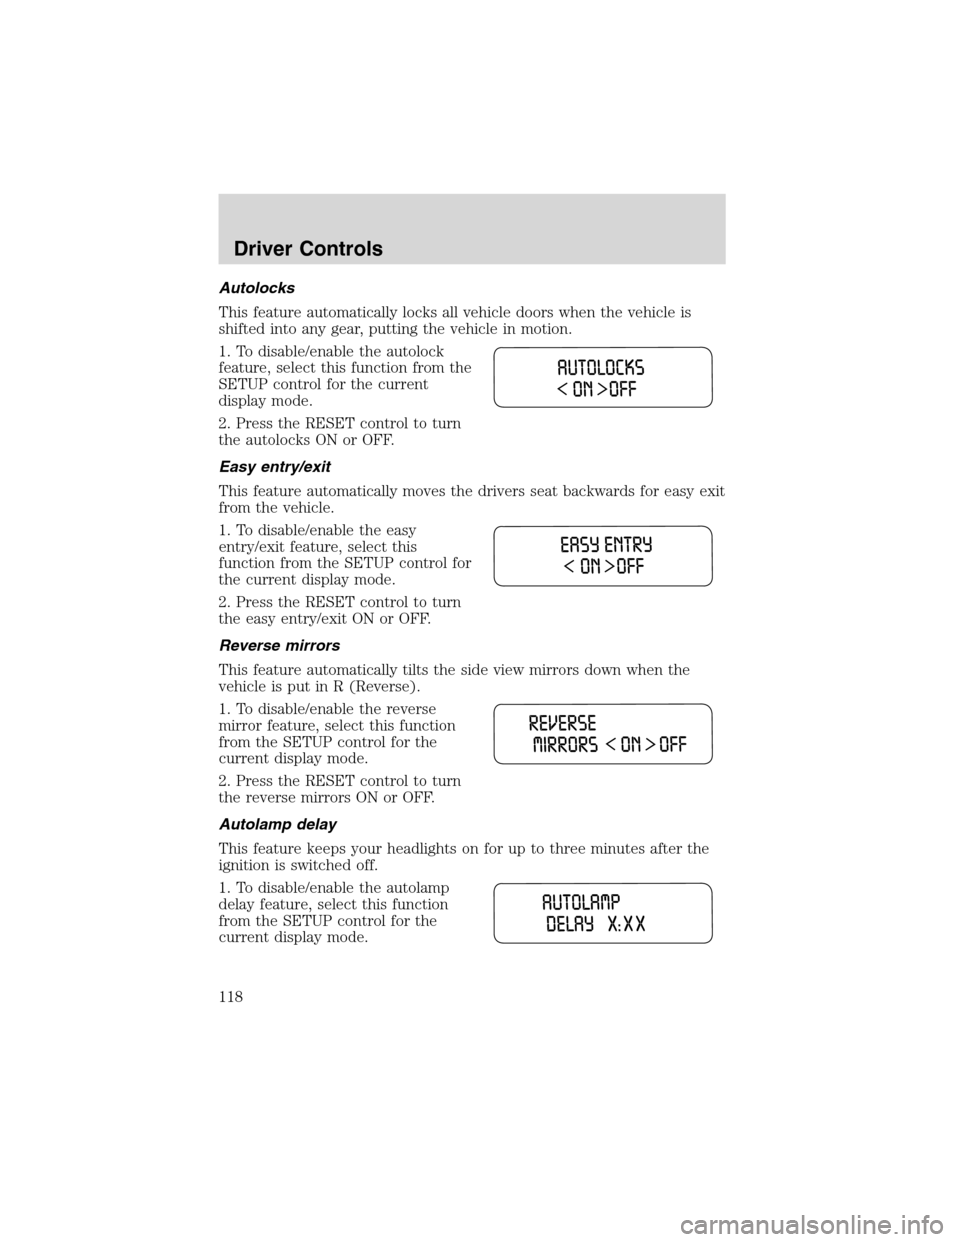
Autolocks
This feature automatically locks all vehicle doors when the vehicle is
shifted into any gear, putting the vehicle in motion.
1. To disable/enable the autolock
feature, select this function from the
SETUP control for the current
display mode.
2. Press the RESET control to turn
the autolocks ON or OFF.
Easy entry/exit
This feature automatically moves the drivers seat backwards for easy exit
from the vehicle.
1. To disable/enable the easy
entry/exit feature, select this
function from the SETUP control for
the current display mode.
2. Press the RESET control to turn
the easy entry/exit ON or OFF.
Reverse mirrors
This feature automatically tilts the side view mirrors down when the
vehicle is put in R (Reverse).
1. To disable/enable the reverse
mirror feature, select this function
from the SETUP control for the
current display mode.
2. Press the RESET control to turn
the reverse mirrors ON or OFF.
Autolamp delay
This feature keeps your headlights on for up to three minutes after the
ignition is switched off.
1. To disable/enable the autolamp
delay feature, select this function
from the SETUP control for the
current display mode.
Driver Controls
118
Page 133 of 320

Programming remote transmitters
It is necessary to haveall(maximum of four—original and/or new) of
your remote transmitters available prior to beginning this procedure.
To program the transmitters yourself:
•Unlock all the doors.
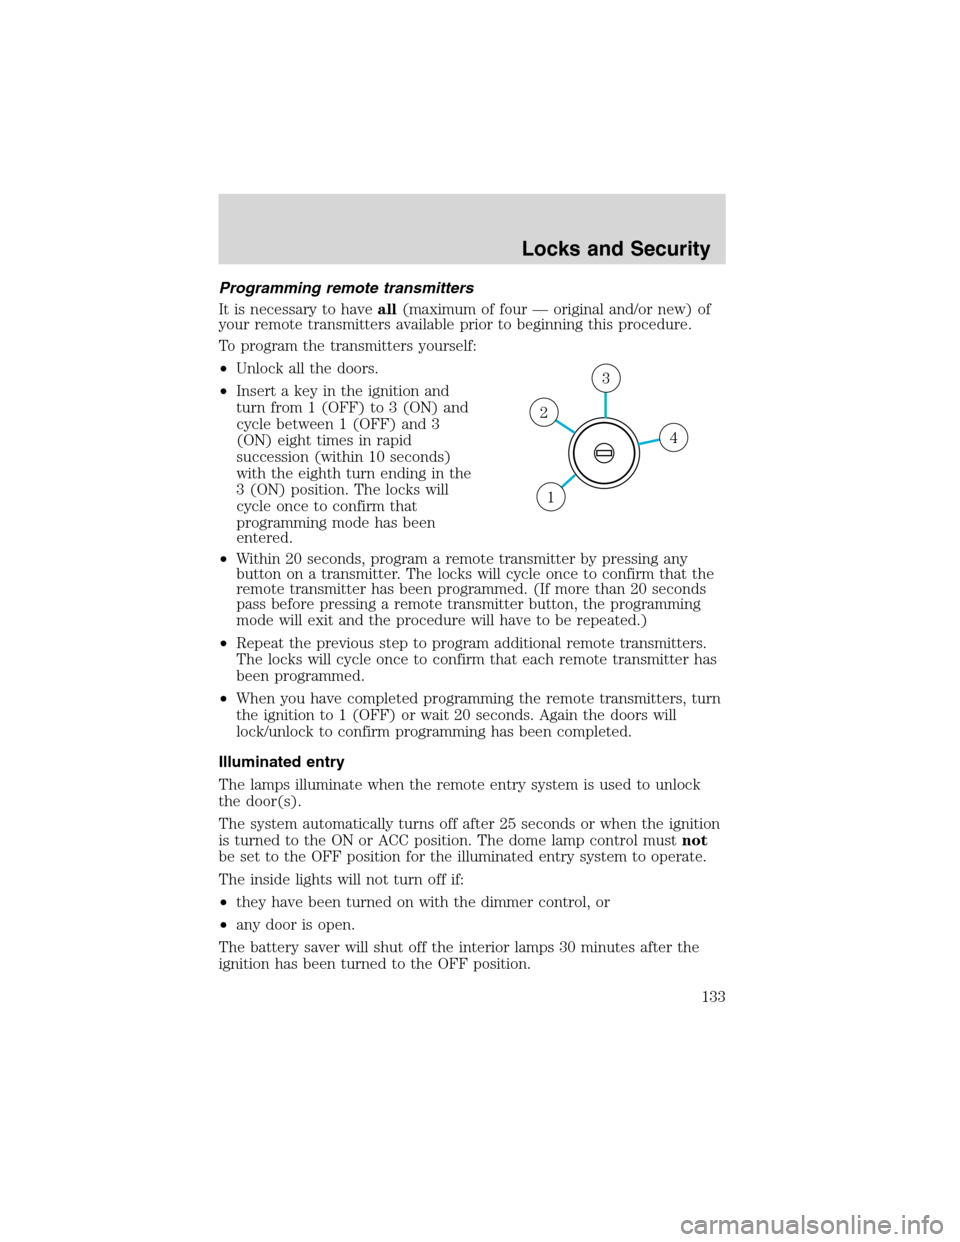
•Insert a key in the ignition and
turn from 1 (OFF) to 3 (ON) and
cycle between 1 (OFF) and 3
(ON) eight times in rapid
succession (within 10 seconds)
with the eighth turn ending in the
3 (ON) position. The locks will
cycle once to confirm that
programming mode has been
entered.
•Within 20 seconds, program a remote transmitter by pressing any
button on a transmitter. The locks will cycle once to confirm that the
remote transmitter has been programmed. (If more than 20 seconds
pass before pressing a remote transmitter button, the programming
mode will exit and the procedure will have to be repeated.)
•Repeat the previous step to program additional remote transmitters.
The locks will cycle once to confirm that each remote transmitter has
been programmed.
•When you have completed programming the remote transmitters, turn
the ignition to 1 (OFF) or wait 20 seconds. Again the doors will
lock/unlock to confirm programming has been completed.
Illuminated entry
The lamps illuminate when the remote entry system is used to unlock
the door(s).
The system automatically turns off after 25 seconds or when the ignition
is turned to the ON or ACC position. The dome lamp control mustnot
be set to the OFF position for the illuminated entry system to operate.
The inside lights will not turn off if:
•they have been turned on with the dimmer control, or
•any door is open.
The battery saver will shut off the interior lamps 30 minutes after the
ignition has been turned to the OFF position.
4
3
2
1
Locks and Security
133
Page 156 of 320

•Front safety belts with pretensioners, energy management retractors,
and safety belt usage sensors.
•Driver’s seat position sensor.
•Front crash severity sensor.
•Restraints Control Module (RCM) with impact and safing sensors.
•Restraint system warning light and back-up tone.
•The electrical wiring for the air bags, crash sensor(s), safety belt
pretensioners, front safety belt usage sensors, driver seat position
sensor, and indicator lights.
How does the personal safety system work?
The Personal Safety System can adapt the deployment strategy of your
vehicle’s safety devices according to crash severity and occupant
conditions. A collection of crash and occupant sensors provides
information to the Restraints Control Module (RCM). During a crash, the
RCM activates the safety belt pretensioners and/or either one or both
stages of the dual-stage air bag supplemental restraints based on crash
severity and occupant conditions.
The fact that the pretensioners or air bags did not activate for both front
seat occupants in a collision does not mean that something is wrong with
the system. Rather, it means the Personal Safety System determined the
accident conditions (crash severity, belt usage, etc.) were not
appropriate to activate these safety devices. Front air bags are designed
to activate only in frontal and near-frontal collisions, not rollovers,
side-impacts, or rear-impacts unless the collision causes sufficient
longitudinal deceleration.
Driver and passenger dual-stage air bag supplemental restraints
The dual-stage air bags offer the capability to tailor the level of air bag
inflation energy. A lower, less forceful energy level is provided for more
common, moderate-severity impacts. A higher energy level is used for
the most severe impacts. Refer toAir bag Supplemental Restraints
section in this chapter.
Front crash severity sensor
The front crash severity sensor enhances the ability to detect the
severity of an impact. Positioned up front, it provides valuable
information early in the crash event on the severity of the impact. This
allows your Personal Safety System to distinguish between different
levels of crash severity and modify the deployment strategy of the
dual-stage air bags and safety belt pretensioners.
Seating and Safety Restraints
156
Page 157 of 320

Driver’s seat position sensor
The driver’s seat position sensor allows your Personal Safety System to
tailor the deployment level of the driver dual-stage air bag based on seat
position. The system is designed to help protect smaller drivers sitting
close to the driver air bag by providing a lower air bag output level.
Front safety belt usage sensors
The front safety belt usage sensors detect whether or not the driver and
front outboard passenger safety belts are fastened. This information
allows your Personal Safety System to tailor the air bag deployment and
safety belt pretensioner activation depending upon safety belt usage.
Refer toSafety Beltsection in this chapter.
Front safety belt pretensioners
The safety belt pretensioners are designed to tighten the safety belts
firmly against the occupant’s body during a collision. This maximizes the
effectiveness of the safety belts and helps properly position the occupant
relative to the air bag to improve protection. The safety belt
pretensioners can be either activated alone or, if the collision is of
sufficient severity, together with the air bags.
Front safety belt energy management retractors
The front safety belt energy management retractors allow webbing to be
pulled out of the retractor in a gradual and controlled manner in
response to the occupant’s forward momentum. This helps reduce the
risk of force-related injuries to the occupant’s chest by limiting the load
on the occupant. Refer toSafety Beltsection in this chapter.
Determining if the Personal Safety System is operational
The Personal Safety System uses a warning light in the instrument
cluster or a back-up tone to indicate the condition of the system. Refer
to theWarning Lightsection in theInstrument Clusterchapter.
Routine maintenance of the Personal Safety System is not required.
The Restraints Control Module (RCM) monitors its own internal circuits
and the circuits for the air bag supplemental restraints, crash sensor(s),
safety belt pretensioners, front safety belt buckle sensors, and the driver
seat position sensor. In addition, the RCM also monitors the restraints
warning light in the instrument cluster. A difficulty with the system is
indicated by one or more of the following:
•The warning light will either flash or stay lit.
•The warning light will not illuminate immediately after the ignition is
turned on.
Seating and Safety Restraints
157
Page 191 of 320

STARTING
Positions of the ignition
1. OFF/LOCK, locks the steering
wheel, automatic transmission
gearshift lever and allows key
removal.
2. ACCESSORY, allows the electrical
accessories such as the radio to
operate while the engine is not
running.
3. ON, all electrical circuits
operational. Warning lights
illuminated. Key position when driving.
4. START, cranks the engine. Release the key as soon as the engine
starts.
Preparing to start your vehicle
Engine starting is controlled by the powertrain control system. This
system meets all Canadian Interference-Causing Equipment standard
requirements regulating the impulse electrical field strength of radio
noise.
When starting a fuel-injected engine, avoid pressing the accelerator
before or during starting. Only use the accelerator when you have
difficulty starting the engine. For more information on starting the
vehicle, refer toStarting the enginein this chapter.
Extended idling at high engine speeds can produce very high
temperatures in the engine and exhaust system, creating the risk
of fire or other damage.
Do not park, idle, or drive your vehicle in dry grass or other dry
ground cover. The emission system heats up the engine
compartment and exhaust system, which can start a fire.
Do not start your vehicle in a closed garage or in other enclosed
areas. Exhaust fumes can be toxic. Always open the garage door
before you start the engine. SeeGuarding against exhaust fumesin
this chapter for more instructions.
4
3
2
1
Driving
191
Page 193 of 320

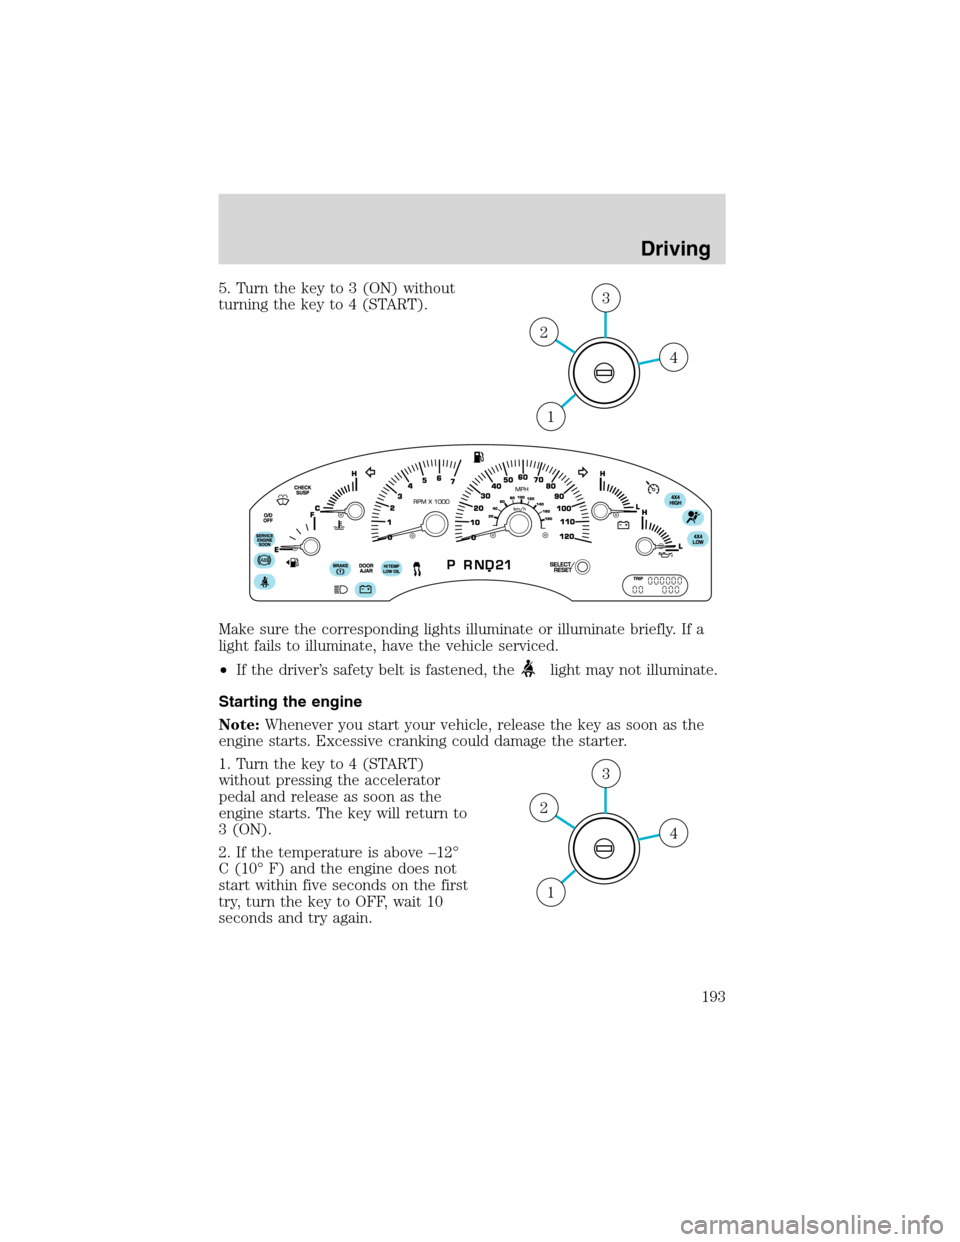
5. Turn the key to 3 (ON) without
turning the key to 4 (START).
Make sure the corresponding lights illuminate or illuminate briefly. If a
light fails to illuminate, have the vehicle serviced.
•If the driver’s safety belt is fastened, the
light may not illuminate.
Starting the engine
Note:Whenever you start your vehicle, release the key as soon as the
engine starts. Excessive cranking could damage the starter.
1. Turn the key to 4 (START)
without pressing the accelerator
pedal and release as soon as the
engine starts. The key will return to
3 (ON).
2. If the temperature is above–12°
C (10°F) and the engine does not
start within five seconds on the first
try, turn the key to OFF, wait 10
seconds and try again.
4
3
2
1
4
3
2
1
Driving
193
Page 208 of 320

Always keep the sensors (located on the rear bumper/fascia) free
from dirt, snow and ice (do not clean the sensors with sharp
objects). These elements may cause the system to operate
inaccurately.
If the vehicle sustains damage to the rear bumper/fascia, leaving
it misaligned or bent, the sensing zone may be altered causing
inaccurate measurement of obstacles or false alarms.
CONTROL TRAC FOUR-WHEEL DRIVE (4X4) OPERATION
(IF EQUIPPED)
For important information regarding safe operation of this type
of vehicle, seePreparing to drive your vehiclein this chapter.
If equipped with the Control Trac 4x4 System, and 4L (4x4 LOW)
is selected while the vehicle is moving, the system will not
engage. This is normal and should be no reason for concern.
Before 4L (4x4 LOW) can be engaged, the vehicle must be
brought to a complete stop, the brake pedal depressed and the
transmission placed in N (Neutral).
The vehicle should not be operated in 4H (4x4 HIGH) or 4L (4x4 LOW)
on dry pavement. Doing so could result in difficult disengagement of the
transfer case, increased tire wear, decreased fuel economy and may
damage driveline components.
Your 4x4 features the heavy-duty Control Trac system which includes a
computer-operated transfer case. This unique system is interactive with
the road, continually monitoring and adjusting torque delivery to the
front and rear wheels to optimize vehicle control.
System indicator lights
The Control Trac system indicator lights illuminate only under the
following conditions. If these lights illuminate when driving in 2H or
A4WD, contact your Ford dealer as soon as possible.
•4X4 HIGH- momentarily
illuminates when the vehicle is
started. Illuminates when 4H is
selected.
4x4
HIGH
Driving
208