Page 132 of 320

Replacing the battery
The remote transmitter is powered by one coin type three-volt lithium
battery CR2032 or equivalent. Typical operating range will allow you to
be up to 10 meters (33 feet) away from your vehicle. A decrease in
operating range can be caused by the following factors:
•Weather conditions
•Nearby radio towers
•Structures around the vehicle
•Other vehicles parked next to the vehicle
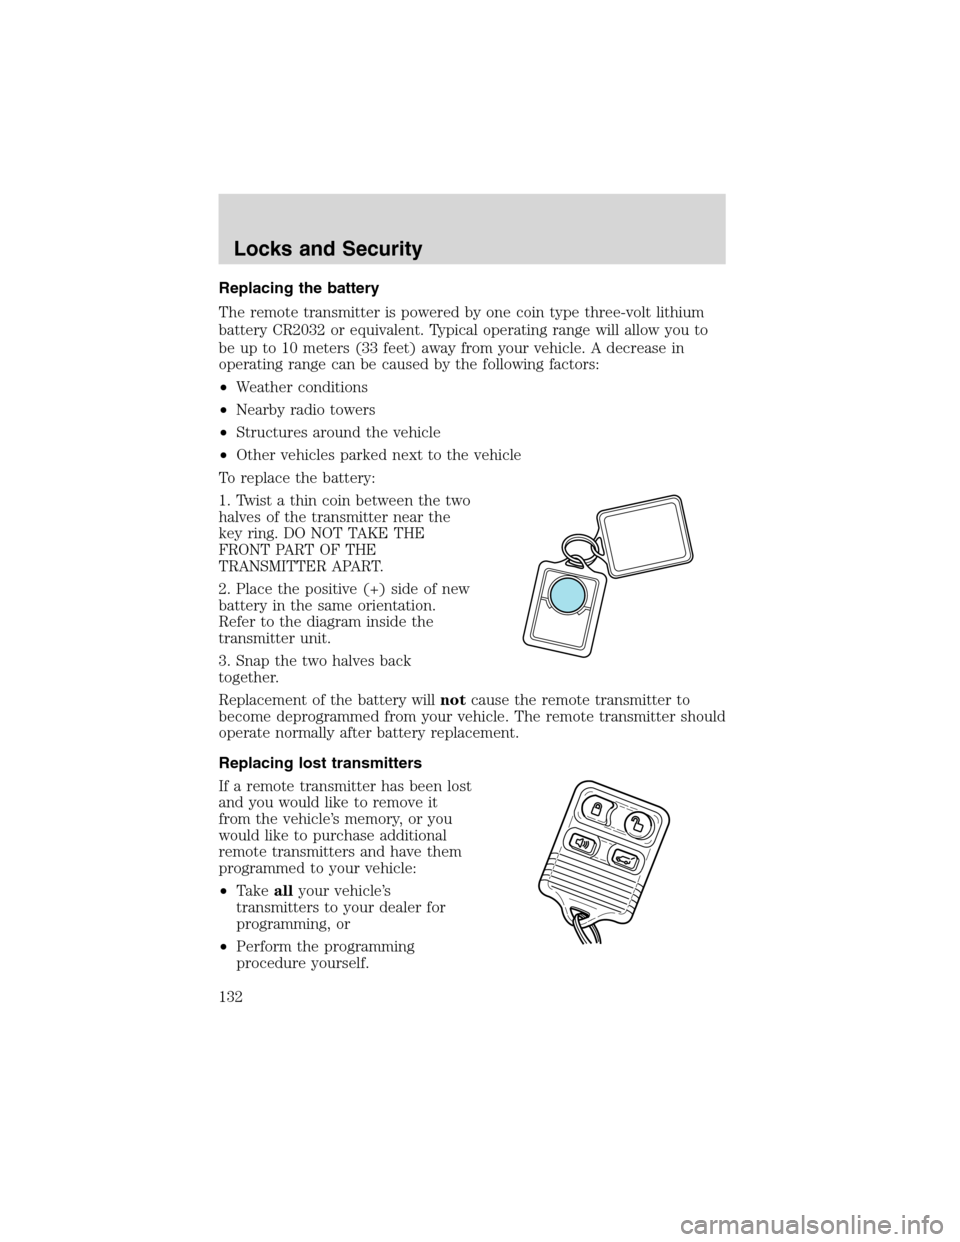
To replace the battery:
1. Twist a thin coin between the two
halves of the transmitter near the
key ring. DO NOT TAKE THE
FRONT PART OF THE
TRANSMITTER APART.
2. Place the positive (+) side of new
battery in the same orientation.
Refer to the diagram inside the
transmitter unit.
3. Snap the two halves back
together.
Replacement of the battery willnotcause the remote transmitter to
become deprogrammed from your vehicle. The remote transmitter should
operate normally after battery replacement.
Replacing lost transmitters
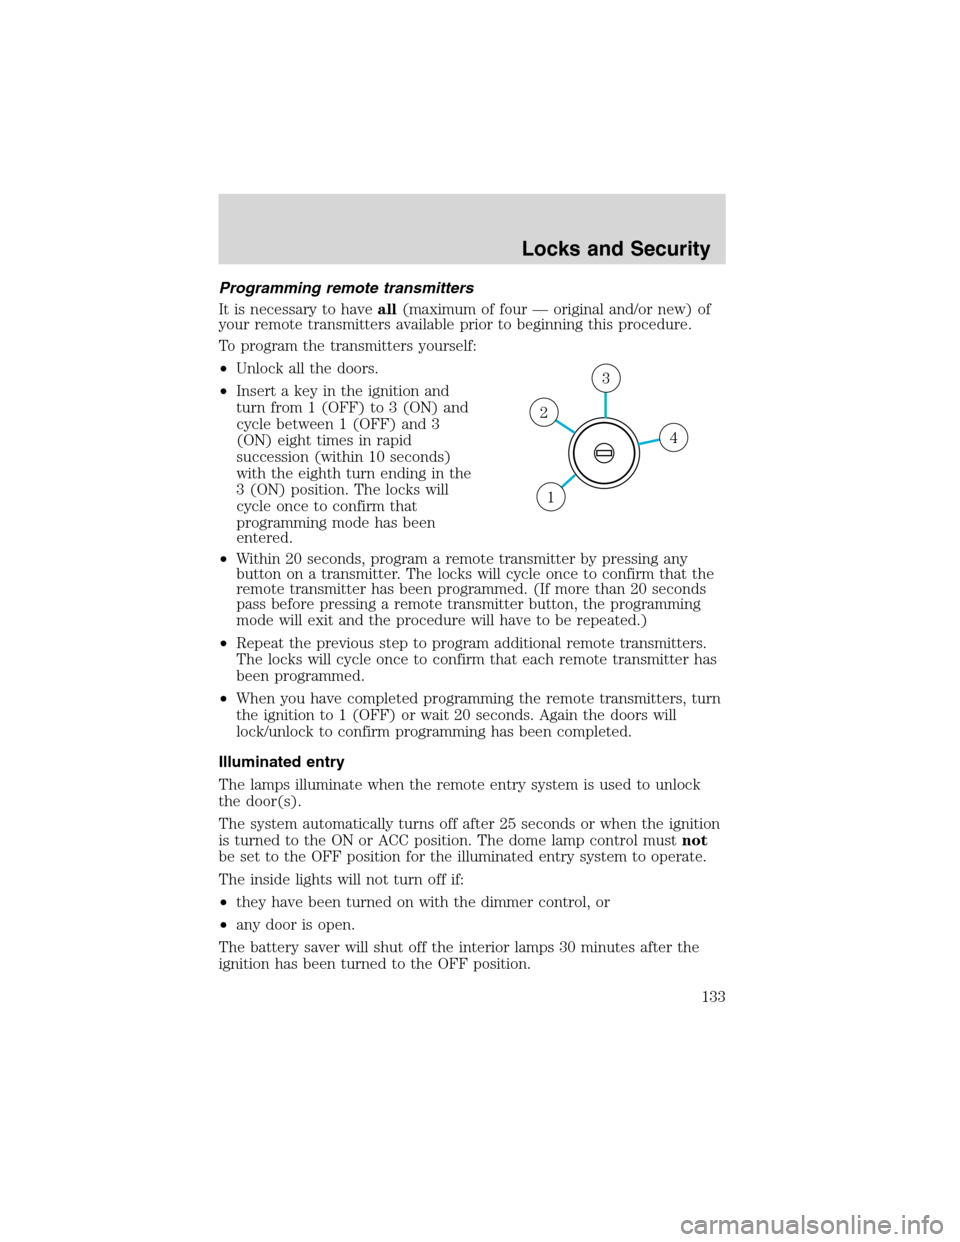
If a remote transmitter has been lost
and you would like to remove it
from the vehicle’s memory, or you
would like to purchase additional
remote transmitters and have them
programmed to your vehicle:
•Takeallyour vehicle’s
transmitters to your dealer for
programming, or
•Perform the programming
procedure yourself.
Locks and Security
132
Page 133 of 320

Programming remote transmitters
It is necessary to haveall(maximum of four—original and/or new) of
your remote transmitters available prior to beginning this procedure.
To program the transmitters yourself:
•Unlock all the doors.
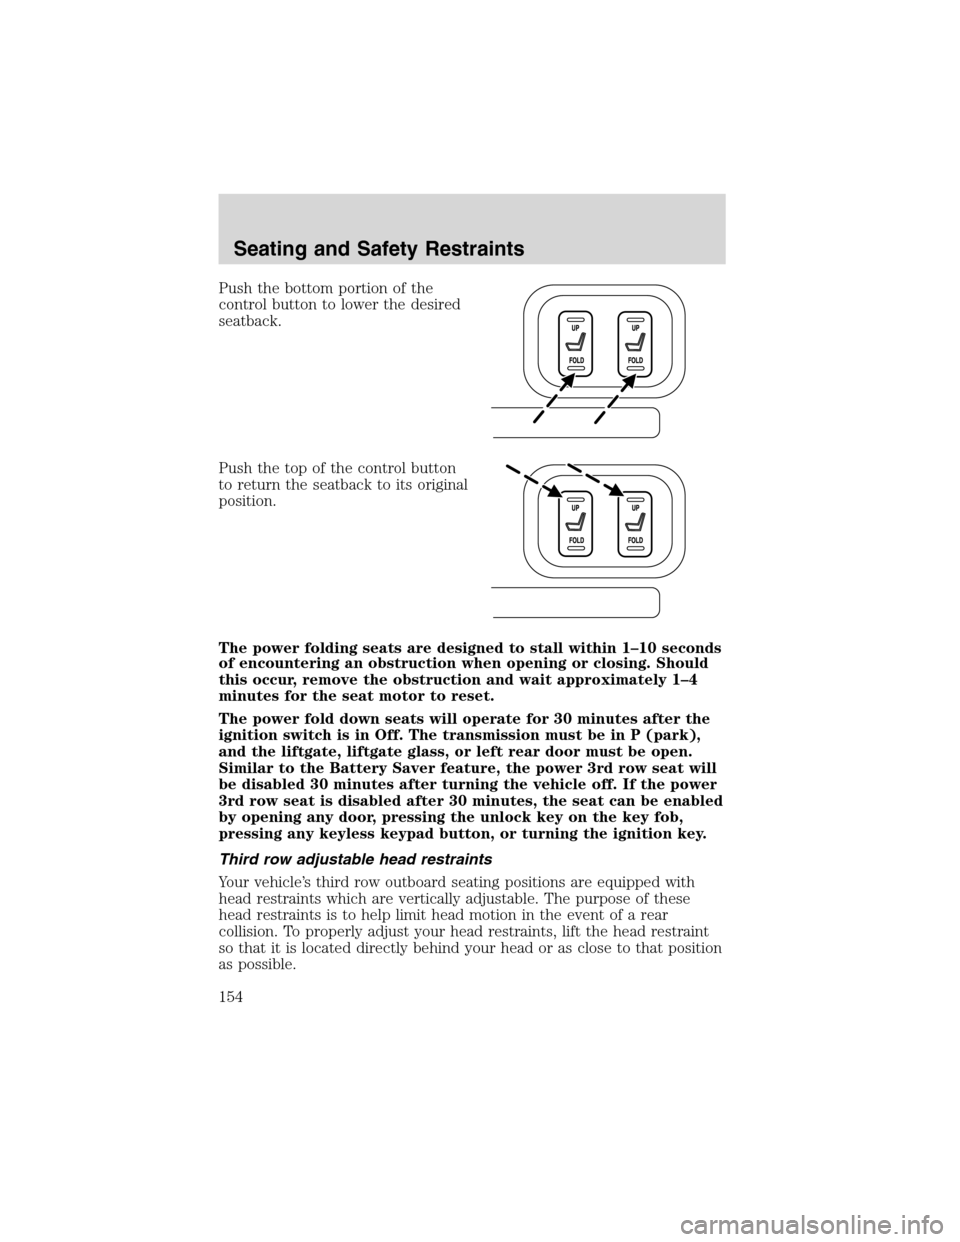
•Insert a key in the ignition and
turn from 1 (OFF) to 3 (ON) and
cycle between 1 (OFF) and 3
(ON) eight times in rapid
succession (within 10 seconds)
with the eighth turn ending in the
3 (ON) position. The locks will
cycle once to confirm that
programming mode has been
entered.
•Within 20 seconds, program a remote transmitter by pressing any
button on a transmitter. The locks will cycle once to confirm that the
remote transmitter has been programmed. (If more than 20 seconds
pass before pressing a remote transmitter button, the programming
mode will exit and the procedure will have to be repeated.)
•Repeat the previous step to program additional remote transmitters.
The locks will cycle once to confirm that each remote transmitter has
been programmed.
•When you have completed programming the remote transmitters, turn
the ignition to 1 (OFF) or wait 20 seconds. Again the doors will
lock/unlock to confirm programming has been completed.
Illuminated entry
The lamps illuminate when the remote entry system is used to unlock
the door(s).
The system automatically turns off after 25 seconds or when the ignition
is turned to the ON or ACC position. The dome lamp control mustnot
be set to the OFF position for the illuminated entry system to operate.
The inside lights will not turn off if:
•they have been turned on with the dimmer control, or
•any door is open.
The battery saver will shut off the interior lamps 30 minutes after the
ignition has been turned to the OFF position.
4
3
2
1
Locks and Security
133
Page 154 of 320

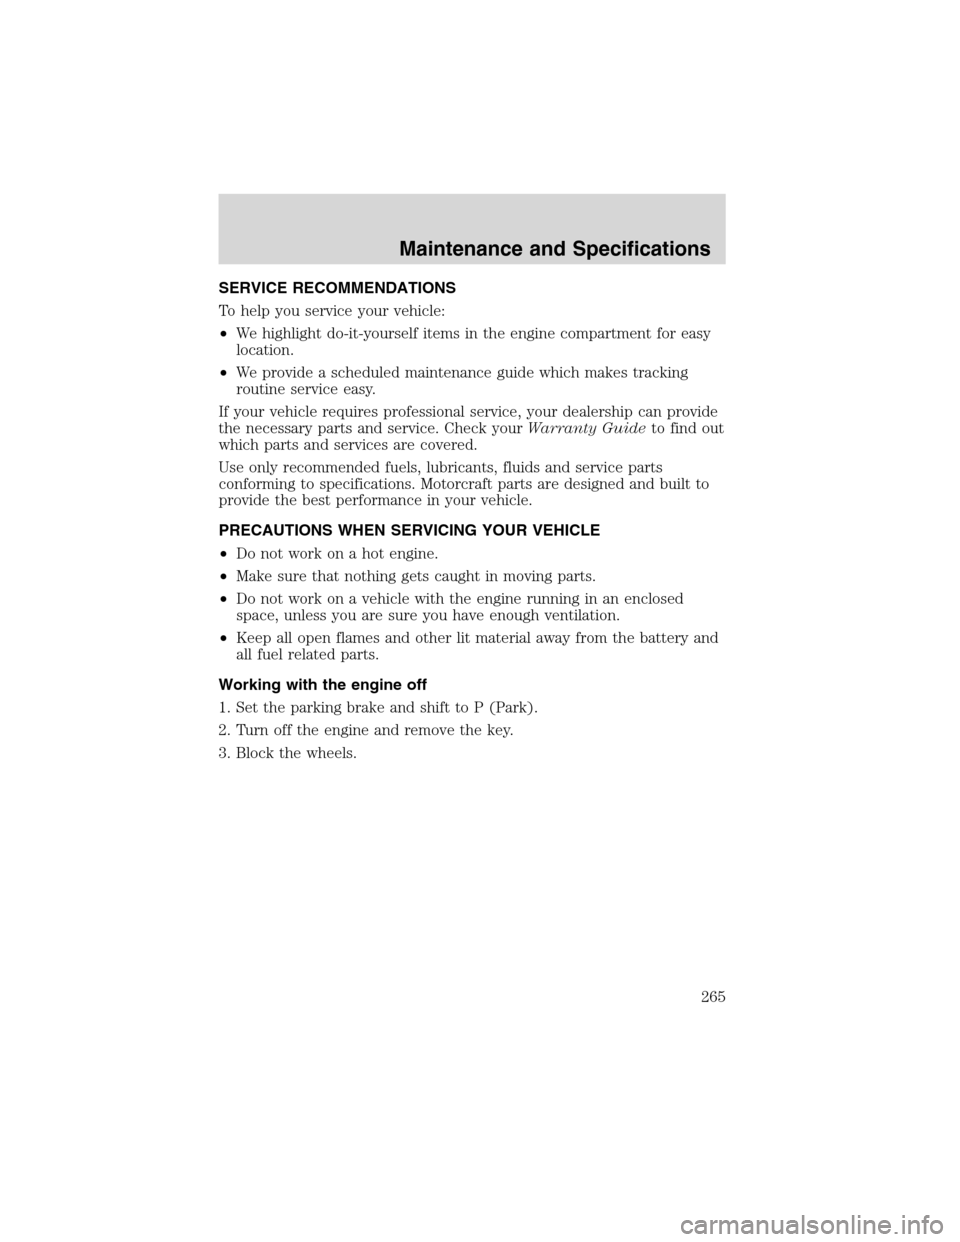
Push the bottom portion of the
control button to lower the desired
seatback.
Push the top of the control button
to return the seatback to its original
position.
The power folding seats are designed to stall within 1–10 seconds
of encountering an obstruction when opening or closing. Should
this occur, remove the obstruction and wait approximately 1–4
minutes for the seat motor to reset.
The power fold down seats will operate for 30 minutes after the
ignition switch is in Off. The transmission must be in P (park),
and the liftgate, liftgate glass, or left rear door must be open.
Similar to the Battery Saver feature, the power 3rd row seat will
be disabled 30 minutes after turning the vehicle off. If the power
3rd row seat is disabled after 30 minutes, the seat can be enabled
by opening any door, pressing the unlock key on the key fob,
pressing any keyless keypad button, or turning the ignition key.
Third row adjustable head restraints
Your vehicle’s third row outboard seating positions are equipped with
head restraints which are vertically adjustable. The purpose of these
head restraints is to help limit head motion in the event of a rear
collision. To properly adjust your head restraints, lift the head restraint
so that it is located directly behind your head or as close to that position
as possible.
Seating and Safety Restraints
154
Page 265 of 320

SERVICE RECOMMENDATIONS
To help you service your vehicle:
•We highlight do-it-yourself items in the engine compartment for easy
location.
•We provide a scheduled maintenance guide which makes tracking
routine service easy.
If your vehicle requires professional service, your dealership can provide
the necessary parts and service. Check yourWarranty Guideto find out
which parts and services are covered.
Use only recommended fuels, lubricants, fluids and service parts
conforming to specifications. Motorcraft parts are designed and built to
provide the best performance in your vehicle.
PRECAUTIONS WHEN SERVICING YOUR VEHICLE
•Do not work on a hot engine.
•Make sure that nothing gets caught in moving parts.
•Do not work on a vehicle with the engine running in an enclosed
space, unless you are sure you have enough ventilation.
•Keep all open flames and other lit material away from the battery and
all fuel related parts.
Working with the engine off
1. Set the parking brake and shift to P (Park).
2. Turn off the engine and remove the key.
3. Block the wheels.
Maintenance and Specifications
265