Page 5 of 184
Fuel pump shut-off switchIn the event of an accident the
safety switch will automatically cut off the fuel supply to the
engine. The switch can also be activated through sudden vibration (e.g.
collision when parking). To reset the switch, refer to theFuel pump
shut-off switchin theRoadside emergencieschapter.
SAFETY AND ENVIRONMENT PROTECTION
Warning symbols in this guide
How can you reduce the risk of personal injury and prevent possible
damage to others, your vehicle and its equipment? In this guide, answers
to such questions are contained in comments highlighted by the warning
triangle symbol. These comments should be read and observed.
Warning symbols on your vehicle
When you see this symbol, it is
imperative that you consult the
relevant section of this guide before
touching or attempting adjustment
of any kind.
Protecting the environment
We must all play our part in
protecting the environment. Correct
vehicle usage and the authorized
disposal of waste cleaning and
lubrication materials are significant
steps towards this aim. Information in this respect is highlighted in this
guide with the tree symbol.
Introduction
5
Page 8 of 184
These are some of the symbols you may see on your vehicle.
Vehicle Symbol Glossary
Safety Alert
See Owner’s Guide
Fasten Safety BeltAir Bag-Front
Air Bag-SideChild Seat
Child Seat Installation
WarningChild Seat Lower
Anchor
Child Seat Tether
AnchorBrake System
Anti-Lock Brake SystemBrake Fluid -
Non-PetroleumBased
Traction ControlAdvanceTrac
Master Lighting SwitchHazard Warning Flasher
Fog Lamps-FrontFuse Compartment
Fuel Pump ResetWindshield Wash/Wipe
Windshield
Defrost/DemistRear Window
Defrost/Demist
Introduction
8
Page 14 of 184
AM/FM STEREO/CASSETTE
Volume/power control
Press the control to turn the audio
systemon or off.
Turn control to raise or lower
volume.
If the volume is set above a certain level and the ignition is turned off,
the volume will come back on at a “nominal” listening level when the
ignition switch is turned back on. If you wish to maintain your preset
volume level, turn the audio system off with the power control before
switching off the ignition.
OFFR.DEFA/C
MAX
A/C HI
LO
TUNE SEEK
SCANAM
FM
1SIDE 1-223456
EJREW
FF
TAPE H
M
+
BAL
FADE
BASS
TREBDOLBY B NRVOL
PUSH ON
VOL
PUSH ON
VOL
PUSH ON
Entertainment Systems
14
Page 16 of 184
Scan function in tape mode
Press the SCAN control to hear a short sampling of all selections on the
tape. (The tape scans in a forward direction. At the end of the tape’s
first side, direction automatically reverses to the opposite side of the
tape.) To stop on a particular selection, press the control again.
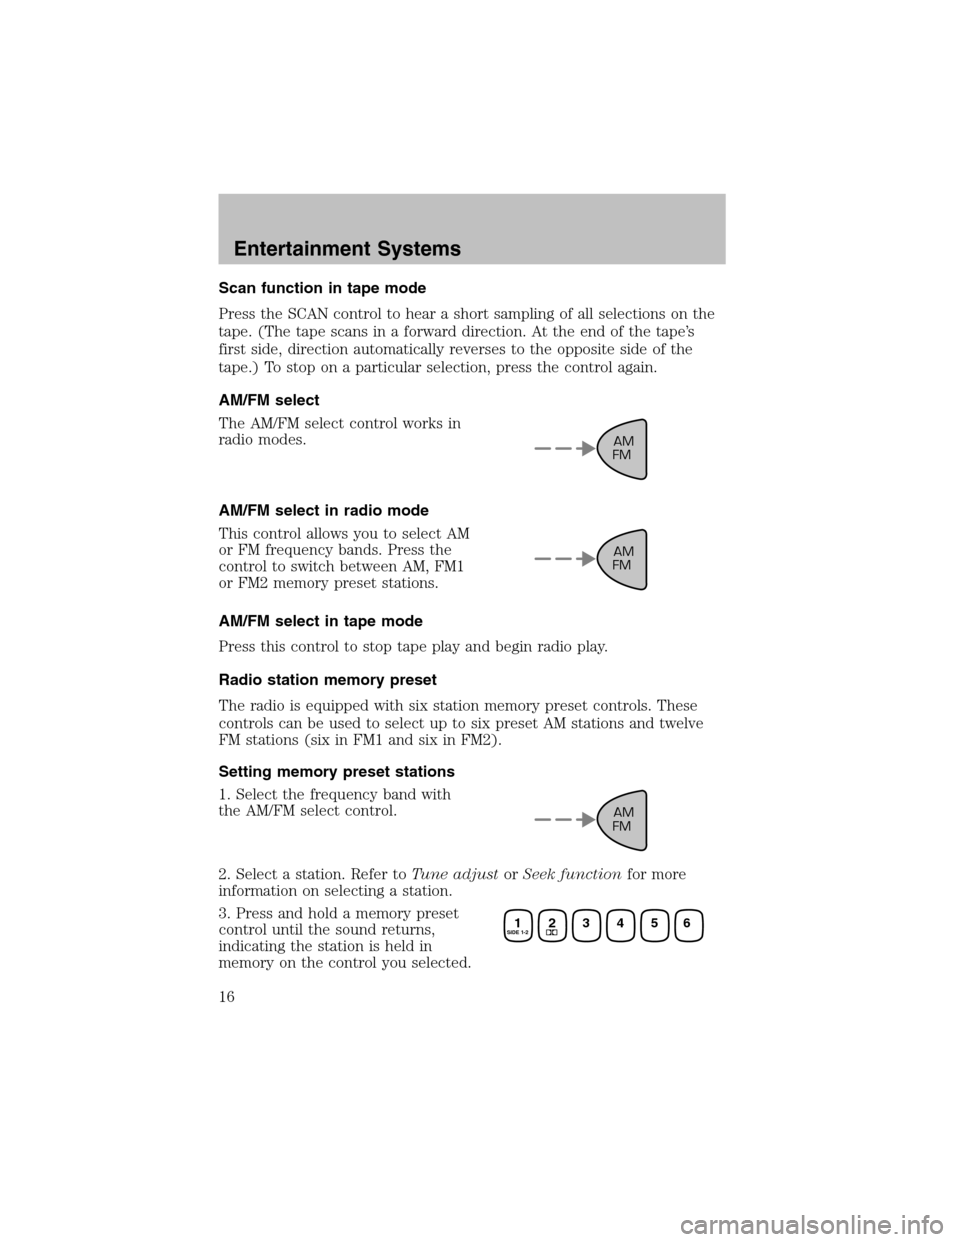
AM/FM select
The AM/FM select control works in
radio modes.
AM/FM select in radio mode
This control allows you to select AM
or FM frequency bands. Press the
control to switch between AM, FM1
or FM2 memory preset stations.
AM/FM select in tape mode
Press this control to stop tape play and begin radio play.
Radio station memory preset
The radio is equipped with six station memory preset controls. These
controls can be used to select up to six preset AM stations and twelve
FM stations (six in FM1 and six in FM2).
Setting memory preset stations
1. Select the frequency band with
the AM/FM select control.
2. Select a station. Refer toTune adjustorSeekfunctionfor more
information on selecting a station.
3. Press and hold a memory preset
control until the sound returns,
indicating the station is held in
memory on the control you selected.
AM
FM
AM
FM
AM
FM
1SIDE 1-223456
Entertainment Systems
16
Page 20 of 184
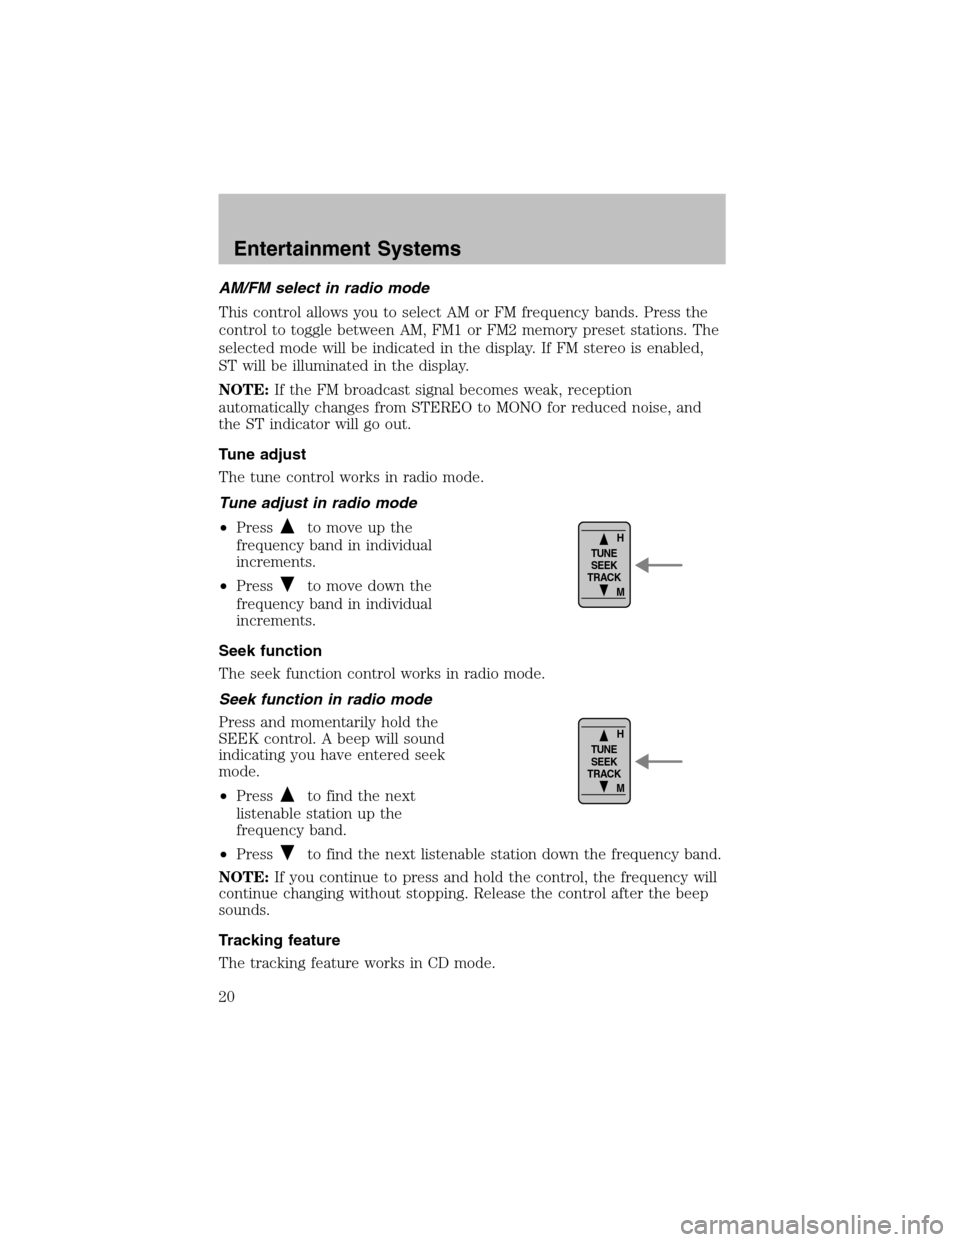
AM/FM select in radio mode
This control allows you to select AM or FM frequency bands. Press the
control to toggle between AM, FM1 or FM2 memory preset stations. The
selected mode will be indicated in the display. If FM stereo is enabled,
ST will be illuminated in the display.
NOTE:If the FM broadcast signal becomes weak, reception
automatically changes from STEREO to MONO for reduced noise, and
the ST indicator will go out.
Tune adjust
The tune control works in radio mode.
Tune adjust in radio mode
•Press
to move up the
frequency band in individual
increments.
•Press
to move down the
frequency band in individual
increments.
Seek function
The seek function control works in radio mode.
Seek function in radio mode
Press and momentarily hold the
SEEK control. A beep will sound
indicating you have entered seek
mode.
•Press
to find the next
listenable station up the
frequency band.
•Press
to find the next listenable station down the frequency band.
NOTE:If you continue to press and hold the control, the frequency will
continue changing without stopping. Release the control after the beep
sounds.
Tracking feature
The tracking feature works in CD mode.
H
M TUNE
SEEK
TRACK
H
M TUNE
SEEK
TRACK
Entertainment Systems
20
Page 23 of 184

Speaker balance adjust
Speaker sound distribution can be
adjusted between the right and left
speakers.
Press the AUDIO control until BAL is illuminated in the display.
Turn the volume control to adjust the speakers.
NOTE:Approximately 5 seconds after selecting any AUDIO mode
(treble, bass, fade, balance or volume), the system will automatically
default to the volume function. To reset these modes, press and
momentarily hold the AUDIO control. The unit will beep and CL will
appear in the display.
Radio station memory preset
The radio is equipped with five station memory preset controls. These
controls can be used to select up to five preset AM stations and ten FM
stations (five in FM1 and five in FM2).
Setting memory preset stations
1. Select the frequency band with the AM/FM control.
2. Select the desired station.
3. Press and momentarily hold the desired preset control until a beep is
heard.
The preset control number will illuminate in the display. This indicates
the station is held in memory on the control you selected. Repeat this
procedure to store other stations in memory.
Auto memory tuning
Auto memory tuning allows you to set strong radio stations without
losing your original manually set preset stations. This is especially useful
when you are in an area where the local stations are not known.
PUSHPOWER-VOL
+AUDIO
Entertainment Systems
23
Page 24 of 184
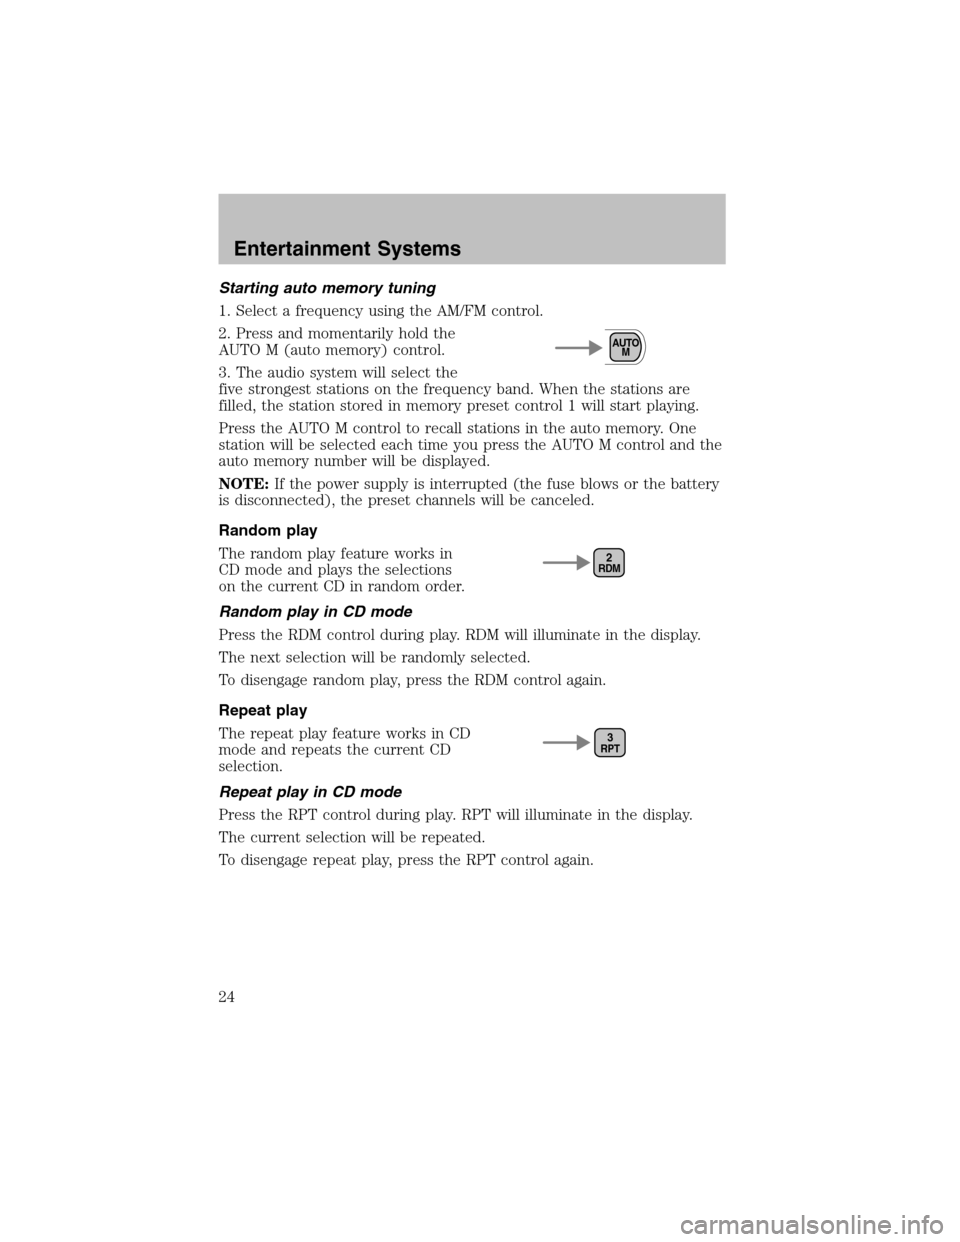
Starting auto memory tuning
1. Select a frequency using the AM/FM control.
2. Press and momentarily hold the
AUTO M (auto memory) control.
3. The audio systemwill select the
five strongest stations on the frequency band. When the stations are
filled, the station stored in memory preset control 1 will start playing.
Press the AUTO M control to recall stations in the auto memory. One
station will be selected each time you press the AUTO M control and the
auto memory number will be displayed.
NOTE:If the power supply is interrupted (the fuse blows or the battery
is disconnected), the preset channels will be canceled.
Random play
The randomplay feature works in
CD mode and plays the selections
on the current CD in randomorder.
Random play in CD mode
Press the RDM control during play. RDM will illuminate in the display.
The next selection will be randomly selected.
To disengage randomplay, press the RDM control again.
Repeat play
The repeat play feature works in CD
mode and repeats the current CD
selection.
Repeat play in CD mode
Press the RPT control during play. RPT will illuminate in the display.
The current selection will be repeated.
To disengage repeat play, press the RPT control again.
AUTO
M
RDM2
RPT3
Entertainment Systems
24
Page 25 of 184
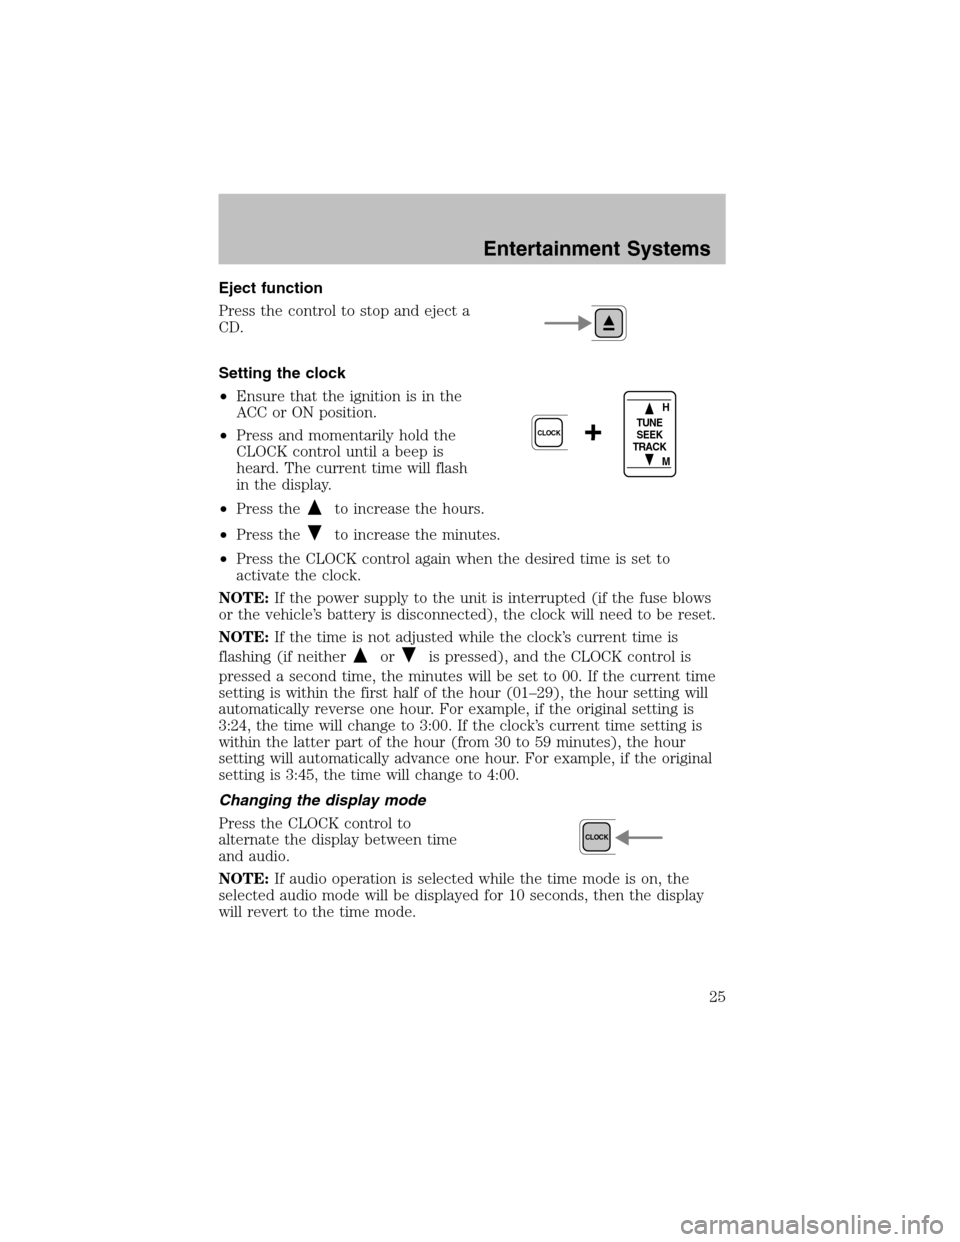
Eject function
Press the control to stop and eject a
CD.
Setting the clock
•Ensure that the ignition is in the
ACC or ON position.
•Press and momentarily hold the
CLOCK control until a beep is
heard. The current time will flash
in the display.
•Press the
to increase the hours.
•Press the
to increase the minutes.
•Press the CLOCK control again when the desired time is set to
activate the clock.
NOTE:If the power supply to the unit is interrupted (if the fuse blows
or the vehicle’s battery is disconnected), the clock will need to be reset.
NOTE:If the time is not adjusted while the clock’s current time is
flashing (if neither
oris pressed), and the CLOCK control is
pressed a second time, the minutes will be set to 00. If the current time
setting is within the first half of the hour (01–29), the hour setting will
automatically reverse one hour. For example, if the original setting is
3:24, the time will change to 3:00. If the clock’s current time setting is
within the latter part of the hour (from30 to 59 minutes), the hour
setting will automatically advance one hour. For example, if the original
setting is 3:45, the time will change to 4:00.
Changing the display mode
Press the CLOCK control to
alternate the display between time
and audio.
NOTE:If audio operation is selected while the time mode is on, the
selected audio mode will be displayed for 10 seconds, then the display
will revert to the time mode.
+CLOCK
H
M TUNE
SEEK
TRACK
CLOCK
Entertainment Systems
25