Page 170 of 556

Exterior Lamps
The switch on the driver's side of your instrument panel
operates the exterior lamps.
Turn the control clockwise to operate the lamps.
The exterior lamp switch has four positions:
9(OFF):Turning the switch to this position turns off
the Daytime Running Lamps (DRL) and the automatic
headlamps. An indicator light will illuminate when
the position is selected.AUTO (Automatic):Turning the control to this position
puts the system into automatic headlamp mode. An
indicator light will illuminate when this position is
selected.
;(Parking Lamps):Turning the control to this
position turns on the parking lamps, together with the
following:
·Sidemarker Lamps
·Taillamps
·License Plate Lamps
·Instrument Panel Lights
·Roof Marker Lamps (If Equipped)
2(Headlamps):Turning the switch to this position
turns on the headlamps, together with the previously
listed lamps and lights.
You can switch your headlamps from high to low-beam
by pushing the turn signal/high-beam lever towards
the instrument panel.
A circuit breaker protects your headlamps. If you have
an electrical overload, your headlamps will ¯icker on and
off. Have your headlamp wiring checked right away if
this happens.
3-14
Page 173 of 556

The fog lamps will be cancelled after the ignition is
turned off. If you still want to use the fog lamps after you
restart the vehicle, you will need to press the fog
lamp button again
Auxiliary Roof Mounted Lamp Switch
If your vehicle has this feature, this switch includes
wiring provisions for a dealer or a quali®ed service
center to install an auxiliary roof lamp.
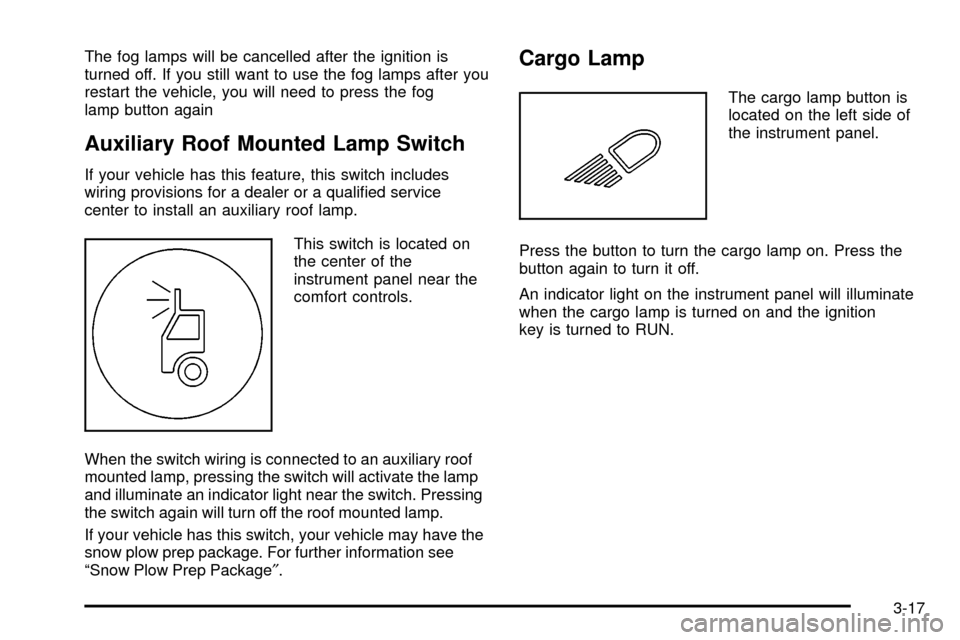
This switch is located on
the center of the
instrument panel near the
comfort controls.
When the switch wiring is connected to an auxiliary roof
mounted lamp, pressing the switch will activate the lamp
and illuminate an indicator light near the switch. Pressing
the switch again will turn off the roof mounted lamp.
If your vehicle has this switch, your vehicle may have the
snow plow prep package. For further information see
ªSnow Plow Prep Package².
Cargo Lamp
The cargo lamp button is
located on the left side of
the instrument panel.
Press the button to turn the cargo lamp on. Press the
button again to turn it off.
An indicator light on the instrument panel will illuminate
when the cargo lamp is turned on and the ignition
key is turned to RUN.
3-17
Page 192 of 556

Safety Belt Reminder Light
When the key is turned to RUN or START, a chime will
come on for several seconds to remind people to
fasten their safety belts, unless the driver's safety belt is
already buckled.
The safety belt light will
also come on and stay on
for several seconds,
then it will ¯ash for several
more.
If the driver's belt is already buckled, neither the chime
nor the light will come on.
Air Bag Readiness Light
There is an air bag readiness light on the instrument
panel cluster, which shows the air bag symbol.
The system checks the air bag's electrical system for
malfunctions. The light tells you if there is an electrical
problem. The system check includes the air bag
sensors, the air bag modules, the passenger sensing
system (if equipped), the wiring and the crash sensing
and diagnostic module. For more information on the
air bag system, see
Air Bag Systems on page 1-64.
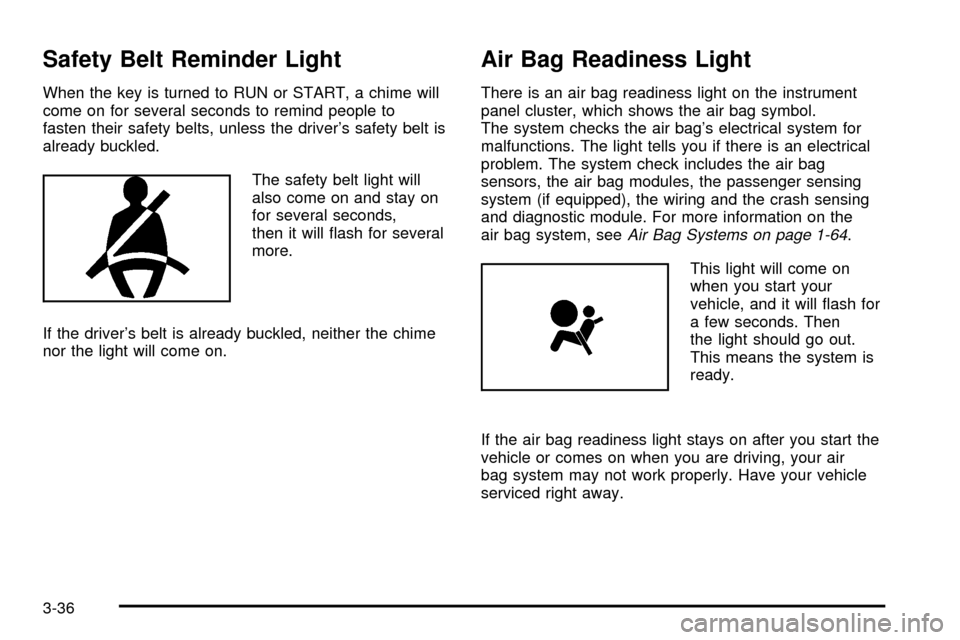
This light will come on
when you start your
vehicle, and it will ¯ash for
a few seconds. Then
the light should go out.
This means the system is
ready.
If the air bag readiness light stays on after you start the
vehicle or comes on when you are driving, your air
bag system may not work properly. Have your vehicle
serviced right away.
3-36
Page 371 of 556

When You Are Ready to Leave After
Parking on a Hill
1. Apply your regular brakes and hold the pedal down
while you:
·start your engine,
·shift into a gear, and
·release the parking brake.
2. Let up on the brake pedal.
3. Drive slowly until the trailer is clear of the chocks.
4. Stop and have someone pick up and store the
chocks.
Maintenance When Trailer Towing
Your vehicle will need service more often when you're
pulling a trailer. See the Maintenance Schedule for more
on this. Things that are especially important in trailer
operation are automatic transmission ¯uid (don't over®ll),
engine oil, axle lubricant, belt, cooling system and
brake system. Each of these is covered in this manual,
and the Index will help you ®nd them quickly. If
you're trailering, it's a good idea to review these sections
before you start your trip.
Check periodically to see that all hitch nuts and bolts
are tight.
Trailer Wiring Harness
Your vehicle is equipped with one of the following wiring
harnesses for towing a trailer or hauling a slide-in
camper.
Basic Trailer Wiring
All regular, extended cab crew cab pickups have a
six-wire trailer towing harness.
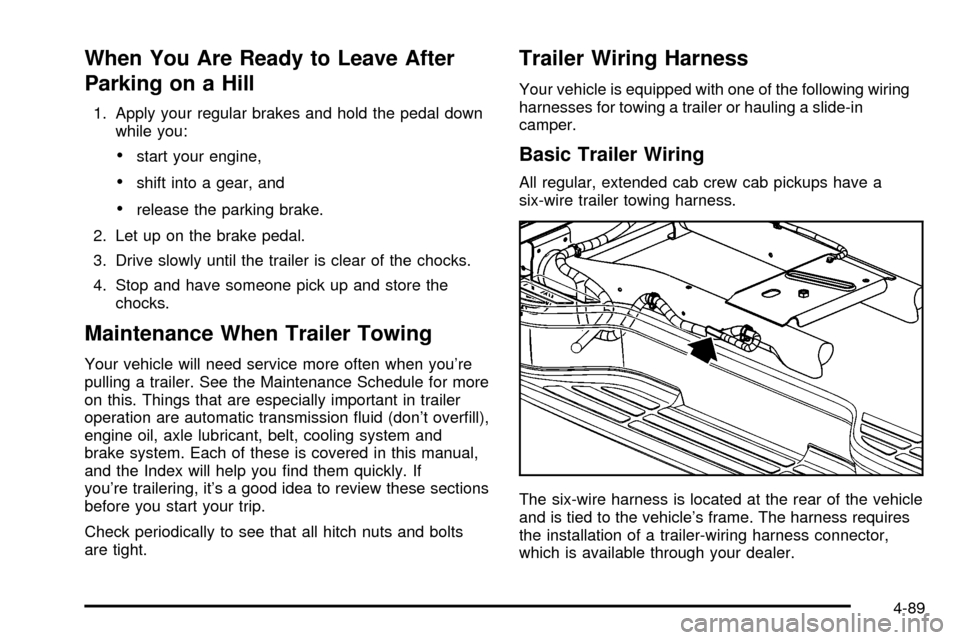
The six-wire harness is located at the rear of the vehicle
and is tied to the vehicle's frame. The harness requires
the installation of a trailer-wiring harness connector,
which is available through your dealer.
4-89
Page 372 of 556
The six-wire harness contains the following trailer
circuits:
·Yellow: Left Stop/Turn Signal
·Dark Green: Right Stop/Turn Signal
·Brown: Taillamps
·White: Ground
·Light Green: Back-up Lamps
·Light Blue: Center High-Mounted Stoplamp
(CHMSL)
If you need to upgrade your trailer wiring harness, an
additional 2±wire harness and 7 pin universal trailer
connector are available from your dealer.
Heavy-DutyTrailer Wiring Harness
Package
Your pickup may be equipped with the eight-wire trailer
towing harness. This harness with a seven-pin
universal trailer connector is attached to a bracket on
the hitch platform.*
* The Center High-Mounted Stoplamp (CHMSL) wire is
tied next to the trailer wiring harness for use with a
trailer, slide-in camper or cap.
4-90
Page 373 of 556

The eight-wire harness contains the following trailer
circuits:
·Yellow: Left Stop/Turn Signal
·Dark Green: Right Stop/Turn Signal
·Brown: Taillamps
·White: Ground
·Light Green: Back-up Lamps
·Light Blue: CHMSL
·Red: Battery Feed
·Dark Blue: Trailer Brake
If your trailer is equipped with electric brakes, you can
get a jumper harness (electric trailer brake control)
with a trailer battery feed fuse from your dealer.
If you need to tow a light-duty trailer with a standard
four-way round pin connector you can also get an
adapter from your dealer.
Camper/Fifth-Wheel Trailer Wiring Package
The eight-wire camper harness is located under the
front edge of the pickup box on the driver's side of the
vehicle, attached to the frame bracket. A connector
will have to be added to the wiring harness which
connects to the camper.
The eight-wire harness contains the following
camper/trailer circuits:
·Yellow: Left Stop/Turn Signal
·Dark Green: Right Stop/Turn Signal
·Brown: Taillamps
·White: Ground
·Light Green: Back-up Lamps
·Light Blue: Center High-Mounted Stoplamp
(CHMSL)
·Red: Battery Feed
·Dark Blue: Trailer Brake
4-91
Page 374 of 556
If your vehicle is equipped with the ªHeavy-Duty
Trailering²option, please refer toHeavy-Duty Trailer
Wiring Package, earlier in this section.
When the camper-wiring harness is ordered without the
heavy-duty trailering package, an eight-wire harness
with a seven-pin connector and separate CHMSL
connector are located at the rear of the vehicle and are
tied to the vehicle's frame.
Instrument Panel Jumper Wiring Harness
This harness may be included with your vehicle as part
of the heavy-duty trailer wiring package.
This harness is for an electric brake controller and
includes a trailer battery feed fuse. It should be installed
by your dealer or a quali®ed service center.
4-92
Page 375 of 556
Four-Wire Harness Adapter
This adapter may be included with your vehicle as part
of the heavy-duty trailer wiring package.
Use this adapter to connect a standard four-way round
pin connector to the seven-wire harness on your
vehicle.Connect the adapter with the tab pointing up (see
arrow). The ¯ip cap on the vehicle's seven-wire harness
will lock onto the tab and help hold the adapter in
place. Plug the four-way round pin connector onto the
adapter.
4-93