2003 CHEVROLET SILVERADO automatic transmission
[x] Cancel search: automatic transmissionPage 121 of 556

Shift Light
If you have a manual
transmission, you may
have a shift light. This light
will show you when to
shift to the next higher gear
for best fuel economy.
When this light comes on,
you can shift to the next higher gear if weather, road
and traffic conditions allow. For the best fuel
economy, accelerate slowly and shift when the light
comes on.
While you accelerate, it is normal for the light to go
on and off if you quickly change the position of
the accelerator.
If your vehicle has four-wheel drive and is equipped
with a manual transmission, disregard the SHIFT
light when the transfer case is in 4-Wheel Low.
Ignore the SHIFT light when you downshift.
Four-Wheel Drive
If your vehicle has four-wheel drive, you can send your
engine's driving power to all four wheels for extra
traction. To get the most satisfaction out of four-wheel
drive, you must be familiar with its operation. Read
the part that follows before using four-wheel drive. See
the appropriate text for the transfer case in your
vehicle.
Notice:Driving in the 4-WHEEL HIGH (4HI) or
4-WHEEL LOW (4LO) positions for a long time on
dry or wet pavement could shorten the life of
your vehicle's drivetrain.
Front Axle Locking Feature
The front axle locks and unlocks automatically when
you shift the transfer case. Some delay for the axle to
lock or unlock is normal.
2-33
Page 124 of 556

When Using the Manual Transfer Case
·
All shifts should be made using quick motions. Slow
shifts may make it harder to shift.
·You may notice that it is harder to shift when the
vehicle is cold. When the vehicle warms up it the
shifting will return to normal.
·While in 4-Wheel (4HI) or 4-Wheel Lo (4LO) you may
experience reduced fuel economy.
·Avoid driving in 4-Wheel Drive on clean, dry
pavement. It may cause your tires to wear faster, and
make your transfer case harder to shift and run
noisier.
Shifting from 2HI to 4HI
·
Shifts between 2HI and 4HI can be made at any
vehicle speed.
·It is easiest to shift the transfer case when
maintaining a constant speed or a slight acceleration.
If possible, avoid shifting during while slowing down,
as it will may make it harder to shift.
·Shift your transfer case lever in one continuous
motion into either the 4HI or 2HI position.
·In extremely cold weather, it may be necessary to
slow or stop the vehicle to shift into 4HI until your
vehicle has warmed up.
·While in 4HI, your vehicle can be driven at any
posted legal speed limit.
Shifting In or Out of 4LO
Notice:Shifting the transfer case into 4LO while
moving at speeds faster than 3 mph (5 km/h)
may cause premature wear to the transfer cse, and
may cause the gears to grind. To avoid causing
premature wear, and grinding the gears, do not shift
the tranfer case into 4LO when the vehicle is
moving faster than 3 mph (5 km/h).
Shifts into 4LO can be made with the vehicle at a stop,
or while slowly rolling about 1 to 3 mph (2 to 5 km/h).
·Shift the automatic transmission into NEUTRAL
(N), or with a manual transmission, press the
clutch pedal, or shift into NEUTRAL (N).
·Shift the transfer case shift lever in one continuous
motion into the 4LO position.
·When in 4LO do not drive faster than 45 mph. This
will reduce wear and extend the life of your
transfer case.
Shifting In or Out of NEUTRAL
1. With the vehicle running and the engine at an idle
set the parking brake.
2. Place the transmission into NEUTRAL (N).
Shift the transfer case in one continuous motion into or
out of the NEUTRAL (N) position.
2-36
Page 130 of 556

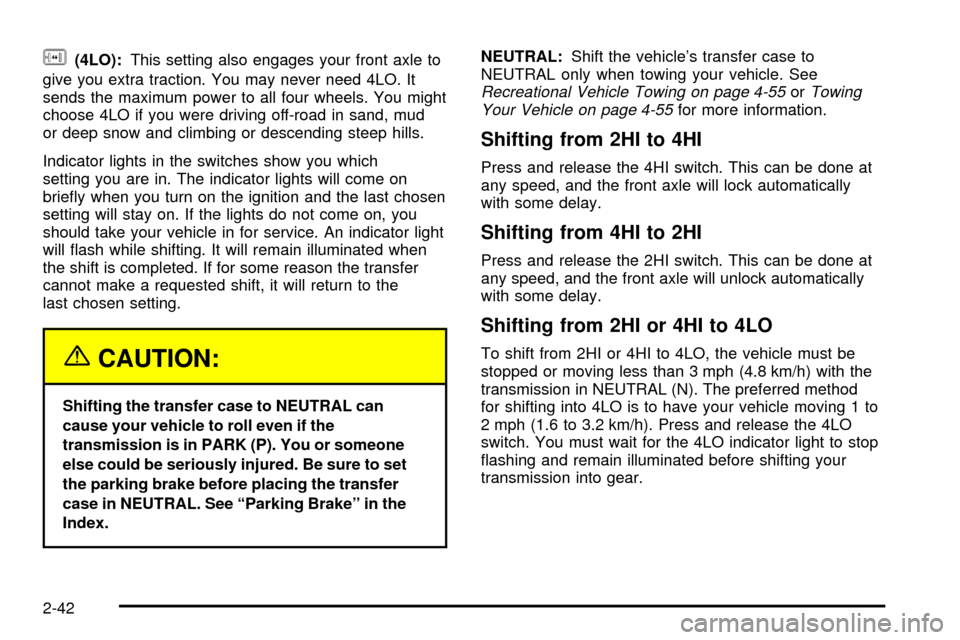
g(4LO):This setting also engages your front axle to
give you extra traction. You may never need 4LO. It
sends the maximum power to all four wheels. You might
choose 4LO if you were driving off-road in sand, mud
or deep snow and climbing or descending steep hills.
Indicator lights in the switches show you which
setting you are in. The indicator lights will come on
brie¯y when you turn on the ignition and the last chosen
setting will stay on. If the lights do not come on, you
should take your vehicle in for service. An indicator light
will ¯ash while shifting. It will remain illuminated when
the shift is completed. If for some reason the transfer
cannot make a requested shift, it will return to the
last chosen setting.
{CAUTION:
Shifting the transfer case to NEUTRAL can
cause your vehicle to roll even if the
transmission is in PARK (P). You or someone
else could be seriously injured. Be sure to set
the parking brake before placing the transfer
case in NEUTRAL. See ªParking Brakeº in the
Index.NEUTRAL:Shift the vehicle's transfer case to
NEUTRAL only when towing your vehicle. See
Recreational Vehicle Towing on page 4-55orTowing
Your Vehicle on page 4-55for more information.
Shifting from 2HI to 4HI
Press and release the 4HI switch. This can be done at
any speed, and the front axle will lock automatically
with some delay.
Shifting from 4HI to 2HI
Press and release the 2HI switch. This can be done at
any speed, and the front axle will unlock automatically
with some delay.
Shifting from 2HI or 4HI to 4LO
To shift from 2HI or 4HI to 4LO, the vehicle must be
stopped or moving less than 3 mph (4.8 km/h) with the
transmission in NEUTRAL (N). The preferred method
for shifting into 4LO is to have your vehicle moving 1 to
2 mph (1.6 to 3.2 km/h). Press and release the 4LO
switch. You must wait for the 4LO indicator light to stop
¯ashing and remain illuminated before shifting your
transmission into gear.
2-42
Page 132 of 556

Shifting Out of NEUTRAL
To shift out of NEUTRAL:
1. Set the parking brake and apply the regular brake
pedal.
2. Shift the transmission to NEUTRAL (N) and turn the
ignition to RUN with the engine off.
3. Press the button for the desired transfer case shift
position (2HI, 4HI, or 4LO).
4. After the transfer case has shifted out of NEUTRAL
the red light will go out.
5. Release the parking brake.
6. You may start the engine and shift the transmission
to the desired position.
Excessively shifting the transfer case into or out of the
different modes may cause the transfer case to enter the
shift protection mode. This will protect the transfer case
from possible damage and will only allow the transfer
case to respond to one shift per 10 seconds. The transfer
case may stay in this mode for up to three minutes.
All-Wheel Drive
If your vehicle has the SS package, it may be equipped
with all-wheel drive. With this feature, engine power
is sent to all four wheels all the time.
This is like four-wheel drive, but there is no separate
lever or switch to engage or disengage the front axle. It
is fully automatic, and adjusts itself as needed for
road conditions.
Parking Brake
To set the parking brake, hold the regular brake pedal
down with your right foot. Push down the parking
brake pedal with your left foot.
A chime will activate and the warning light will ¯ash
when the parking brake is applied and the vehicle
is moving at least 3 mph (5 km/h) for at least three
seconds.
2-44
Page 136 of 556

Leaving Your Vehicle With
the Engine Running
(Automatic Transmission Only)
{CAUTION:
It can be dangerous to leave your vehicle with
the engine running. Your vehicle could move
suddenly if the shift lever is not fully in
PARK (P) with the parking brake ®rmly set.
If you have four-wheel drive with a manual
transfer case shift lever and your transfer case
is in NEUTRAL, your vehicle will be free to roll,
even if your shift lever is in PARK (P). So be
sure the transfer case is in a drive gear ± not
in NEUTRAL.
And, if you leave the vehicle with the engine
running, it could overheat and even catch ®re.
You or others could be injured. Don't leave
your vehicle with the engine running unless
you have to.If you have to leave your vehicle with the engine
running, be sure your vehicle is in PARK (P) and the
parking brake is ®rmly set before you leave it. After you
move the shift lever into PARK (P), hold the regular
brake pedal down. Then, see if you can move the shift
lever away from PARK (P) without ®rst pulling it
toward you. If you can, it means that the shift lever
wasn't fully locked into PARK (P).Torque Lock (Automatic Transmission)
If you are parking on a hill and you don't shift your
transmission into PARK (P) properly, the weight of the
vehicle may put too much force on the parking pawl
in the transmission. You may ®nd it difficult to pull the
shift lever out of PARK (P). This is called ªtorque
lock.²To prevent torque lock, set the parking brake and
then shift into PARK (P) properly before you leave
the driver's seat. To ®nd out how, see ªShifting
Into PARK (P)².
When you are ready to drive, move the shift lever out of
PARK (P)
beforeyou release the parking brake.
If torque lock does occur, you may need to have another
vehicle push yours a little uphill to take some of the
pressure from the parking pawl in the transmission, so
you can pull the shift lever out of PARK (P).
2-48
Page 137 of 556

Shifting Out of Park (P)
Your vehicle has an automatic transmission shift lock
control system which locks the shift lever in PARK when
the ignition is the LOCK position. You have to fully
apply your regular brakes before you can shift from
PARK (P) when the ignition is in RUN. See
Automatic
Transmission Operation on page 2-25.
If you cannot shift out of PARK (P), ease pressure on
the shift lever and push the shift lever all the way up into
PARK (P) as you maintain brake application. Then,
move the shift lever into the gear you want.
If you ever hold the brake pedal down but still can't shift
out of PARK (P), try this:
1. Turn the key to ACCESSORY. (There is no shift
interlock in this key position.)
2. Apply and hold the brake until the end of Step 4.
3. Shift the transmission to NEUTRAL (N).
4. Start the vehicle and then shift to the gear
you want.
5. Have the system ®xed as soon as you can.
Parking Your Vehicle
{CAUTION:
Shifting the transfer case to NEUTRAL can
cause your vehicle to roll even if the manual
transmission is in gear. Your or someone else
could be seriously injured. Be sure to set the
parking brake before placing the transfer case
in NEUTRAL. See²Parking Brakeº in the Index.
Before you get out of your vehicle, move the shift lever
into REVERSE (R), and ®rmly apply the parking
brake. Once the shift lever has been placed into
REVERSE (R) with the clutch pedal pressed in, you can
turn the ignition key to LOCK, remove the key and
release the clutch.
If you are parking on a hill, or if you are pulling a trailer,
see
Towing a Trailer on page 4-68.
2-49
Page 157 of 556

Instrument Panel Overview...............................3-4
Hazard Warning Flashers................................3-6
Other Warning Devices...................................3-6
Horn.............................................................3-7
Tilt Wheel.....................................................3-7
Turn Signal/Multifunction Lever.........................3-7
Exterior Lamps.............................................3-14
Interior Lamps..............................................3-18
Accessory Power Outlets...............................3-19
Ashtrays and Cigarette Lighter........................3-20
Climate Controls............................................3-20
Climate Control System.................................3-20
Dual Climate Control System..........................3-22
Dual Automatic Climate Control System...........3-25
Warning Lights, Gages and Indicators.............3-33
Instrument Panel Cluster................................3-34
Speedometer and Odometer...........................3-35
Tachometer.................................................3-35
Safety Belt Reminder Light.............................3-36
Air Bag Readiness Light................................3-36
Air Bag Off Light..........................................3-37Passenger Air Bag Status Indicator.................3-40
Battery Warning Light....................................3-42
Voltmeter Gage............................................3-42
Up-Shift Light...............................................3-43
Brake System Warning Light..........................3-44
Anti-Lock Brake System Warning Light.............3-45
Traction Off Light..........................................3-46
Engine Coolant Temperature Gage..................3-47
Transmission Temperature Gage.....................3-47
Malfunction Indicator Lamp.............................3-49
Oil Pressure Gage........................................3-51
Cruise Control Light......................................3-52
Four-Wheel-Drive Light..................................3-52
Tow/Haul Mode Light....................................3-53
Overdrive Disable.........................................3-53
Fuel Gage...................................................3-53
Low Fuel Warning Light.................................3-54
Driver Information Center (DIC).......................3-54
DIC Operation and Displays...........................3-55
DIC Warnings and Messages.........................3-65
Section 3 Instrument Panel
3-1
Page 161 of 556

The main components of your instrument panel are the
following:
A. Dome Lamp Button. See ªDome Lampsº under
Interior Lamps on page 3-18.
B. Exterior Lamp Controls. See
Exterior Lamps on
page 3-14.
C. Air Outlets. See ªClimate Controlsº in Section 3.
D. Automatic Transfer Case/Electronic Transfer
Case/Traction Assist System (TAS). See
Four-Wheel
Drive on page 2-33.
E. Multifunction Lever. See
Turn Signal/Multifunction
Lever on page 3-7.
F. Instrument Panel Cluster. See
Instrument Panel
Cluster on page 3-34.
G. Gearshift Lever (Automatic Transmission). See
Automatic Transmission Operation on page 2-25.
H. Tow/Haul Selector and Overdrive Disable (Allison
Transmission
žOnly) Button (If Equipped). SeeAutomatic Transmission Operation on page 2-25.
I. Audio System. See
Audio System(s) on page 3-71.
J. Comfort Control System. See
Climate Control
System on page 3-20.
K. Instrument Panel Fuse Block.
Fuses and Circuit
Breakers on page 5-110.L. Hood Release. See
Hood Release on page 5-9.
M. Steering Wheel Control Buttons (If Equipped). See
Driver Information Center (DIC) on page 3-54.
N. Center Instrument Panel Utility Block. See
Fuses
and Circuit Breakers on page 5-110.
O. Parking Brake Release. See
Parking Brake on
page 2-44.
P. Tilt Wheel Lever. See
Tilt Wheel on page 3-7.
Q. Lighter and Accessory Power Outlet. See
Accessory
Power Outlets on page 3-19, andAshtrays and
Cigarette Lighter on page 3-20.
R. Storage Area. See ªStorage Areasº in Section 2.
S. Ashtray. See
Ashtrays and Cigarette Lighter
on page 3-20.
T. Manual Selectable Ride Control (If Equipped). See
Manual Selectable Ride on page 4-12.
U. 4WS Switch (If Equipped). See
QUADRASTEERŸ
on page 4-15.
V. Passenger Air Bag Off Switch. See
Air Bag Off
Switch on page 1-71.
W. Glove Box. See
Glove Box on page 2-64.
3-5