Page 337 of 432

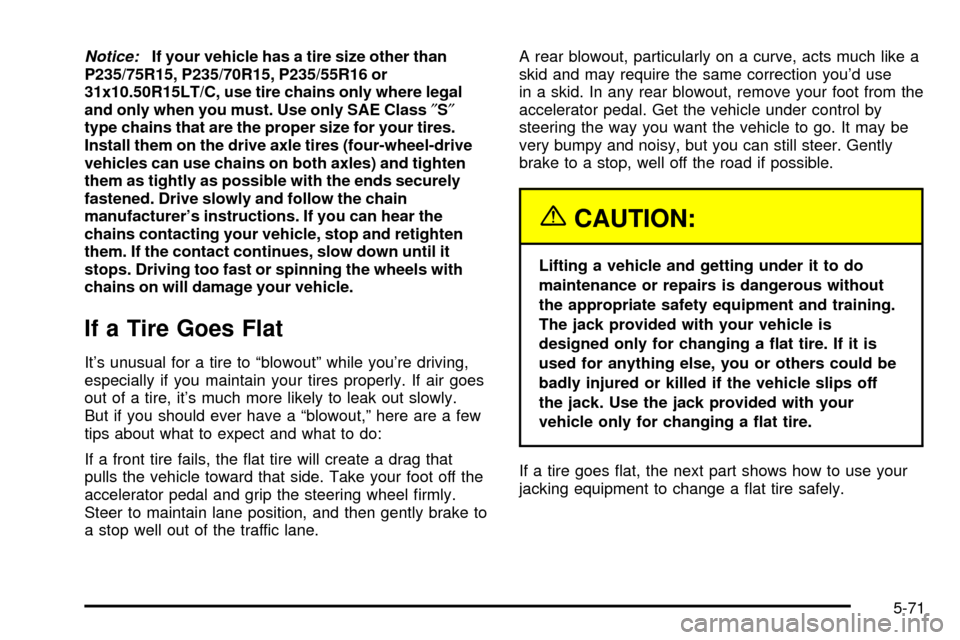
Notice:If your vehicle has a tire size other than
P235/75R15, P235/70R15, P235/55R16 or
31x10.50R15LT/C, use tire chains only where legal
and only when you must. Use only SAE Class²S²
type chains that are the proper size for your tires.
Install them on the drive axle tires (four-wheel-drive
vehicles can use chains on both axles) and tighten
them as tightly as possible with the ends securely
fastened. Drive slowly and follow the chain
manufacturer's instructions. If you can hear the
chains contacting your vehicle, stop and retighten
them. If the contact continues, slow down until it
stops. Driving too fast or spinning the wheels with
chains on will damage your vehicle.
If a Tire Goes Flat
It's unusual for a tire to ªblowoutº while you're driving,
especially if you maintain your tires properly. If air goes
out of a tire, it's much more likely to leak out slowly.
But if you should ever have a ªblowout,º here are a few
tips about what to expect and what to do:
If a front tire fails, the ¯at tire will create a drag that
pulls the vehicle toward that side. Take your foot off the
accelerator pedal and grip the steering wheel ®rmly.
Steer to maintain lane position, and then gently brake to
a stop well out of the traffic lane.A rear blowout, particularly on a curve, acts much like a
skid and may require the same correction you'd use
in a skid. In any rear blowout, remove your foot from the
accelerator pedal. Get the vehicle under control by
steering the way you want the vehicle to go. It may be
very bumpy and noisy, but you can still steer. Gently
brake to a stop, well off the road if possible.
{CAUTION:
Lifting a vehicle and getting under it to do
maintenance or repairs is dangerous without
the appropriate safety equipment and training.
The jack provided with your vehicle is
designed only for changing a ¯at tire. If it is
used for anything else, you or others could be
badly injured or killed if the vehicle slips off
the jack. Use the jack provided with your
vehicle only for changing a ¯at tire.
If a tire goes ¯at, the next part shows how to use your
jacking equipment to change a ¯at tire safely.
5-71
Page 356 of 432

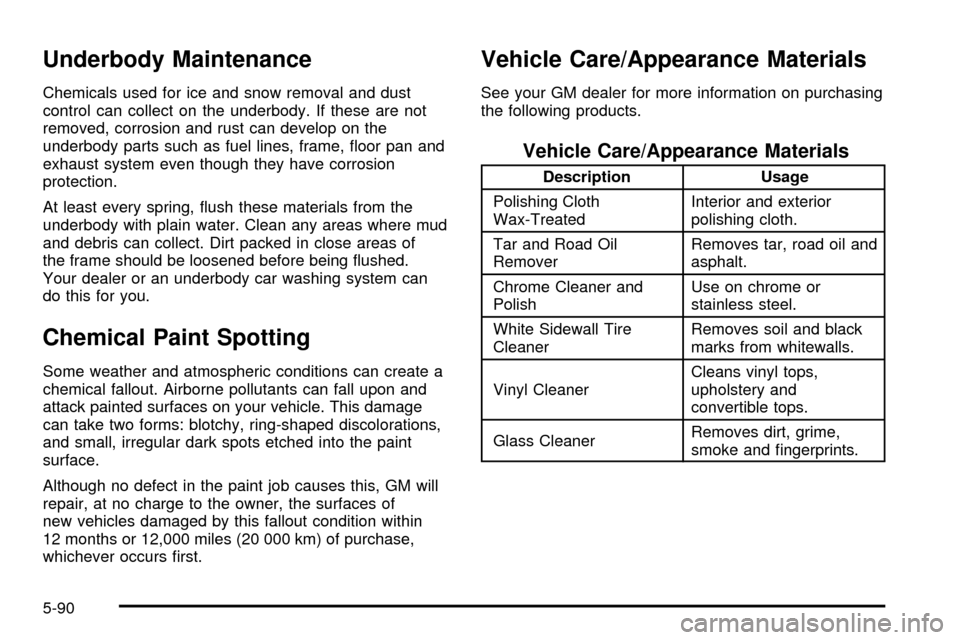
Underbody Maintenance
Chemicals used for ice and snow removal and dust
control can collect on the underbody. If these are not
removed, corrosion and rust can develop on the
underbody parts such as fuel lines, frame, ¯oor pan and
exhaust system even though they have corrosion
protection.
At least every spring, ¯ush these materials from the
underbody with plain water. Clean any areas where mud
and debris can collect. Dirt packed in close areas of
the frame should be loosened before being ¯ushed.
Your dealer or an underbody car washing system can
do this for you.
Chemical Paint Spotting
Some weather and atmospheric conditions can create a
chemical fallout. Airborne pollutants can fall upon and
attack painted surfaces on your vehicle. This damage
can take two forms: blotchy, ring-shaped discolorations,
and small, irregular dark spots etched into the paint
surface.
Although no defect in the paint job causes this, GM will
repair, at no charge to the owner, the surfaces of
new vehicles damaged by this fallout condition within
12 months or 12,000 miles (20 000 km) of purchase,
whichever occurs ®rst.
Vehicle Care/Appearance Materials
See your GM dealer for more information on purchasing
the following products.
Vehicle Care/Appearance Materials
Description Usage
Polishing Cloth
Wax-TreatedInterior and exterior
polishing cloth.
Tar and Road Oil
RemoverRemoves tar, road oil and
asphalt.
Chrome Cleaner and
PolishUse on chrome or
stainless steel.
White Sidewall Tire
CleanerRemoves soil and black
marks from whitewalls.
Vinyl CleanerCleans vinyl tops,
upholstery and
convertible tops.
Glass CleanerRemoves dirt, grime,
smoke and ®ngerprints.
5-90
Page 365 of 432
Capacities and Speci®cations
Please refer toPart E: Maintenance Record on page 6-35in the index for more information. See refrigerant change
label under the hood for charge capacity information and requirements.
ApplicationCapacities
English Metric
Wheel Nut Torque 100 lb ft 140Y
Tire PressureSee the Certi®cation/Tire label. See²Loading Your
Vehicle²in the Index.
Cooling System
2.2L Engine
4.3L Engine w/Auto. Trans.
4.3L Engine w/Manual. Trans.9.9 quarts
13.8 quarts
14.1 quarts9.4 L
13.1 L
13.3 L
Engine Oil with Filter*
2.2L Engine
4.3L Engine4.5 quarts
4.5 quarts4.3 L
4.3 L
Fuel Capacity
Reg/Ext. Cab
Crew Cab
ž18.0 gallons
17.5 gallons70.0 L
67.4 L
Automatic Transmission
Drain and Re®ll 5.0 quarts 4.7 L
5-99
Page 366 of 432
ApplicationCapacities
English Metric
Differential Fluid
Rear Axle
Front Axle4.0 pints
2.6 pints1.9 L
1.2 L
Air Conditioning Capacity
Air Conditioning Refrigerant R134a 1.8 lbs 0.79 kg
All capacities are approximate. After re®ll, the level
mustbe checked.
All capacities are approximate. When adding, be sure to ®ll to the appropriate level or as recommended in this
manual. See
Part E: Maintenance Record on page 6-35
Capacities and Speci®cations
Type VIN Code Transmission Spark Plug Gap Firing Order
2200
L4HAutomatic
Manual0.040 inches
(1.01 mm)1-3-4-2
4300
V6XAutomatic
Manual0.060 inches
(1.52 mm)1-6-5-4-3-2
5-100
Page 367 of 432
Normal Maintenance Replacement Parts
Part Number
Oil Filter*PF47
Air Cleaner Filter*A1163C
PCV Valve
2200 Engine
4300 EngineN/A
*CV7696
Automatic Transmission Filter Kit **24200796
Spark Plugs*41-948
Fuel Filter*GF481
Windshield Wiper Blades
Length
Type20 inches (51 cm)
Trico
*ACDelco
žPart No.
**GM Part No.
5-101
Page 369 of 432

Maintenance Schedule......................................6-2
Introduction...................................................6-2
Your Vehicle and the Environment....................6-2
Maintenance Requirements..............................6-2
How This Section is Organized.........................6-3
Part A: Scheduled Maintenance Services...........6-4
Using Your Maintenance Schedule....................6-4
Selecting the Right Schedule...........................6-5
Short Trip/City Scheduled Maintenance..............6-7
Long Trip/Highway Scheduled Maintenance......6-18
Part B: Owner Checks and Services................6-26
At Each Fuel Fill..........................................6-26
At Least Once a Month.................................6-26
At Least Twice a Year...................................6-27At Least Four Times a Year...........................6-28
At Least Once a Year...................................6-28
Part C: Periodic MaintenanceInspections.........6-31
Steering, Suspension and Front Drive Axle
Boot and Seal Inspection............................6-31
Exhaust System Inspection............................6-31
Fuel System Inspection..................................6-32
Engine Cooling System Inspection...................6-32
Throttle System Inspection.............................6-32
Transfer Case and Front Axle (Four-Wheel
Drive) Inspection.......................................6-32
Brake System Inspection................................6-32
Part D: Recommended Fluids and Lubricants. . . .6-33
Part E: Maintenance Record...........................6-35
Section 6 Maintenance Schedule
6-1
Page 370 of 432

Maintenance Schedule
Introduction
Important: Keep engine oil at the proper level and
change as recommended.
Have you purchased the GM Protection Plan? The Plan
supplements your new vehicle warranties. See your
Warranty and Owner Assistance booklet or your dealer
for details.
Your Vehicle and the Environment
Proper vehicle maintenance not only helps to keep your
vehicle in good working condition, but also helps the
environment. Improper vehicle maintenance can
even affect the quality of the air we breathe. Improper
¯uid levels or the wrong tire in¯ation can increase
the level of emissions from your vehicle. To help protect
our environment, and to keep your vehicle in good
condition, be sure to maintain your vehicle properly.
Maintenance Requirements
Maintenance intervals, checks, inspections and
recommended ¯uids and lubricants as prescribed in this
manual are necessary to keep your vehicle in good
working condition. Any damage caused by failure to
follow scheduled maintenance may not be covered by
warranty.
6-2
Page 371 of 432

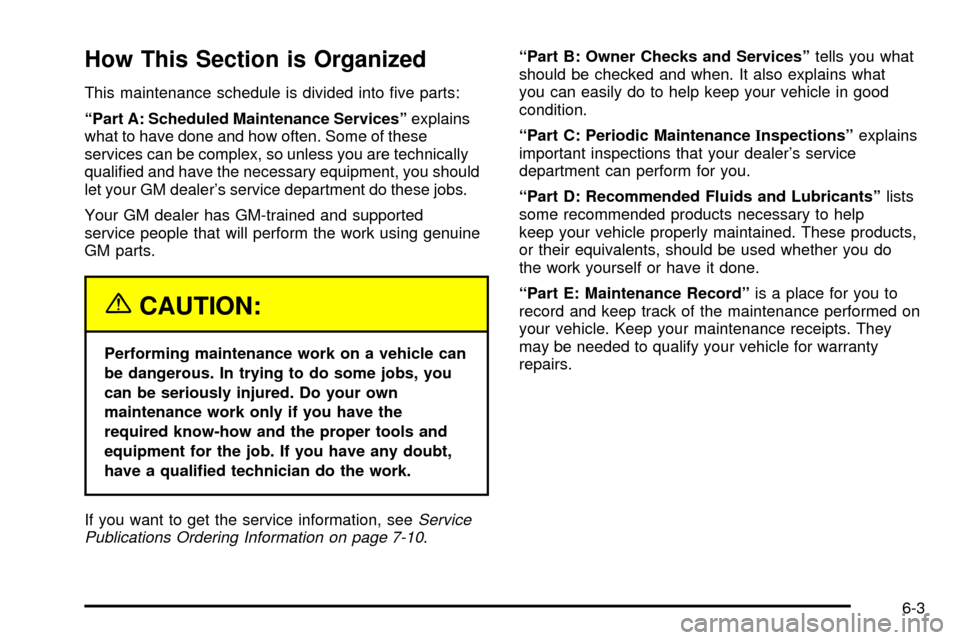
How This Section is Organized
This maintenance schedule is divided into ®ve parts:
ªPart A: Scheduled Maintenance Servicesºexplains
what to have done and how often. Some of these
services can be complex, so unless you are technically
quali®ed and have the necessary equipment, you should
let your GM dealer's service department do these jobs.
Your GM dealer has GM-trained and supported
service people that will perform the work using genuine
GM parts.
{CAUTION:
Performing maintenance work on a vehicle can
be dangerous. In trying to do some jobs, you
can be seriously injured. Do your own
maintenance work only if you have the
required know-how and the proper tools and
equipment for the job. If you have any doubt,
have a quali®ed technician do the work.
If you want to get the service information, see
Service
Publications Ordering Information on page 7-10.ªPart B: Owner Checks and Servicesºtells you what
should be checked and when. It also explains what
you can easily do to help keep your vehicle in good
condition.
ªPart C: Periodic MaintenanceInspectionsºexplains
important inspections that your dealer's service
department can perform for you.
ªPart D: Recommended Fluids and Lubricantsºlists
some recommended products necessary to help
keep your vehicle properly maintained. These products,
or their equivalents, should be used whether you do
the work yourself or have it done.
ªPart E: Maintenance Recordºis a place for you to
record and keep track of the maintenance performed on
your vehicle. Keep your maintenance receipts. They
may be needed to qualify your vehicle for warranty
repairs.
6-3