Page 219 of 394

Steering in Emergencies
There are times when steering can be more effective
than braking. For example, you come over a hill and ®nd
a truck stopped in your lane, or a car suddenly pulls
out from nowhere, or a child darts out from between
parked cars and stops right in front of you. You
can avoid these problems by braking Ð if you can stop
in time. But sometimes you can't; there isn't room.
That's the time for evasive action Ð steering around the
problem.
Your vehicle can perform very well in emergencies like
these. First apply your brakes Ð but, unless you
have anti-lock, not enough to lock your wheels.
See
Braking on page 4-5. It is better to remove as much
speed as you can from a possible collision. Then
steer around the problem, to the left or right depending
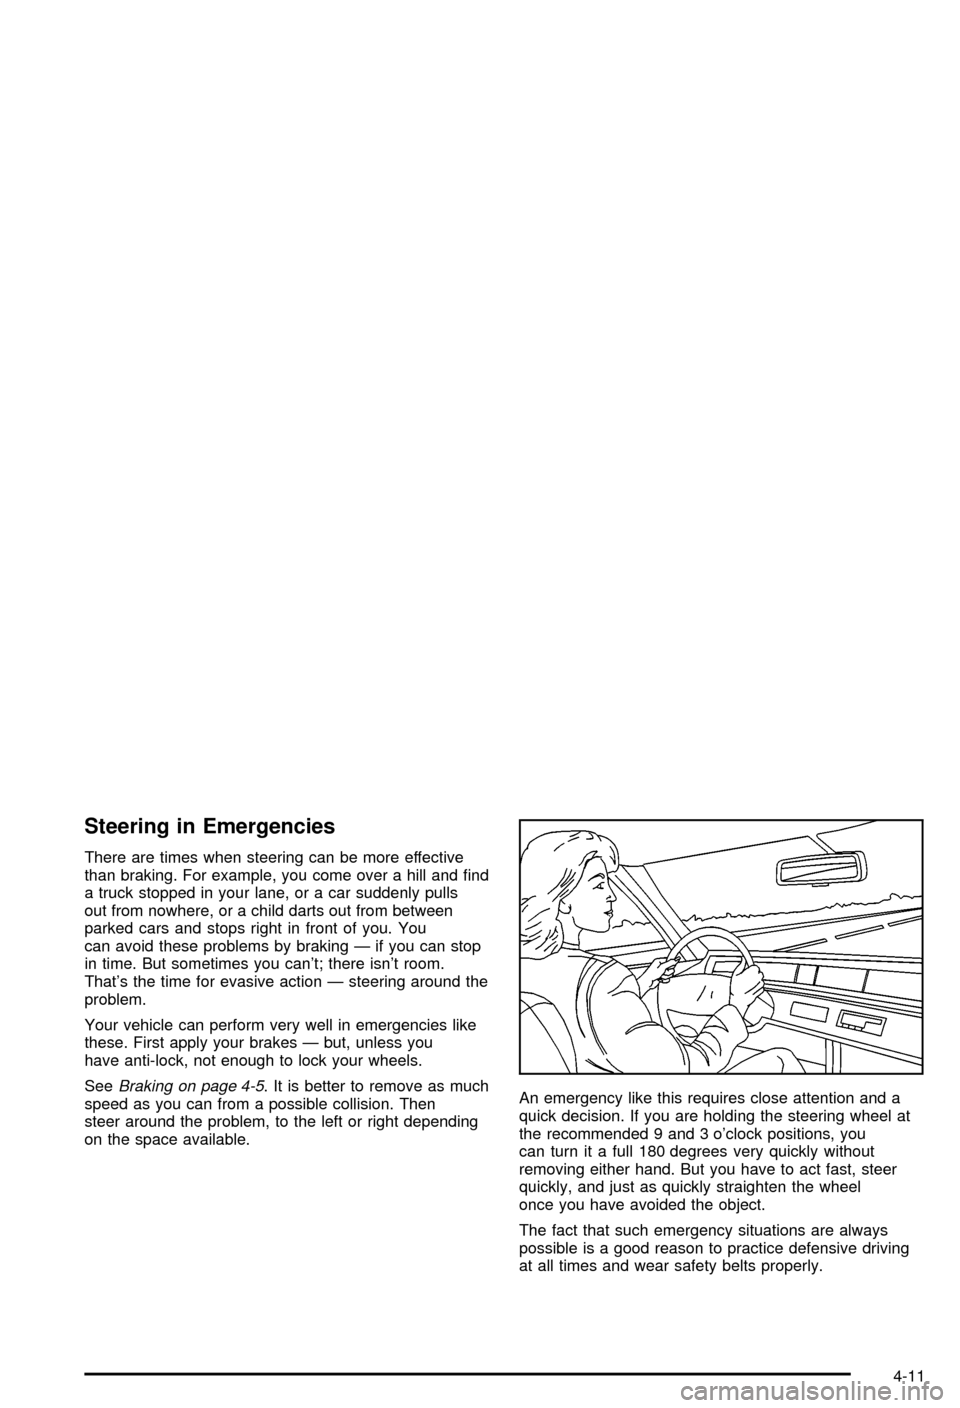
on the space available.An emergency like this requires close attention and a
quick decision. If you are holding the steering wheel at
the recommended 9 and 3 o'clock positions, you
can turn it a full 180 degrees very quickly without
removing either hand. But you have to act fast, steer
quickly, and just as quickly straighten the wheel
once you have avoided the object.
The fact that such emergency situations are always
possible is a good reason to practice defensive driving
at all times and wear safety belts properly.
4-11
Page 256 of 394

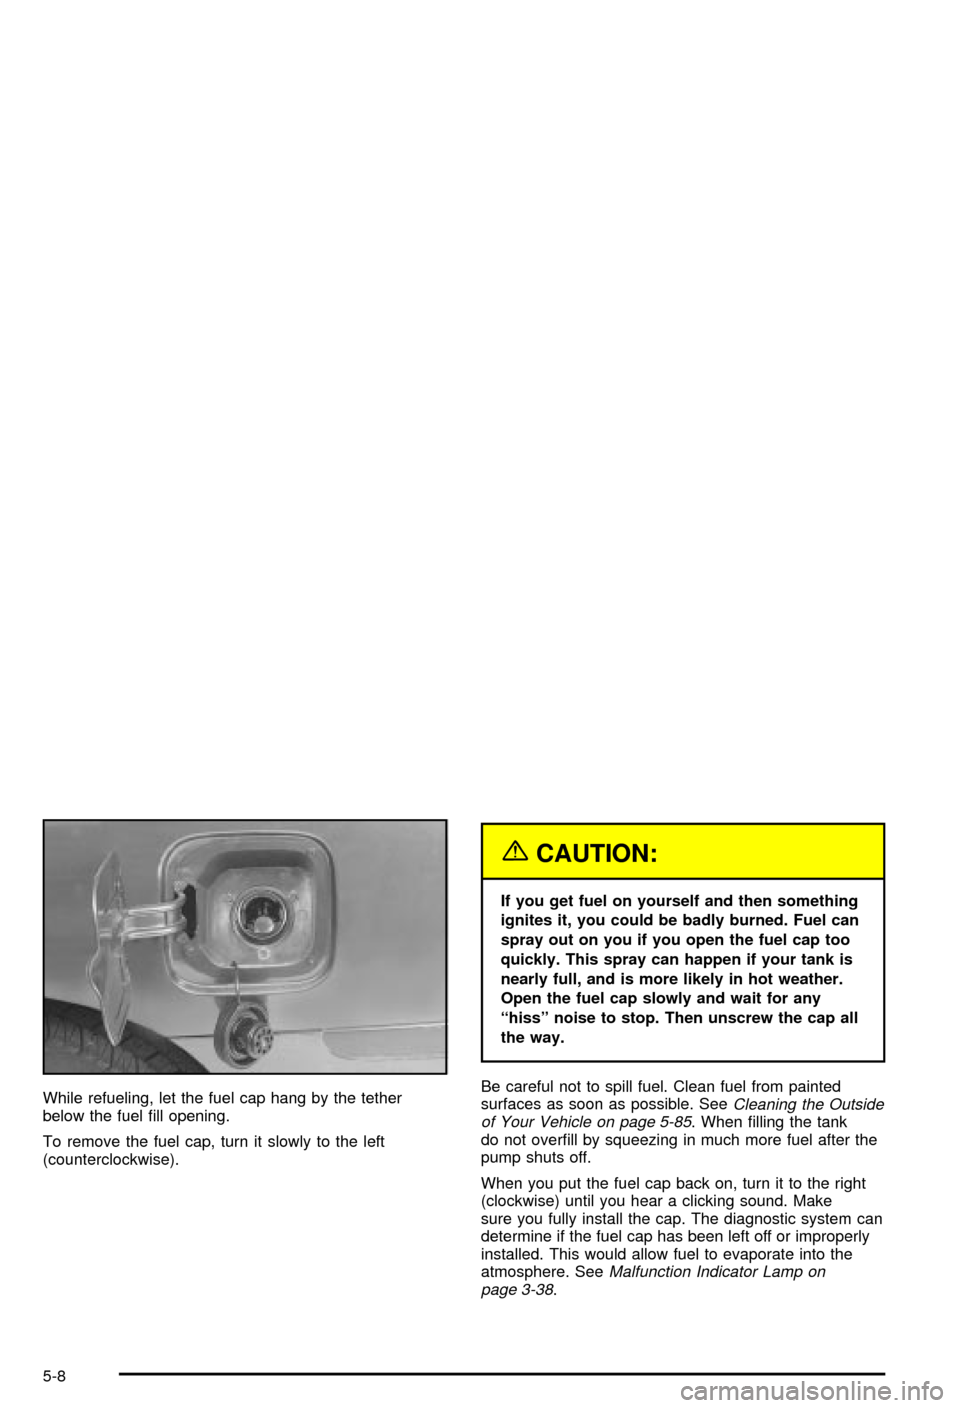
While refueling, let the fuel cap hang by the tether
below the fuel ®ll opening.
To remove the fuel cap, turn it slowly to the left
(counterclockwise).
{CAUTION:
If you get fuel on yourself and then something
ignites it, you could be badly burned. Fuel can
spray out on you if you open the fuel cap too
quickly. This spray can happen if your tank is
nearly full, and is more likely in hot weather.
Open the fuel cap slowly and wait for any
ªhissº noise to stop. Then unscrew the cap all
the way.
Be careful not to spill fuel. Clean fuel from painted
surfaces as soon as possible. See
Cleaning the Outside
of Your Vehicle on page 5-85. When ®lling the tank
do not over®ll by squeezing in much more fuel after the
pump shuts off.
When you put the fuel cap back on, turn it to the right
(clockwise) until you hear a clicking sound. Make
sure you fully install the cap. The diagnostic system can
determine if the fuel cap has been left off or improperly
installed. This would allow fuel to evaporate into the
atmosphere. See
Malfunction Indicator Lamp on
page 3-38.
5-8
Page 285 of 394
How to Add Coolant to the Radiator
Notice:Your engine has a speci®c radiator
®ll procedure. Failure to follow this procedure could
cause your engine to overheat and be severely
damaged.The radiator pressure cap is located in the front of the
engine compartment on the passenger's side of the
vehicle, near the diagonal cross brace. SeeEngine
Compartment Overview on page 5-12for more
information on location.
1. You can remove the radiator pressure cap when
the cooling system, including the radiator pressure
cap and upper radiator hose, is no longer hot.
Turn the pressure cap slowly counterclockwise until
it ®rst stops. (Don't press down while turning the
pressure cap.)
If you hear a hiss, wait for that to stop. A hiss
means there is still some pressure left.
5-37
Page 286 of 394
2. Then keep turning the pressure cap, but now push
down as you turn it. Remove the pressure cap.
{CAUTION:
You can be burned if you spill coolant on hot
engine parts. Coolant contains ethylene glycol
and it will burn if the engine parts are hot
enough. Do not spill coolant on a hot engine.3. If you have the 3800 V6 engine, remove the
3800 Series II V6 engine cover shield to access
the bleed valve.
A. Clean the area around the engine oil ®ll tube
and cap before removing. Twist the oil ®ll
tube, with cap attached, counterclockwise and
remove it.
B. Lift the engine cover shield at the front, slide
the catch tab out of the engine bracket and
remove the cover shield.
C. Put the oil ®ll tube, with cap attached, in the
valve cover oil ®ll hole until you're ready to
replace the cover shield.
5-38
Page 288 of 394
5. Fill the radiator with the proper DEX-COOLž
coolant mixture, up to the base of the ®ller
neck. SeeEngine Coolant on page 5-26for more
information about the proper coolant mixture.
If you see a stream of coolant coming from an air
bleed valve, close the valve. Otherwise, close
the valves after the radiator is ®lled.
6. Rinse or wipe any spilled coolant from the engine
and the compartment.7. If you have the 3800 V6 engine, replace the
3800 Series II V6 engine cover shield.
7.1. Remove the oil ®ll tube, with cap attached,
from the valve cover.
7.2. Insert the catch tab on the cover shield
under the bracket on the engine.
7.3. Place the hole in the cover shield over the
hole in the valve cover. Install oil ®ll tube and
cap by twisting clockwise.
8. Then ®ll the coolant recovery tank to the
COLD mark.
9. Put the cap back on the coolant recovery tank, but
leave the radiator pressure cap off.
5-40
Page 303 of 394
1. Open the hood.
2. Remove the air baffle.
3. Remove the two headlamp fasteners by pulling up
on them.
4. Gently pull the headlamp assembly away from the
vehicle and remove the electrical connector.5. Remove the round dust caps to gain access to
the bulbs.
6. Turn the bulb counterclockwise and remove it from
the retaining ring by gently pulling it away from the
headlamp assembly.
7. Remove the electrical connector from the bulb by
raising the lock tab and pulling the connector away
from the bulb's base.
8. Install the electrical connector to the new bulb.
9. Install the new bulb by inserting the smallest tab on
the bulb base into the matching notch in the
retaining ring. Turn the bulb a quarter-turn clockwise
until it stops.
10. Reverse Steps 1 through 5 to reinstall the headlamp
assembly.
5-55
Page 304 of 394
Taillamps, Turn Signal, Stoplamps
and Sidemarker Lamps
A. Rear Sidemarker Lamp
B. Taillamp/Stoplamp
C. Turn Signal Lamp
1. Open the trunk. If your vehicle has a convenience
net, unhook the net from the upper wing nut.
2. Remove the nut and convenience net.
3. Pull the carpet away from the rear of the vehicle.4. Unscrew the
two remaining
wing nuts.
5. Pull the assembly from the body carefully.
6. To remove a socket, turn it counterclockwise and
pull it out.
7. Pull the bulb out. Do not twist it.
8. Push the new bulb into the socket.
9. Push the socket back into the assembly. Tighten
the socket by turning it clockwise.
10. Reinstall the assembly and the two lower wing nuts.
Make sure that the wires are not pinched between
the body of the vehicle and the mounting screws.
11. Reinstall the carpeting.
12. Reinstall the upper (convenience net) wing nut and
reattach convenience net, if equipped.
5-56
Page 305 of 394
Back-Up Lamps
The back-up lamps are located in the rear bumper.
1. Open the trunk.
2. Remove the two screws.
3. Pull the assembly from the body of the vehicle.
4. To remove a socket, turn the socket
counterclockwise and pull it out.
5. Pull the old bulb out. Do not twist it.
6. Push the new bulb into the socket.
7. Push the socket back into the assembly. Tighten
the socket by turning it clockwise.
8. Reinstall the assembly with the two screws.
Replacement Bulbs
Exterior Lamps Bulb Number
Back-Up 921
Front Park/Turn Signal3357NAK or
3457NAK
Front Sidemarker Lamps 194
Headlamps, High-Beam 9005
Headlamps, Low-Beam 9006
Rear Sidemarker Lamps 168
Taillamps/Stoplamps/Turn Signal 3057
For any bulb not listed here, contact you dealer.
5-57