2003 CHEVROLET MALIBU oil change
[x] Cancel search: oil changePage 126 of 326

If you experience one or more of these conditions,
change the fuel brand you use. It will require at least
one full tank of the proper fuel to turn the light off.
If none of the above steps have made the light turn off,
your dealer can check the vehicle. Your dealer has
the proper test equipment and diagnostic tools to ®x any
mechanical or electrical problems that may have
developed.
Emissions Inspection and Maintenance
Programs
Some state/provincial and local governments have or
may begin programs to inspect the emission control
equipment on your vehicle. Failure to pass this
inspection could prevent you from getting a vehicle
registration.
Here are some things you need to know to help your
vehicle pass an inspection:
Your vehicle will not pass this inspection if the Check
Engine light is on or not working properly.
Your vehicle will not pass this inspection if the OBD
(on-board diagnostic) system determines that critical
emission control systems have not been completely
diagnosed by the system. The vehicle would beconsidered not ready for inspection. This can happen if
you have recently replaced your battery or if your
battery has run down. The diagnostic system is
designed to evaluate critical emission control systems
during normal driving. This may take several days
of routine driving. If you have done this and your vehicle
still does not pass the inspection for lack of OBD
system readiness, your GM dealer can prepare the
vehicle for inspection.
Oil Pressure Light
If you have a low engine
oil pressure problem,
this light will stay on after
you start your engine,
or come on and you will
hear a chime when you
are driving.
This indicates that your engine is not receiving enough
oil. The engine could be low on oil, or could have
some other oil problem. Have it ®xed immediately.
3-32
Page 153 of 326

After you clean the player, press and hold the cassette
eject button for two seconds to reset the clean tape
timer. The radio will display TP DECK CLEANED
to show that the timer was reset.
Cassettes are subject to wear and the sound quality
may degrade over time. Always make sure the cassette
tape is in good condition before you have your tape
player serviced.
Care of Your CDs
Handle discs carefully. Store them in their original cases
or other protective cases and away from direct sunlight
and dust. If the surface of a disc is soiled, dampen
a clean, soft cloth in a mild, neutral detergent solution
and clean it, wiping from the center to the edge.
Be sure never to touch the side without writing when
handling discs. Pick up discs by grasping the outer
edges or the edge of the hole and the outer edge.
Care of Your CD Player
The use of CD lens cleaner discs is not advised, due to
the risk of contaminating the lens of the CD optics
with lubricants internal to the CD mechanism.
Fixed Mast Antenna
The ®xed mast antenna can withstand most car washes
without being damaged. If the mast should ever
become slightly bent, you can straighten it out by hand.
If the mast is badly bent, as it might be by vandals,
you should replace it.
Check occasionally to be sure the mast is still tightened
to the fender. If tightening is required, tighten by
hand, then with a wrench one quarter turn.
Chime Level Adjustment
Chime level adjustment is only available on RDS radios.
The radio is the vehicle chime producer. The chime is
produced from the driver's side front door speakers. To
change the volume level, press and hold pushbutton 6
with the ignition on and the radio power off. The chime
volume level will change from the normal level to loud,
and LOUD will be displayed on the radio. To change back
to the default or normal setting, press and hold
pushbutton 6 again. The chime level will change from the
loud level to normal, and NORMAL will be displayed.
Each time the chime volume is changed, three chimes
will sound as an example of the new volume selected.
Removing the radio and not replacing it with a factory
radio or chime module will disable vehicle chimes.
3-59
Page 209 of 326

If you choose to perform
the engine oil change
service yourself, be sure
the oil you use has
the starburst symbol on
the front of the oil
container. If you have your
oil changed for you, be
sure the oil put into
your engine is American
Petroleum Institute certi®ed
for gasoline engines.
You should also use the proper viscosity oil for your
vehicle, as shown in the viscosity chart.
5-15
Page 210 of 326

As in the chart shown previously, SAE 5W-30 is the
only viscosity grade recommended for your vehicle.
You should look for and use only oils which have the
API Starburst symbol and which are also identi®ed
as SAE 5W-30. If you cannot ®nd such SAE 5W-30 oils,
you can use an SAE 10W-30 oil which has the API
Starburst symbol, if it's going to be 0ÉF (-18ÉC)
or above. Do not use other viscosity grade oils, such as
SAE 10W-40 or SAE 20W-50 under any conditions.
Notice:Use only engine oil with the American
Petroleum Institute Certi®ed For Gasoline Engines
starburst symbol. Failure to use the recommended
oil can result in engine damage not covered by
your warranty.
GM Goodwrench
žoil meets all the requirements for
your vehicle.
If you are in an area of extreme cold, where the
temperature falls below-20ÉF (-29ÉC), it is
recommended that you use either an SAE 5W-30
synthetic oil or an SAE 0W-30 oil. Both will provide
easier cold starting and better protection for your
engine at extremely low temperatures.
Engine Oil Additives
Don't add anything to your oil. The recommended oils
with the starburst symbol are all you will need for
good performance and engine protection.
When to Change Engine Oil
If any one of these is true for you, use the short trip/city
maintenance schedule:
·Most trips are less than 5 miles (8 km). This is
particularly important when outside temperatures
are below freezing.
·Most trips include extensive idling (such as frequent
driving in stop-and-go traffic).
·You frequently tow a trailer or use a carrier on top
of your vehicle.
·The vehicle is used for delivery service, police, taxi
or other commercial application.
Driving under these conditions causes engine oil to
break down sooner. If any one of these is true for your
vehicle, then you need to change your oil and ®lter
every 3,000 miles (5 000 km) or 3 months ± whichever
occurs ®rst.
If none of them is true, use the long trip/highway
maintenance schedule. Change oil and ®lter every
7,500 miles (12 500 km) or 12 months ± whichever
occurs ®rst. Driving a vehicle with a fully warmed engine
under highway conditions will cause engine oil to
break down slower.
5-16
Page 211 of 326

What to Do with Used Oil
Used engine oil contains certain elements that may be
unhealthy for your skin and could even cause cancer.
Don't let used oil stay on your skin for very long. Clean
your skin and nails with soap and water, or a good
hand cleaner. Wash or properly dispose of clothing or
rags containing used engine oil. See the manufacturer's
warnings about the use and disposal of oil products.
Used oil can be a threat to the environment. If you
change your own oil, be sure to drain all the oil from the
®lter before disposal. Never dispose of oil by putting it
in the trash, pouring it on the ground, into sewers, or into
streams or bodies of water. Instead, recycle it by
taking it to a place that collects used oil. If you have a
problem properly disposing of your used oil, ask
your dealer, a service station or a local recycling center
for help.
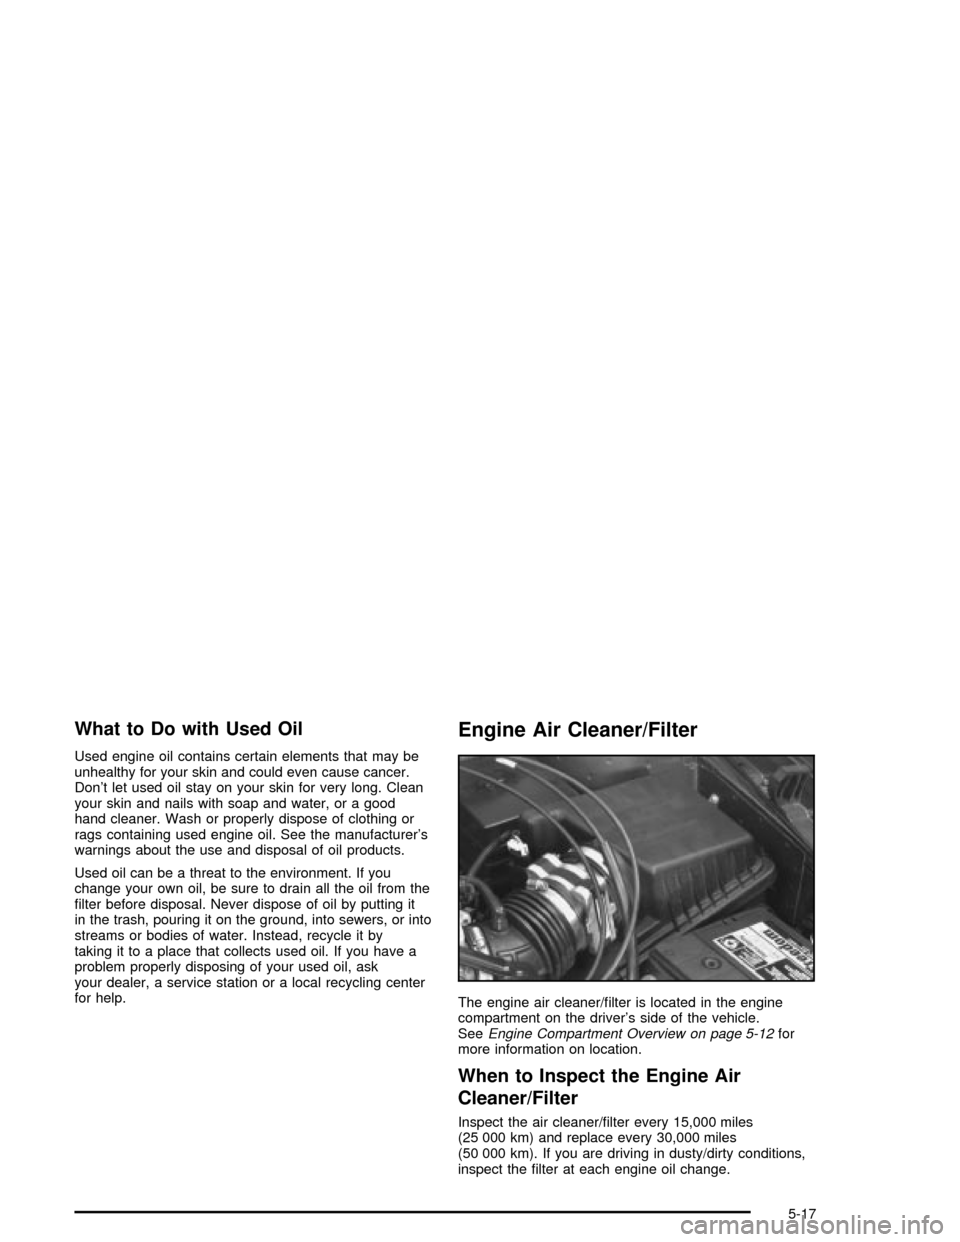
Engine Air Cleaner/Filter
The engine air cleaner/®lter is located in the engine
compartment on the driver's side of the vehicle.
See
Engine Compartment Overview on page 5-12for
more information on location.
When to Inspect the Engine Air
Cleaner/Filter
Inspect the air cleaner/®lter every 15,000 miles
(25 000 km) and replace every 30,000 miles
(50 000 km). If you are driving in dusty/dirty conditions,
inspect the ®lter at each engine oil change.
5-17
Page 212 of 326

How to Inspect the Engine Air
Cleaner/Filter
To inspect the air cleaner/®lter remove the ®lter from the
vehicle and lightly shake ®lter to release loose dust
and dirt. If the ®lter remains ªcakedº with dirt, a new ®lter
is required.
To inspect or replace the engine air cleaner/®lter,
do the following:
1. Remove the screws that hold the cover on.
2. Lift off the cover.
3. Check or replace the engine air cleaner/®lter.
See
Normal Maintenance Replacement Parts
on page 5-83for replacement part numbers.
4. Put the cover back on tightly.
See
Using Your Maintenance Schedule on page 6-4for
replacement intervals.
{CAUTION:
Operating the engine with the air cleaner/®lter
off can cause you or others to be burned. The
air cleaner not only cleans the air, it helps to
stop ¯ame if the engine back®res. If it isn't there
and the engine back®res, you could be burned.
Don't drive with it off, and be careful working on
the engine with the air cleaner/®lter off.
Notice:If the air cleaner/®lter is off, a back®re can
cause a damaging engine ®re. And, dirt can
easily get into your engine, which will damage it.
Always have the air cleaner/®lter in place when
you're driving.
Automatic Transaxle Fluid
It is not necessary to check the transaxle ¯uid level.
A transaxle ¯uid leak is the only reason for ¯uid loss. If a
leak occurs, take the vehicle to the dealership service
department and have it repaired as soon as possible. You
may also have your ¯uid level checked by your dealer or
service center when you have your oil changed.
5-18
Page 213 of 326

Change both the ¯uid and ®lter every 50,000 miles
(83 000 km) if the vehicle is mainly driven under one or
more of these conditions:
·In heavy city traffic where the outside temperature
regularly reaches 90ÉF (32ÉC) or higher.
·In hilly or mountainous terrain.
·When doing frequent trailer towing.
·Uses such as found in taxi, police or delivery
service.
If you do not use your vehicle under any of these
conditions, the ¯uid and ®lter do not require changing.
Notice:We recommend you use only ¯uid labeled
DEXRONž±III, because ¯uid with that label is
made especially for your automatic transaxle.
Damage caused by ¯uid other than DEXRON
ž±III is
not covered by your new vehicle warranty.
Engine Coolant
The cooling system in your vehicle is ®lled with
DEX-COOLžengine coolant. This coolant is designed
to remain in your vehicle for 5 years or 150,000 miles
(240 000 km), whichever occurs ®rst, if you add
only DEX-COOL
žextended life coolant.The following explains your cooling system and how to
add coolant when it is low. If you have a problem
with engine overheating, see
Engine Overheating on
page 5-22.
A 50/50 mixture of clean, drinkable water and
DEX-COOL
žcoolant will:
·Give freezing protection down to-34ÉF(-37ÉC).
·Give boiling protection up to 265ÉF (129ÉC)
·Protect against rust and corrosion.
·Help keep the proper engine temperature.
·Let the warning lights and gages work as they
should.
Notice:When adding coolant, it is important that
you use only DEX-COOLž(silicate-free) coolant.
If coolant other than DEX-COOLžis added to
the system, premature engine, heater core or
radiator corrosion may result. In addition, the engine
coolant will require change sooner Ð at 30,000 miles
(50,000 km) or 24 months, whichever occurs ®rst.
Damage caused by the use of coolant other
than DEX-COOL
žis not covered by your new vehicle
warranty.
5-19
Page 256 of 326

5. Raise the vehicle by turning the wrench clockwise.
Raise the vehicle far enough off the ground so there
is enough room for the compact spare tire to ®t.
6. Remove all of the wheel nuts.
7. Then take off the ¯at tire.
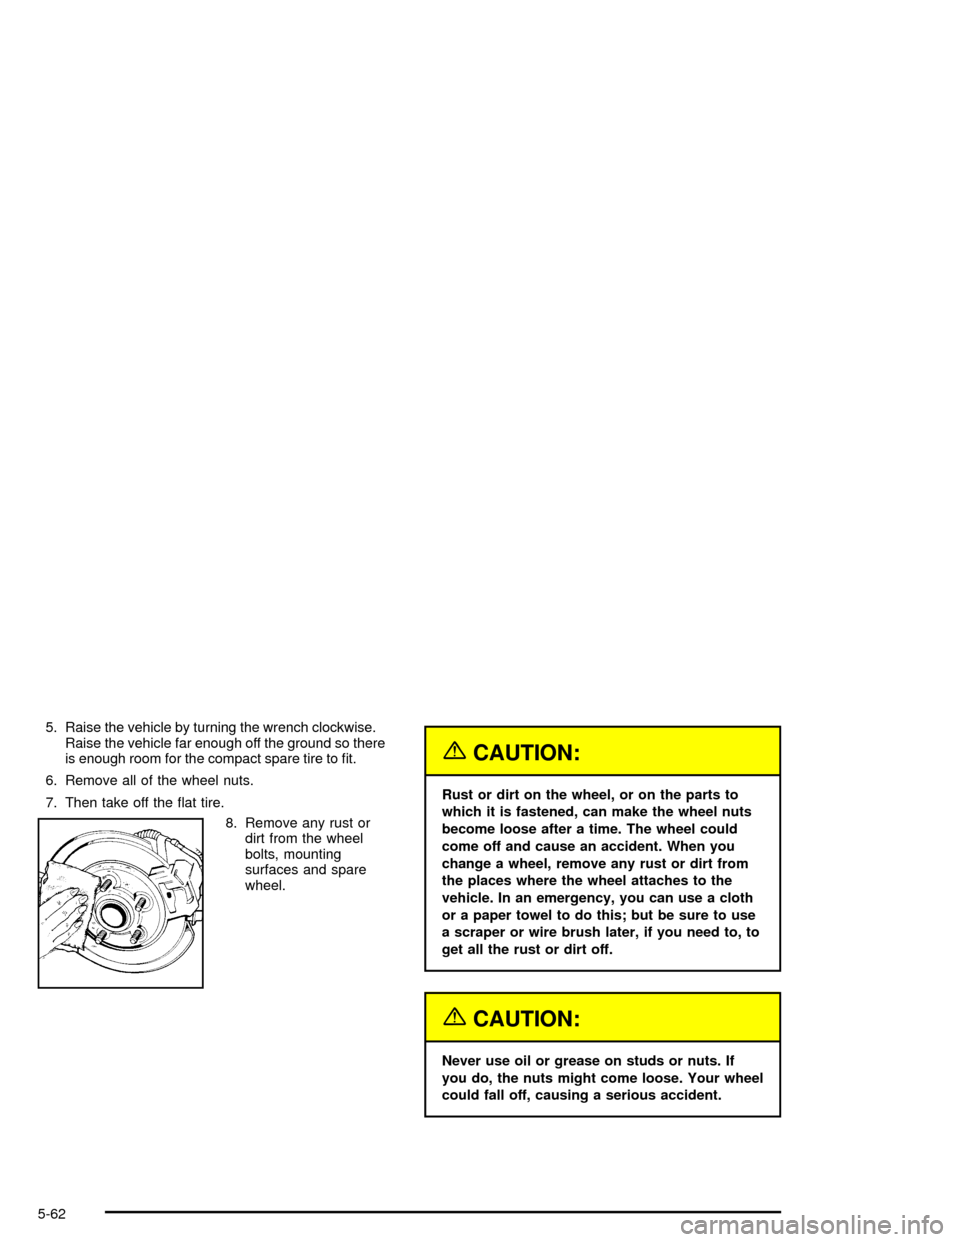
8. Remove any rust or
dirt from the wheel
bolts, mounting
surfaces and spare
wheel.
{CAUTION:
Rust or dirt on the wheel, or on the parts to
which it is fastened, can make the wheel nuts
become loose after a time. The wheel could
come off and cause an accident. When you
change a wheel, remove any rust or dirt from
the places where the wheel attaches to the
vehicle. In an emergency, you can use a cloth
or a paper towel to do this; but be sure to use
a scraper or wire brush later, if you need to, to
get all the rust or dirt off.
{CAUTION:
Never use oil or grease on studs or nuts. If
you do, the nuts might come loose. Your wheel
could fall off, causing a serious accident.
5-62