2003 CHEVROLET IMPALA reset
[x] Cancel search: resetPage 110 of 408

Using HomeLinkž
Press and hold the appropriate HomeLinkžbutton for at
least half of a second. The indicator light will come
on while the signal is being transmitted.
Erasing HomeLinkžButtons
To erase programming from the three buttons do the
following:
1. Press and hold down the two outside buttons until
the indicator light begins to ¯ash, after 20 seconds.
2. Release both buttons. Do not hold for longer than
30 seconds.
HomeLink
žis now in the train (learning) mode and can
be programmed at any time beginning with Step 2
under ªProgramming HomeLink
ž.º
Individual buttons can not be erased, but they can be
reprogrammed. See ªReprogramming a Single
HomeLink
žButtonº next.
Reprogramming a Single HomeLinkž
Button
To program a device to HomeLinkžusing a HomeLinkž
button previously trained, follow these steps:
1. Press and hold the desired HomeLink
žbutton. Do
not release the button.
2. The indicator light will begin to ¯ash after
20 seconds. While still holding the HomeLink
ž
button, proceed with Step 2 under ªProgramming
HomeLinkž.º
Resetting Defaults
To reset HomeLinkžto default settings do the following:
1. Hold down the two outside buttons for about
20 seconds until the indicator light begins to ¯ash.
2. Continue to hold both buttons until the HomeLink
ž
indicator light turns off.
3. Release both buttons.
For questions or comments, contact HomeLink
žat
1-800-355-3515, or on the internet at
www.homelink.com.
2-42
Page 113 of 408

Vehicle Personalization
Some of the convenience features can be reset or
customized to perform according to your preference.
Features you can program depend upon the options that
came with your vehicle. The following list shows
features that can be reset or customized along with the
options.
·Settings (Available for All)
·GM Oil Life System Reset (Available for All)
·Low Tire Pressure Reset (If Equipped)
·Delayed Headlamp Illumination (Available for All)
·Automatic Door Lock and Unlock (Available for All)
·Remote Visual Veri®cation (Available with Remote
Keyless Entry)
·Remote Audible Veri®cation (Available with Remote
Keyless Entry)
·Content Theft Operation (Optional with Content
Theft System)
·Trunk Jamb (Optional with Content Theft System)
·Horn Chirp On Timer (Available with Remote
Keyless Entry)
·Remote Keyless Entry Transmitter Programming
(Available with Remote Keyless Entry)
·Return to Original Factory Settings (Available
for All)
·Exit Vehicle Customization Mode
Programmable Modes
To reset or customize the features, ®rst enter the
vehicle customization main menu. To enter the main
menu, do the following:
1. Turn the ignition to ACC or ON. The radio must be
off.
2. Press and hold the TUNE or DISP knob on the
radio for at least ®ve seconds until SETTINGS is
displayed.
3. Press the SEEK or PSCAN up or down arrows to
scroll through each available feature on your main
menu.
4. Press the PREV or NEXT buttons to scroll through
the lower menu. An asterisk (*) will appear next to
the item that is the current setting.
The following information shows how to reset or
customize features after entering the main menu.
SETTINGS (Display Current Settings)
This feature displays your vehicle personalization
settings.
2-45
Page 114 of 408

OIL LIFE (GM Oil Life System Reset)
This feature allows you to reset the GM Oil Life System
Monitor after an oil change, seeEngine Oil on
page 5-16. Be careful not to reset the OIL LIFE at any
time other than when the oil has been changed. To clear
the CHANGE ENGINE OIL light from the instrument
panel cluster and reset the oil life monitor:
1. Scroll, using the SEEK/PSCAN up or down arrows,
until OIL LIFE appears on the display.
2. Press the PREV or NEXT button to enter the
submenu. RESET will then be displayed.
3. Press the TUNE/DISP knob to reset. A chime will
be heard to verify the new setting and DONE will
be displayed for one second.
The CHANGE ENGINE OIL light is now reset. You can
either exit the programming mode by following the
instructions later in this section or program the next
feature available on your vehicle.
TIRE MON (Tire In¯ation Monitor
Reset)
This feature allows you to reset the tire pressure
monitor after checking all tire pressures, seeTires on
page 5-61. To clear the LOW TIRE PRESSURE
light from the instrument panel cluster and reset the low
tire pressure monitor do the following:
1. Scroll, using the SEEK/PSCAN up or down arrows,
until TIRE MON appears on the display.
2. Press the PREV or NEXT button to enter the
submenu. RESET will be displayed.
3. Press the TUNE/DISP knob to reset. A chime will
be heard to verify the new setting and DONE will
be displayed for one second.
The low tire pressure monitor is now reset. You can
either exit the programming mode by following the
instructions later in this section or program the next
feature available on your vehicle.
2-46
Page 120 of 408

2. Press the PREV or NEXT button to enter the
submenu. The current selection will have an
asterisk (*) next to it. If you do not wish to change
the current mode, you can either exit the
programming mode by following the directions later
in this section or program the next feature
available on your vehicle.
3. Scroll, using the PREV or NEXT buttons, through
the modes to change the current mode.
4. With your preference displayed, press the
TUNE/DISP button to select. A chime will be heard
to verify the new setting. The new selection will
be displayed with an asterisk (*) for one second.
The mode you selected is now set. You can either exit
the programming mode by following the instructions
later in this section or program the next feature available
on your vehicle.ORIG. SET (Return to the Original
Settings)
This feature allows you to return all feature
customization settings back to their original factory
settings. To reset do the following:
1. Scroll, using the SEEK/PSCAN up or down arrows,
until ORIG. SET appears on the display.
2. Press the PREV or NEXT button to enter the
submenu. SET ALL will appear.
3. With your preference displayed, press the
TUNE/DISP button to select. A chime will be heard
to verify the new setting. The new selection will
be displayed with an asterisk (*) for one second.
The original factory settings are now reset. You can
either exit the programming mode by following the
instructions later in this section or program the next
feature available on your vehicle.
2-52
Page 132 of 408

Windshield Washer
At the top of the multifunction lever, there's a paddle
with the word PUSH on it. To spray washer ¯uid on the
windshield, push the paddle. The wipers will run for
several sweeps and then either stop or return to your
preset speed. The ignition key must be in ACC or ON for
this to work. See
Windshield Washer Fluid on
page 5-44.
{CAUTION:
In freezing weather, don't use your washer
until the windshield is warmed. Otherwise the
washer ¯uid can form ice on the windshield,
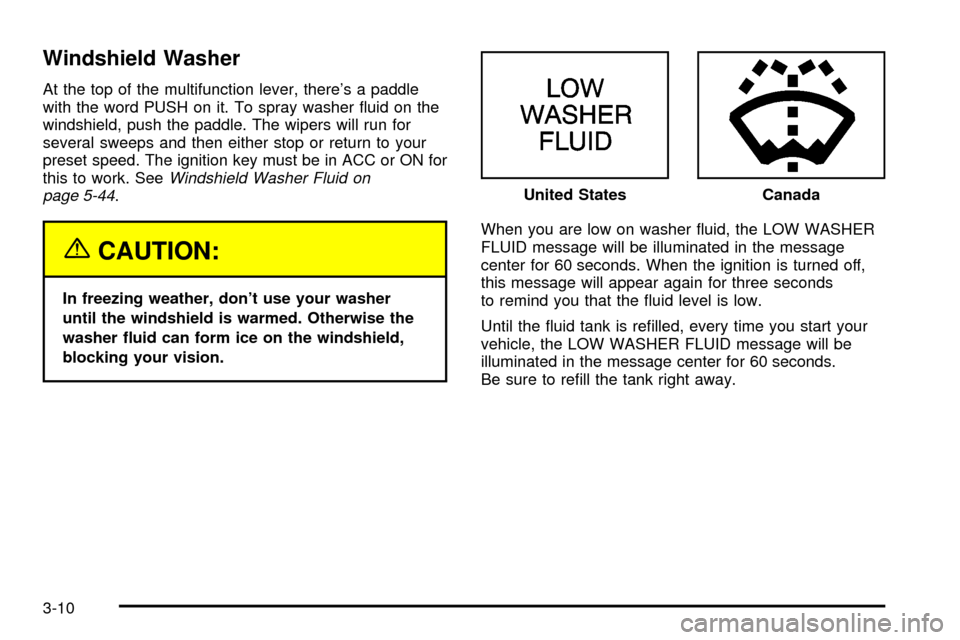
blocking your vision.When you are low on washer ¯uid, the LOW WASHER
FLUID message will be illuminated in the message
center for 60 seconds. When the ignition is turned off,
this message will appear again for three seconds
to remind you that the ¯uid level is low.
Until the ¯uid tank is re®lled, every time you start your
vehicle, the LOW WASHER FLUID message will be
illuminated in the message center for 60 seconds.
Be sure to re®ll the tank right away.United States
Canada
3-10
Page 134 of 408

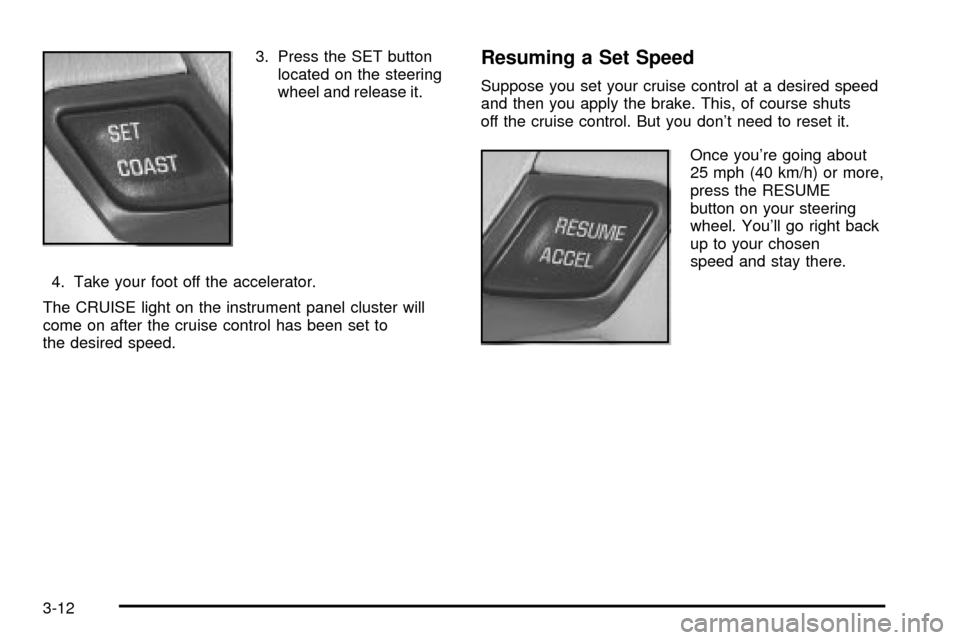
3. Press the SET button
located on the steering
wheel and release it.
4. Take your foot off the accelerator.
The CRUISE light on the instrument panel cluster will
come on after the cruise control has been set to
the desired speed.Resuming a Set Speed
Suppose you set your cruise control at a desired speed
and then you apply the brake. This, of course shuts
off the cruise control. But you don't need to reset it.
Once you're going about
25 mph (40 km/h) or more,
press the RESUME
button on your steering
wheel. You'll go right back
up to your chosen
speed and stay there.
3-12
Page 153 of 408

Speedometer and Odometer
Your speedometer lets you see your speed in both
miles per hour (mph) and kilometers per hour (km/h).
Your odometer shows how far your vehicle has
been driven in either miles (used in the United States)
or in kilometers (used in Canada).
Your vehicle has a tamper-resistant odometer. If you
see ERROR, you'll know someone has probably
tampered with it and the numbers may not be accurate.
You may wonder what happens if your vehicle needs
a new odometer installed. If the new one can be set to
the mileage total of the old odometer, then that will
be done. But if it can't, then it will be set at zero and a
label must be put on the driver's door to show the
old mileage reading when the new odometer
was installed.
Trip Odometer
Your trip odometer tells how far you have driven since
you last reset it.
Your trip/select reset switch will go back and forth
between the odometer and the trip odometer if the
button is pressed and released within 1.5 seconds. If the
button is pressed and held for longer than 1.5 seconds
while in the trip odometer mode, it will be reset to
zero. If the button is pressed and held for longer than
1.5 seconds while in the odometer mode, it will have
no effect.
Your trip odometer will work no matter what position
your key is in, and even if the key isn't in.
3-31
Page 157 of 408

Anti-Lock Brake System
Warning Light
If your vehicle is equipped
with anti-lock brakes, the
anti-lock brake system
warning light should come
on for a few seconds
when you turn the ignition
key to ON.
If the anti-lock brake system warning light stays on
longer than normal after you've started your engine, turn
the ignition off. Or, if the light comes on and stays on
when you're driving, stop as soon as possible and turn
the ignition off. Then start the engine again to reset
the system. If the light still stays on, or comes on again
while you're driving, the anti-lock brake system needs
service and you don't have anti-lock brakes.
The anti-lock brake system warning light should come
on brie¯y when you turn the ignition key to ON. This
is normal. If the light doesn't come on then, have it ®xed
so it will be ready to warn you if there is a problem.
Traction Control System (TCS)
Warning Light
Your vehicle may have the
traction control system. If it
does, this warning light
may come on for the
following reasons:
·If you turn the system off by pressing the TRAC
OFF button located on the instrument panel, a
chime will sound and the warning light will come on
and stay on. To turn the system back on, press
the button again. The warning light should go off.
·If there's a brake system problem that is speci®cally
related to traction control, the traction control
system will turn off and the warning light will come
on. If your brakes begin to overheat, the traction
control system will turn off and the warning light will
come on until your brakes cool down.
If the traction control system warning light comes on
and stays on for an extended period of time when the
system is turned on, your vehicle needs service.
3-35