2003 CHEVROLET IMPALA parking brake
[x] Cancel search: parking brakePage 136 of 408
Using Cruise Control on Hills
How well your cruise control will work on hills depends
upon your speed, load and the steepness of the
hills. When going up steep hills, you may have to step
on the accelerator pedal to maintain your speed.
When going downhill, you may have to brake or shift to
a lower gear to keep your speed down. Of course,
applying the brake takes you out of cruise control. Many
drivers ®nd this to be too much trouble and don't use
cruise control on steep hills.
Ending Cruise Control
There are three ways to cancel the cruise control:
·Step lightly on the brake pedal.
·Slide the lever on the multifunction lever to the left
to the OFF position.
·Press the COAST and ACCEL buttons at the
same time.
Erasing Speed Memory
When you turn off the cruise control or the ignition, your
cruise control set speed memory is erased.
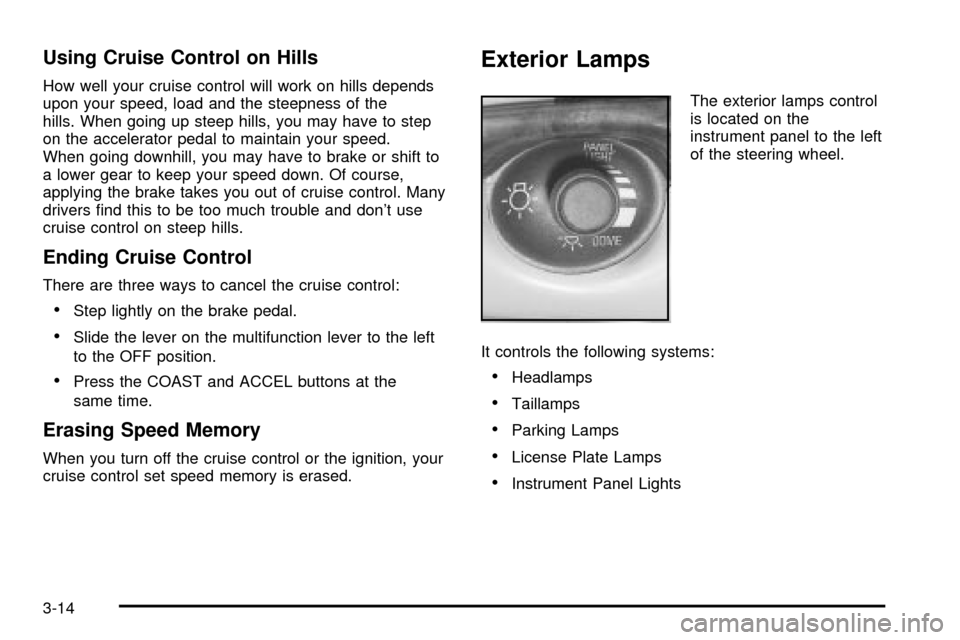
Exterior Lamps
The exterior lamps control
is located on the
instrument panel to the left
of the steering wheel.
It controls the following systems:
·Headlamps
·Taillamps
·Parking Lamps
·License Plate Lamps
·Instrument Panel Lights
3-14
Page 156 of 408
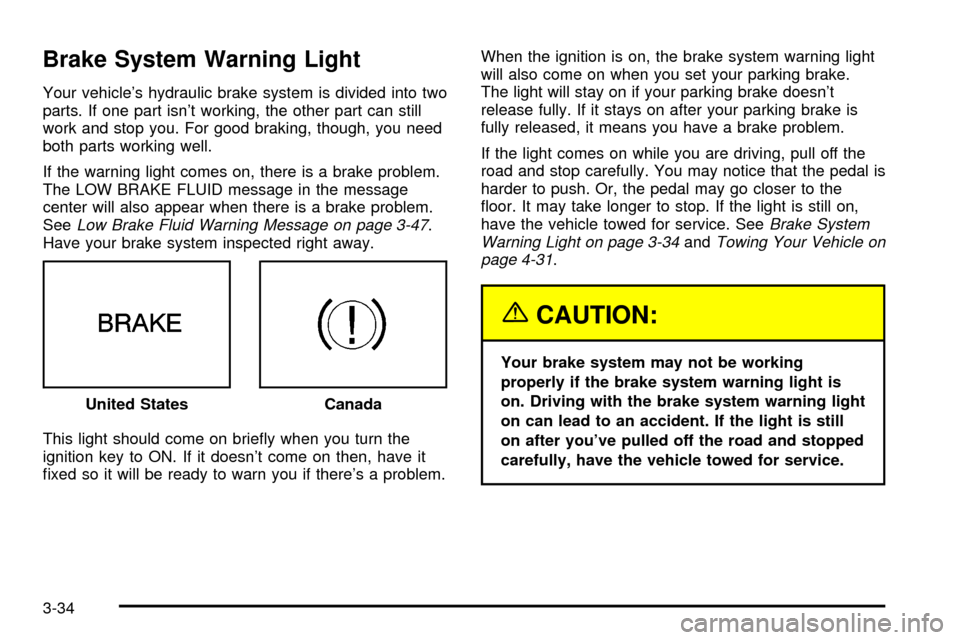
Brake System Warning Light
Your vehicle's hydraulic brake system is divided into two
parts. If one part isn't working, the other part can still
work and stop you. For good braking, though, you need
both parts working well.
If the warning light comes on, there is a brake problem.
The LOW BRAKE FLUID message in the message
center will also appear when there is a brake problem.
See
Low Brake Fluid Warning Message on page 3-47.
Have your brake system inspected right away.
This light should come on brie¯y when you turn the
ignition key to ON. If it doesn't come on then, have it
®xed so it will be ready to warn you if there's a problem.When the ignition is on, the brake system warning light
will also come on when you set your parking brake.
The light will stay on if your parking brake doesn't
release fully. If it stays on after your parking brake is
fully released, it means you have a brake problem.
If the light comes on while you are driving, pull off the
road and stop carefully. You may notice that the pedal is
harder to push. Or, the pedal may go closer to the
¯oor. It may take longer to stop. If the light is still on,
have the vehicle towed for service. SeeBrake System
Warning Light on page 3-34andTowing Your Vehicle on
page 4-31.
{CAUTION:
Your brake system may not be working
properly if the brake system warning light is
on. Driving with the brake system warning light
on can lead to an accident. If the light is still
on after you've pulled off the road and stopped
carefully, have the vehicle towed for service. United States
Canada
3-34
Page 248 of 408
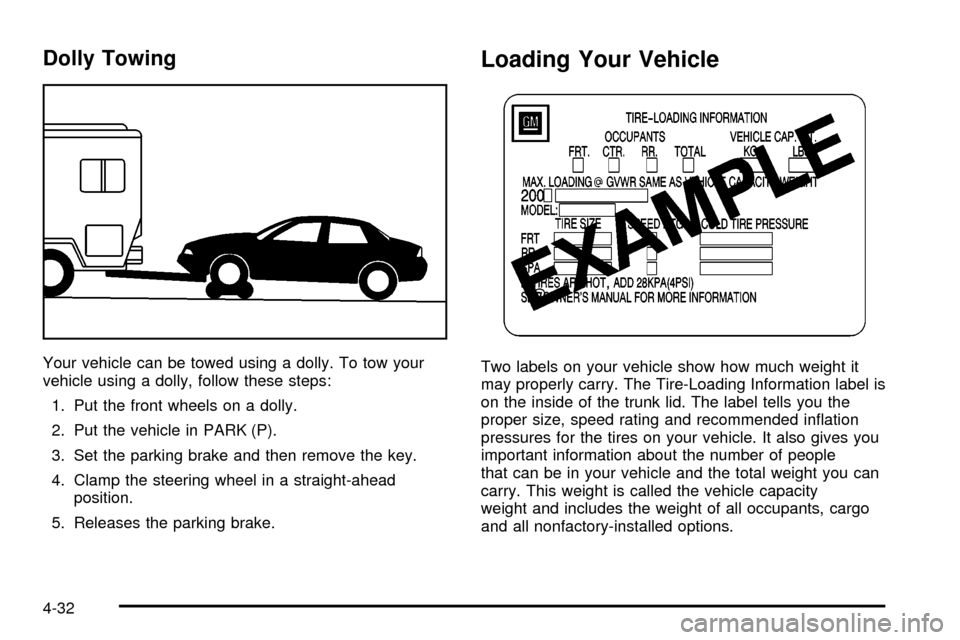
Dolly Towing
Your vehicle can be towed using a dolly. To tow your
vehicle using a dolly, follow these steps:
1. Put the front wheels on a dolly.
2. Put the vehicle in PARK (P).
3. Set the parking brake and then remove the key.
4. Clamp the steering wheel in a straight-ahead
position.
5. Releases the parking brake.
Loading Your Vehicle
Two labels on your vehicle show how much weight it
may properly carry. The Tire-Loading Information label is
on the inside of the trunk lid. The label tells you the
proper size, speed rating and recommended in¯ation
pressures for the tires on your vehicle. It also gives you
important information about the number of people
that can be in your vehicle and the total weight you can
carry. This weight is called the vehicle capacity
weight and includes the weight of all occupants, cargo
and all nonfactory-installed options.
4-32
Page 255 of 408
Turn Signals When Towing a Trailer
When you tow a trailer, your vehicle may need additional
wiring. Check with your dealer. The arrows on your
instrument panel will ¯ash whenever you signal a turn or
lane change. Properly hooked up, the trailer lamps
will also ¯ash, telling other drivers you're about to turn,
change lanes or stop.
When towing a trailer, the arrows on your instrument
panel will ¯ash for turns even if the bulbs on the trailer
are burned out. Thus, you may think drivers behind
you are seeing your signal when they are not. It's
important to check occasionally to be sure the trailer
bulbs are still working.
Driving On Grades
Reduce speed and shift to a lower gearbeforeyou start
down a long or steep downgrade. If you don't shift
down, you might have to use your brakes so much that
they would get hot and no longer work well.
On a long uphill grade, shift down and reduce your
speed to around 45 mph (70 km/h) to reduce the
possibility of engine and transaxle overheating.
If you have overdrive, you may want to drive in
THIRD (3) instead of AUTOMATIC OVERDRIVE
X.
Parking on Hills
{CAUTION:
You really should not park your vehicle, with a
trailer attached, on a hill. If something goes
wrong, your rig could start to move. People
can be injured, and both your vehicle and the
trailer can be damaged.
But if you ever have to park your rig on a hill, here's
how to do it:
1. Apply your regular brakes, but don't shift into
PARK (P) yet.
2. Have someone place chocks under the trailer
wheels.
3. When the wheel chocks are in place, release the
regular brakes until the chocks absorb the load.
4. Reapply the regular brakes. Then apply your
parking brake, and then shift to PARK (P).
5. Release the regular brakes.
4-39
Page 256 of 408

When You Are Ready to Leave After
Parking on a Hill
1. Apply your regular brakes and hold the pedal down
while you:
·start your engine,
·shift into a gear, and
·release the parking brake.
2. Let up on the brake pedal.
3. Drive slowly until the trailer is clear of the chocks.
4. Stop and have someone pick up and store
the chocks.
Maintenance When Trailer Towing
Your vehicle will need service more often when you're
pulling a trailer. See the Maintenance Schedule for more
on this. Things that are especially important in trailer
operation are automatic transaxle ¯uid (don't over®ll),
engine oil, drive belts, cooling system and brake system.
Each of these is covered in this manual, and the
Index will help you ®nd them quickly. If you're trailering,
it's a good idea to review this information before you
start your trip.
Check periodically to see that all hitch nuts and bolts
are tight.
Engine Cooling When Trailer Towing
Your cooling system may temporarily overheat during
severe operating conditions. SeeEngine Overheating on
page 5-30.
4-40
Page 257 of 408

Service............................................................5-3
Doing Your Own Service Work.........................5-4
Adding Equipment to the Outside of Your
Vehicle......................................................5-4
Fuel................................................................5-5
Gasoline Octane............................................5-5
Gasoline Speci®cations....................................5-5
California Fuel...............................................5-6
Additives.......................................................5-6
Fuels in Foreign Countries...............................5-6
Filling Your Tank............................................5-7
Filling a Portable Fuel Container.......................5-9
Checking Things Under the Hood....................5-10
Hood Release..............................................5-10
Engine Compartment Overview.......................5-12
Engine Oil...................................................5-16
Engine Air Cleaner/Filter................................5-22
Automatic Transaxle Fluid..............................5-24
Engine Coolant.............................................5-27
Radiator Pressure Cap..................................5-30
Engine Overheating.......................................5-30
Cooling System............................................5-33
Power Steering Fluid.....................................5-43
Windshield Washer Fluid................................5-44
Brakes........................................................5-45Battery........................................................5-48
Jump Starting...............................................5-49
Headlamp Aiming...........................................5-55
Bulb Replacement..........................................5-56
Halogen Bulbs..............................................5-56
Headlamps, Front Turn Signal, and Parking
Lamps.....................................................5-56
Taillamps, Turn Signal, Stoplamps and
Sidemarker Lamps.....................................5-58
Back-Up Lamps............................................5-59
Replacement Bulbs.......................................5-59
Windshield Wiper Blade Replacement..............5-60
Tires..............................................................5-61
In¯ation -- Tire Pressure................................5-62
Tire Pressure Monitor System.........................5-63
Tire Inspection and Rotation...........................5-65
When It Is Time for New Tires.......................5-66
Buying New Tires.........................................5-67
Uniform Tire Quality Grading..........................5-68
Wheel Alignment and Tire Balance..................5-69
Wheel Replacement......................................5-69
Tire Chains..................................................5-71
If a Tire Goes Flat........................................5-71
Changing a Flat Tire.....................................5-72
Compact Spare Tire......................................5-84
Section 5 Service and Appearance Care
5-1
Page 266 of 408
Checking Things Under the
Hood
{CAUTION:
An electric fan under the hood can start up
and injure you even when the engine is not
running. Keep hands, clothing and tools away
from any underhood electric fan.
{CAUTION:
Things that burn can get on hot engine parts
and start a ®re. These include liquids like fuel,
oil, coolant, brake ¯uid, windshield washer and
other ¯uids, and plastic or rubber. You or
others could be burned. Be careful not to drop
or spill things that will burn onto a hot engine.
Hood Release
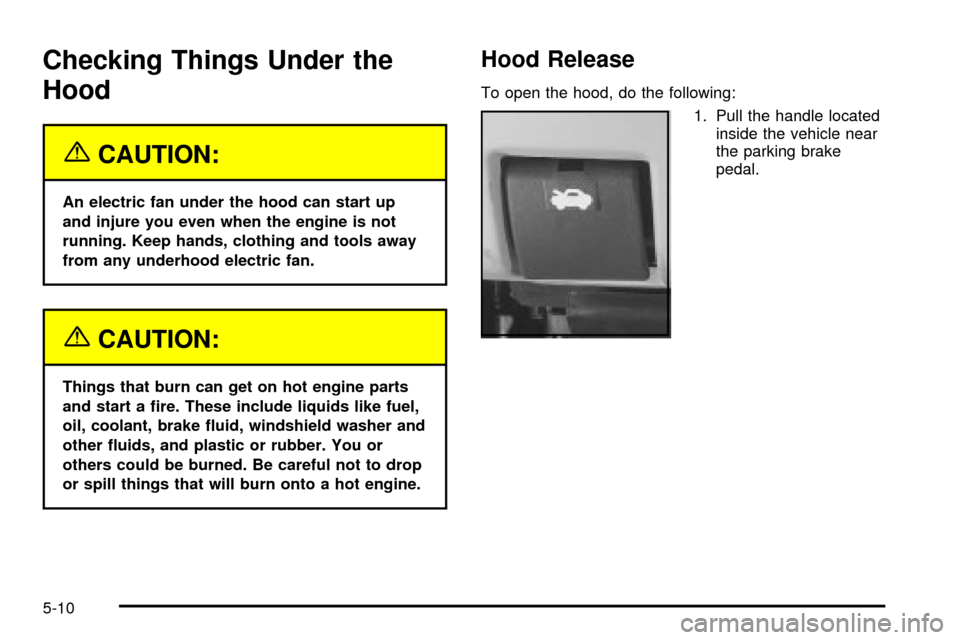
To open the hood, do the following:
1. Pull the handle located
inside the vehicle near
the parking brake
pedal.
5-10
Page 281 of 408
Checking the Fluid Level
Prepare your vehicle as follows:
·Park your vehicle on a level place. Keep the
engine running.
·With the parking brake applied, place the shift lever
in PARK (P).
·With your foot on the brake pedal, move the shift
lever through each gear range, pausing for about
three seconds in each range. Then, position the shift
lever in PARK (P).
·Let the engine run at idle for three to ®ve minutes.Then, without shutting off the engine, follow these steps:
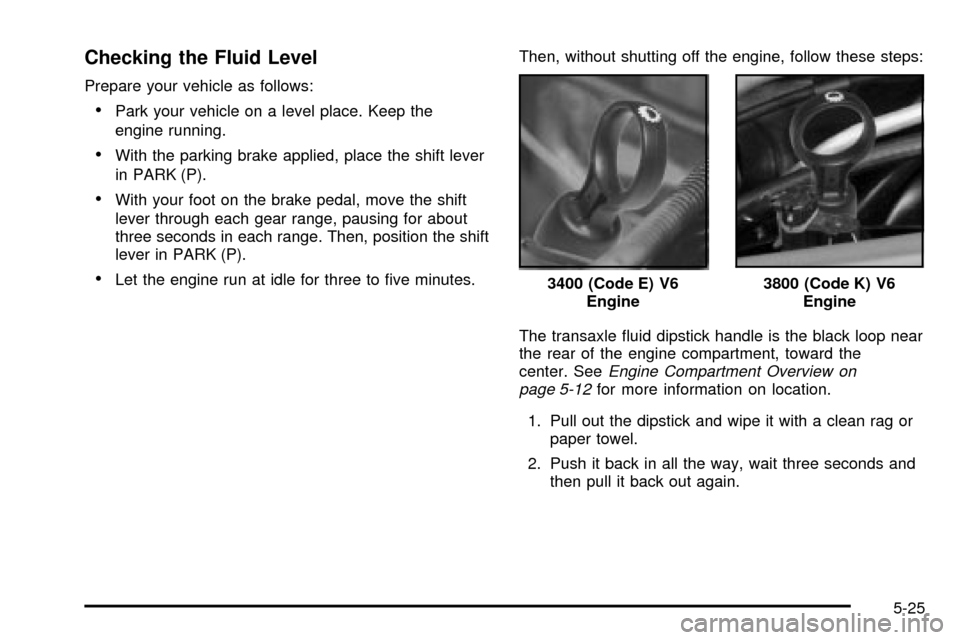
The transaxle ¯uid dipstick handle is the black loop near
the rear of the engine compartment, toward the
center. See
Engine Compartment Overview on
page 5-12for more information on location.
1. Pull out the dipstick and wipe it with a clean rag or
paper towel.
2. Push it back in all the way, wait three seconds and
then pull it back out again. 3400 (Code E) V6
Engine
3800 (Code K) V6
Engine
5-25