2003 CHEVROLET CORVETTE wiring
[x] Cancel search: wiringPage 67 of 368

Hatch/Trunk
{CAUTION:
It can be dangerous to drive with the hatch/
trunk lid open because carbon monoxide (CO)
gas can come into your vehicle. You can't see
or smell CO. It can cause unconsciousness
and even death. If you must drive with the
hatch/trunk lid open or if electrical wiring or
other cable connections must pass through
the seal between the body and the hatch/trunk
lid:
·Make sure all other windows are shut.
·Turn the fan on your heating or cooling
system to its highest speed and select the
control setting that will force outside air
into your vehicle. See ªClimate Control
Systemº in the Index.
·If you have air outlets on or under the
instrument panel, open them all the way.
See ªEngine Exhaustº in the Index.
Notice:If you put things in the hatch/trunk area, be
sure they won't break the glass when you close
it. Never slam the hatch/trunk lid down. You could
break the glass or damage the defogger grid.
When you close the hatch/trunk lid, make sure you
pull down from the center, not the sides. If you
pull the hatch/trunk lid down from the side too often,
the weatherstrip can be damaged.
Notice:Do not store heavy or sharp objects in the
rear storage compartments located in the
hatch/trunk area. If you do, the objects could
damage the underbody.
2-11
Page 98 of 368

Notice:If your vehicle is equipped with the optional
trunk±mounted CD changer, it is stored in the
center rear storage compartment. To help avoid
damage to the compact disc player, do not store
items such as liquids or sharp objects that could
damage, puncture or cut the trunk±mounted
CD changer or wiring.
Notice:Do not store heavy or sharp objects in the
rear storage compartments located in the
hatch/trunk area. If you do, the objects could
damage the underbody.
Convenience Net
If your vehicle has this feature you will see it on the
back wall of the rear area of the vehicle.
Put small loads, like grocery bags, in the net. It can help
keep them from falling over during sharp turns or
quick starts and stops. The convenience net is not for
larger, heavier loads.
You can unhook the net and place it in one of the rear
storage compartments when you are not using it.
On coupe models only, a vinyl storage bag has also
been provided.
Cargo Cover
If your vehicle has this feature, the security shade can
provide hidden storage in the rear area of the vehicle.
The shade is also helpful in blocking the glare from the
removable roof when it is stored in the rear
compartment.
Using the Cargo Cover
1. Hook the elastic loops
on the front corners (A)
of the shade to the
T-nuts located on the
front corners of the rear
hatch frame.
2. Hook the elastic loops on the rear corners (B) of the
shade to the hooks recessed inside the rear hatch
frame, near the rear corners.
2-42
Page 144 of 368

Air Bag Readiness Light
There is an air bag readiness light on the instrument
panel, which shows a deployed air bag symbol.
The system checks the air bag's electrical system for
malfunctions. The light tells you if there is an electrical
problem. The system check includes the air bag
modules, the wiring and the diagnostic module. For
more information on the air bag system, see
Air
Bag System on page 1-39.
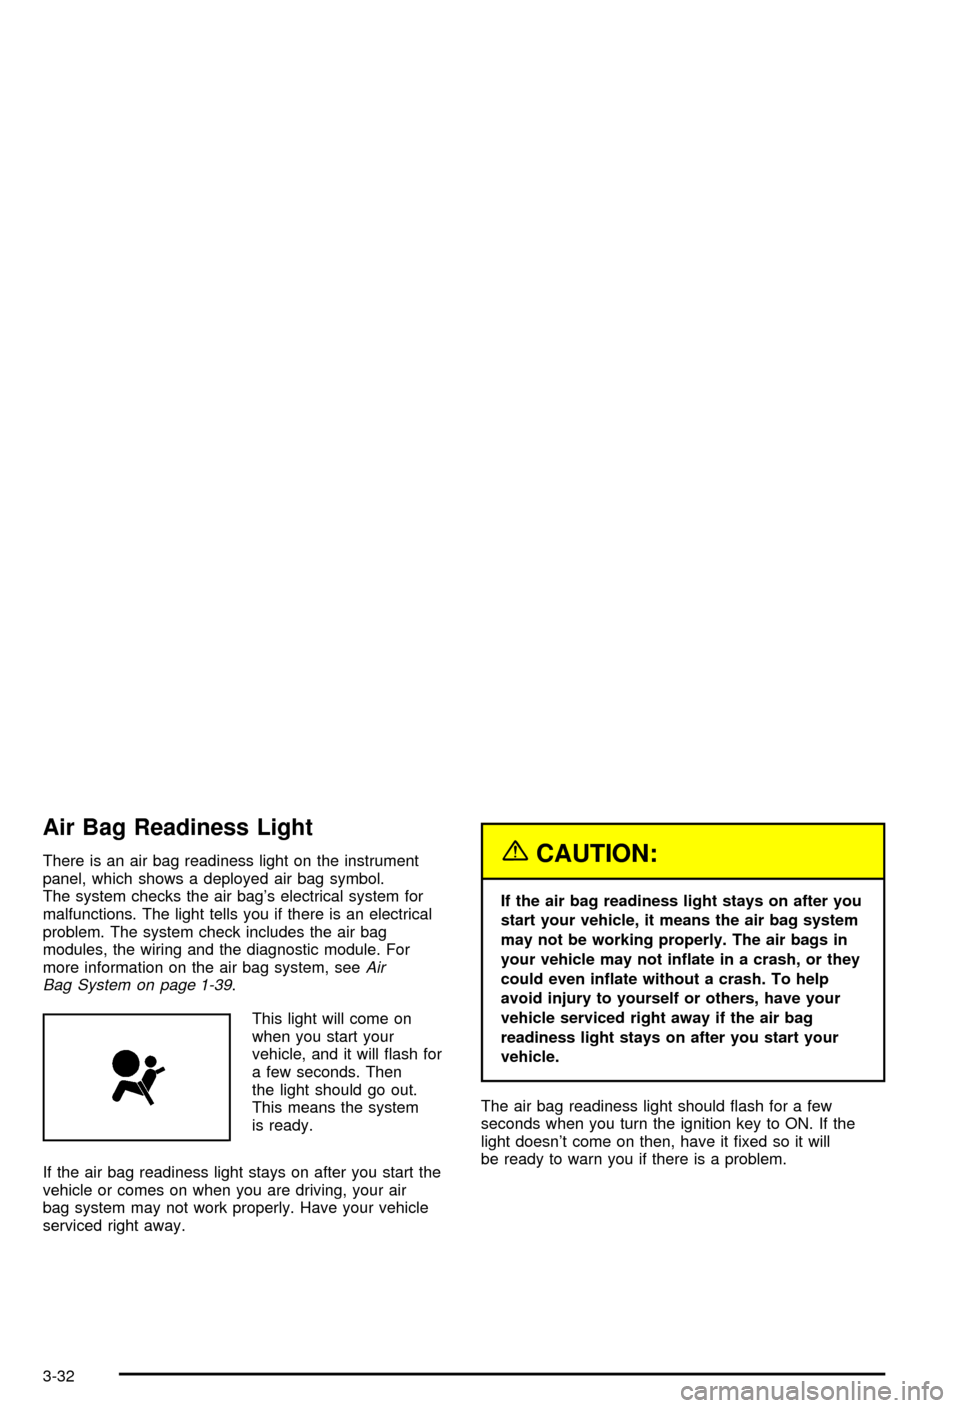
This light will come on
when you start your
vehicle, and it will ¯ash for
a few seconds. Then
the light should go out.
This means the system
is ready.
If the air bag readiness light stays on after you start the
vehicle or comes on when you are driving, your air
bag system may not work properly. Have your vehicle
serviced right away.
{CAUTION:
If the air bag readiness light stays on after you
start your vehicle, it means the air bag system
may not be working properly. The air bags in
your vehicle may not in¯ate in a crash, or they
could even in¯ate without a crash. To help
avoid injury to yourself or others, have your
vehicle serviced right away if the air bag
readiness light stays on after you start your
vehicle.
The air bag readiness light should ¯ash for a few
seconds when you turn the ignition key to ON. If the
light doesn't come on then, have it ®xed so it will
be ready to warn you if there is a problem.
3-32
Page 230 of 368

Appearance Care............................................5-75
Cleaning the Inside of Your Vehicle.................5-75
Care of Safety Belts......................................5-77
Weatherstrips...............................................5-77
Cleaning the Outside of Your Vehicle..............5-78
Finish Damage.............................................5-81
Magnesium Wheel Finish...............................5-81
Underbody Maintenance................................5-81
Titanium Exhaust System (Z06 Only)...............5-81
Fiberglass Springs........................................5-81
Chemical Paint Spotting.................................5-81
Vehicle Care/Appearance Materials..................5-82
Vehicle Identi®cation......................................5-83
Vehicle Identi®cation Number (VIN).................5-83
Service Parts Identi®cation Label.....................5-83Electrical System............................................5-84
Add-On Electrical Equipment..........................5-84
Accessory Power Plug...................................5-84
Headlamp Wiring..........................................5-85
Windshield Wiper Fuses................................5-85
Power Windows and Other Power Options.......5-85
Fuses and Circuit Breakers............................5-86
Capacities and Speci®cations..........................5-92
Capacities and Speci®cations.........................5-92
Normal Maintenance Replacement Parts..........5-94
Normal Maintenance Replacement Parts..........5-94
Section 5 Service and Appearance Care
5-2
Page 276 of 368

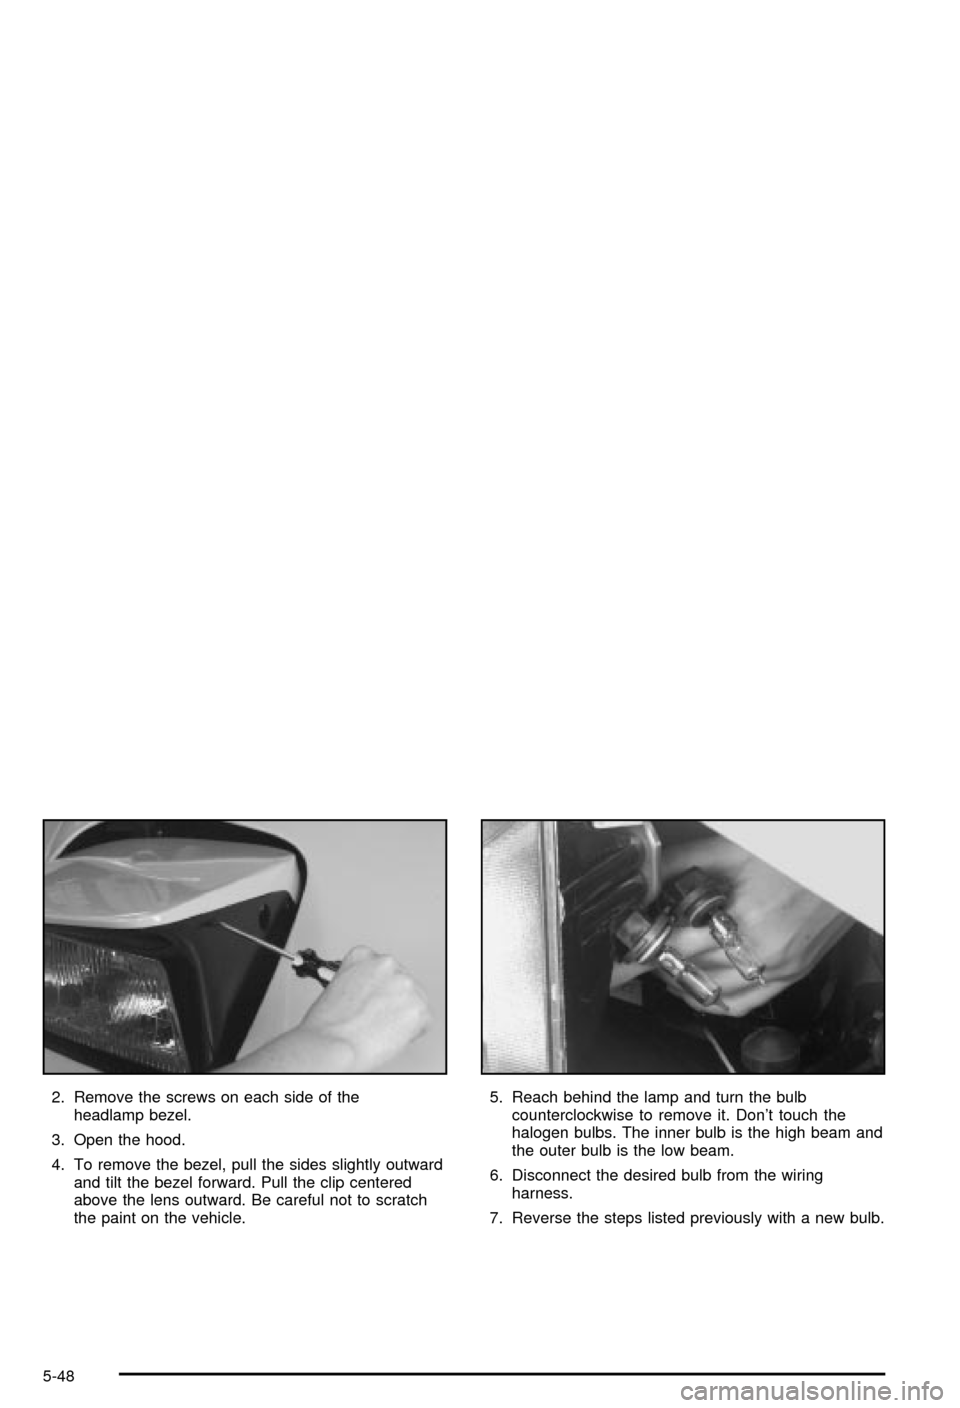
2. Remove the screws on each side of the
headlamp bezel.
3. Open the hood.
4. To remove the bezel, pull the sides slightly outward
and tilt the bezel forward. Pull the clip centered
above the lens outward. Be careful not to scratch
the paint on the vehicle.5. Reach behind the lamp and turn the bulb
counterclockwise to remove it. Don't touch the
halogen bulbs. The inner bulb is the high beam and
the outer bulb is the low beam.
6. Disconnect the desired bulb from the wiring
harness.
7. Reverse the steps listed previously with a new bulb.
5-48
Page 313 of 368

Notice:When using the accessory power plug:
·Do NOT splice wires directly into the vehicle
electrical wire harness. If done incorrectly,
spicing may cause damage to your electrical
system and would not be covered by the
vehicle's warranty.
·The maximum load of any electrical equipment
should not exceed 20 amps.
·Be sure to turn off any electrical equipment
when not in use. Leaving electrical equipment
on for extended periods of time can drain
your battery.
·DO NOT use this plug if the electrical equipment
requires frequent connecting and disconnecting.
This may cause excessive wear on the
accessory power plug and damage your
electrical system and the damage would not be
covered by your warranty.
Headlamp Wiring
The headlamp wiring is protected by a circuit breaker.
An electrical overload will cause the lamps to go on and
off, or in some cases to remain off. If this happens,
have your headlamp wiring checked right away.
Windshield Wiper Fuses
The windshield wiper motor is protected by a fuse and
an internal circuit breaker. If the motor overheats
due to heavy snow, etc., the wiper will stop until the
motor cools. If the overload is caused by some electrical
problem and not snow, etc., be sure to get it ®xed.
Power Windows and Other Power
Options
Circuit breakers protect the power seats and other
power accessories. When the current load is too heavy,
the circuit breaker opens and closes, protecting the
circuit until the problem is ®xed or goes away.
5-85
Page 314 of 368

Fuses and Circuit Breakers
The wiring circuits in your vehicle are protected from
short circuits by a combination of maxi-fuses, mini-fuses
and circuit breakers. This greatly reduces the chance
of ®res caused by electrical problems.
Look at the silver-colored band inside the fuse. If the
band is broken or melted, replace the fuse. Be sure you
replace a bad fuse with a new one of the identical
size and rating.
If you ever have a problem on the road and don't have
a spare fuse, you can borrow one that has the same
amperage. Just pick some feature of your vehicle
that you can get along without ± like the radio or
cigarette lighter ± and use its fuse, if it is the correct
amperage. Replace it as soon as you can.
Instrument Panel Fuse Block
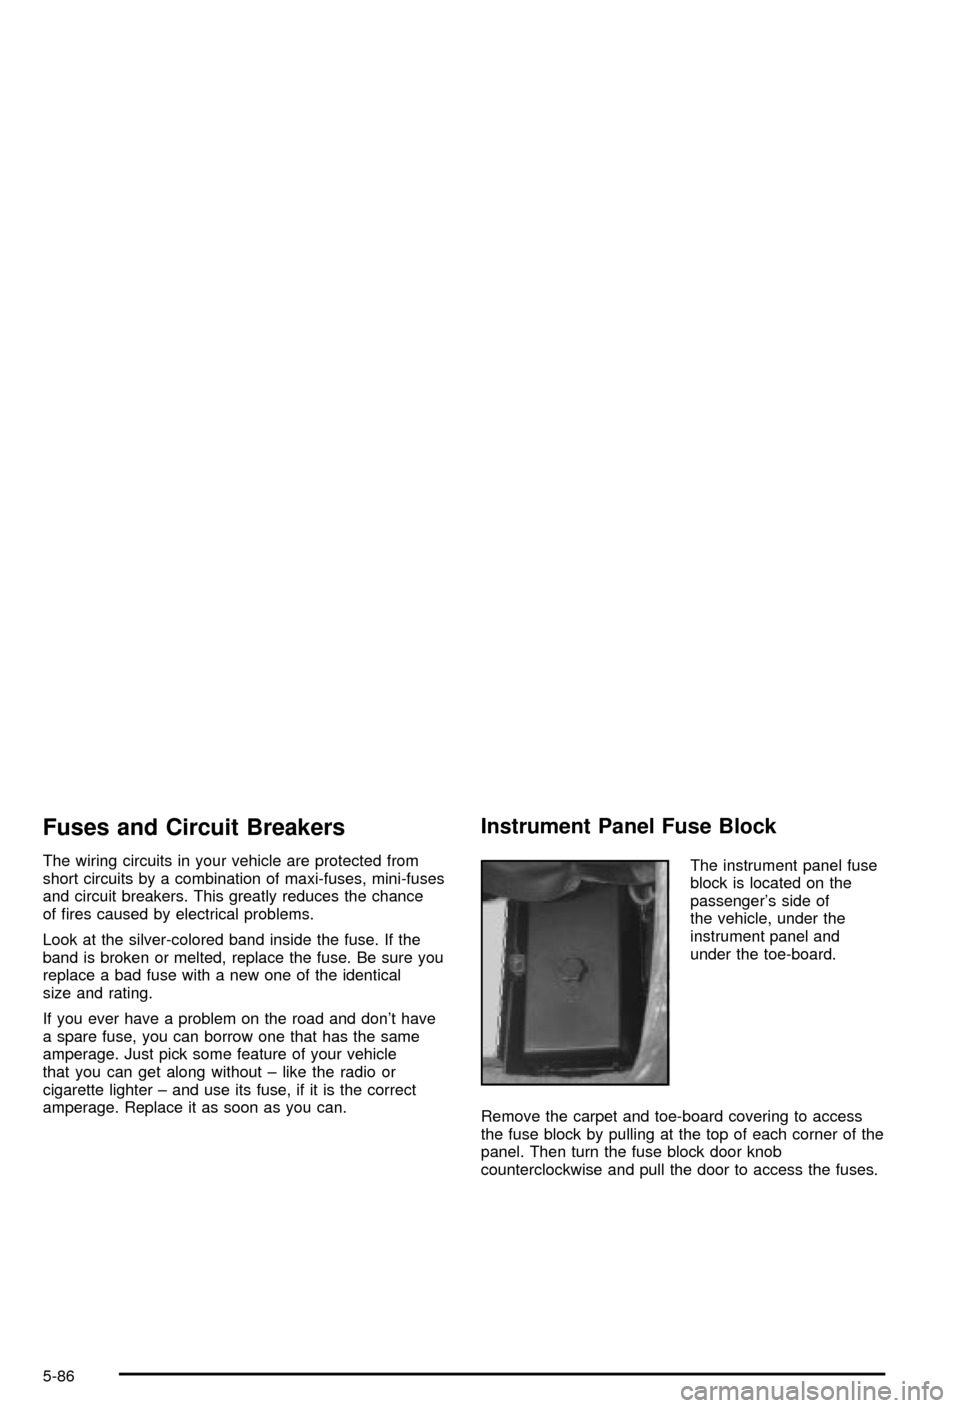
The instrument panel fuse
block is located on the
passenger's side of
the vehicle, under the
instrument panel and
under the toe-board.
Remove the carpet and toe-board covering to access
the fuse block by pulling at the top of each corner of the
panel. Then turn the fuse block door knob
counterclockwise and pull the door to access the fuses.
5-86
Page 358 of 368

Customer Assistance Information........................ 7-7
Courtesy Transportation.................................. 7-7
Customer Assistance for Text Telephone
(TTY) Users.............................................. 7-4
Customer Assistance Offices........................... 7-4
Customer Satisfaction Procedure..................... 7-2
GM Mobility Program for Persons with
Disabilities................................................ 7-5
Reporting Safety Defects to General Motors....7-10
Reporting Safety Defects to the Canadian
Government............................................7-10
Reporting Safety Defects to the United States
Government.............................................. 7-9
Roadside Assistance Program......................... 7-6
Service Publications Ordering Information........7-10
D
Daytime Running Lamps..................................3-13
Defensive Driving............................................. 4-2
Defogging and Defrosting.................................3-27
Disabling the Theft-Deterrent Feature.................3-77
Disarming the System.....................................2-17
Doing Your Own Service Work........................... 5-3
Door............................................................... 2-9
Locks.......................................................... 2-9
Power Door Locks.......................................2-10
Downshifting (Manual Transmission)..................2-29Driver Information Center (DIC).........................3-44
DIC Controls and Displays............................3-45
DIC Warnings and Messages........................3-53
Other Messages..........................................3-61
Driver............................................................1-13
Position, Safety Belt.....................................1-13
Driving On Snow or Ice...................................4-28
Driving Through Deep Standing Water...............4-21
Driving Through Flowing Water.........................4-21
Driving..........................................................4-18
At Night.....................................................4-18
City...........................................................4-22
Defensive..................................................... 4-2
Drunken....................................................... 4-2
Freeway.....................................................4-23
Hill and Mountain Roads..............................4-25
In Rain and on Wet Roads...........................4-19
Winter........................................................4-27
Dual Automatic Climate Control System.............3-22
E
Electrical System............................................5-84
Accessory Power Plug.................................5-84
Add-On Equipment......................................5-84
Fuses and Circuit Breakers...........................5-86
Headlamp Wiring.........................................5-85
4