Page 67 of 368

Hatch/Trunk
{CAUTION:
It can be dangerous to drive with the hatch/
trunk lid open because carbon monoxide (CO)
gas can come into your vehicle. You can't see
or smell CO. It can cause unconsciousness
and even death. If you must drive with the
hatch/trunk lid open or if electrical wiring or
other cable connections must pass through
the seal between the body and the hatch/trunk
lid:
·Make sure all other windows are shut.
·Turn the fan on your heating or cooling
system to its highest speed and select the
control setting that will force outside air
into your vehicle. See ªClimate Control
Systemº in the Index.
·If you have air outlets on or under the
instrument panel, open them all the way.
See ªEngine Exhaustº in the Index.
Notice:If you put things in the hatch/trunk area, be
sure they won't break the glass when you close
it. Never slam the hatch/trunk lid down. You could
break the glass or damage the defogger grid.
When you close the hatch/trunk lid, make sure you
pull down from the center, not the sides. If you
pull the hatch/trunk lid down from the side too often,
the weatherstrip can be damaged.
Notice:Do not store heavy or sharp objects in the
rear storage compartments located in the
hatch/trunk area. If you do, the objects could
damage the underbody.
2-11
Page 68 of 368
Hatch/Trunk Lid Release
To use the hatch/trunk lid release on vehicles with an
automatic transmission, your vehicle must be in
PARK (P) or NEUTRAL (N). For manual transmissions,
set the parking brake. See
Parking Brake on page 2-30.
Press the button with the trunk symbol on it, located
at the left side of the steering column on the instrument
panel, to release the hatch/trunk lid from inside your
vehicle.The remote keyless entry transmitter will also release
the hatch/trunk lid. See
Remote Keyless Entry System
on page 2-4.
If your vehicle is equipped with a hatch and you have
lost battery power, use the manual release cables
to open the hatch. To access the cables, remove the
two access panels located in the rear of the trunk area.
There is one cable located under each access panel.
See
Rear Storage Area on page 2-41for more
information.
Pull each cable straight down for each latch to release
the hatch.
2-12
Page 76 of 368

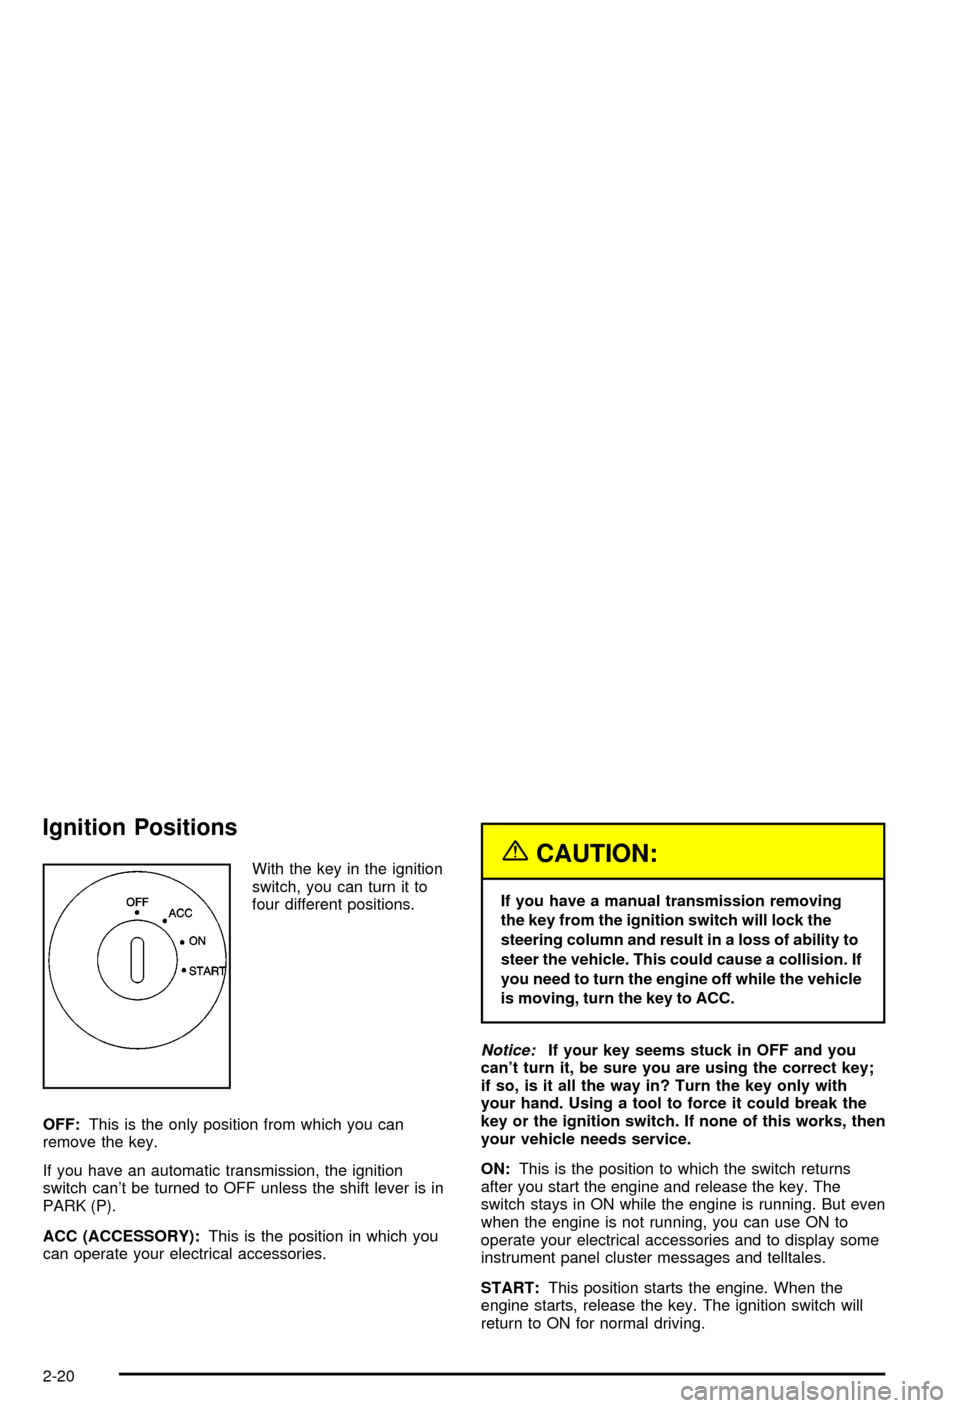
Ignition Positions
With the key in the ignition
switch, you can turn it to
four different positions.
OFF:This is the only position from which you can
remove the key.
If you have an automatic transmission, the ignition
switch can't be turned to OFF unless the shift lever is in
PARK (P).
ACC (ACCESSORY):This is the position in which you
can operate your electrical accessories.{CAUTION:
If you have a manual transmission removing
the key from the ignition switch will lock the
steering column and result in a loss of ability to
steer the vehicle. This could cause a collision. If
you need to turn the engine off while the vehicle
is moving, turn the key to ACC.
Notice:If your key seems stuck in OFF and you
can't turn it, be sure you are using the correct key;
if so, is it all the way in? Turn the key only with
your hand. Using a tool to force it could break the
key or the ignition switch. If none of this works, then
your vehicle needs service.
ON:This is the position to which the switch returns
after you start the engine and release the key. The
switch stays in ON while the engine is running. But even
when the engine is not running, you can use ON to
operate your electrical accessories and to display some
instrument panel cluster messages and telltales.
START:This position starts the engine. When the
engine starts, release the key. The ignition switch will
return to ON for normal driving.
2-20
Page 113 of 368

Instrument Panel Overview...............................3-2
Hazard Warning Flashers................................3-4
Other Warning Devices...................................3-4
Horn.............................................................3-5
Tilt Wheel.....................................................3-5
Turn Signal/Multifunction Lever.........................3-6
Exterior Lamps.............................................3-12
Interior Lamps..............................................3-15
Head-Up Display (HUD).................................3-17
Accessory Power Outlets...............................3-20
Ashtrays and Cigarette Lighter........................3-21
Climate Controls............................................3-22
Dual Automatic Climate Control System...........3-22
Outlet Adjustment.........................................3-28
Warning Lights, Gages and Indicators.............3-29
Instrument Panel Cluster................................3-30
Speedometer and Odometer...........................3-31
Tachometer.................................................3-31
Safety Belt Reminder Light.............................3-31
Air Bag Readiness Light................................3-32
Air Bag Off Light..........................................3-33
Voltmeter Gage............................................3-34
Brake System Warning Light..........................3-35
Anti-Lock Brake System Warning Light.............3-36
Traction Control System (TCS) Warning Light . . .3-36Active Handling System Light.........................3-37
Engine Coolant Temperature Gage..................3-38
Malfunction Indicator Lamp.............................3-38
Engine Oil Pressure Gage.............................3-41
Security Light...............................................3-42
Check Gages Warning Light...........................3-42
Fuel Gage...................................................3-42
Driver Information Center (DIC).......................3-44
DIC Controls and Displays.............................3-45
DIC Warnings and Messages.........................3-53
Other Messages...........................................3-61
Audio System(s).............................................3-62
Setting the Time...........................................3-62
Radio with Cassette......................................3-63
Radio with CD..............................................3-67
Trunk-Mounted CD Changer...........................3-71
Theft-Deterrent Feature..................................3-75
Understanding Radio Reception......................3-77
Care of Your Cassette Tape Player.................3-78
Care of Your CDs.........................................3-79
Care of Your CD Player................................3-79
Fixed Mast Antenna (Z06)..............................3-79
Power Antenna Mast Care (Convertible)...........3-79
Integrated Windshield and Rear Window
Antennas (Coupe).....................................3-80
Section 3 Instrument Panel
3-1
Page 114 of 368
Instrument Panel Overview
3-2
Page 115 of 368

The main components of your instrument panel are the
following:
A. Instrument Panel Brightness Control
B. Head-Up Display Controls
C. Turn Signal/Multifunction Lever
D. Driver Information Center (DIC) (Located in the
Instrument Cluster)
E. Instrument Panel Cluster
F. Windshield Wiper/Washer Lever
G. Driver Information Center (DIC) Buttons
H. Hazard Warning Flasher Button
I. Center Air Outlets
J. Audio System
K. Climate Controls
L. Fog Lamp Button
M. Remote Hatch Release Button (Coupe) or Remote
Trunk Release Button (Convertible/Z06)N. Ignition Switch
O. Shift Lever (Automatic Shown)
P. Active Handling Button
Q. Accessory Power Outlet (Located in the Center
Console)
R. Selective Ride Control Switch
S. Air Bag Off Light
T. Instrument Panel Cupholder
U. Remote Fuel Door Release Button (Located in the
Center Console)
V. Ashtray and Cigarette Lighter
W. Parking Brake
X. Glove Box
Y. Instrument Panel Fuse Block (Located Behind the
Toe-Board)
Z. Air Bag Off Switch (Located in Glove Box)
3-3
Page 116 of 368
Hazard Warning Flashers
Your hazard warning ¯ashers let you warn others. They
also let police know you have a problem. Your front
and rear turn signal lamps will ¯ash on and off.The hazard warning
¯asher button is located on
the instrument panel
above the audio system.
Your hazard warning ¯ashers work no matter what
position your key is in, and even if the key isn't in the
ignition.
Press the button to make the front and rear turn signal
lamps ¯ash on and off. Press the button again to
turn the ¯ashers off.
When the hazard warning ¯ashers are on, your turn
signals won't work.
Other Warning Devices
If you carry re¯ective triangles, you can set one up at
the side of the road about 300 feet (100 m) behind your
vehicle.
3-4
Page 117 of 368

Horn
To sound the horn, press either horn symbol on the
steering wheel.
Tilt Wheel
A tilt wheel allows you to adjust the steering wheel
before you drive. You can raise it to the highest level to
give your legs more room when you exit and enter
the vehicle.
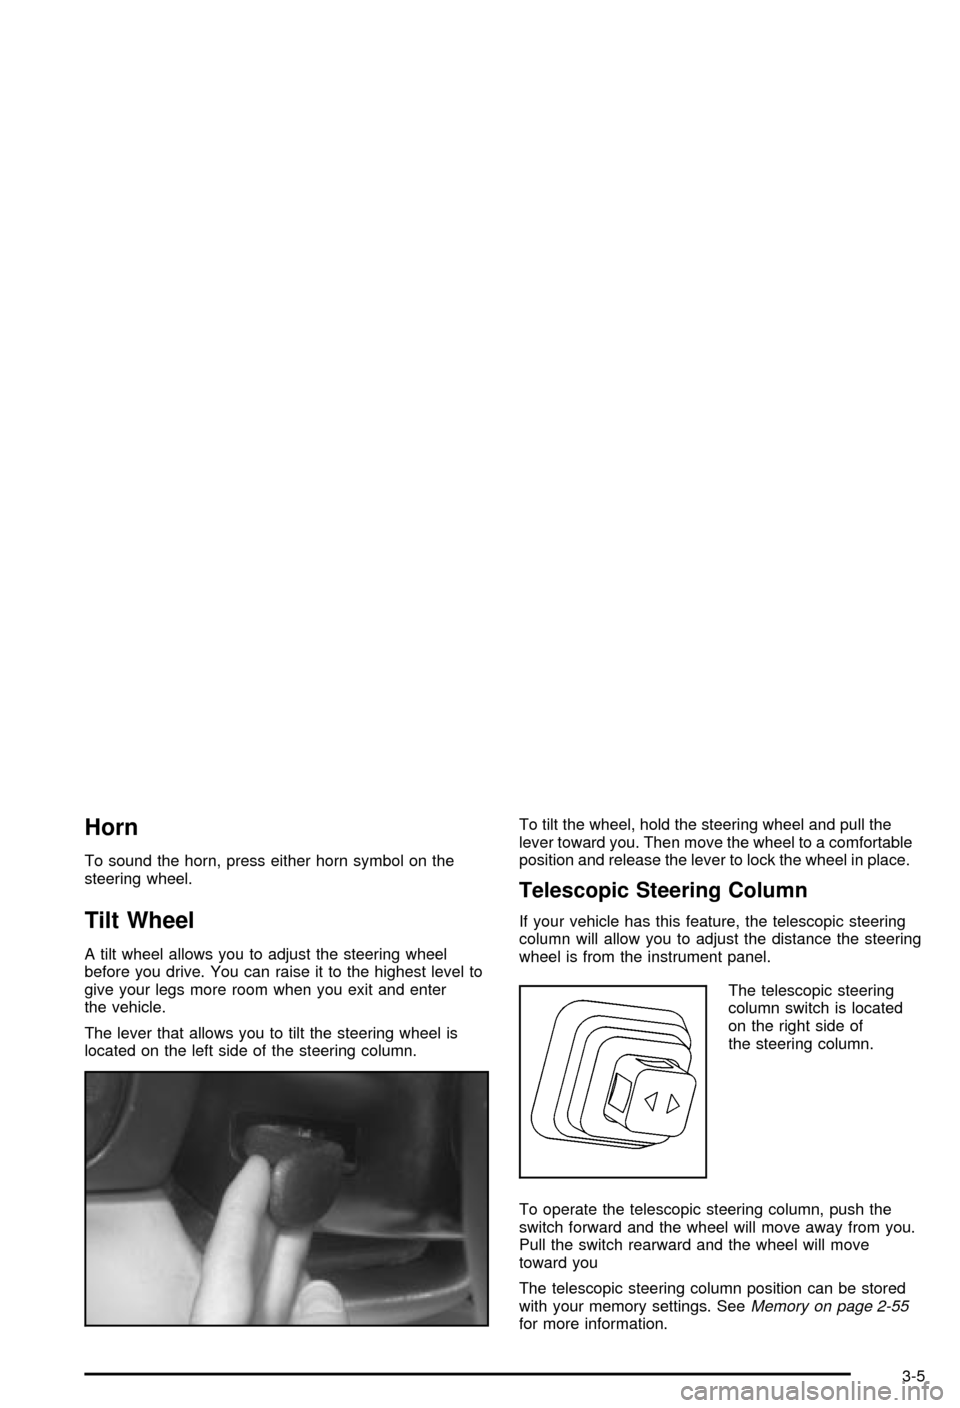
The lever that allows you to tilt the steering wheel is
located on the left side of the steering column.To tilt the wheel, hold the steering wheel and pull the
lever toward you. Then move the wheel to a comfortable
position and release the lever to lock the wheel in place.
Telescopic Steering Column
If your vehicle has this feature, the telescopic steering
column will allow you to adjust the distance the steering
wheel is from the instrument panel.
The telescopic steering
column switch is located
on the right side of
the steering column.
To operate the telescopic steering column, push the
switch forward and the wheel will move away from you.
Pull the switch rearward and the wheel will move
toward you
The telescopic steering column position can be stored
with your memory settings. See
Memory on page 2-55for more information.
3-5