Page 212 of 492

Automatic Unlocking
Press the personalization button until AUTOMATIC
UNLOCKING appears in the display. To select
your personalization for automatic unlocking, press the
select button while AUTOMATIC UNLOCKING is
displayed on the DIC. Pressing the select button will
scroll through the following choices:
UNLOCK ALL IN PARK (default):All of the doors will
unlock when the vehicle is shifted into PARK (P).
UNLOCK ALL AT KEY OUT:All of the doors will
unlock when the key is taken out of the ignition.
UNLOCK DOORS MANUALLY:The doors will not be
unlocked automatically.
UNLOCK DRIVER IN PARK:The driver's door will be
unlocked when the vehicle is shifted into PARK (P).
Choose one of the four options and press the
personalization button while it is displayed on the DIC to
select it and move on to the next feature. For more
information on automatic door locks see
Programmable
Automatic Door Locks on page 2-8.
Delayed Locking
If your DIC does not have this feature, you can still
program the delayed locking feature. SeeDelayed
Locking on page 2-8for more information.When locking the doors with the power lock switch or
the keyless entry transmitter and a door or the liftgate is
open, the delayed locking feature will delay locking
the doors and tailgate until ®ve seconds after the last
door is closed.
Press the personalization button until DELAYED
LOCKING appears in the display. To select your
personalization for delayed locking, press the select
button while DELAYED LOCKING is displayed on the
DIC. Pressing the select button will scroll through
the following choices:
DELAYED LOCKING ON:The doors will not lock until
®ve seconds after the last door or the liftgate is
closed. You will hear three chimes to signal that the
delayed locking feature is in use. You can temporarily
override delayed locking by pressing the lock button
on the door or keyless entry transmitter a second time.
DELAYED LOCKING OFF:The doors will lock
immediately when pressing the power lock switch or the
lock button on the keyless entry transmitter.
Choose one of the two options and press the
personalization button while it is displayed on the DIC to
select it and move on to the next feature. For more
information on automatic door locks see
Programmable
Automatic Door Locks on page 2-8.
This feature will not operate if the key is in the ignition.
3-52
Page 314 of 492

{CAUTION:
Shifting the transfer case to NEUTRAL can
cause your vehicle to roll even if the
transmission is in PARK (P). You or someone
else could be seriously injured. Be sure to set
the parking brake before placing the transfer
case in NEUTRAL. See ªParking Brakeº in the
Index.
4. Shift the transfer case to NEUTRAL (N). See
Four-Wheel Drive on page 2-34for the proper
procedure to select the neutral position for your
vehicle.
5. Release the parking brake only after the vehicle
being towed is ®rmly attached to the towing
vehicle.
6. When the vehicle is properly attached to the tow
vehicle and is ready to be towed, turn the ignition
to LOCK.
Loading Your Vehicle
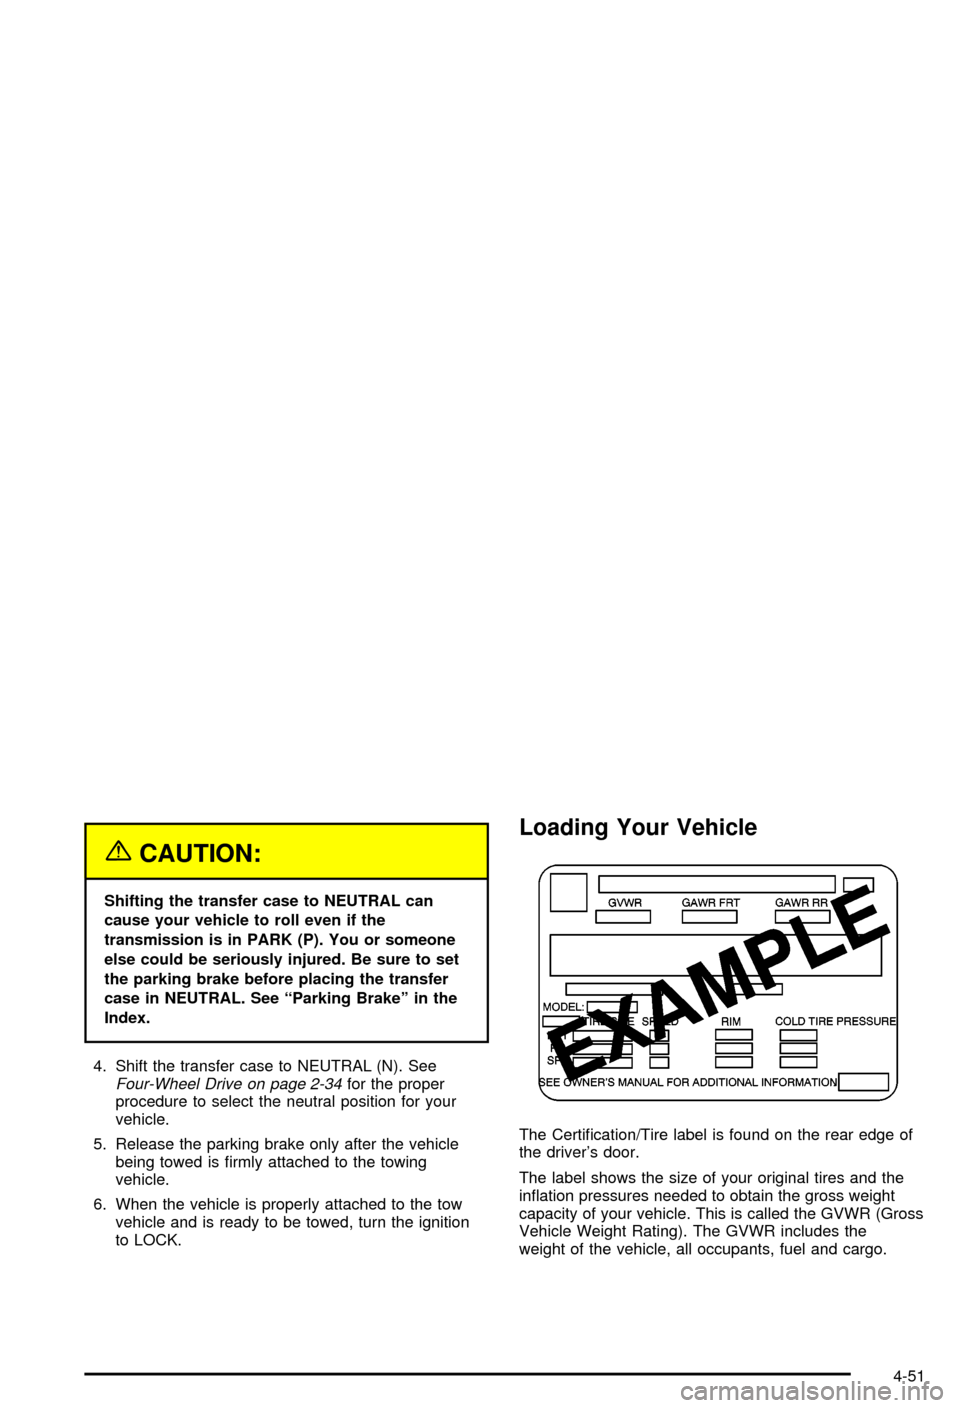
The Certi®cation/Tire label is found on the rear edge of
the driver's door.
The label shows the size of your original tires and the
in¯ation pressures needed to obtain the gross weight
capacity of your vehicle. This is called the GVWR (Gross
Vehicle Weight Rating). The GVWR includes the
weight of the vehicle, all occupants, fuel and cargo.
4-51
Page 341 of 492
While refueling, hang the fuel cap by the tether using
the hook located on the inside of the ®ller door.
To remove the fuel cap, turn it slowly to the left
(counterclockwise).
{CAUTION:
If you get fuel on yourself and then something
ignites it, you could be badly burned. Fuel can
spray out on you if you open the fuel cap too
quickly. This spray can happen if your tank is
nearly full, and is more likely in hot weather.
Open the fuel cap slowly and wait for any
ªhissº noise to stop. Then unscrew the cap all
the way.
Be careful not to spill fuel. Clean fuel from painted
surfaces as soon as possible. See
Cleaning the Outside
of Your Vehicle on page 5-91.
5-8
Page 405 of 492
To remove the tools, do the following:
1. Open the top door on the passenger's side Top-Box
Storage unit. Use the ignition/door key to unlock it if
it is locked. See
Top-Box Storage on page 2-77for more information on the Top-Box Storage unit.
2. Remove the black pouch from the storage box.
You now have all of the tools you will need to
lower the spare tire and change a ¯at.
You'll use the jack handle extensions and the wheel
wrench to remove the underbody-mounted spare tire.A. Spare Tire (Valve Stem Pointed Down)
B. Hoist Assembly
C. Hoist Cable
D. Tire Retainer
E. Hoist Shaft
F. Hoist End of Extension Tool
G. Hoist Shaft Access Hole
H. Wheel Wrench
I. Jack Handle Extensions
J. Hoist Lock (If Equipped) Top Box Storage Unit (Passenger Side)
5-72
Page 430 of 492

Windshield Wiper Fuses
The windshield wiper motor is protected by an internal
circuit breaker and a fuse. If the motor overheats due to
heavy snow, etc., the wiper will stop until the motor
cools. If the overload is caused by some electrical
problem and not snow, etc., be sure to get it ®xed.
Power Windows and Other Power
Options
Circuit breakers protect the power windows and other
power accessories. When the current load is too heavy,
the circuit breaker opens and closes, protecting the
circuit until the problem is ®xed or goes away.
Fuses and Circuit Breakers
The wiring circuits in your vehicle are protected from
short circuits by a combination of fuses, circuit breakers
and fusible thermal links. This greatly reduces the
chance of ®res caused by electrical problems.
Look at the silver-colored band inside the fuse. If the
band is broken or melted, replace the fuse. Be sure you
replace a bad fuse with a new one of the identical
size and rating.If you ever have a problem on the road and don't have
a spare fuse, you can borrow one that has the same
amperage. Just pick some feature of your vehicle
that you can get along without ± like the radio or
cigarette lighter ± and use its fuse, if it is the correct
amperage. Replace it as soon as you can.
Instrument Panel Fuse Block
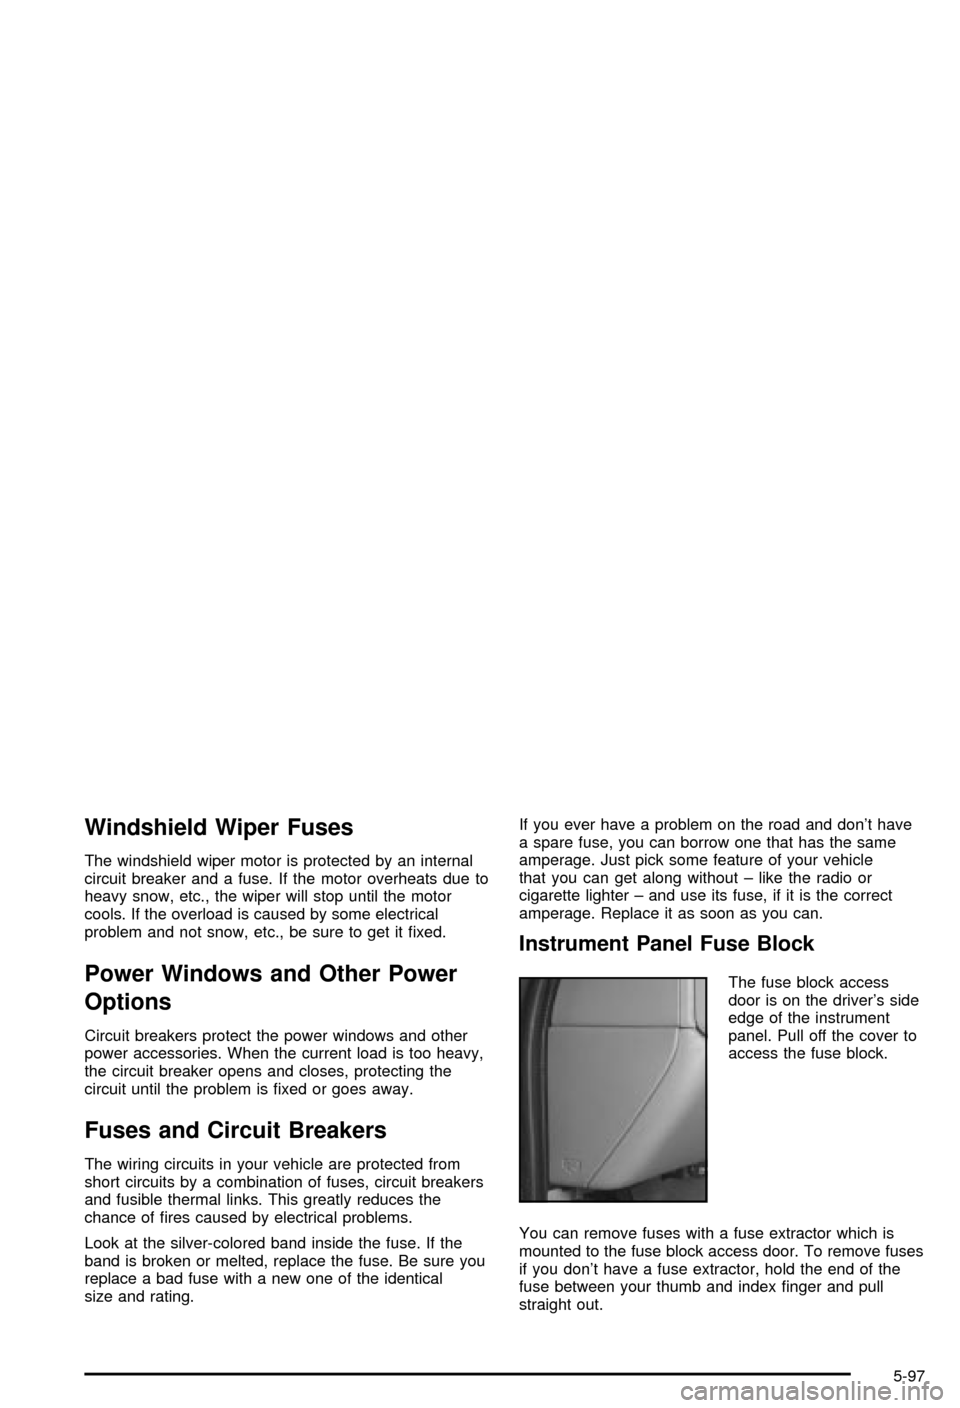
The fuse block access
door is on the driver's side
edge of the instrument
panel. Pull off the cover to
access the fuse block.
You can remove fuses with a fuse extractor which is
mounted to the fuse block access door. To remove fuses
if you don't have a fuse extractor, hold the end of the
fuse between your thumb and index ®nger and pull
straight out.
5-97
Page 431 of 492
You may have spare fuses located behind the fuse
block access door. These can be used to replace a bad
fuse. However, make sure it is of the correct amperage.
Your vehicle may not have all of the features or
fuses listed in this section.
Fuses Usage
RR Wiper Rear Window Wiper Switch
SEO ACCYSpecial Equipment Option
Accessory
Fuses Usage
WS WPR Windshield Wipers
TBC ACCYTruck Body Controller
Accessory
IGN 3 Ignition, Heated Seats
4WDFour-Wheel Drive System,
Auxiliary Battery
HTR A/C Climate Control System
LOCKPower Door Lock Relay
(Lock Function)
HVAC 1Inside Rearview Mirror,
Climate Control System
L DOORDriver's Door Harness
Connection
CRUISE Cruise Control
UNLOCKPower Door Lock Relay
(Unlock Function)
RR FOG LP Rear Fog Lamp (Export Only)
BRAKE Anti-Lock Brake System
DRIVER UNLOCKPower Door Lock Relay
(Driver's Door Unlock
Function)
5-98
Page 432 of 492
Fuses Usage
IGN 0 PCM, TCM
TBC IGN 0 Truck Body Controller
VEH CHMSLVehicle and Trailer High
Mounted Stoplamp
LT TRLR ST/TRN Left Turn Signal/Stop Trailer
LT TRNLeft Turn Signals and
Sidemarkers
VEH STOPVehicle Stoplamps, Brake
Module, Electronic Throttle
Control Module
RT TRLR ST/TRN Right Turn Signal/Stop Trailer
RT TRNRight Turn Signals and
Sidemarkers
BODY Harness Connector
DDM Driver Door ModuleFuses Usage
AUX PWR 2Rear Cargo Area Power
Outlets
LOCKS Power Door Lock System
ECCRear Electronic Climate
Control
TBC 2C Truck Body Controller
FLASH Flasher Module
CB LT DOORSLeft Power Window Circuit
Breaker
TBC 2B Truck Body Controller
TBC 2A Truck Body Controller
5-99
Page 433 of 492
Center Instrument Panel Fuse Block
The center instrument panel utility block is located
underneath the instrument panel, to the left of the
steering column.
Device Usage
SEO Special Equipment Option
TRAILER Trailer Brake Wiring
UPFIT Up®tter (Not Used)
Device Usage
SL RIDERide Control Harness
Connection
HDLR 2 Headliner Wiring Connector
BODY Body Wiring Connector
DEFOG Rear Defogger Relay
HDLNR 1 Headliner Wiring Connector 1
SPARE RELAY Not Used
CB SEATDriver and Passenger Seat
Module Circuit Breaker
CB RT DOORRight Power Window Circuit
Breaker
SPARE Not Used
INFOInfotainment Harness
Connection
5-100