2003 CHEVROLET AVALANCHE door lock
[x] Cancel search: door lockPage 129 of 492

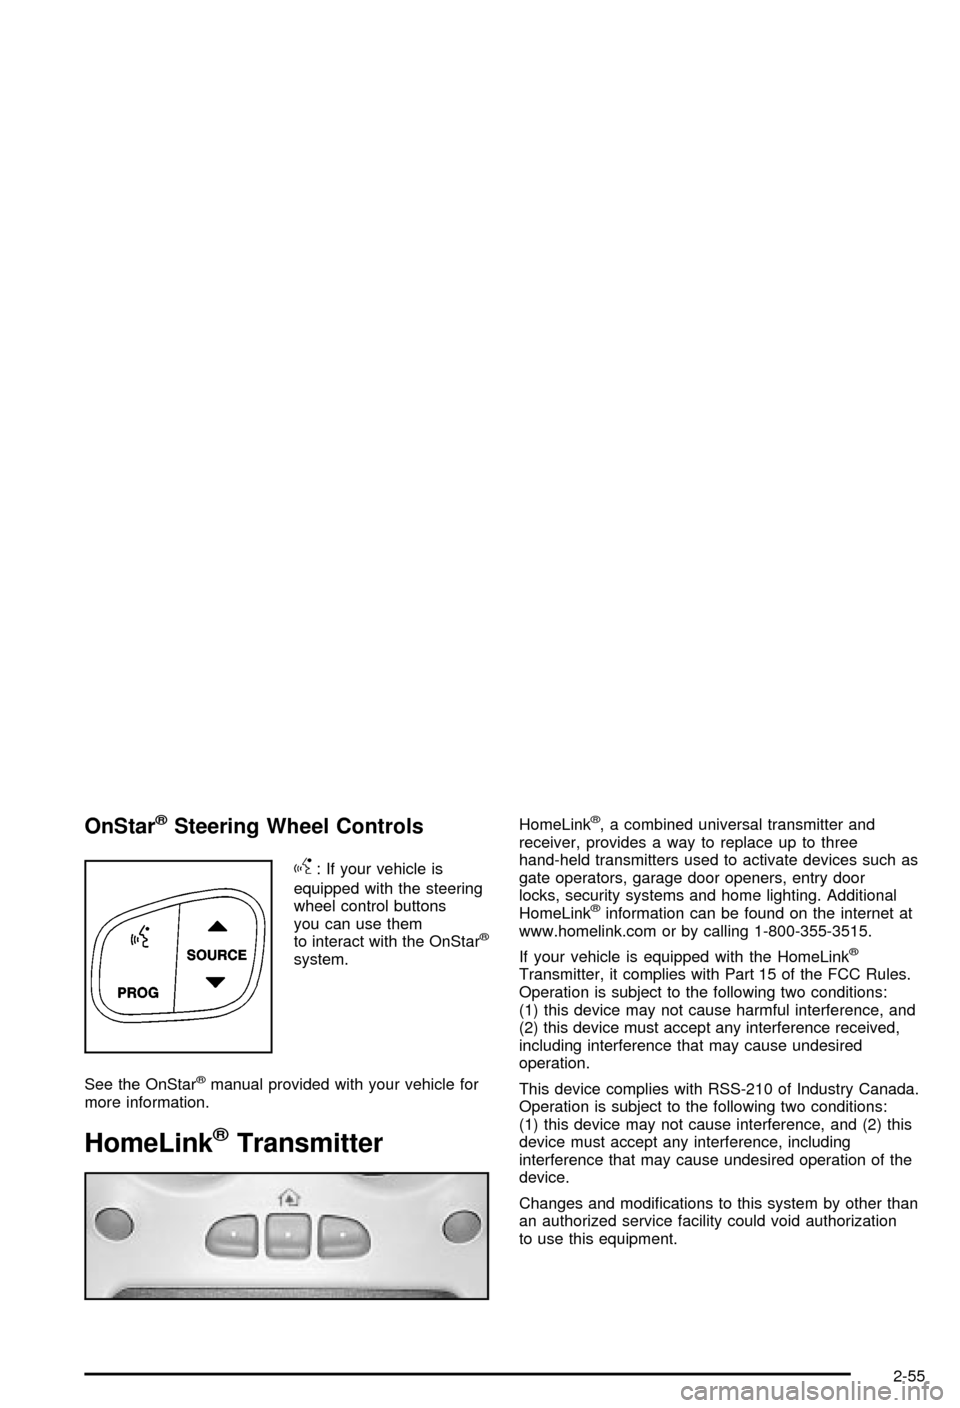
OnStaržSteering Wheel Controls
g
: If your vehicle is
equipped with the steering
wheel control buttons
you can use them
to interact with the OnStar
ž
system.
See the OnStar
žmanual provided with your vehicle for
more information.
HomeLinkžTransmitter
HomeLinkž, a combined universal transmitter and
receiver, provides a way to replace up to three
hand-held transmitters used to activate devices such as
gate operators, garage door openers, entry door
locks, security systems and home lighting. Additional
HomeLink
žinformation can be found on the internet at
www.homelink.com or by calling 1-800-355-3515.
If your vehicle is equipped with the HomeLink
ž
Transmitter, it complies with Part 15 of the FCC Rules.
Operation is subject to the following two conditions:
(1) this device may not cause harmful interference, and
(2) this device must accept any interference received,
including interference that may cause undesired
operation.
This device complies with RSS-210 of Industry Canada.
Operation is subject to the following two conditions:
(1) this device may not cause interference, and (2) this
device must accept any interference, including
interference that may cause undesired operation of the
device.
Changes and modi®cations to this system by other than
an authorized service facility could void authorization
to use this equipment.
2-55
Page 136 of 492

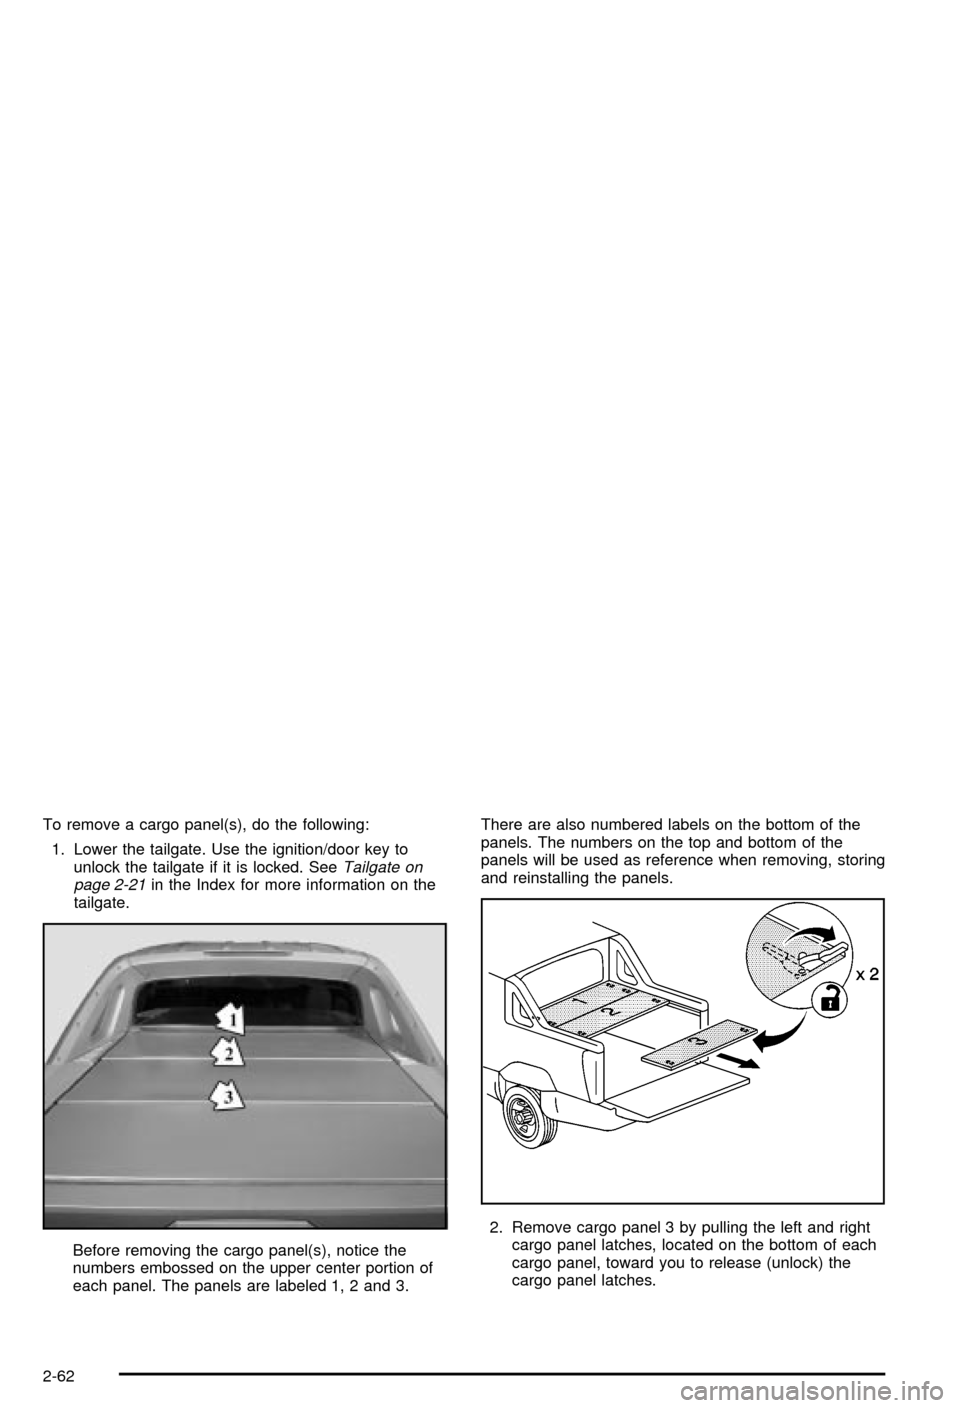
To remove a cargo panel(s), do the following:
1. Lower the tailgate. Use the ignition/door key to
unlock the tailgate if it is locked. See
Tailgate on
page 2-21in the Index for more information on the
tailgate.
Before removing the cargo panel(s), notice the
numbers embossed on the upper center portion of
each panel. The panels are labeled 1, 2 and 3.There are also numbered labels on the bottom of the
panels. The numbers on the top and bottom of the
panels will be used as reference when removing, storing
and reinstalling the panels.
2. Remove cargo panel 3 by pulling the left and right
cargo panel latches, located on the bottom of each
cargo panel, toward you to release (unlock) the
cargo panel latches.
2-62
Page 151 of 492

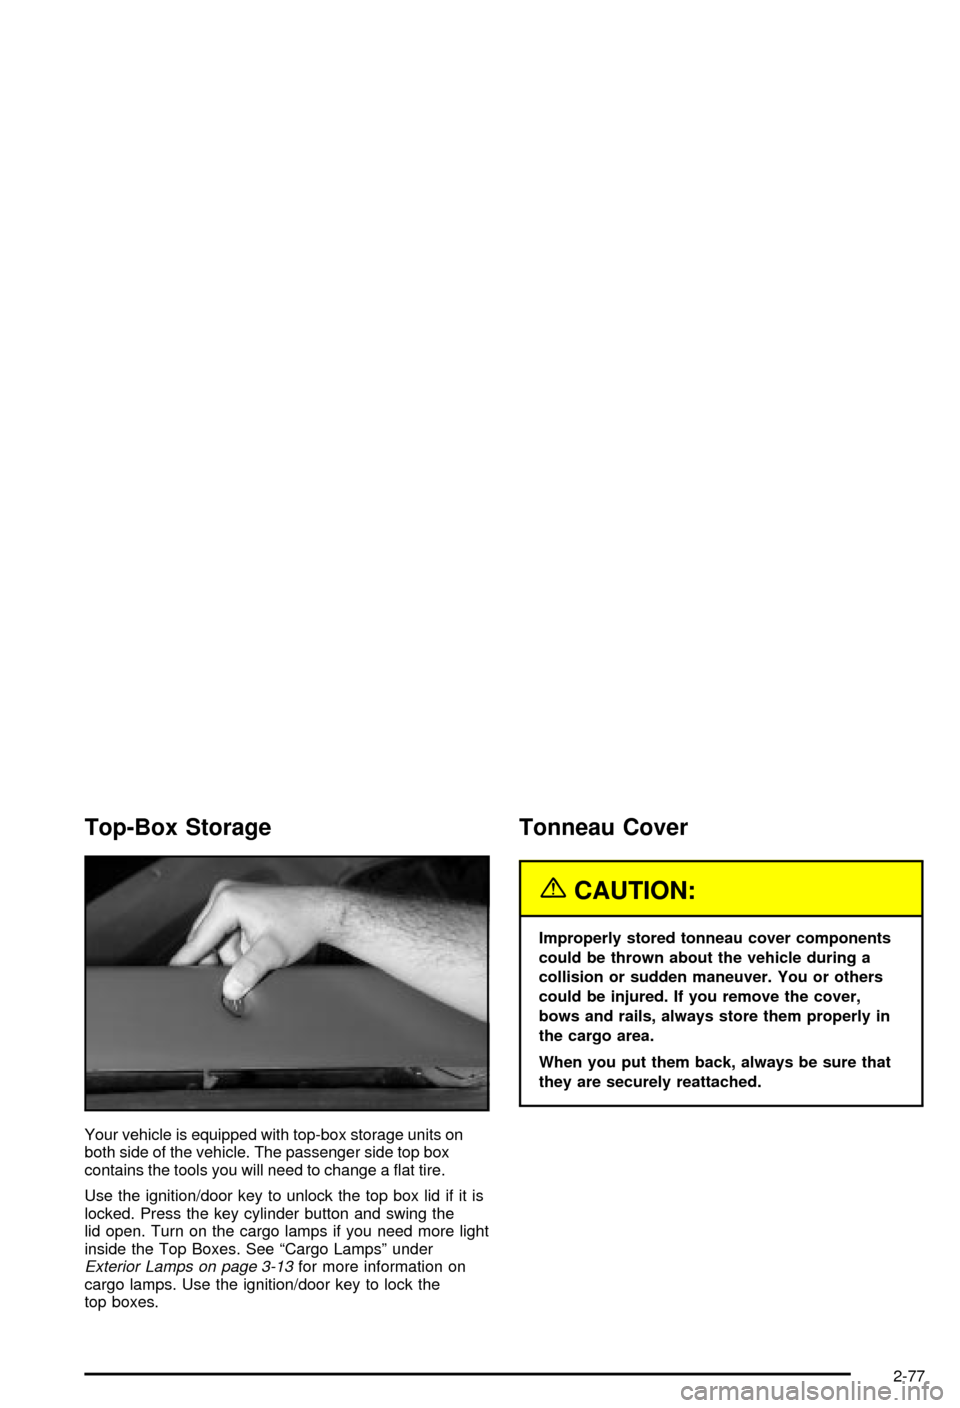
Top-Box Storage
Your vehicle is equipped with top-box storage units on
both side of the vehicle. The passenger side top box
contains the tools you will need to change a ¯at tire.
Use the ignition/door key to unlock the top box lid if it is
locked. Press the key cylinder button and swing the
lid open. Turn on the cargo lamps if you need more light
inside the Top Boxes. See ªCargo Lampsº under
Exterior Lamps on page 3-13for more information on
cargo lamps. Use the ignition/door key to lock the
top boxes.
Tonneau Cover
{CAUTION:
Improperly stored tonneau cover components
could be thrown about the vehicle during a
collision or sudden maneuver. You or others
could be injured. If you remove the cover,
bows and rails, always store them properly in
the cargo area.
When you put them back, always be sure that
they are securely reattached.
2-77
Page 160 of 492

If you use the unlock button on the remote keyless entry
transmitter to enter your vehicle, the preset driver's
seat, throttle and brake pedal, mirror positions and the
radio station presets will be recalled if programmed
to do so through the Driver Information Center (DIC).
See
DIC Operation and Displays on page 3-46.
The numbers on the back of the transmitters, 1 or 2,
correspond to the numbers on the memory controls.
The seat, throttle and brake pedals and mirror positions
can also be recalled when placing the key in the
ignition if programmed to do so through the Driver
Information Center (DIC). See
DIC Operation and
Displays on page 3-46.
To stop recall movement of the memory seat feature at
any time, press one of the memory buttons or power
seat controls.
Easy Exit Seat
The controls for this memory function are located on the
driver's door.
B(Easy Exit Seat):This button is used to program
and recall the desired driver's seat position when
exiting/entering the vehicle. The seat position, can be
personalized for both driver 1 and driver 2.To store the seat exit position for driver 1 or 2, do the
following:
1. Select the desired driver number by pressing and
releasing the 1 or 2 button or by pressing the
unlock button on the number 1 or 2 remote keyless
entry transmitter. The seat will move to the stored
memory position.
2. Adjust the seat to the desired exit position.
3. Press and hold the exit button of the memory
control for three seconds. A double chime will sound
to let you know that the position has been stored
for the identi®ed driver (1 or 2).
To use the seat exit position, do one of the following:
·Press the exit button on the memory control.
·Or, if this feature is enabled (active) in the DIC,
then removing the key from the ignition will
cause the seat to move to the exit position.
2-86
Page 174 of 492

Automatic Headlamp System
When it is dark enough outside and the headlamp
switch is in AUTO, your automatic headlamp system will
turn on your headlamps at the normal brightness
along with other lamps such as the taillamps,
sidemarker, parking lamps, roof marker lamps and the
instrument panel lights. The radio lights will also be dim.
To turn off the automatic headlamp system, turn the
exterior lamps switch to the off position and then
release.
Your vehicle has a light sensor located on the top of the
instrument panel. Be sure it is not covered, or the
system will be on whenever the ignition is on.
The system may also turn on your headlamps when
driving through a parking garage, heavy overcast
weather or a tunnel. This is normal.
There is a delay in the transition between the daytime
and nighttime operation of the Daytime Running
Lamps (DRL) and the automatic headlamp systems so
that driving under bridges or bright overhead street
lights does not affect the system. The DRL and
automatic headlamp system will only be affected when
the light sensor sees a change in lighting lasting
longer than the delay.If you start your vehicle in a dark garage, the automatic
headlamp system will come on immediately. Once
you leave the garage, it will take approximately
one minute for the automatic headlamp system to
change to DRL if it is light outside. During that delay,
your instrument panel cluster may not be as bright
as usual. Make sure your instrument panel brightness
control is in the full bright position. See ªInstrument
Panel Brightnessº under
Interior Lamps on page 3-17.
Lamps On Reminder
If a door is open, a reminder chime will sound when
your headlamps or parking lamps are manually turned
on and your key is out of the ignition. To turn off
the chime, turn the headlamp switch to off or AUTO and
then back on. In the automatic mode, the headlamps
turn off once the ignition is in LOCK and the headlamps
on at exit delay ends (if enabled in the DIC).
Daytime Running Lamps
Daytime Running Lamps (DRL) can make it easier for
others to see the front of your vehicle during the
day. DRL can be helpful in many different driving
conditions, but they can be especially helpful in the short
periods after dawn and before sunset. Fully functional
daytime running lamps are required on all vehicles
®rst sold in Canada.
3-14
Page 175 of 492

The DRL system will come on when the following
conditions are met:
·The ignition is on,
·the exterior lamps control is in AUTO,
·the transmission is not in PARK (P), and
·the light sensor determines it is daytime.
When the DRL are on, only your DRL lamps will be on.
The taillamps, sidemarker and other lamps won't be
on. The instrument panel won't be lit up either.
When it begins to get dark, the automatic headlamp
system will switch from DRL to the headlamps.
As with any vehicle, you should turn on the regular
headlamp system when you need it.
Puddle Lamps
Your vehicle may be equipped with puddle lamps to
help you see the area near the base of the front doors
when it is dark out. The puddle lamps will illuminate
when a door is opened or when you press the unlock
button on the keyless entry transmitter. The lamps
will time out or turn off once the engine is started.
You can program the puddle lamps not to come on if
you choose. See
Driver Information Center (DIC)
on page 3-46.
Fog Lamps
If your vehicle has fog lamps you can use them for
better vision in foggy or misty conditions. Your parking
lamps and/or low-beam headlamps must be on for
your fog lamps to work.
The fog lamp button is
located on the left side of
your instrument panel.
Press the button to turn the fog lamps on while the
headlamps or parking lamps are on. Press the button
again to turn them off. An indicator light will glow
near the button when the fog lamps are on.
Remember, fog lamps alone will not give off as much
light as your headlamps. Never use your fog lamps
in the dark without turning on the headlamps.
The fog lamps will go off whenever your high-beam
headlamps come on. When the high beams go off, the
fog lamps will come on again.
3-15
Page 189 of 492

Operation Tips
·
Keep the hood and front air inlets free of ice, snow,
or any other obstruction (such as leaves). The
heater and defroster will work far better, reducing
the chance of fogging the inside of your windows.
·Keep the air path under the front seats clear
of objects. This helps air to circulate throughout your
vehicle.
·Adding outside equipment to the front of your
vehicle, such as hood-air de¯ectors, etc., may affect
the performance of the heating and air conditioning
system. Check with your dealer before adding
equipment to the outside of your vehicle.
Climate Controls Personalization
If your vehicle is equipped with the electronic climate
control system, you can store and recall the climate
control settings for temperature, air delivery mode and
fan speed for two different drivers. The personal
choice settings recalled are determined by the
transmitter used to enter the vehicle.
After the button with the unlock symbol on a remote
keyless entry transmitter is pressed, the climate control
will adjust to the last settings of the identi®ed driver.
The settings can also be changed by pressing one of the
memory buttons (1 or 2) located on the driver's door.
When adjustments are made, the new settings are
automatically saved for that driver.
3-29
Page 211 of 492

The driver's preferences can be recalled by pressing the
unlock button on the remote keyless entry transmitter
labeled 1 or 2 or by pressing the appropriate memory
button 1 or 2 located on the driver's door.
Alarm Warning Type
Press the personalization button until ALARM
WARNING TYPE appears in the display. To select your
personalization for alarm warning type, press the
select button while ALARM WARNING TYPE is
displayed on the DIC. Pressing the select button will
scroll through the following choices:
ALARM WARNING: BOTH (default):The headlamps
will ¯ash and the horn will chirp when the alarm is
active.
ALARM WARNING: OFF:There will be no alarm
warning on activation.
ALARM WARNING: HORN:The horn will chirp when
the alarm is active.
ALARM WARNING: LAMPS:The headlamps will ¯ash
when the alarm is active.
Choose one of the four options and press the
personalization button while your choice is displayed on
the DIC to select it and move on to the next feature.
For more information on alarm warning type see
Content
Theft-Deterrent on page 2-25.
Automatic Locking
Press the personalization button until AUTOMATIC
LOCKING appears in the display. To select your
personalization for automatic locking, press the select
button while AUTOMATIC LOCKING is displayed on the
DIC. Pressing the select button will scroll through the
following choices:
LOCK DOORS MANUALLY:The doors will not be
locked automatically.
LOCK DOORS WITH SPEED:The doors will lock
when the vehicle speed is above 8 mph (13 km/h) for
three seconds.
LOCK DOORS OUT OF PARK (default):The doors
will lock when the vehicle is shifted out of PARK (P).
Choose one of the three options and press the
personalization button while it is displayed on the DIC to
select it and move on to the next feature. For more
information on automatic door locks see
Programmable
Automatic Door Locks on page 2-8.
3-51