2003 CHEVROLET ASTRO light
[x] Cancel search: lightPage 2 of 386

The 2003 Chevrolet Astro Owner Manual
Seats and Restraint Systems ........................... I-!
Front Seats ............................................... 1-2
Rear Seats
............................................... 1-7
Safety Belts
............................................. 1-13
Child Restraints
....................................... 1-35
Air Bag System
....................................... 1-62
Restraint System Check
............................ 1-71
Keys
........................................................ 2-2
Doors and Locks
....................................... 2-7
Windows
................................................. 2-1 6
Theft-Deterrent Systems
............................ 2-1 8
Mirrors
.................................................... 2-32
HomeLink@ Transmitter
............................. 2-34
Features and Controls ..................................... 2-1
Starting and Operating Your Vehicle
........... 2-19
Storage Areas
Instrument Panel .
Instrument Panel
Climate Controls
......................................... 2-38
........................................... 3-1
Overview .......................... 3-2
...................................... 3-18
Warning Lights. Gages and Indicators
......... 3-23
Audio System(s)
....................................... 3-38
Driving Your Vehicle ....................................... 4-1
Your Driving, the Road, and Your Vehicle
........ 4-2
Towing
................................................... 4-29
Service and Appearance Care .......................... 5-1
Service ..................................................... 5-3
Fuel
......................................................... 5-5
All-Wheel Drive
........................................ 5-52
Rear Axle ............................................... 5-53
Front Axle
............................................... 5-54
Bulb Replacement
.................................... 5-55
Windshield Wiper Blade Replacement ......... 5-62
Tires
...................................................... 5-63
Appearance Care
..................................... 5-83
Vehicle Identification
................................. 5-91
Electrical System
...................................... 5-92
Capacities and Specifications
..................... 5-99
Normal Maintenance Replacement Parts
...... 5-1 01
Maintenance Schedule ..................................... 6-1
Maintenance Schedule
................................ 6-2
Customer Assistance Information .................... 7-1
Customer Assistance Information
.................. 7-2
Reporting Safety Defects ........................... 7-10
Checking Things Under
the Hood
............... 5-11
Index ................................................................ 1
Page 5 of 386
Vehicle Damage Warnings
Also, in this book you will find these notices:
Notice: These mean there is something that could
damage your vehicle.
A notice will tell you about something that can damage
your vehicle. Many times, this damage would not be
covered by your warranty, and it could be costly. But the
notice will tell you what to do to help avoid the damage.
When you read other manuals, you might see CAUTION
and NOTICE warnings in different colors or in different
words.
You’ll also see warning labels on your vehicle. They use
the same words, CAUTION or NOTICE.
Vehicle Symbols
Your vehicle has components and labels that use
symbols instead of text. Symbols, used on your vehicle,
are shown along with the text describing the operation
or information relating to a specific component, control,
message, gage or indicator.
If you need help figuring out a specific name of a
component, gage or indicator reference the following
topics:
Seats and Restraint Systems in Section 1
Features and Controls in Section 2
Instrument Panel Overview in Section 3
Climate Controls in Section 3
Warning Lights, Gages and Indicators in Section 3
Audio System(s) in Section 3
Engine Compartment Overview in Section 5
iv
Page 6 of 386
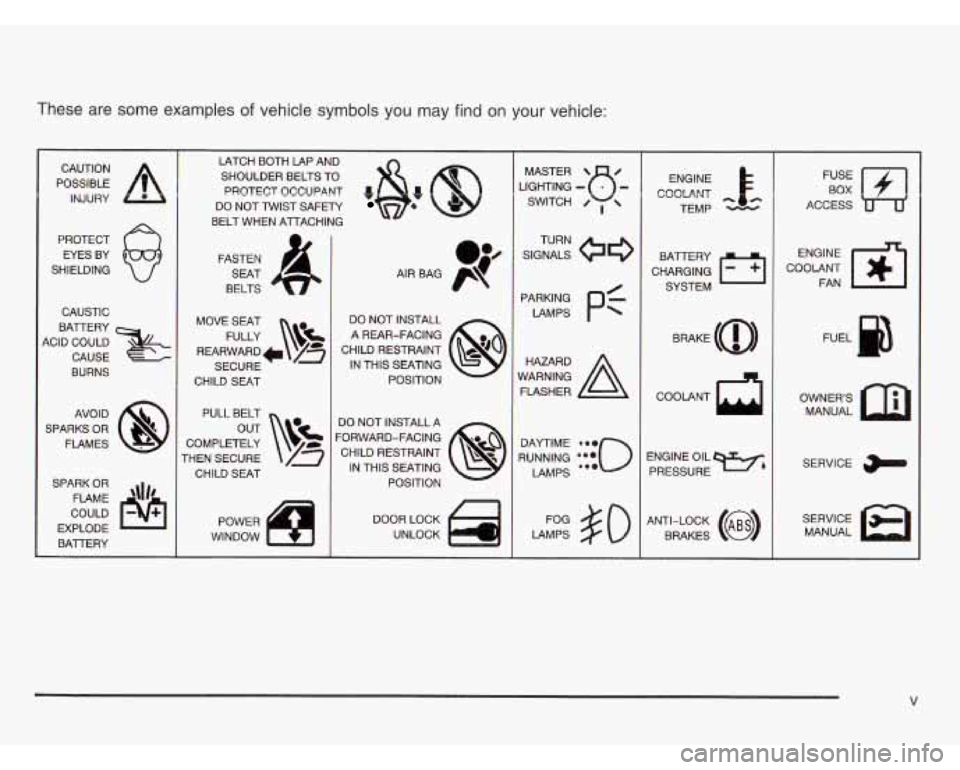
These are some examples of vehicle symbols you may find on your vehicle:
POSSIBLE A
CAUTION INJURY
PROTECT EYES BY
SHIELDING
CAUSTIC
BATTERY
KID COULD
CAUSE
BURNS
AVOID
SPARKS OR FLAMES
SPARK OR COULD
EXPLODE FLAME
\\I/'
BAlTERY I
LATCH BOTH LAP AND
SHOULDER BELTS TO
PROTECT OCCUPANT
*&: @
DO NOT TWIST SAFETY
BELT WHEN AlTACHING
FASTEN SEAT
BELTS
MOVE SEAT FULLY
\!$!
REARWARD /a
SECURE
CHILD
SEAT
PULL BELT
COMPLETELY
rHEN SECURE CHILD SEAT
POWER
WINDOW DO NOT INSTALL
A REAR-FACING
CHILD RESTRAINT IN THIS SEATING POSITION
DO NOT INSTALL A
'ORWARD-FACING CHILD RESTRAINT IN THIS SEATING POSITION
DOOR LOCK UNLOCK LIGHTING
- MASTER SWITCH u- 0 ,
SIGNALS
TURN
LAMPS
Pf
RUNNING ***o
DAYTIME 0.0
LAMPS ea.
LAMPS $0
ENGINE
COOLANT
cc
TEMP
CHARGING
I-1
BATTERY SYSTEM
BRAKE
(a)
ENGINE OIL PRESSURE
Wb
ANTI-LOCK (@)
BRAKES COOLANT
FAN
OWNERS MANUAL
SERVICE
MANUAL
V
Page 20 of 386
Safety Belts
Safety Belts: They Are for Everyone
This part of the manual tells you how to use safety
belts properly. It also tells you some things you should
r-+ do with safety belts.
Don’t let anyone ride where he or she can’t
wear a safety
belt properly. If you are in a
crash and you’re not wearing a safety belt,
your injuries can be much worse. You can
hit
things inside the vehicle or be ejected from it.
You can be seriously injured or killed. In the
same crash, you might not be, if you are
buckled up. Always fasten your safety belt,
and check that your passengers’ belts are
fastened properly too.
it is extremely dangerous to ride in a CN~G
area, inside or outside of a vehicle. In a
collision, people riding in these areas are more likely to be seriously injured or killed.
Do not
allow people to ride
in any area of your vehicle
that
is not equipped with seats and safety
belts. Be sure everyone
in your vehicle is in
a seat and using a safety belt properly.
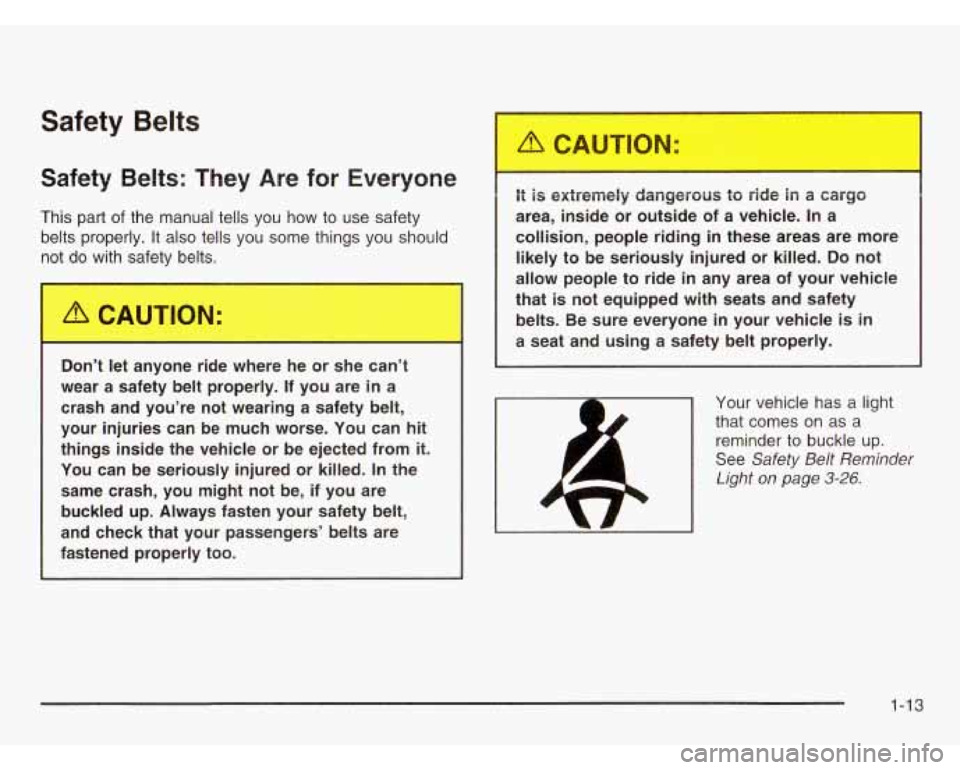
Your vehicle has a light
that comes
on as a
reminder to buckle up.
See
Safety Belt Reminder
Light on page 3-26.
1-13
Page 71 of 386
AIR
BAG
United States Canada
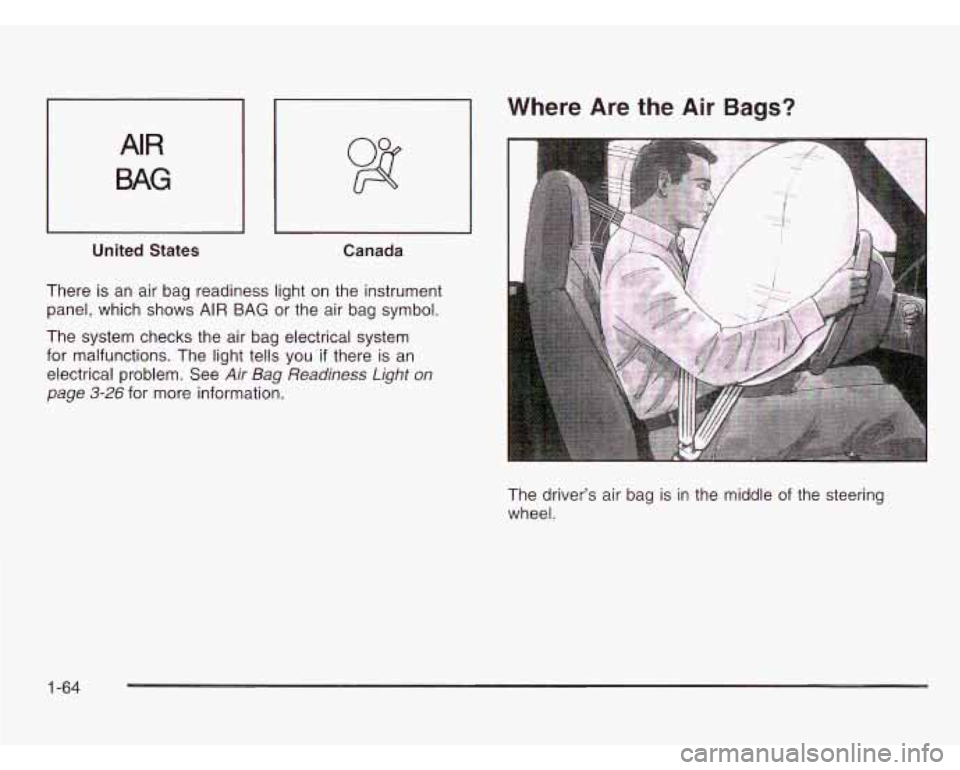
There is an air bag readiness light on the instrument
panel, which shows AIR BAG or the air bag symbol.
Where Are the Air Bags?
The system checks the air bag electrical system
for malfunctions. The light tells you
if there is an
electrical problem. See
Air Bag Readiness Light on
page
3-26 for more information.
The driver’s air bag is in the middle
of the steering
wheel.
1-64
Page 78 of 386
Restraint System Check
Checking Your Restraint Systems
Now and then, make sure the safety belt reminder light
and all your belts, buckles, latch plates, retractors
and anchorages are working properly. Look for any other
loose
or damaged safety belt system parts. If you see
anything that might keep a safety belt system from doing
its job, have it repaired.
Torn or frayed safety belts may not protect you in a
crash. They can rip apart under impact forces.
If a belt
is torn or frayed, get a new one right away.
Also look for any opened or broken air bag covers, and
have them repaired or replaced. (The air bag system
does not need regular maintenance.)
Replacing Restraint System Parts
After a Crash
A crash can damage the restraint systems in
your vehicle. A damaged restraint system
may not properly protect the person using
it,
resulting in serious injury or even death in a
crash.
To help make sure your restraint
systems are working properly after a crash, have them inspected and any necessary
replacements made as
soon as possible.
1-71
Page 84 of 386

Remote Keyless Entry System
Operation
If your vehicle has this feature, you can lock and unlock
your doors from about
3 feet (4 m) up to 30 feet (9 m)
away using the remote keyless entry transmitter supplied
with your vehicle.
UNLOCK: When you
press UNLOCK, the
driver’s door will unlock
automatically, the parking
lamps will flash and the
interior lights will go on.
If you press UNLOCK again within three seconds,
all doors will unlock.
LOCK: Press LOCK to lock all the doors. Press LOCK
again within three seconds and the horn will chirp.
REAR 2X: When you press the REAR button twice
within three seconds to unlock the rear hatch or cargo
doors, the parking lamps
will flash and the interior lights
will go on. If the engine is running, the automatic
transmission must be in PARK (P) or NEUTRAL (N) for
the REAR
2X button to operate.
& (Panic Alarm): When this button is pressed,
the horn will sound and the headlamps and taillamps
will flash for up to
30 seconds. This can be turned off by
pressing the panic button again, waiting for
30 seconds,
or starting the vehicle.
Matching Transmitter(s) to Your Vehicle
Each remote keyless entry transmitter is coded to
prevent another transmitter from unlocking your vehicle.
If a transmitter is lost or stolen, a replacement can
be purchased through your dealer. Remember to bring
any remaining transmitters with you when you go to
your dealer. When the dealer matches the replacement
transmitter to your vehicle, any remaining transmitters
must also be matched. Once your dealer has coded the
new transmitter, the lost transmitter will not unlock
your vehicle. Each vehicle can have a maximum of
four transmitters matched to
it.
2-5
Page 96 of 386
Power Windows
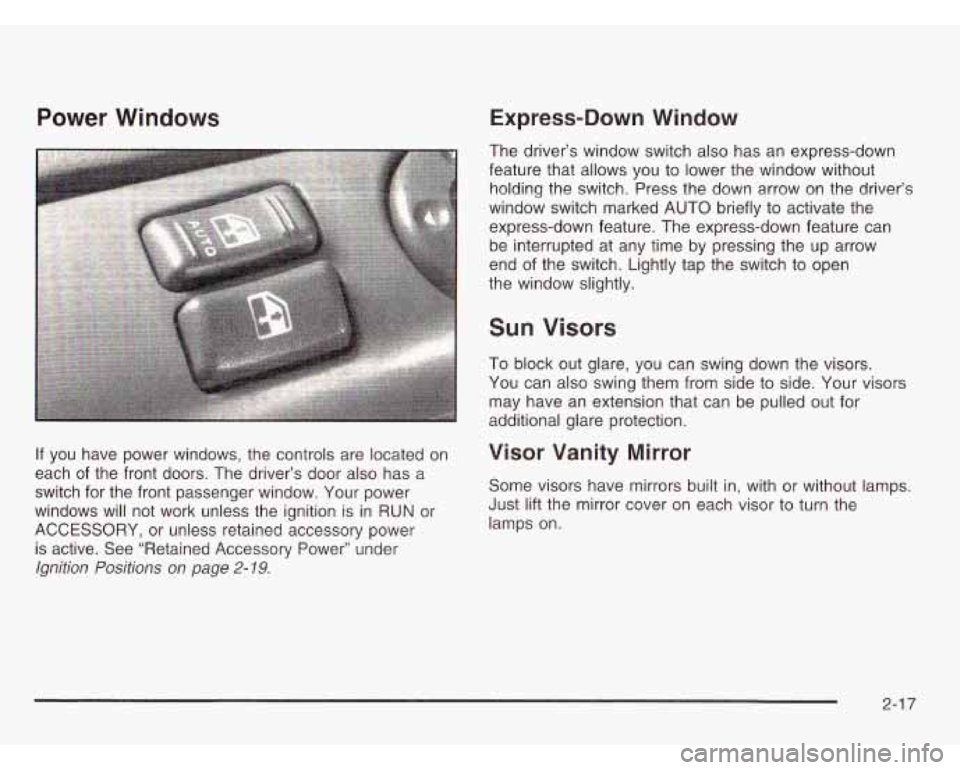
If you have power windows, the controls are located on
each of the front doors. The driver’s door also has a
switch for the front passenger window. Your power
windows will not work unless the ignition is in RUN or
ACCESSORY, or unless retained accessory power
is active. See “Retained Accessory Power” under
Ignition Positions on page 2-19.
Express-Down Window
The driver’s window switch also has an express-down
feature that allows you to lower the window without holding the switch. Press the down arrow on the driver’s
window switch marked AUTO briefly to activate the
express-down feature. The express-down feature can
be interrupted at any time by pressing the up arrow
end of the switch. Lightly tap the switch to open
the window slightly.
Sun Visors
To block out glare, you can swing down the visors.
You can also swing them from side to side. Your visors
may have an extension that can be pulled out for
additional glare protection.
Visor Vanity Mirror
Some visors have mirrors built in, with or without lamps.
Just lift the mirror cover on each visor to turn the
lamps on.
2-1 7