2003 CHEVROLET ASTRO brakes
[x] Cancel search: brakesPage 200 of 386
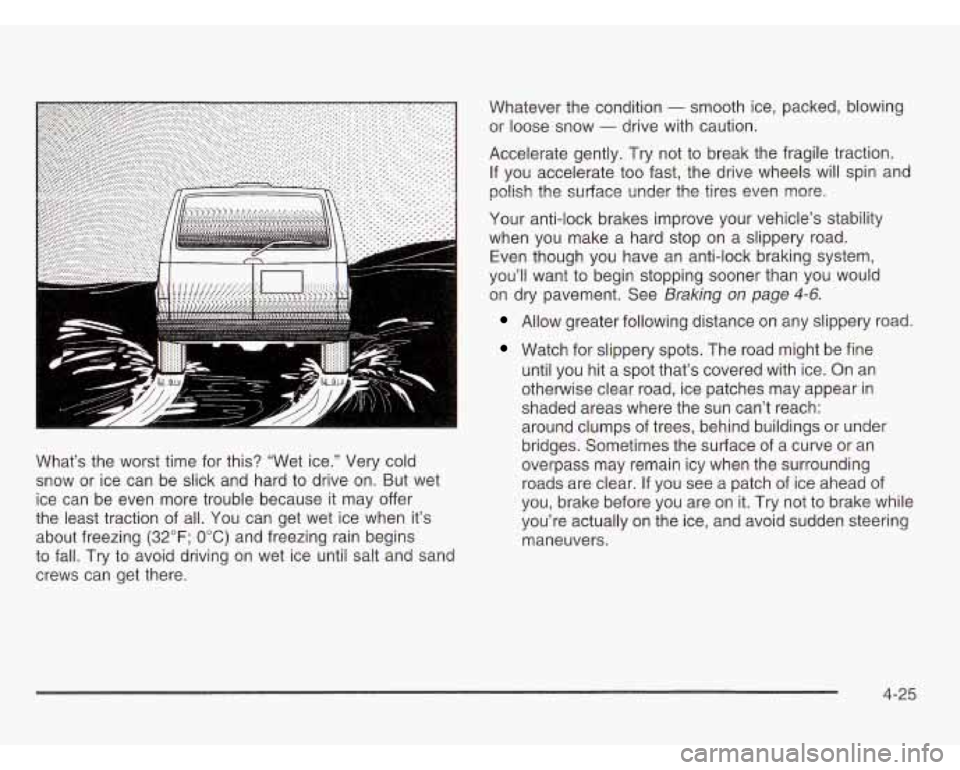
What’s the worst time for this? “Wet ice.” Very cold
snow or ice can be slick and hard to drive on. But wet
ice can be even more trouble because it may offer
the least traction of all. You can get wet ice when it’s
about freezing
(32°F; OOC) and freezing rain begins
to fall. Try to avoid driving on wet ice until salt and sand
crews can get there. Whatever
the condition
- smooth ice, packed, blowing
or loose snow
- drive with caution.
Accelerate gently. Try not to break the fragile traction.
If you accelerate too fast, the drive wheels will spin and
polish the surface under the tires even more.
Your anti-lock brakes improve your vehicle’s stability
when you make a hard stop on a slippery road.
Even though you have an anti-lock braking system,
you’ll want to begin stopping sooner than you would
on dry pavement. See
Braking on page 4-6.
Allow greater following distance on any slippery road.
Watch for slippery spots. The road might be fine
until you hit a spot that’s covered with ice. On an
otherwise clear road, ice patches may appear in
shaded areas where the sun can’t reach:
around clumps of trees, behind buildings
or under
bridges. Sometimes the surface of a curve or an
overpass may remain icy when the surrounding
roads are clear. If you see a patch of ice ahead of
you, brake before you are on it. Try not to brake while
you’re actually on the ice, and avoid sudden steering
maneuvers.
4-25
Page 206 of 386
Payload
The Payload Capacity is shown on the CertificationiTire
label. This is the maximum load capacity that your
vehicle can carry. Be sure to include the weight of the
people inside as part of your load.
If you added any
accessories or equipment after your vehicle left
the factory, remember to subtract the weight of these
things from the payload. Your dealer can help you
with this.
Towing a Trailer
Trailering Package
There is a load rating which includes the weight of the
vehicle and the trailer it tows. This rating is called
the Gross Combination Weight Rating (GCWR).
When
you weigh your trailer, be sure to include the
weight of everything you put in it. And, remember
to figure the weight of the people inside the vehicle
as part of your load.
Add-on Equipment
When you carry removable items, you may need to put
a limit on how many people you carry inside your
vehicle. Be sure to weigh your vehicle before you buy
and install the new equipment. If
)“J don’t use the correct equipment and
drive properly, you can lose control when you pull a trailer. For example, if the trailer
is too
heavy, the brakes may not work well
- or
even at all. You and your passengers could be
seriously injured. Pull a trailer only if you have
followed all the steps in this section.
Ask your
dealer for advice and information about towing
a trailer with your vehicle.
Notice: Pulling a trailer improperly can damage
your vehicle and result in costly repairs not covered by your warranty.
To pull a trailer correctly, follow
the advice
in this part, and see your dealer for
important information about towing a trailer with
your vehicle. Additional rear axle maintenance is required for a vehicle used to tow a trailer. See
“Scheduled Maintenance Services”
in the Index.
To identify what the vehicle trailering capacity is for your
vehicle, you should read the information in “Weight of
the Trailer” that appears later in this section.
4-3 1
Page 211 of 386
Hitches
It’s important to have the correct hitch equipment.
Crosswinds, large trucks going by and rough roads
are a few reasons why you’ll need the right hitch.
Here are some rules to follow:
If you’ll be pulling a trailer that, when loaded, will
weigh more than
2,000 Ibs. (900 kg.), be sure to
use a properly mounted, weight-distributing
hitch and sway control of the proper size. This
equipment is very important for proper vehicle
loading and good handling when you’re driving.
Will you have to make any holes in the body of
your vehicle when you install a trailer hitch? Follow the manufacturer’s
recommendation for attaching
safety chains and do not attach them to the bumper.
Always leave just enough slack
so you can turn with
your rig. Never allow safety chains to drag on the ground.
Trailer Brakes
If your trailer weighs more than 1,000 Ibs (450 kg)
loaded, then it needs its own brakes
- and they must
be adequate. Be sure to read and follow the instructions
for the trailer brakes
so you’ll be able to install, adjust
and maintain them properly.
Your trailer brake system can tap into your vehicle’s
hydraulic brake system, except:
If you do, then be sure to seal the holes later when
you remove the hitch. If you don’t seal them,
deadly carbon monoxide
(CO) from your exhaust
can get into your vehicle. Dirt and water can, too.
Safety Chains
You should always attach chains between your vehicle
and your trailer. Cross the safety chains under the tongue
of the trailer to help prevent the tongue from contacting
the road
if it becomes separated from the hitch.
Instructions about safety chains may be provided by
the hitch manufacturer or by the trailer manufacturer. Don’t
tap into your vehicle’s brake system
if the
trailer’s brake system will use more than
0.02 cubic
inch
(0.3 cc) of fluid from your vehicle’s master
cylinder. If it does, both braking systems won’t work
well. You could even lose your brakes.
Will the trailer parts take
3,000 psi (20 650 kPa) of
pressure? If not, the trailer brake system must not
be used with your vehicle.
If everything checks out this far, then make the
brake fluid tap at the
port on the master cylinder that
sends fluid to the rear brakes. But don’t use
copper tubing for this. If you do, it will bend and
finally break
off. Use steel brake tubing.
4-36
Page 212 of 386

Driving with a Trailer
If you ~ ve a rear-most window open and
you pull a trailer with your vehicle, carbon monoxide (CO) could come into your vehicle.
You can’t see or smell
CO. It can cause
unconsciousness or death. See “Engine
Exhaust” in the Index.
To maximize your safety
when towing a trailer:
Have your exhaust system inspected for
leaks, and make necessary repairs before
starting on your trip.
Keep the rear-most windows closed.
If exhaust does come into your vehicle
through a window
in the rear or another
opening, drive with your front, main
heating or cooling system on and with the
fan on any speed. This will bring fresh,
outside air into your vehicle.
Do not use
the climate control setting for maximum air because
it only recirculates the air inside
your vehicle. See “Climate Controls” in
the Index. Towing
a trailer requires a certain amount of experience.
Before setting out for the open road, you’ll want to get
to know your rig. Acquaint yourself with the feel of
handling and braking with the added weight of the trailer.
And always keep in mind that the vehicle you are
driving is now a good deal longer and not nearly as
responsive as your vehicle is by itself.
Before you start, check the trailer hitch and platform
(and attachments), safety chains, electrical connector,
lamps, tires and mirror adjustment. If the trailer has
electric brakes, start your vehicle and trailer moving and
then apply the trailer brake controller by hand to be
sure the brakes are working. This lets you check your
electrical connection at the same time.
During your trip, check occasionally
to be sure that
the load
is secure, and that the lamps and any trailer
brakes are still working.
4-37
Page 214 of 386
Driving On Grades Parking on Hills
Reduce speed and shift to a lower gear before you start
down a long or steep downgrade.
If you don’t shift
down, you might have to use your brakes
so much that
they would get hot and no longer work well.
You can tow in DRIVE (D). You may want to shift the
transmission to THIRD
(3) or, if necessary, a lower gear
selection
if the transmission shifts too often (e.g., under
heavy loads and/or hilly conditions).
When towing at high altitude on steep uphill grades,
consider the following: Engine coolant will boil at a lower
temperature than at normal altitudes.
If you turn your
engine
off immediately after towing at high altitude
on steep uphill grades, your vehicle may show signs
similar to engine overheating.
To avoid this, let the
engine run while parked (preferably on level ground)
with the automatic transmission in PARK
(P) for a
few minutes before turning the engine
off. If you do get
the overheat warning, see
Engine Overheating on
page
5-3 1.
You really shoul tot park your vehicle, ith a
trailer attached, on a hill.
If something goes
wrong, your rig could start to move. People
can be injured, and both your vehicle and the
trailer can be damaged.
But if you ever have to park your rig on a hill, here’s
how to do it:
1. Apply your regular brakes, but don’t shift into
2. Have someone place chocks under the trailer
3. When the wheel chocks are in place, release the
4. Reapply the regular brakes. Then apply your PARK (P) yet.
wheels. regular brakes until the chocks absorb the load.
parking brake, and shift to PARK (P).
5. Release the regular brakes.
4-39
Page 215 of 386

When You Are Ready to Leave After
Parking on a Hill
1. Apply your regular brakes and hold the pedal down
while you:
start your engine,
shift into a gear, and
release the parking brake.
2. Let up on the brake pedal.
3. Drive slowly until the trailer is clear of the chocks.
4. Stop and have someone pick up and store the
chocks.
Maintenance When Trailer Towing
Your vehicle will need service more often when you’re
pulling a trailer. See the Maintenance Schedule for more
on this. Things that are especially important in trailer
operation are automatic transmission fluid (don’t overfill),
engine oil, axle lubricant, belt, cooling system and
brake system. Each
of these is covered in this manual,
and the Index will help you find them quickly.
If you’re
trailering, it’s a good idea to review these sections
before you start your trip.
Check periodically to see that all hitch nuts and bolts
are tight.
4-40
Page 218 of 386

Section 5 Service and Appearance Care
Service .......................................................... -5-3
Doing Your Own Service Work
......................... 5-3
Adding Equipment to the Outside of
Your Vehicle
.............................................. 5-4
Fuel ................................................................ 5.5
Gasoline Octane ........................................... -5-5
Gasoline Specifications .................................... 5.5
California Fuel ............................................. -56
Additives
....................................................... 5.6
Fuels in Foreign Countries
............................... 5.7
Filling Your Tank
............................................ 5-8
Filling a Portable Fuel Container
..................... 5-10
Checking Things Under the Hood .................... 5-1 1
Hood Release .............................................. 5.11
Engine Compartment Overview
...................... 5.14
Engine Oil
................................................... 5.15
Engine Cover ................. .... ........ 5.20
Engine Air Cleaner/Filter
................. ........ 5.24
Automatic Transmission Fluid
...................... 5.25
Engine Coolant ............................................. 5.28
Radiator Pressure Cap
.................................. 5.30
Engine Overheating
....................................... 5.31
Cooling System
............................................ 5.33
Engine Fan Noise
......................................... 5.39
Power Steering Fluid
..................................... 5.40
Windshield Washer Fluid
................................ 5.41 Brakes
........................................................ 5.42
Battery
........................................................ 5-46
Jump Starting
............................................... 5-47
All-Wheel Drive .............................................. 5-52
Rear Axle ....................................................... 5-53
Front Axle ...................................................... 5-54
Bulb Replacement .......................................... 5-55
Halogen Bulbs .............................. ..... 5-55
Headlamps .................................. ..... 5-55
Front Turn Signal Lamps ............................... 5-59
Replacement Bulbs
....................................... 5-61
Windshield Wiper Blade Replacement .............. 5-62
Tires .............................................................. 5.63
Inflation
- Tire Pressure ................................ 5-64
Tire Inspection and Rotation
........................... 5-64
When It
Is Time for New Tires ....................... 5-66
Buying New Tires
......................................... 5-66
Uniform Tire Quality Grading
.......................... 5-67
Wheel Alignment and Tire Balance
.................. 5-69
Wheel Replacement
...................................... 5-69
Tire Chains
.................................................. 5-70
If a Tire Goes Flat ........................................ 5.70
Changing a Flat Tire ..................................... 5.71
Compact Spare Tire ...................................... 5-82
Taillamps
.................................................... 5-60
5- 1
Page 259 of 386
Brakes
Brake Fluid
DOT3
. . . . . . . ..... . . . . . . . . ... .
. . . . . . . .
. ... . . . .
..
. . . . . . . . . . . , . , . . .
There are only two reasons why the brake fluid level
in the reservoir might go down. The first
is that the brake
fluid goes down to an acceptable level during normal
brake lining wear. When new linings are put in, the fluid
level goes back up. The other reason
is that fluid is
leaking out of the brake system.
If it is, you should have
your brake system fixed, since a leak means that
sooner or later your brakes won’t work well, or won’t
work at all.
So, it isn’t a good idea to “top off your brake fluid.
Adding brake fluid won’t correct a leak.
If you add fluid
when your linings are worn, then you’ll have too much
fluid when you get new brake linings. You should add
(or remove) brake fluid, as necessary, only when work is
done on the brake hydraulic system.
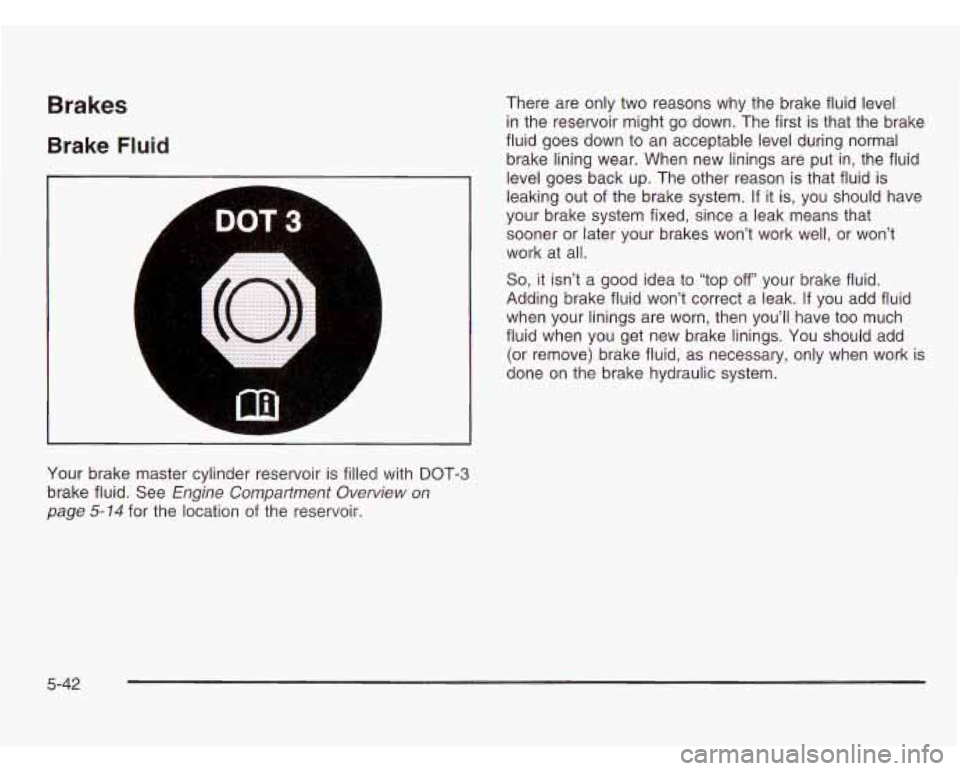
Your brake master cylinder reservoir is filled with DOT-3
brake fluid. See
Engine Compadment Overview on
page 5-14 for the location of the reservoir.
5-42