2003 CHEVROLET ASTRO air condition
[x] Cancel search: air conditionPage 121 of 386

Driver Information System
\I
Your vehicle may have this feature. This system displays
the outside air temperature, compass direction and trip
information in the overhead console.
US/MET (United StatedMetric): The US/MET button
allows you
to switch the display between the English and
metric system.
MODE: The MODE button can be used to toggle
between three modes of operation:
OFF, COMP/TEMP
and TRIP.
COMPTTEMP (CompassTTemperature): This display
provides the outside temperature and one of eight
compass readings to indicate the direction the vehicle
is facing.
Before you turn on the ignition and move the vehicle,
the temperature indicated will be the last outside
temperature recorded with the ignition on.
If the outside
temperature
is 37°F (3°C) or lower, the display will
toggle between the word ICE and the current
temperature every eight seconds. This is a warning
to
the driver that road conditions may be icy, and that
appropriate precautions should be taken.
The compass is self-calibrating,
so it does not need to be
manually set. However,
if C (Calibration) is displayed, the
compass will need
to be calibrated. You may also place
the compass in a noncalibrated mode by pressing and
holding the US/MET and MODE buttons simultaneously
while in the COMPREMP mode. After about
10 seconds.
the compass will display
C and you can release the
buttons. Drive the vehicle in a complete 360" circle three
times at a speed of less than 5 mph
(8 km/h), and the
compass will function normally. Once the calibration
is
complete, the display will return to a compass reading.
Variance is the difference between magnetic north
and geographic north. In some areas, the difference
between the two can be great enough
to cause false
compass readings.
2-42
Page 126 of 386

Section 3 Instrument Panel
Instrument Panel Overview ............................... 3.2
Hazard Warning Flashers
................................ 3-4
Other Warning Devices
................................... 3-5
Horn
............................................................. 3-5
Tilt Wheel
..................................................... 3-5
Turn SignaVMultifunction Lever
......................... 3.6
Exterior Lamps
.......................................... 3.12
Interior Lamps
................................ ....... 3.15
Accessory Power Outlets
............................... 3.16
Ashtrays and Cigarette Lighter
........................ 3.17
Climate Controls ............................................ 3.18
Climate Control System
................................. 3.18
Rear Heating System
................................... -3-1 9
Rear Air Conditioning System ......................... 3.20
Rear Climate Control System
......................... 3.21
Warning Lights, Gages and Indicators ............. 3.23
Instrument Panel Cluster
................................ 3.24
Speedometer and Odometer
........................... 3.25
Safety Belt Reminder Light
............................. 3.26
Air Bag Readiness Light
................................ 3-26
Charging System Light
.................................. 3.27
Voltmeter Gage
........................................... -3-28
Brake System Warning Light
.......................... 3.28 Anti-Lock
Brake System Warning Light
............. 3.29
Engine Coolant Temperature Gage
= = =. ~ = = ~ ~ ~ = i. 3-39
Malfunction Indicator Lamp
............................. 3.30
Oil Pressure Gage
........................................ 3.34
Security Light
.............................................. -3-35
Service All-Wheel Drive Light
......................... 3.35
Tow/Haul Mode Light
......... ................... 3.36
Fuel Gage
................................................... 3.36
Low Fuel Warning Light
................................. 3.37
Audio System@) ............................................. 3.38
Setting the Time for Radios with
the Set Button
.......................................... 3-38
Setting the Time for Radios with
HR and MN Buttons .................................. 3-38
AM-FM Radio
............................................... 3.39
Radio with CD
.............................................. 3-41
Theft-Deterrent Feature
........... ................ 3.47
Understanding Radio Reception
................... 3.50
Care of Your CDs
......................................... 3-50
Care of Your CD Player
................................ 3-50
Fixed Mast Antenna
...................................... 3.50
Check Gages Warning
Light
........................... 3-36
Rear Seat Audio (RSA)
. . .... ............ 3.46
3-
1
Page 143 of 386

Climate Controls
Climate Control System
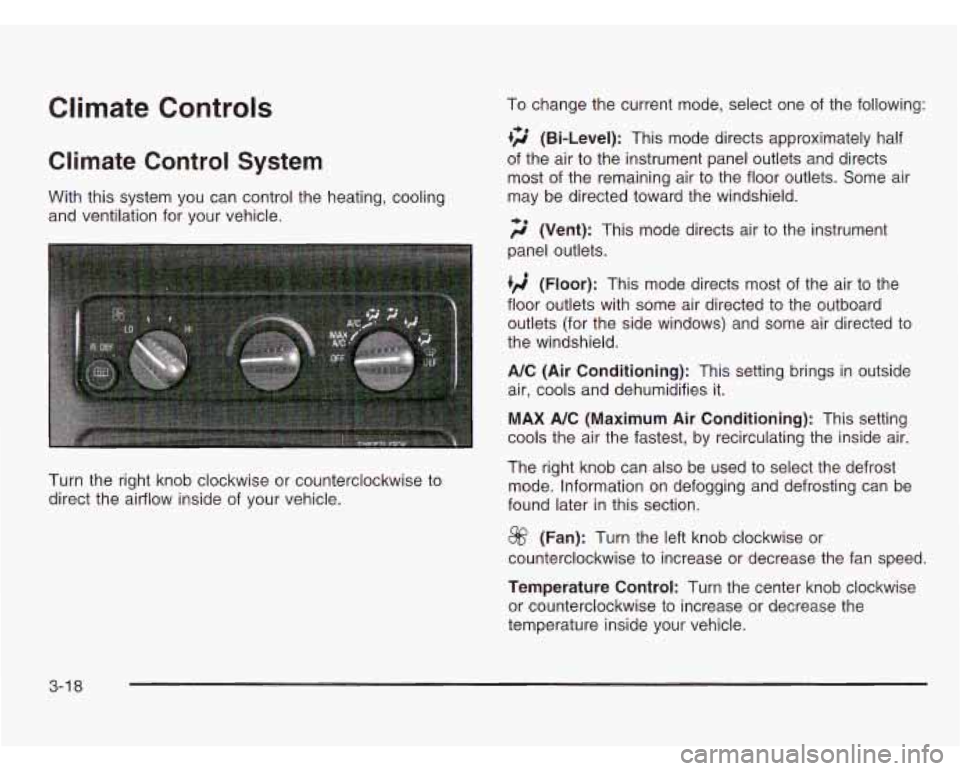
With this system you can control the heating, cooling
and ventilation for your vehicle.
Turn the right knob clockwise or counterclockwise to
direct the airflow inside of your vehicle. To change
the current mode, select one of the following:
+2 (Bi-Level): This mode directs approximately half
of the air to the instrument panel outlets and directs
most of the remaining air to the floor outlets. Some air
may be directed toward the windshield.
;$’ (Vent): This mode directs air to the instrument
panel outlets.
(Floor): This mode directs most of the air to the
floor outlets with some air directed to the outboard
outlets (for the side windows) and some air directed to
the windshield.
A/C (Air Conditioning): This setting brings in outside
air, cools and dehumidifies it.
MAX A/C (Maximum Air Conditioning): This setting
cools the air the fastest, by recirculating the inside air.
The right knob can also be used to select the defrost
mode. Information on defogging and defrosting can be
found later in this section.
@ (Fan): Turn the left knob clockwise or
counterclockwise to increase or decrease the fan speed.
Temperature Control: Turn the center knob clockwise
or counterclockwise to increase or decrease the
temperature inside your vehicle.
3-1 8
Page 144 of 386

Defogging and Defrosting
Turn the right knob to select the defog or defrost mode.
+3 (Blend): With this setting, the outside air comes
out
of both the floor and defroster outlets. Adjust the
temperature knob for warmer or cooler air. The air
conditioning compressor may operate in this setting to
dehumidfy the air.
9 (Defrost): This setting operates the defroster.
Most of the air comes out near the windshield, with
some going to the floor outlets and front side windows.
The air conditioning compressor may operate in this
setting to dehumidify the air.
The bi-level setting is useful for cold weather with a
large number of passengers or very humid conditions to
help keep the windshield clear. Use defrost to remove
fog or ice from the windshield quickly in extremely
cold conditions. The temperature knob should be in the
red area and the fan control toward high.
Rear Heating System
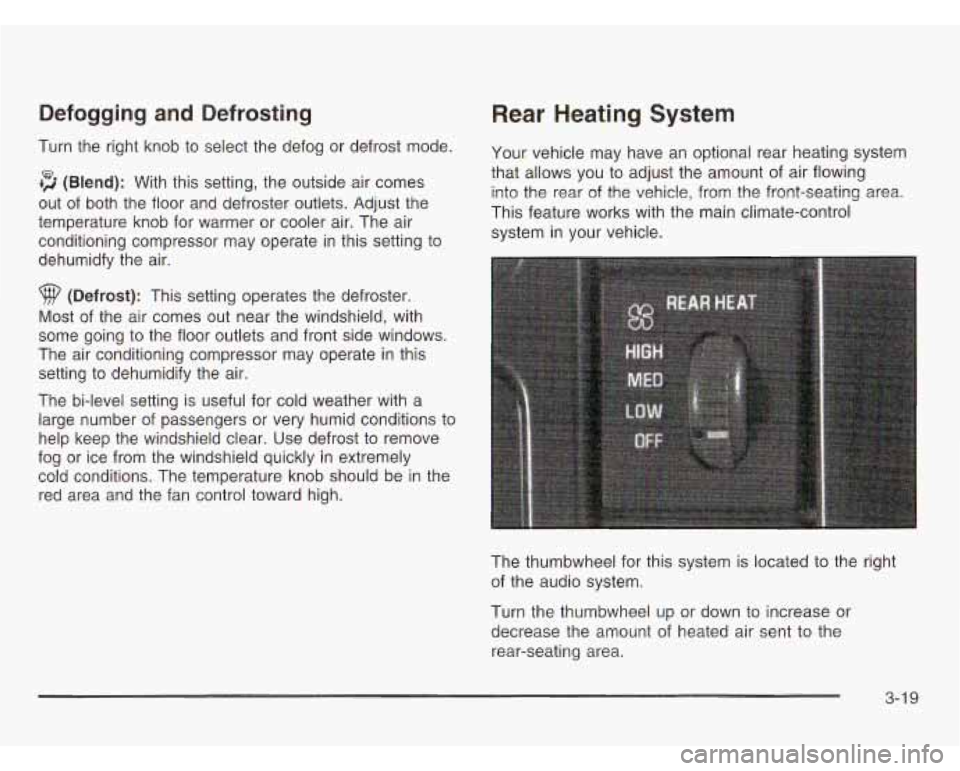
Your vehicle may have an optional rear heating system
that allows you to adjust the amount of air flowing
into the rear
of the vehicle, from the front-seating area.
This feature works with the main climate-control
system in your vehicle.
The thumbwheel for this system is located to the right
of the audio system.
Turn the thumbwheel up or down to increase or
decrease the amount of heated air sent to the
rear-seating area.
3-1 9
Page 145 of 386

Rear Air Conditioning System
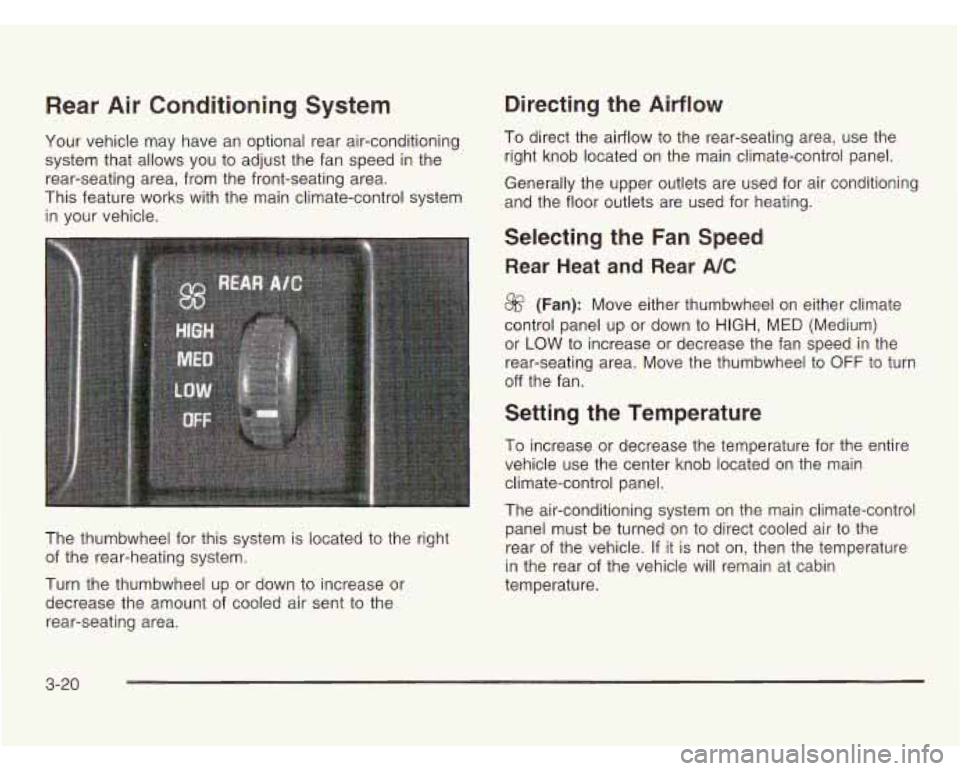
Your vehicle may have an optional rear air-conditioning
system that allows you to adjust the fan speed in the
rear-seating area, from the front-seating area.
This feature works with the main climate-control system
in your vehicle.
The thumbwheel for this system is located to the right
of the rear-heating system.
Turn the thumbwheel up or down to increase or
decrease the amount of cooled air sent to the
rear-seating area.
Directing the Airflow
To direct the airflow to the rear-seating area, use the
right knob located
on the main climate-control panel.
Generally the upper outlets are used for air conditioning
and the floor outlets are used for heating.
Selecting the Fan Speed
Rear Heat and Rear A/C
8f? (Fan): Move either thumbwheel on either climate
control panel up or down
to HIGH, MED (Medium)
or
LOW to increase or decrease the fan speed in the
rear-seating area. Move the thumbwheel to
OFF to turn
off the fan.
Setting the Temperature
To increase or decrease the temperature for the entire
vehicle use the center knob located on the main
climate-control panel.
The air-conditioning system on the main climate-control
panel must be turned on to direct cooled air to the
rear of the vehicle. If it is not on, then the temperature
in the rear of the vehicle will remain at cabin
temperature.
3-20
Page 152 of 386

If the air bag readiness light stays on after you start the
vehicle or comes on when
you are driving, your air
bag system may not work properly. Have your vehicle
s iced right away.
Charging System
If the air bag readiness light stays on after you
start your vehicle,
it means the air bag system
may not be working properly. The air bags in
your vehicle may not inflate
in a crash, or they
could even inflate without a crash. To help avoid
injury to yourself or others, have your vehicle
serviced right away if the air bag readiness light
stays on after you start your vehicle.
The air bag readiness light should flash for a few
seconds when you turn the ignition key to
RUN.
If the light doesn’t come on then, have it fixed so
it will be ready to warn you if there is a problem.
Light
This light should come on
briefly when you turn on
the ignition, before starting the engine, as a check
to show you it is working.
After the engine starts, the light should go out.
if it stays
on or comes on while you are driving, you may have
a problem with your charging system. It could indicate a
problem with the generator drive belt, or some other
charging system problem. Have it checked right away.
Driving while this light is on could drain your battery.
If you must drive a short distance with this light
on,
it helps to turn off all your accessories, such as
the radio and air conditioner.
3-27
Page 156 of 386

This system is called OBD II (On-Board Diagnostics-
Second Generation) and is intended to assure that
emissions are at acceptable levels for the life of
the vehicle, helping to produce a cleaner environment.
The SERVICE ENGINE SOON or CHECK ENGINE
light comes on and a chime will sound to indicate that
there is a problem and service is required. Malfunctions
often will be indicated by the system before any
problem is apparent. This may prevent more serious
damage to your vehicle. This system is also designed to
assist your service technician in correctly diagnosing
any malfunction.
Notice: If you keep driving your vehicle with this
light on, after a while, your emission controls
may not work as well, your fuel economy may not
be as good and your engine may not run as
smoothly. This could lead to costly repairs that
may not be covered by your warranty.
Notice: Modifications made to the engine,
transmission, exhaust, intake or fuel system of
your vehicle
or the replacement of the original tires
with other than those of the same Tire Performance
Criteria (TPC) can affect your vehicle’s emission
controls and may cause
this light to come on. Modifications to these systems could lead to costly
repairs not covered by your warranty. This may
also result
in a failure to pass a required Emission
Inspection/Maintenance test.
This light should come on, as a check to show you
it
is working, when the ignition is on and the engine is not
running.
If the light doesn’t come on, have it repaired.
This light will also come on during a malfunction in one
of two ways:
e
e Light Flashing - A misfire condition has been
detected.
A misfire increases vehicle emissions
and may damage the emission control system on
your vehicle. Dealer or qualified service center
diagnosis and service may be required.
Light On Steady
- An emission control system
malfunction has been detected on your vehicle.
Dealer or qualified service center diagnosis
and service may be required.
3-31
Page 189 of 386

If your vehicle starts to slide, ease your foot off the
accelerator pedal and quickly steer the way you want
the vehicle to go. If you start steering quickly enough,
your vehicle may straighten out. Always be ready
for a second skid
if it occurs.
Of course, traction is reduced when water, snow, ice,
gravel or other material is on the road. For safety, you’ll
want to slow down and adjust your driving to these
conditions.
It is important to slow down on slippery
surfaces because stopping distance will be longer and
vehicle control more limited.
While driving on a surface with reduced traction,
try your best to avoid sudden steering, acceleration or
braking (including engine braking by shifting to a
lower gear). Any sudden changes could cause the tires
to slide. You may not realize the surface
is slippery
until your vehicle is skidding. Learn to recognize warning
clues
- such as enough water, ice or packed snow
on the road to make a “mirrored surface”
- and slow
down when you have any doubt.
Remember: Any anti-lock brake system
(ABS) helps
avoid only the braking skid.
Driving at Night
...s
Night driving is more dangerous than day driving.
One reason is that some drivers are likely to be
impaired
- by alcohol or drugs, with night vision
problems, or by fatigue.
4-1 4