2003 CADILLAC SEVILLE lock
[x] Cancel search: lockPage 133 of 408

Interior Lamps
Instrument Panel Brightness
This feature controls the brightness of the instrument
panel lights.
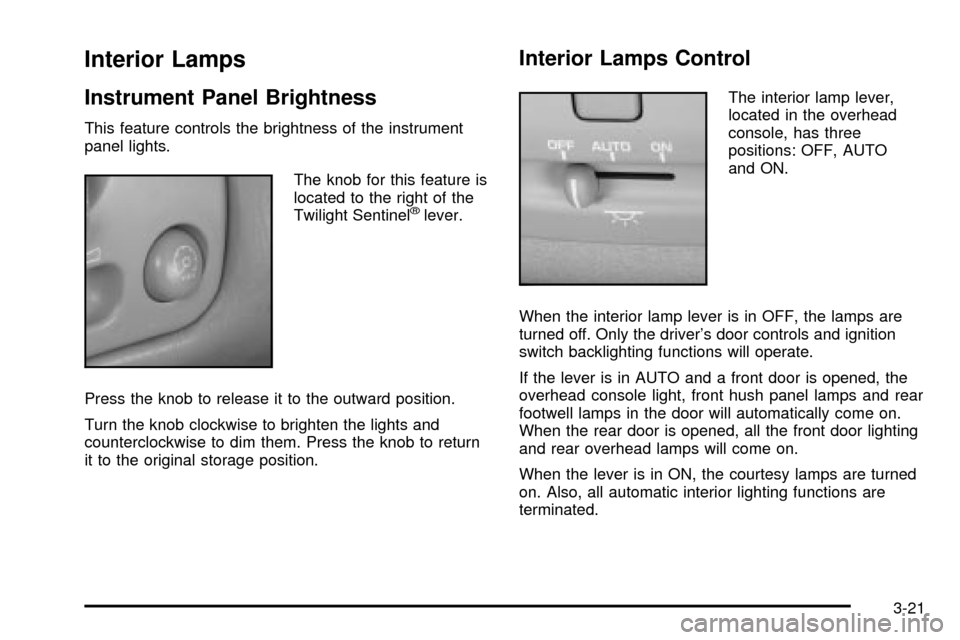
The knob for this feature is
located to the right of the
Twilight Sentinel
žlever.
Press the knob to release it to the outward position.
Turn the knob clockwise to brighten the lights and
counterclockwise to dim them. Press the knob to return
it to the original storage position.
Interior Lamps Control
The interior lamp lever,
located in the overhead
console, has three
positions: OFF, AUTO
and ON.
When the interior lamp lever is in OFF, the lamps are
turned off. Only the driver's door controls and ignition
switch backlighting functions will operate.
If the lever is in AUTO and a front door is opened, the
overhead console light, front hush panel lamps and rear
footwell lamps in the door will automatically come on.
When the rear door is opened, all the front door lighting
and rear overhead lamps will come on.
When the lever is in ON, the courtesy lamps are turned
on. Also, all automatic interior lighting functions are
terminated.
3-21
Page 134 of 408

Entry Lighting
The entry lighting system automatically turns on the
courtesy lamps and the backlighting to the door switches
and to the exterior lamp control when a door is opened
or if you press the remote keyless entry transmitter
unlock button. If activated due to the transmitter,
the lighting will remain active for about 40 seconds.
Since the entry lighting system uses the light sensor, it
must be dark outside in order for the courtesy lamps
to turn on. The courtesy lamps turn off approximately
25 seconds after the last door is closed. They will dim to
off if the ignition key is placed in ON, or immediately
deactivate if the power locks are activated.
Parade Dimming
This feature prohibits dimming of the digital displays and
backlighting during daylight hours when the key is in
the ignition and the headlamps are on. This feature
operates with the light sensor for the Twilight
Sentinel
žand is fully automatic. When the light sensor
reads darkness outside and the parking lamps are
active, the digital displays can be adjusted by turning
the instrument panel brightness knob counterclockwise
to dim and clockwise to brighten lighting.
Reading Lamps
The front reading lamps are located in the overhead
console. These lamps and the interior courtesy lamps
come on when a door is opened and it is dark outside.
The rear reading lamps will not come on when a
front door is opened.
The rear courtesy lamps are located on the rear
headliner above the rear seat outboard positions. When
a rear door is opened, both the front and rear reading
lamps come on with the courtesy lamps.
Press the button near each lamp to turn it on and off.
If the reading lamps are left on, they automatically shut
off 10 minutes after the ignition has been turned off.
3-22
Page 142 of 408

TEMP (Driver's Temperature Knob):Press this knob
to turn the climate control system on or off. Turn this
knob clockwise or counterclockwise to manually
increase or decrease the temperature inside your
vehicle.
TEMP (Passenger's Temperature Knob):Press this
knob to turn the passengers' climate control system
controls on or off. Turn this knob to manually increase
or decrease the temperature for the front passenger.
If the passenger's climate controls are turned off,
the driver's temperature knob will control the
temperature for the entire vehicle.
A/C (Air Conditioning):Press this button to override
the automatic system and turn the air-conditioning
system on or off. When in AUTO the air-conditioning
compressor will come on automatically, as necessary.
On hot days, open the windows to let hot inside air
escape; then close them. This helps to reduce the time
it takes for your vehicle to cool down. It also helps
the system to operate more efficiently.For quick cool down on hot days:
1. Select the vent mode.
2. Select the recirculation mode.
3. Select A/C.
4. Select the coolest temperature.
5. Select the highest fan speed.
6. Open all outlets.
Using these settings together for long periods of time
may cause the air inside your vehicle to become too dry.
To prevent this from happening, after the air in your
vehicle has cooled, turn the recirculation mode off.
The air-conditioning system removes moisture from the
air, so you may sometimes notice a small amount of
water dripping underneath your vehicle while idling
or after turning off the engine. This is normal.
If your vehicle has the memory option, it can be used to
recall your climate control settings. For more information,
see
Climate Controls Personalization on page 3-36.
3-30
Page 145 of 408

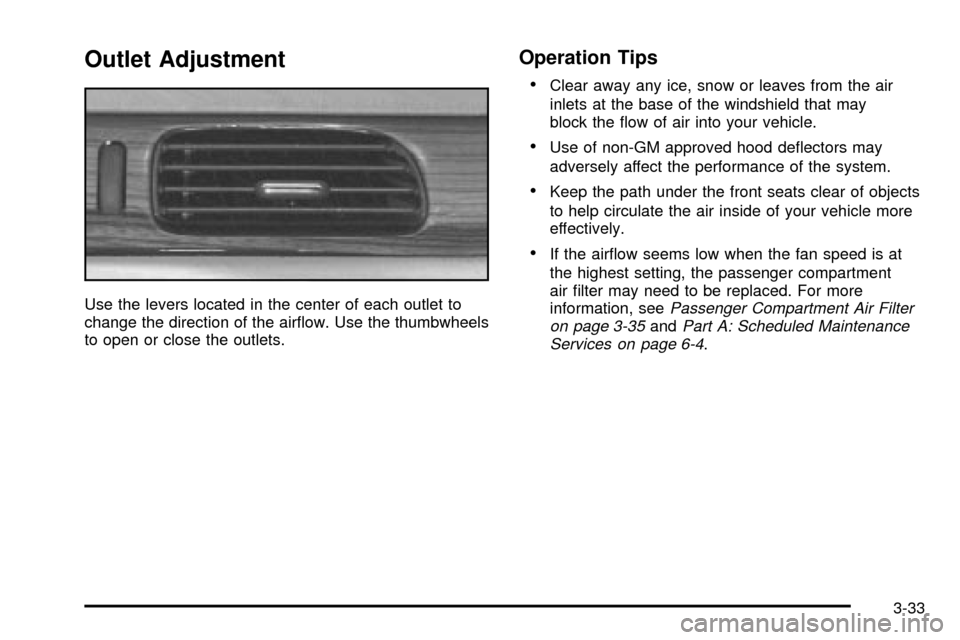
Outlet Adjustment
Use the levers located in the center of each outlet to
change the direction of the air¯ow. Use the thumbwheels
to open or close the outlets.
Operation Tips
·
Clear away any ice, snow or leaves from the air
inlets at the base of the windshield that may
block the ¯ow of air into your vehicle.
·Use of non-GM approved hood de¯ectors may
adversely affect the performance of the system.
·Keep the path under the front seats clear of objects
to help circulate the air inside of your vehicle more
effectively.
·If the air¯ow seems low when the fan speed is at
the highest setting, the passenger compartment
air ®lter may need to be replaced. For more
information, see
Passenger Compartment Air Filter
on page 3-35andPart A: Scheduled Maintenance
Services on page 6-4.
3-33
Page 148 of 408

Climate Controls Personalization
If your vehicle is equipped with this feature, you
can store and recall climate control settings for the
temperature, the fan speed and the direction of
the air¯ow.
Memory buttons 1 and 2 are located on the driver's door
panel and correspond to the numbers 1 or 2 found on
the back of each remote keyless entry transmitter.
To recall the climate control settings last stored on your
transmitter, press the unlock button on your remote
keyless entry transmitter and put the ignition in ACC or
ON. The settings will be recalled.
To change the stored settings, do the following:
1. Select the desired temperature, fan speed and
air¯ow mode. If desired, a separate temperature
setting may also be selected for the front seat
passenger. For information on how to do this, see
Dual Climate Control System on page 3-28.2. Locate memory buttons 1 and 2 on the driver's
door panel.
3. Press the memory button on the door panel that
corresponds to the number on the back of the
transmitter you are programming, until you hear two
beeps. The beeps con®rm that your selection has
been saved and can now be recalled. For more
information on the memory feature, see
Memory
Seat, Mirrors and Steering Wheel on page 2-51.
Follow these steps each time you want to change the
stored settings.
3-36
Page 156 of 408

When the ignition is on, the brake system warning light
will also come on when you set your parking brake.
The light will stay on if your parking brake doesn't fully
release. If it stays on after your parking brake is
fully released, it means you have a brake problem.
{CAUTION:
Your brake system may not be working
properly if the brake system warning light is on.
Driving with the brake system warning light on
can lead to an accident. If the light is still on
after you have pulled off the road and stopped
carefully, have the vehicle towed for service.
If the light comes on while you are driving, pull off the
road and stop carefully. You may notice that the pedal is
harder to push. Or, the pedal may go closer to the
¯oor. It may take longer to stop. If the light is still on,
have the vehicle towed for service. See
Towing
Your Vehicle on page 4-31.
Anti-Lock Brake System
Warning Light
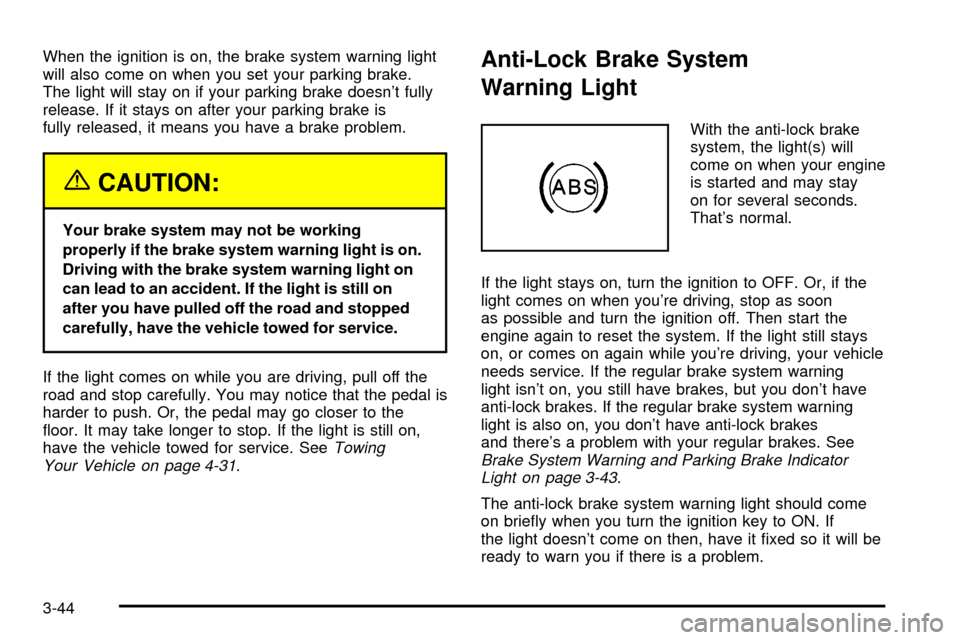
With the anti-lock brake
system, the light(s) will
come on when your engine
is started and may stay
on for several seconds.
That's normal.
If the light stays on, turn the ignition to OFF. Or, if the
light comes on when you're driving, stop as soon
as possible and turn the ignition off. Then start the
engine again to reset the system. If the light still stays
on, or comes on again while you're driving, your vehicle
needs service. If the regular brake system warning
light isn't on, you still have brakes, but you don't have
anti-lock brakes. If the regular brake system warning
light is also on, you don't have anti-lock brakes
and there's a problem with your regular brakes. See
Brake System Warning and Parking Brake Indicator
Light on page 3-43.
The anti-lock brake system warning light should come
on brie¯y when you turn the ignition key to ON. If
the light doesn't come on then, have it ®xed so it will be
ready to warn you if there is a problem.
3-44
Page 166 of 408

·AVG MPH (Average Miles per Hour):This
message shows the average speed you have
traveled at since the last time you reset the value.
To reset the value, press the INFO button to
display AVG MPH then press and hold the INFO
RESET button until 0.0 AVG MPH is displayed.
·TIMER:This feature is like a stopwatch, in that you
can clock the time it takes to get from one point to
another.
To operate, press the INFO button to display
TIMER. Each of the ®elds for the hours, minutes
and seconds are two numeric digits.
Once TIMER 00:00:00 is displayed, press the
ON/OFF button to start the timing feature. Press
the ON/OFF button again to stop it. If you will
be starting and stopping your vehicle, during a trip
for instance, the TIMER feature will automatically
start timing where it left off when you last stopped.
To reset it, press and hold the INFO RESET
button until the display reads TIMER 00:00:00.
Press the INFO button to exit from the TIMER
display.
·ENGINE OIL LIFE:Press the INFO button to
display ENGINE OIL LIFE, then press and hold the
INFO RESET button until 100% ENGINE OIL
LIFE is displayed. (This only needs to be reset after
you have had the oil changed.)
·TRANSMISSION FLUID LIFE MONITOR:Under
normal conditions, the rate of deterioration of the
transmission ¯uid is slow. See
Part A: Scheduled
Maintenance Services on page 6-4for proper
¯uid and change intervals. To reset the transmission
¯uid life, press the INFO button to display TRANS
FLUID LIFE, then press and hold the INFO
RESET button until 100% TRANS FLUID LIFE is
displayed. (This only needs to be reset after
you have had the ¯uid changed.)
ON/OFF:Pressing this button turns the Personalization
Features on and off. (FEATURE PROGRAMMING
must be displayed on the DIC to begin actual
programming.) This button also starts and stops
the timer.
3-54
Page 176 of 408

DIC Vehicle Personalization
Your vehicle is equipped with personalization capabilities
that allows you to program certain features to a
preferred setting for up to two people. The number of
programmable features varies depending upon
which model of the vehicle is purchased. On all vehicles,
features such as climate control settings, radio preset
settings, exterior lighting at unlock, remote lock and
unlock con®rmation, and automatic door locks
have already been programmed for your convenience.
Some vehicles are equipped with additional features that
can be programmed including the seat position,
steering column position (if equipped) and outside mirror
position. The navigation screen preferences (if
equipped) will remain at the last set position.
If your vehicle is equipped with the ability to program
additional personalization features, the driver's
preferences are recalled by pressing the unlock button
on the remote keyless entry transmitter or by pressing
the appropriate memory button, 1 or 2, located on
the driver's door. Certain features can be programmed
not to recall until the key is placed in the ignition.
To change feature preferences you must use one of the
following procedures.
Entering Feature Programming
To enter feature programming mode, do the following:
1. Turn the ignition to ON, making sure the vehicle is in
PARK (P).
2. If your vehicle has memory settings, press the
appropriate memory button, 1 or 2, located on
the driver's door panel. The DIC display will show
either 1 or 2 depending on which button was
selected. Make sure the number on the DIC display
matches the number on the back of your key fob.
3. Press the INFO button until FEATURE
PROGRAMMING appears on the DIC display.
4. Press the ON/OFF button to enter FEATURE
PROGRAMMING.
3-64