2003 CADILLAC SEVILLE steering
[x] Cancel search: steeringPage 85 of 408

Retained Accessory Power (RAP)
The following accessories on your vehicle may be used
for up to 10 minutes after the ignition key is turned
from ON to OFF:
·Cellular Phone (If Equipped)
·Radio
·Power Windows
·Audio Steering Wheel Controls
·Sunroof (Option)
Power to these accessories stops after 10 minutes or if
a door is opened. If you want power for another
10 minutes, close all the doors and turn the ignition key
to ON and then back to OFF. If the cellular phone is
being used while retained accessory power is active, the
timer is suspended to avoid interruption of the call.
The timer resets to 10 minutes at the end of the call.
Starting Your Engine
Move your shift lever to PARK (P) or NEUTRAL (N).
Your engine won't start in any other position ± that's a
safety feature. To restart when you're already moving,
use NEUTRAL (N) only.
Notice:Do not try to shift to PARK (P) if your
vehicle is moving. If you do, you could damage the
transaxle. Shift to PARK (P) only when your
vehicle is stopped.
1. With your foot off the accelerator pedal, turn your
ignition key to START. When the engine starts, let
go of the key. The idle speed will go down as
your engine gets warm.
Notice:Holding your key in START for longer than
15 seconds at a time will cause your battery to
be drained much sooner. And the excessive heat
can damage your starter motor. Wait about
15 seconds between each try to help avoid draining
your battery or damaging your starter.
2-25
Page 100 of 408

Cleaning the Mirror
When cleaning the mirror, use a paper towel or similar
material dampened with glass cleaner. Do not spray
glass cleaner directly on the mirror as that may cause
the liquid cleaner to enter the mirror housing.
Outside Power Mirrors
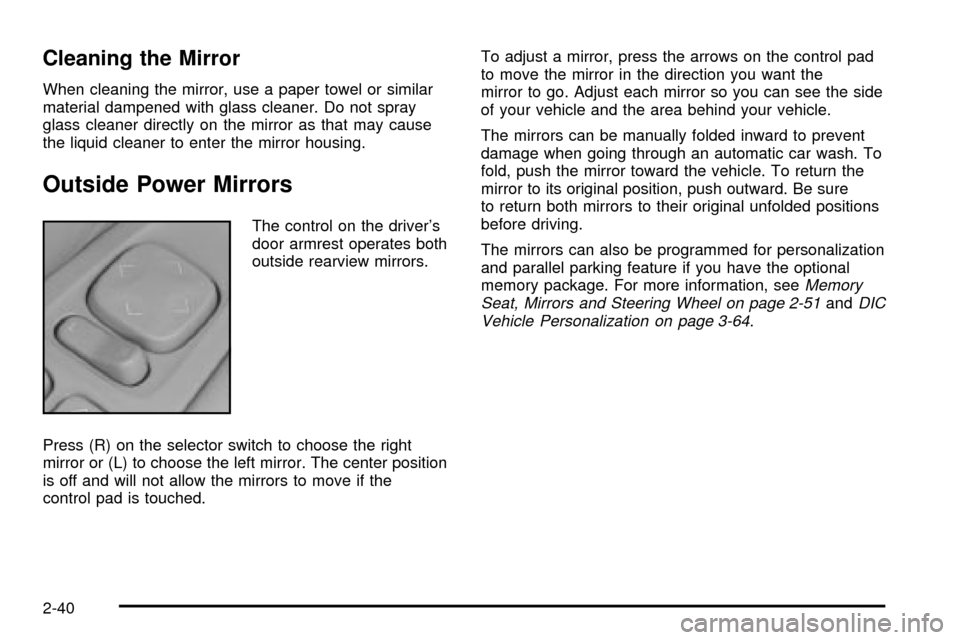
The control on the driver's
door armrest operates both
outside rearview mirrors.
Press (R) on the selector switch to choose the right
mirror or (L) to choose the left mirror. The center position
is off and will not allow the mirrors to move if the
control pad is touched.To adjust a mirror, press the arrows on the control pad
to move the mirror in the direction you want the
mirror to go. Adjust each mirror so you can see the side
of your vehicle and the area behind your vehicle.
The mirrors can be manually folded inward to prevent
damage when going through an automatic car wash. To
fold, push the mirror toward the vehicle. To return the
mirror to its original position, push outward. Be sure
to return both mirrors to their original unfolded positions
before driving.
The mirrors can also be programmed for personalization
and parallel parking feature if you have the optional
memory package. For more information, see
Memory
Seat, Mirrors and Steering Wheel on page 2-51andDIC
Vehicle Personalization on page 3-64.
2-40
Page 103 of 408

Luxury and Leisure Plan
·
All Directions and Connections Plan services
·Personal Concierge
OnStaržPersonal Calling
With OnStaržPersonal Calling, you have a safer way to
stay connected while driving. It's a hands-free wireless
phone that's integrated into your vehicle. You can place
calls nationwide using voice-activated dialing with no
contracts and no additional roaming charges. To ®nd out
more about OnStar
žPersonal Calling, refer to the
OnStaržuser's guide in your vehicle's glove box, or call
OnStaržat 1-888-4-ONSTAR (1-888-466-7827).
OnStaržVirtual Advisor
With OnStaržVirtual Advisor you can listen to the news,
entertainment and informative topics, such as traffic
and weather reports. You are able to listen and reply to
your e-mail through your vehicle's speakers.
OnStaržSteering Wheel Controls
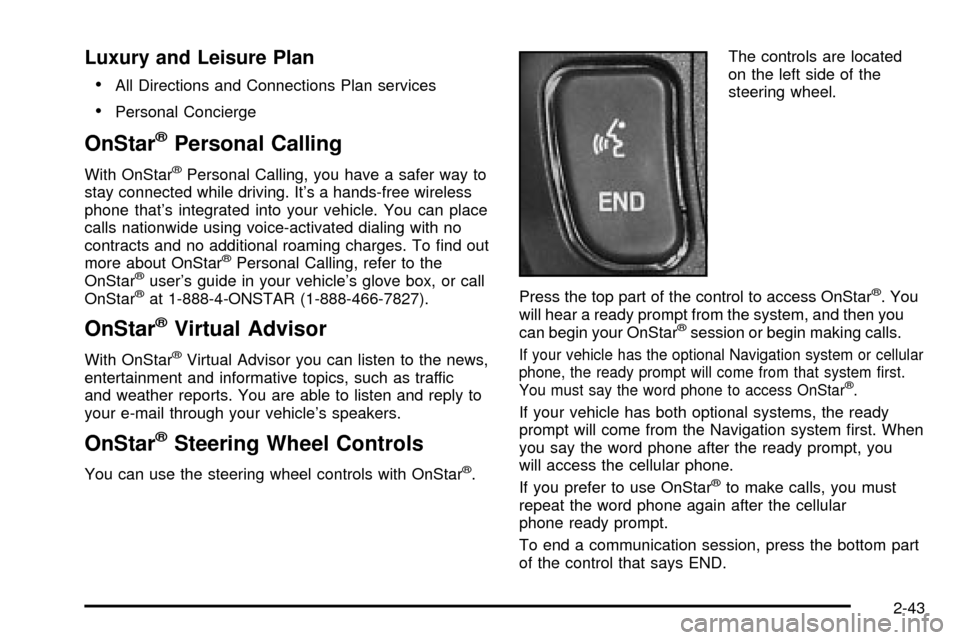
You can use the steering wheel controls with OnStarž.The controls are located
on the left side of the
steering wheel.
Press the top part of the control to access OnStar
ž. You
will hear a ready prompt from the system, and then you
can begin your OnStar
žsession or begin making calls.
If your vehicle has the optional Navigation system or cellular
phone, the ready prompt will come from that system ®rst.
You must say the word phone to access OnStar
ž.
If your vehicle has both optional systems, the ready
prompt will come from the Navigation system ®rst. When
you say the word phone after the ready prompt, you
will access the cellular phone.
If you prefer to use OnStar
žto make calls, you must
repeat the word phone again after the cellular
phone ready prompt.
To end a communication session, press the bottom part
of the control that says END.
2-43
Page 108 of 408

Reprogramming a Single HomeLinkž
Button
To program a device to HomeLinkžusing a HomeLinkž
button previously trained, follow these steps:
1. Press and hold the desired HomeLink
žbutton. Do
not release the button.
2. The indicator light will begin to ¯ash after
20 seconds. While still holding the HomeLink
ž
button, proceed with Step 2 under ªProgramming
HomeLinkž.º
Resetting Defaults
To reset HomeLinkžto default settings do the following:
1. Hold down the two outside buttons for about
20 seconds until the indicator light begins to ¯ash.
2. Continue to hold both buttons until the HomeLink
ž
indicator light turns off.
3. Release both buttons.
For questions or comments, contact HomeLink
žat
1-800-355-3515, or on the internet at
www.homelink.com.
Storage Areas
Glove Box
The glove box is located in front of the passenger's seat
on the instrument panel. To lock the glove box door,
insert the master key into the lock cylinder and
turn it clockwise. Turn the key counterclockwise to
unlock the door.
Cellular Telephone
Your vehicle may have been prewired for dealer
installation of a portable cellular telephone system. The
system has steering wheel telephone controls and
information output through the Driver Information
Center (DIC). Voice activation with remote record and
hands-free operation are standard features. For
more information, contact your dealer. A user's guide is
provided with the telephone.
2-48
Page 111 of 408

Vehicle Personalization
Memory Seat, Mirrors and Steering
Wheel
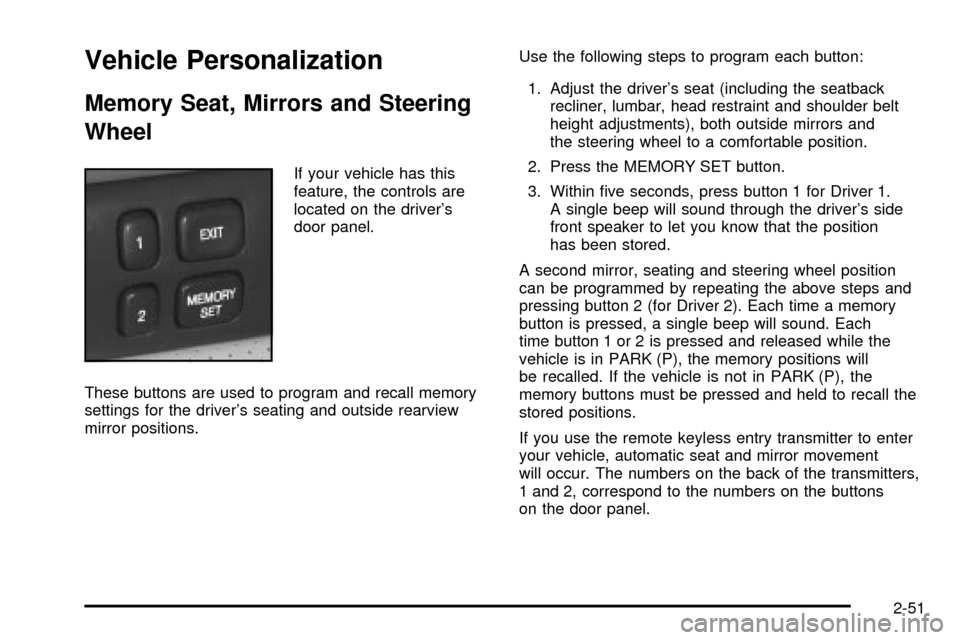
If your vehicle has this
feature, the controls are
located on the driver's
door panel.
These buttons are used to program and recall memory
settings for the driver's seating and outside rearview
mirror positions.Use the following steps to program each button:
1. Adjust the driver's seat (including the seatback
recliner, lumbar, head restraint and shoulder belt
height adjustments), both outside mirrors and
the steering wheel to a comfortable position.
2. Press the MEMORY SET button.
3. Within ®ve seconds, press button 1 for Driver 1.
A single beep will sound through the driver's side
front speaker to let you know that the position
has been stored.
A second mirror, seating and steering wheel position
can be programmed by repeating the above steps and
pressing button 2 (for Driver 2). Each time a memory
button is pressed, a single beep will sound. Each
time button 1 or 2 is pressed and released while the
vehicle is in PARK (P), the memory positions will
be recalled. If the vehicle is not in PARK (P), the
memory buttons must be pressed and held to recall the
stored positions.
If you use the remote keyless entry transmitter to enter
your vehicle, automatic seat and mirror movement
will occur. The numbers on the back of the transmitters,
1 and 2, correspond to the numbers on the buttons
on the door panel.
2-51
Page 112 of 408

When the key is placed in the ignition in OFF and you
have entered the vehicle without using the remote
keyless entry transmitter, the seats and mirrors
will automatically adjust to the programmed position of
the last driver.
To stop recall movement of the memory feature at any
time, press one of the power seat controls or memory
buttons.
Two personalized exit positions can be set by ®rst
recalling the driving position (by pressing 1 or 2), then
positioning the steering wheel and seat in the desired
exit positions. Then press and release the
MEMORY SET button and, within ®ve seconds, press
the EXIT button. With the vehicle in PARK (P), the
exit position for the previously set driver can be recalled
by pressing the EXIT button. The mirrors, power
lumbar and shoulder belt height positions will not be
stored or recalled for the exit positions.Further programming for automatic seat and mirror
movement can be done using the Driver Information
Center (DIC). You can select or not select the following:
·Automatic seat and mirror movement when the
vehicle is unlocked with the remote keyless
entry transmitter, or
·automatic seat and mirror movement when a key is
placed in the ignition.
For programming information, see
DIC Vehicle
Personalization on page 3-64.
2-52
Page 113 of 408

Instrument Panel Overview...............................3-4
Hazard Warning Flashers................................3-6
Other Warning Devices...................................3-7
Horn.............................................................3-7
Tilt Wheel.....................................................3-7
Turn Signal/Multifunction Lever.........................3-9
Exterior Lamps.............................................3-16
Interior Lamps..............................................3-21
Ultrasonic Rear Parking
Assist (URPA)...........................................3-24
Accessory Power Outlets...............................3-26
Ashtrays and Cigarette Lighter........................3-27
Climate Controls............................................3-28
Dual Climate Control System..........................3-28
Outlet Adjustment.........................................3-33
Rear Climate Control System.........................3-34
Passenger Compartment Air Filter...................3-35
Steering Wheel Climate Controls.....................3-35
Climate Controls Personalization.....................3-36
Warning Lights, Gages and Indicators.............3-37
Instrument Panel Cluster................................3-38
Speedometer and Odometer...........................3-39
Tachometer.................................................3-41Safety Belt Reminder Light.............................3-41
Air Bag Readiness Light................................3-42
Charging System Light..................................3-43
Brake System Warning and Parking Brake
Indicator Light...........................................3-43
Anti-Lock Brake System Warning Light.............3-44
Traction Control System (TCS)
Warning Light...........................................3-45
Engine Coolant Temperature Warning Light......3-46
Engine Coolant Temperature Gage..................3-46
Malfunction Indicator Lamp.............................3-47
Oil Pressure Light.........................................3-50
Security Light...............................................3-51
Fog Lamp Light............................................3-51
Lights On Reminder......................................3-51
Cruise Control Light......................................3-51
Fuel Gage...................................................3-52
Driver Information Center (DIC).......................3-53
DIC Controls and Displays.............................3-53
DIC Warnings and Messages.........................3-56
Climate Controls and Radio System
Personalization..........................................3-63
DIC Vehicle Personalization............................3-64
Section 3 Instrument Panel
3-1
Page 114 of 408

Trip Computer................................................3-77
Oil Life Indicator...........................................3-77
Audio System(s).............................................3-78
Setting the Time for Radios without Radio
Data Systems (RDS)..................................3-78
Setting the Time for Radios with Radio
Data Systems (RDS)..................................3-78
Radio with Cassette and CD (Base Level)........3-79
Radio with Cassette and CD (Up Level)...........3-87
Navigation/Radio System...............................3-98
Console-Mounted CD Changer........................3-99Radio Personalization with Home and
Away Feature..........................................3-102
Theft-Deterrent Feature................................3-102
Audio Steering Wheel Controls......................3-103
Understanding Radio Reception....................3-103
Care of Your Cassette Tape Player...............3-104
Care of Your CDs.......................................3-105
Care of Your CD Player...............................3-105
Diversity Antenna System.............................3-106
XMŸ Satellite Radio Antenna System
(48 Contiguous US States)........................3-106
Section 3 Instrument Panel
3-2