Page 117 of 408

The main components of the instrument panel are the following:
A. Air Outlets. See
Outlet Adjustment on page 3-33.
B. Driver Information Center (DIC) Buttons. See
DIC Controls and Displays on page 3-53.
C. Turn Signal/Multifunction Lever. See
Turn
Signal/Multifunction Lever on page 3-9.
D. Climate Controls and OnStaržSteering Wheel
Controls (or Cellular Telephone Controls, If
Equipped).
See
Steering Wheel Climate Controls on page 3-35andOnStaržSystem on page 2-42.
E. Instrument Panel Cluster. See
Instrument Panel
Cluster on page 3-38.
F. Windshield Wiper/Washer Lever. See ªWindshield
Wipersº under
Turn Signal/Multifunction Lever
on page 3-9.
G. Audio Steering Wheel Controls. See
Audio Steering
Wheel Controls on page 3-103.
H. Ignition Switch. See
Ignition Positions on page 2-24.
I. Air Outlet Thumbwheel. See
Outlet Adjustment
on page 3-33.
J. Hazard Warning Flasher Button. See
Hazard
Warning Flashers on page 3-6.K. Audio System. See
Audio System(s) on page 3-78.
L. Exterior Lamp Controls. See
Exterior Lamps on
page 3-16.
M. Hood Release. See
Hood Release on page 5-11.
N. Fuel Door Release. See
Filling Your Tank on
page 5-6.
O. Trunk Release Button. See
Trunk on page 2-12.
P. Cruise Control. See ªCruise Controlº under
Turn Signal/Multifunction Lever on page 3-9.
Q. Horn. See
Horn on page 3-7.
R. Heated Seat Controls. See
Heated Seats on
page 1-3.
S. Traction Control System (TCS) Button. See
Traction
Control System (TCS) on page 4-9.
T. Console Shift Lever. See
Automatic Transaxle
Operation on page 2-28.
U. Optional Ashtray. See
Ashtrays and Cigarette
Lighter on page 3-27.
V. Climate Controls. See
Dual Climate Control System
on page 3-28.
W. Glove Box. See
Glove Box on page 2-48.
3-5
Page 119 of 408
Other Warning Devices
If you carry re¯ective triangles, you can set one up at
the side of the road about 300 feet (100 m) behind your
vehicle.
Horn
The horn can be sounded by pressing on the center of
the steering wheel pad.
Tilt Wheel
A tilt wheel allows you to adjust the steering wheel
before you drive. You can raise the steering wheel to
the highest level to give your legs more room when you
enter and exit the vehicle.The lever that allows you to tilt the steering wheel is
located on the left side of the steering column.
To tilt the wheel, hold the wheel and pull the lever. Then
move the wheel to a comfortable position and release
the lever to lock the wheel in place.
3-7
Page 120 of 408
Power Tilt Wheel and Telescopic
Steering Column
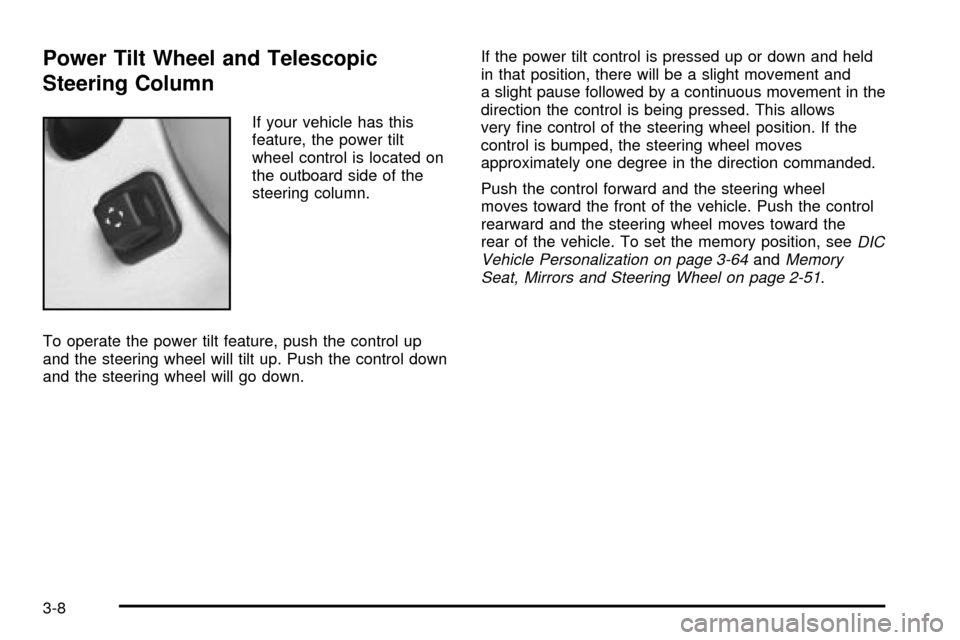
If your vehicle has this
feature, the power tilt
wheel control is located on
the outboard side of the
steering column.
To operate the power tilt feature, push the control up
and the steering wheel will tilt up. Push the control down
and the steering wheel will go down.If the power tilt control is pressed up or down and held
in that position, there will be a slight movement and
a slight pause followed by a continuous movement in the
direction the control is being pressed. This allows
very ®ne control of the steering wheel position. If the
control is bumped, the steering wheel moves
approximately one degree in the direction commanded.
Push the control forward and the steering wheel
moves toward the front of the vehicle. Push the control
rearward and the steering wheel moves toward the
rear of the vehicle. To set the memory position, see
DIC
Vehicle Personalization on page 3-64andMemory
Seat, Mirrors and Steering Wheel on page 2-51.
3-8
Page 121 of 408
Turn Signal/Multifunction Lever
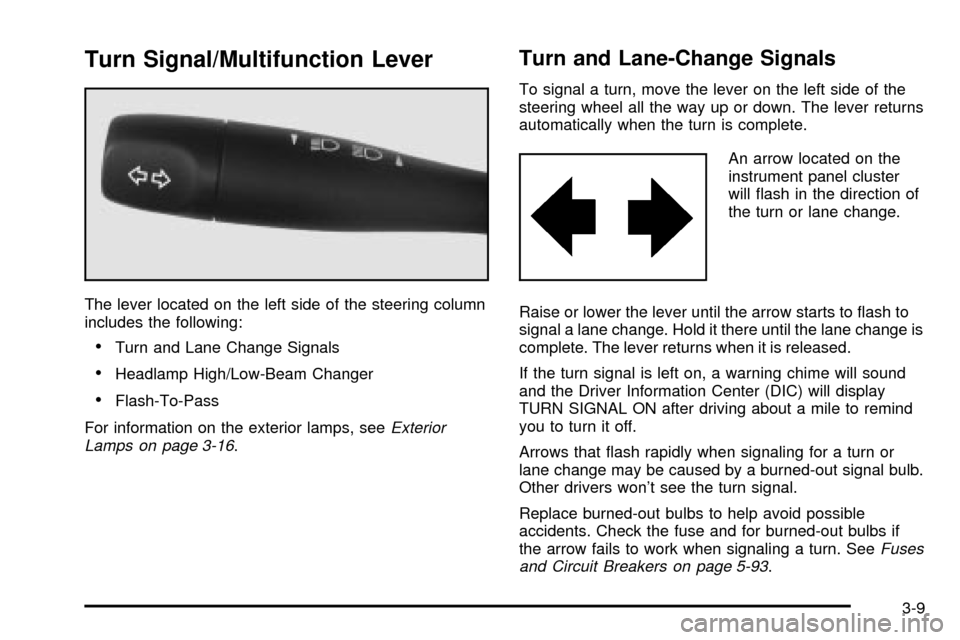
The lever located on the left side of the steering column
includes the following:
·Turn and Lane Change Signals
·Headlamp High/Low-Beam Changer
·Flash-To-Pass
For information on the exterior lamps, see
Exterior
Lamps on page 3-16.
Turn and Lane-Change Signals
To signal a turn, move the lever on the left side of the
steering wheel all the way up or down. The lever returns
automatically when the turn is complete.
An arrow located on the
instrument panel cluster
will ¯ash in the direction of
the turn or lane change.
Raise or lower the lever until the arrow starts to ¯ash to
signal a lane change. Hold it there until the lane change is
complete. The lever returns when it is released.
If the turn signal is left on, a warning chime will sound
and the Driver Information Center (DIC) will display
TURN SIGNAL ON after driving about a mile to remind
you to turn it off.
Arrows that ¯ash rapidly when signaling for a turn or
lane change may be caused by a burned-out signal bulb.
Other drivers won't see the turn signal.
Replace burned-out bulbs to help avoid possible
accidents. Check the fuse and for burned-out bulbs if
the arrow fails to work when signaling a turn. See
Fuses
and Circuit Breakers on page 5-93.
3-9
Page 122 of 408
Headlamp High/Low-Beam Changer
When the low-beam headlamps are on, push the turn
signal lever away from you to change the headlamps to
high beam.
This light on the instrument
panel cluster will be on,
indicating high-beam
usage.
Pull the turn signal lever toward you to return to
low-beam headlamps.
Flash-To-Pass
This feature lets you use the high-beam headlamps to
signal the driver in front of you that you want to pass.
Pull the turn signal lever toward you brie¯y to
¯ash-to-pass. When you do, the following will occur:
·If the headlamps are either off or in the Daytime
Running Lamps (DRL) mode, the high-beam
headlamps will turn on. They'll stay on as long as
you hold the lever there. Release the lever to
turn them off.
·If the headlamps are on low beam, they will remain
active and the high beam will also illuminate until
you release the lever.
Windshield Wipers
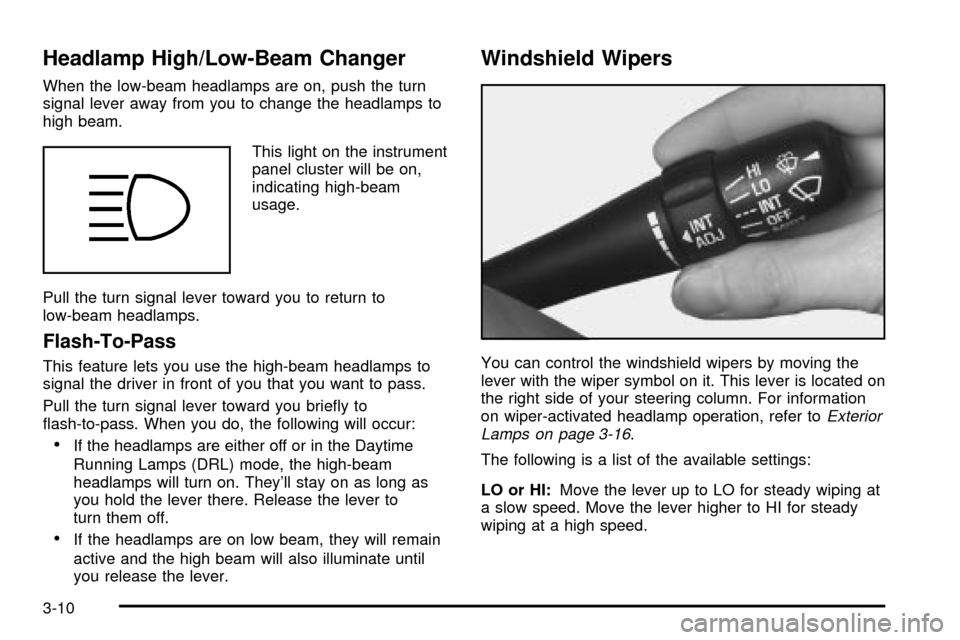
You can control the windshield wipers by moving the
lever with the wiper symbol on it. This lever is located on
the right side of your steering column. For information
on wiper-activated headlamp operation, refer to
Exterior
Lamps on page 3-16.
The following is a list of the available settings:
LO or HI:Move the lever up to LO for steady wiping at
a slow speed. Move the lever higher to HI for steady
wiping at a high speed.
3-10
Page 126 of 408
Setting Cruise Control
{CAUTION:
If you leave your cruise control on when you
are not using cruise, you might hit a button
and go into cruise when you do not want to.
You could be startled and even lose control.
Keep the cruise control switch off until you
want to use cruise control.
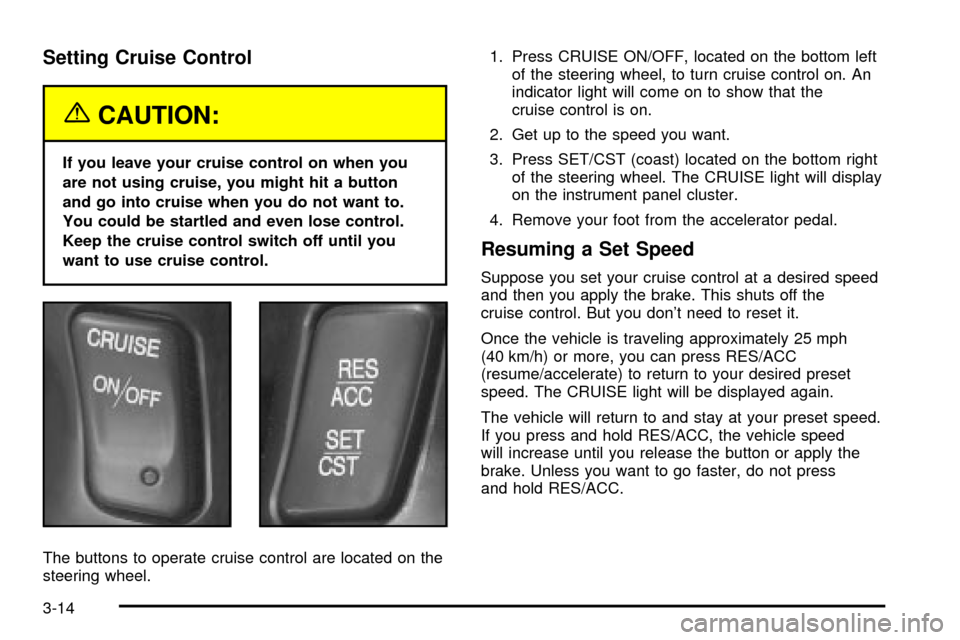
The buttons to operate cruise control are located on the
steering wheel.1. Press CRUISE ON/OFF, located on the bottom left
of the steering wheel, to turn cruise control on. An
indicator light will come on to show that the
cruise control is on.
2. Get up to the speed you want.
3. Press SET/CST (coast) located on the bottom right
of the steering wheel. The CRUISE light will display
on the instrument panel cluster.
4. Remove your foot from the accelerator pedal.
Resuming a Set Speed
Suppose you set your cruise control at a desired speed
and then you apply the brake. This shuts off the
cruise control. But you don't need to reset it.
Once the vehicle is traveling approximately 25 mph
(40 km/h) or more, you can press RES/ACC
(resume/accelerate) to return to your desired preset
speed. The CRUISE light will be displayed again.
The vehicle will return to and stay at your preset speed.
If you press and hold RES/ACC, the vehicle speed
will increase until you release the button or apply the
brake. Unless you want to go faster, do not press
and hold RES/ACC.
3-14
Page 127 of 408

Increasing Speed While Using Cruise
Control
There are two ways to go to a higher speed:
·Use the accelerator pedal to get to the higher
speed. Press SET/CST, then release it and
the accelerator pedal. You will now cruise at the
higher speed.
·Press RES/ACC. Hold it there until you get up to
the speed that you want, and then release it. To
increase your speed in very small amounts, brie¯y
press RES/ACC and then release it. Each time
you do this, your vehicle will speed up
approximately 1 mph (1.6 km/h) faster.
The accelerate feature will only work after you have set
the cruise control speed by pressing SET/CST.
Reducing Speed While Using Cruise
Control
There are two ways to reduce your speed while using
cruise control:
·Press SET/CST until you reach the lower speed
you want, then release it.
·To slow down in very small amounts, press
SET/CST brie¯y. Each time you do this, the vehicle
will slow down approximately 1 mph (1.6 km/h).
Passing Another Vehicle While Using
Cruise Control
Use the accelerator pedal to increase your speed.
When you take your foot off the pedal, your vehicle will
slow down to the cruise control speed you set earlier.
Using Cruise Control on Hills
How well your cruise control will work on hills depends
upon your speed, load and the steepness of the
hills. When going up steep hills, you may have to step
on the accelerator pedal to maintain your speed.
When going downhill, you may have to brake or shift to
a lower gear to keep your speed down. Applying the
brake or shifting into a lower gear will take you out
of cruise control. If you need to apply the brake or shift
to a lower gear due to the grade of the downhill
slope, you may not want to attempt to use your cruise
control feature.
Ending Cruise Control
To turn off the cruise control, step lightly on the brake
pedal or press CRUISE ON/OFF on the steering wheel.
Erasing Speed Memory
When you turn off the cruise control or the ignition, your
cruise control set speed memory is erased.
3-15
Page 147 of 408
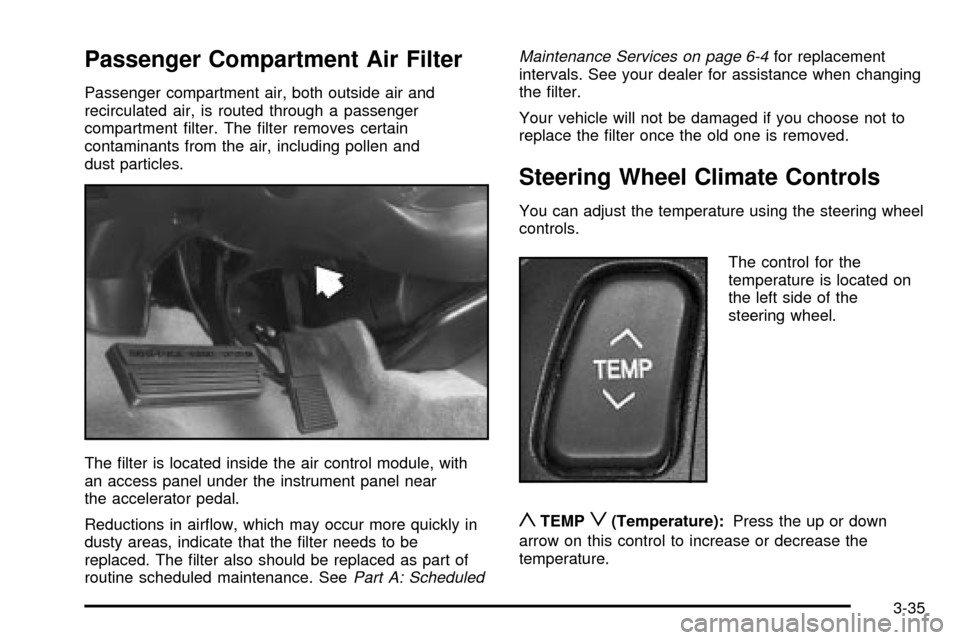
Passenger Compartment Air Filter
Passenger compartment air, both outside air and
recirculated air, is routed through a passenger
compartment ®lter. The ®lter removes certain
contaminants from the air, including pollen and
dust particles.
The ®lter is located inside the air control module, with
an access panel under the instrument panel near
the accelerator pedal.
Reductions in air¯ow, which may occur more quickly in
dusty areas, indicate that the ®lter needs to be
replaced. The ®lter also should be replaced as part of
routine scheduled maintenance. See
Part A: ScheduledMaintenance Services on page 6-4
for replacement
intervals. See your dealer for assistance when changing
the ®lter.
Your vehicle will not be damaged if you choose not to
replace the ®lter once the old one is removed.
Steering Wheel Climate Controls
You can adjust the temperature using the steering wheel
controls.
The control for the
temperature is located on
the left side of the
steering wheel.
yTEMPz(Temperature):Press the up or down
arrow on this control to increase or decrease the
temperature.
3-35