2003 BMW M5 SEDAN jump start
[x] Cancel search: jump startPage 6 of 155

Contents
Operation, maintenance
Owner service procedures
Special operating instructions:
Break-in procedures106
Driving notes107
Antilock Brake System107
Brake system108
Wheels and tires:
Tire inflation pressure109
Tire condition109
Tire replacement110
Wheel and tire
combinations111
Special characteristics of winter
tires112
Snow chains112
In the engine compartment:
Hood113
Engine compartment
essentials114
Washer fluids115
Engine oil115
Coolant117
Brake fluid118
Maintenance:
The BMW Maintenance
System119
Laws and regulations:
Technical modifications120
California Proposition
65 Warning120
OBD interface socket121
Replacement procedures:
Onboard tool kit124
Windshield wiper blades124
Lamps and bulbs124
Repairing a flat tire128
Battery131
Fuses132
Assistance, giving and
receiving:
Jump-starting133
Towing the vehicle135
Page 90 of 155
90n
Automatic climate control Air conditioning
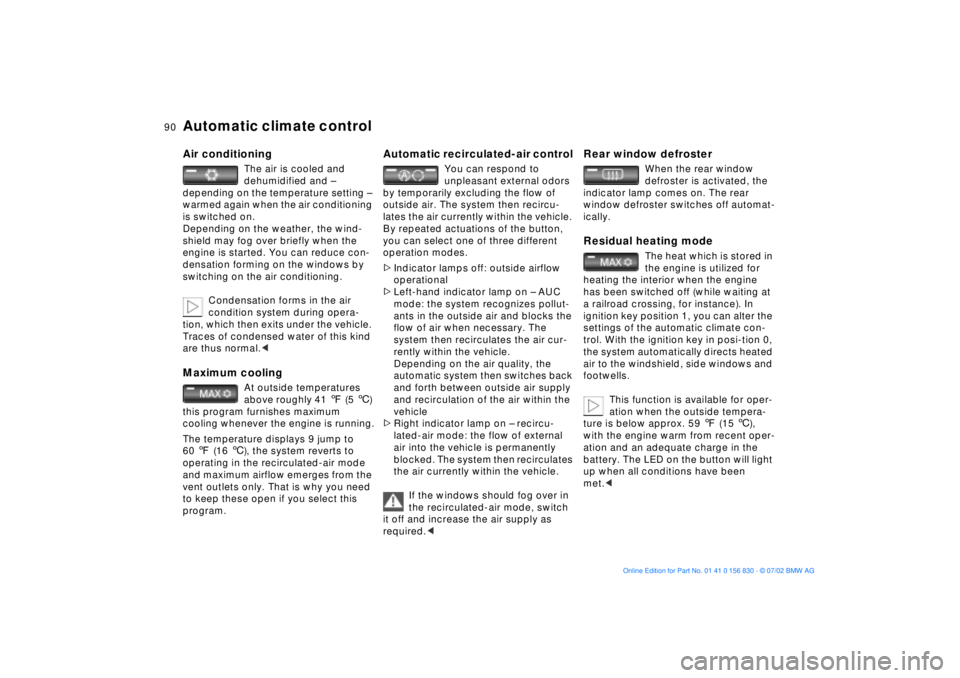
The air is cooled and
dehumidified and Ð
depending on the temperature setting Ð
warmed again when the air conditioning
is switched on.
Depending on the weather, the wind-
shield may fog over briefly when the
engine is started. You can reduce con-
densation forming on the windows by
switching on the air conditioning.
Condensation forms in the air
condition system during opera-
tion, which then exits under the vehicle.
Traces of condensed water of this kind
are thus normal.<
Maximum cooling
At outside temperatures
above roughly 41 7 (5 6)
this program furnishes maximum
cooling whenever the engine is running.
The temperature displays 9 jump to
60 7 (16 6), the system reverts to
operating in the recirculated-air mode
and maximum airflow emerges from the
vent outlets only. That is why you need
to keep these open if you select this
program.
Automatic recirculated-air control
You can respond to
unpleasant external odors
by temporarily excluding the flow of
outside air. The system then recircu-
lates the air currently within the vehicle.
By repeated actuations of the button,
you can select one of three different
operation modes.
>Indicator lamps off: outside airflow
operational
>Left-hand indicator lamp on Ð AUC
mode: the system recognizes pollut-
ants in the outside air and blocks the
flow of air when necessary. The
system then recirculates the air cur-
rently within the vehicle.
Depending on the air quality, the
automatic system then switches back
and forth between outside air supply
and recirculation of the air within the
vehicle
>Right indicator lamp on Ð recircu-
lated-air mode: the flow of external
air into the vehicle is permanently
blocked. The system then recirculates
the air currently within the vehicle.
If the windows should fog over in
the recirculated-air mode, switch
it off and increase the air supply as
required.<
Rear window defroster
When the rear window
defroster is activated, the
indicator lamp comes on. The rear
window defroster switches off automat-
ically.
Residual heating mode
The heat which is stored in
the engine is utilized for
heating the interior when the engine
has been switched off (while waiting at
a railroad crossing, for instance). In
ignition key position 1, you can alter the
settings of the automatic climate con-
trol. With the ignition key in posi-tion 0,
the system automatically directs heated
air to the windshield, side windows and
footwells.
This function is available for oper-
ation when the outside tempera-
ture is below approx. 59 7 (15 6),
with the engine warm from recent oper-
ation and an adequate charge in the
battery. The LED on the button will light
up when all conditions have been
met.<
Page 114 of 155

114n
Engine compartment essentials 1 Reservoir for brake fluid (under
the housing of the microfilter)118
2 Auxiliary terminal for jump
starting1333 Engine oil dipstick115
4 Engine oil filler neck116
5 Coolant expansion tank1186 Reservoir for the intensive-cleaning
system115
7 Reservoir for the windshield and
headlamp washer system115
39mde150
Page 132 of 155
132n
Battery FusesCharging the battery Recharge the battery only with the
engine off, using the auxiliary terminals
provided in the engine compartment
(for information on these terminals refer
to "Jump-starting" on page 133).
Avoid environmental pollution
when disposing of old batteries.<
Return used batteries to a recy-
cling point or your BMW center.
Maintain the battery in an upright posi-
tion for transport and storage. Secure
the battery to prevent it from tilting
during transport.<
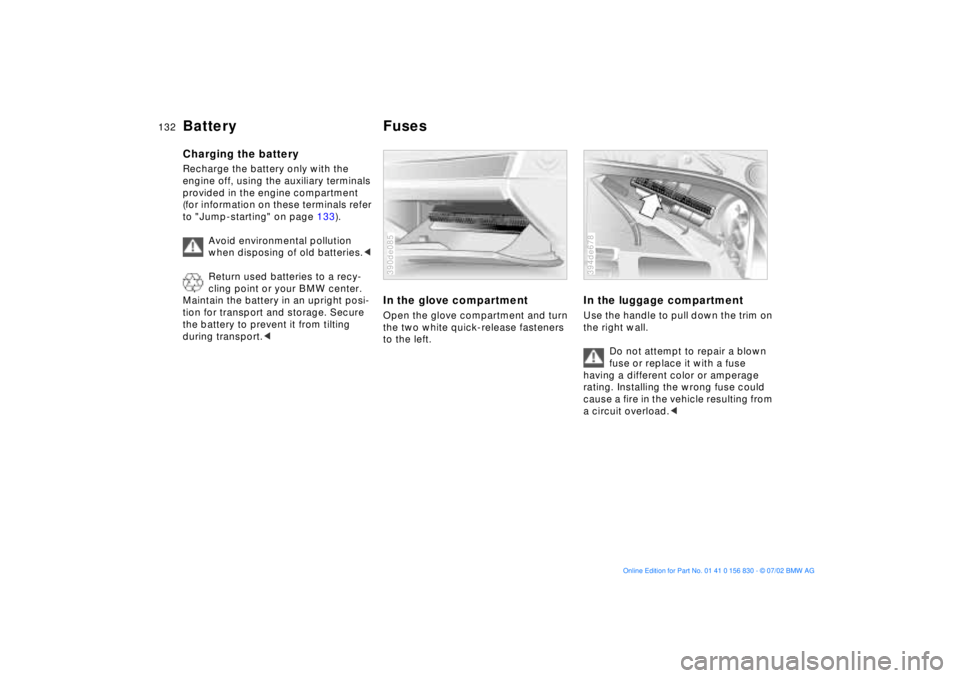
In the glove compartmentOpen the glove compartment and turn
the two white quick-release fasteners
to the left.390de085
In the luggage compartmentUse the handle to pull down the trim on
the right wall.
Do not attempt to repair a blown
fuse or replace it with a fuse
having a different color or amperage
rating. Installing the wrong fuse could
cause a fire in the vehicle resulting from
a circuit overload.<394de678
Page 133 of 155
133n
OverviewControlsMaintenanceRepairsDataIndex
Do not use spray starter fluids to start
the engine.
When your battery is discharged you
can used two jumper cables to start
your vehicle with power from the bat-
tery in a second vehicle. You can also
use the same method to help start
another vehicle. Use only jumper cables
with fully insulated handles on the ter-
minal clamps.
Do not touch high-voltage wiring
and cables on a running engine.
There is a risk of fatal injury if you do
this. Carefully observe the following
instructions to avoid personal injury
and/or damage to one or both vehi-
cles.<
1. Ensure that the battery in the sup-
port vehicle is also rated at
12 volts. This information is pro-
vided on the top of the battery
casing
2. Do not disconnect your battery from
your vehicle's electrical system.
Switch off all electrical accessories
in both vehicles
3. Make absolutely certain that there
is no contact between the body-
work of the two vehicles Ð short cir-
cuit hazard
4. Start the engine on the support
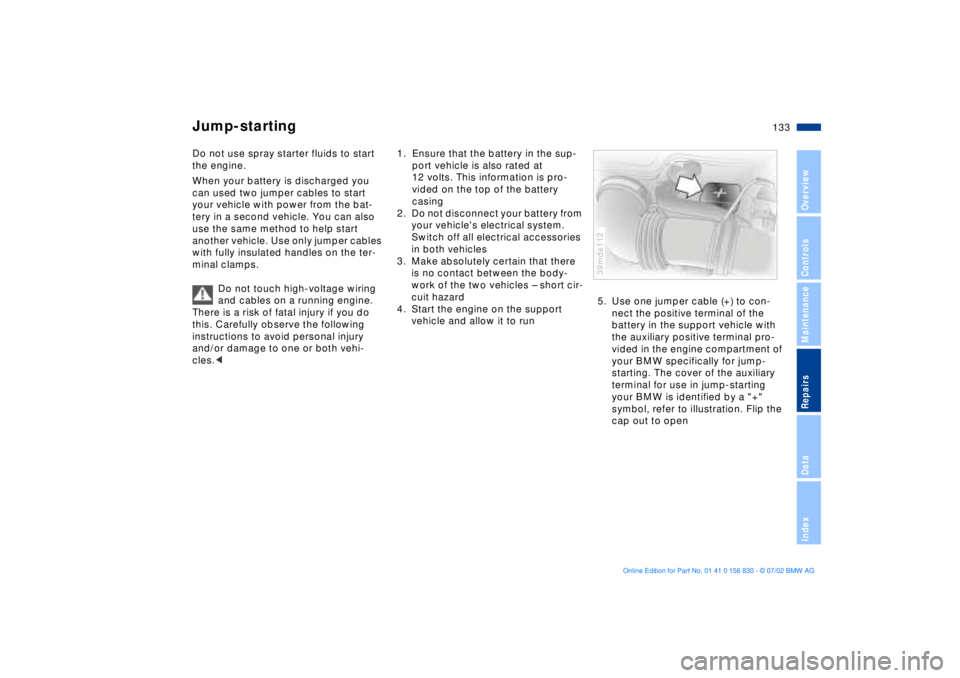
vehicle and allow it to run5. Use one jumper cable (+) to con-
nect the positive terminal of the
battery in the support vehicle with
the auxiliary positive terminal pro-
vided in the engine compartment of
your BMW specifically for jump-
starting. The cover of the auxiliary
terminal for use in jump-starting
your BMW is identified by a "+"
symbol, refer to illustration. Flip the
cap out to open
39mde112
Jump-starting
Page 134 of 155
134n
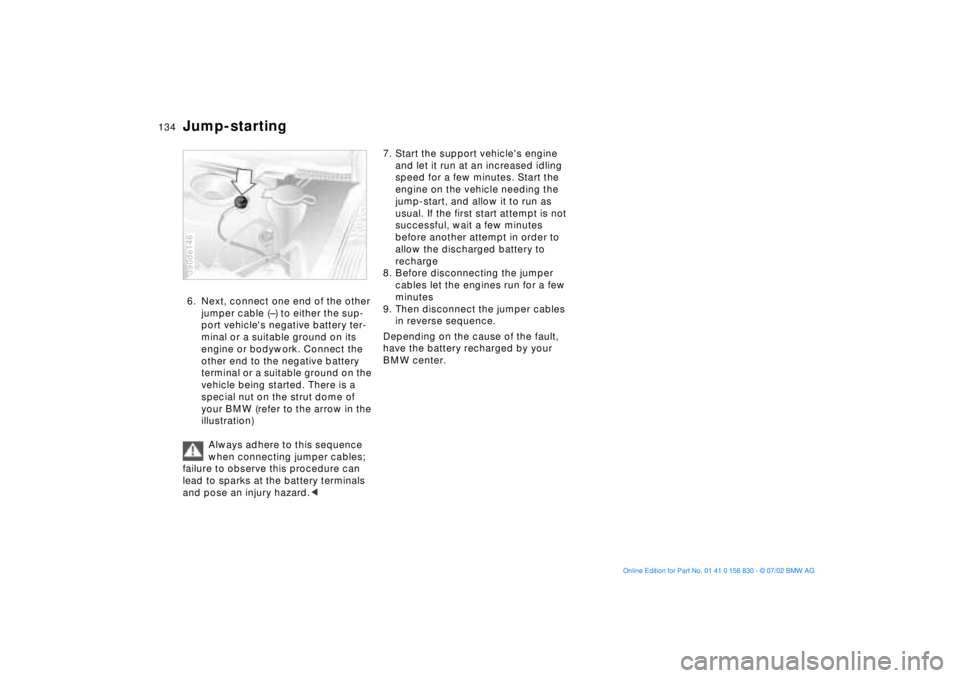
Jump-starting6. Next, connect one end of the other
jumper cable (Ð) to either the sup-
port vehicle's negative battery ter-
minal or a suitable ground on its
engine or bodywork. Connect the
other end to the negative battery
terminal or a suitable ground on the
vehicle being started. There is a
special nut on the strut dome of
your BMW (refer to the arrow in the
illustration)
Always adhere to this sequence
when connecting jumper cables;
failure to observe this procedure can
lead to sparks at the battery terminals
and pose an injury hazard.<390de146
7. Start the support vehicle's engine
and let it run at an increased idling
speed for a few minutes. Start the
engine on the vehicle needing the
jump-start, and allow it to run as
usual. If the first start attempt is not
successful, wait a few minutes
before another attempt in order to
allow the discharged battery to
recharge
8. Before disconnecting the jumper
cables let the engines run for a few
minutes
9. Then disconnect the jumper cables
in reverse sequence.
Depending on the cause of the fault,
have the battery recharged by your
BMW center.
Page 135 of 155
135n
OverviewControlsMaintenanceRepairsDataIndex
Towing the vehicleTow fittingThe screw-in tow fitting is stored in the
onboard tool kit; be sure that it remains
in the vehicle at all times. This fitting
is designed for installation in the tow
sockets located at the front and rear of
the vehicle, and is intended for towing
on proper road surfaces only.
It should not be used to pull a vehicle
out of deep snow, mud, sand, etc.
Always observe all applicable towing
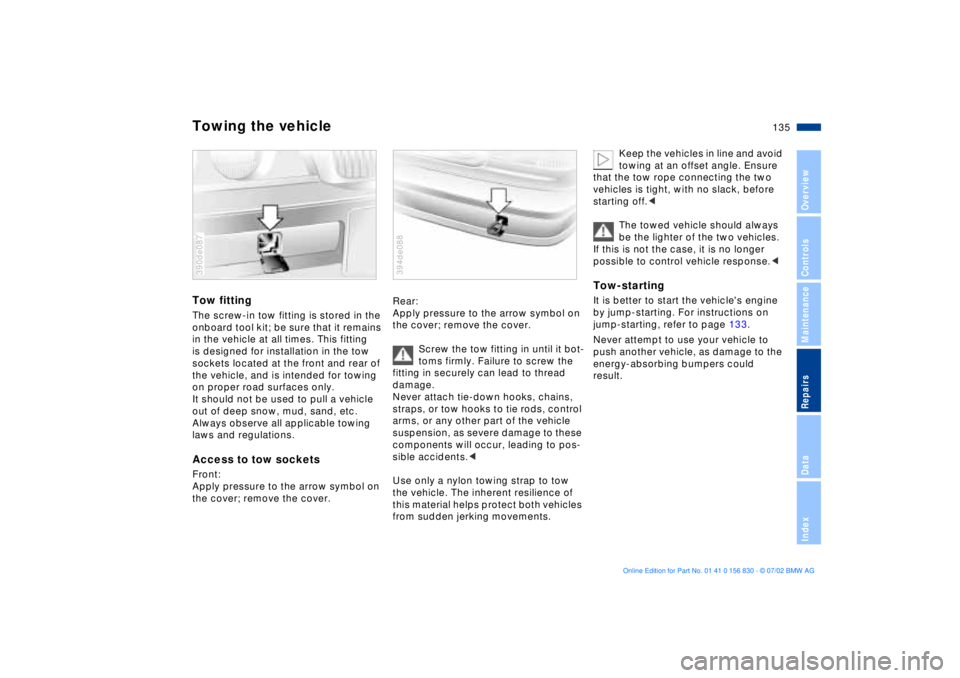
laws and regulations.Access to tow sockets Front:
Apply pressure to the arrow symbol on
the cover; remove the cover.390de087
Rear:
Apply pressure to the arrow symbol on
the cover; remove the cover.
Screw the tow fitting in until it bot-
toms firmly. Failure to screw the
fitting in securely can lead to thread
damage.
Never attach tie-down hooks, chains,
straps, or tow hooks to tie rods, control
arms, or any other part of the vehicle
suspension, as severe damage to these
components will occur, leading to pos-
sible accidents.<
Use only a nylon towing strap to tow
the vehicle. The inherent resilience of
this material helps protect both vehicles
from sudden jerking movements.394de088
Keep the vehicles in line and avoid
towing at an offset angle. Ensure
that the tow rope connecting the two
vehicles is tight, with no slack, before
starting off.<
The towed vehicle should always
be the lighter of the two vehicles.
If this is not the case, it is no longer
possible to control vehicle response.<
Tow-startingIt is better to start the vehicle's engine
by jump-starting. For instructions on
jump-starting, refer to page 133.
Never attempt to use your vehicle to
push another vehicle, as damage to the
energy-absorbing bumpers could
result.
Page 148 of 155
Everything from A to ZF
Failure messages66
Filling capacities143
First-aid kit20
Fittings, tow starting and
towing135t
Flashlight96
Flat tire109
Flat Tire Monitor82
Flat tire, repairing128
Fog lamps85
bulb replacement126t
Folding rear backrest99
Follow me home lamps84
Frost protection,
radiator118
Fuel consumption75
average75
Fuel filler door20
manual operation20t
Fuel gauge64
Fuel quality22
Fuel specifications22
Fuel tank capacity143
Fuse replacement132t G
Gasoline gauge64
Gasoline quality22
Glove compartment96
Gross vehicle weight142
H
Handbrake17, 58
Hands-free system97
Hazard warning triangle20
Head protection airbags49
Head restraints43
adjusting43
Headlamp cover,
care125t
Headlamp flasher59
Headlamp washer
system115
Headlamp washers61
Headrests43
Heated seats46
Heating with vehicle
stopped90
Heavy cargo102
Height141
Height adjustment
seats41
steering wheel47
High beams18, 59, 85
High Performance Synthetic
Oil117
High-mount brake lamp127
Holder for canned
beverages97
Hood113
release113t
Horn14 Hydraulic Braking Assistant,
refer to DBC17, 80
Hydroplaning107, 109
I
Ice warning63
Identification, tires111
Ignition key26
Ignition lock56
Imprint4
Independent ventilation
system, refer to Parked-
car ventilation system92
Indicator lamps16
Inflation
pressure22t, 109
INSPECTION65
Instrument cluster15
Instrument lighting85
Intensive cleaning
system115
Interface socket for Onboard
Diagnostics (OBD)121
Interior lamps86
Interior mirrors48
Interior motion sensor36
deactivating29 J
Jump-starting133t
K
Key Memory55
Key with remote control26
Keys26 L
Lamps and bulbs124
Lashing eyes for attaching
cargo straps34, 102
Length141
License plate lamps, bulb
replacement127t
Lighter98
LIGHTS ON warning84
Locking and unlocking the
doors27
Low beams14, 84
Low-fuel warning lamp64
Luggage compartment34
capacity142
manual operation32t
opening from the
inside33
opening separately32
securing separately32