Page 72 of 155

72n
Digital clockSetting activation times for
parked-car ventilation systemYou can enter two different activation
times.
After 30 minutes, the ventilation will
switch off automatically.
Please observe the instructions
for operating the parked-car venti-
lation system on page 92.<
Press the left side of the button.
Press on the left or right.
Display shows:
Press the right side of the button:
Display flashes, e. g. TIMER 1.
To enter the time:
Press on left or right, or hold down.
To confirm the entry:
Press the right side of the button.
The activated time is marked with an
asterisk.
The switch-on times remain memorized
until new entries are made.
You can change switch-on times that
have already been memorized by set-
ting a new time using the procedure
described above.
When the switch-on time is active, the
LED comes on in the MID. During actual
operation of the ventilation, the LED
flashes. The LED goes out when the
system is switched off.
To activate/deactivate the time:
Press twice.Turning the parked-car ventilation
system on and off directly
The parked-car ventilation system
is available exclusively in ignition
key position 1.<
Press the left side of the button.
Press
or
press.
Page 76 of 155
76n
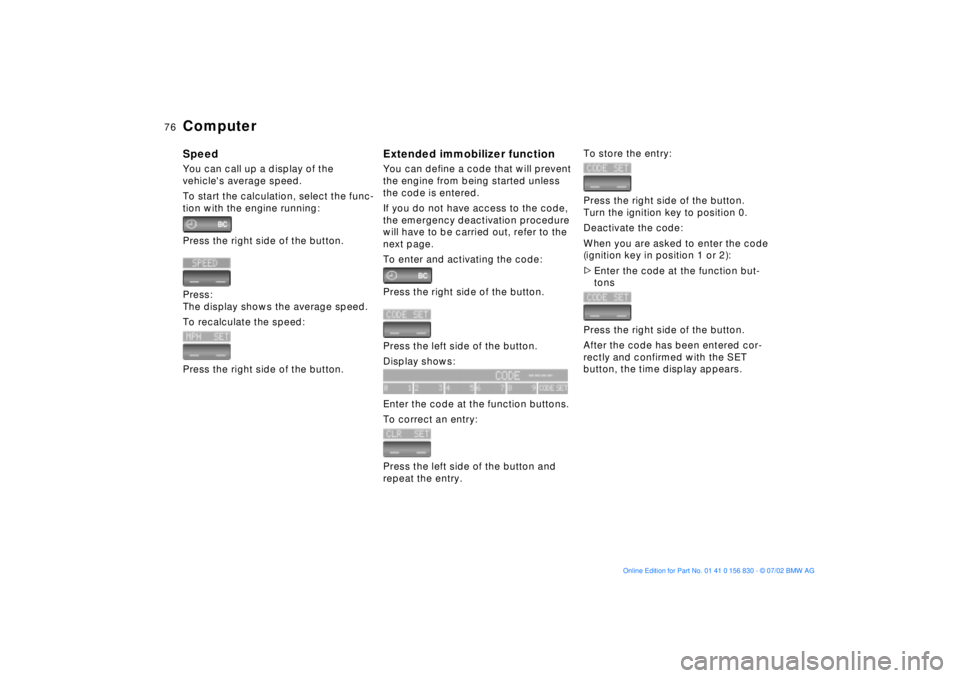
ComputerSpeedYou can call up a display of the
vehicle's average speed.
To start the calculation, select the func-
tion with the engine running:
Press the right side of the button.
Press:
The display shows the average speed.
To recalculate the speed:
Press the right side of the button.
Extended immobilizer functionYou can define a code that will prevent
the engine from being started unless
the code is entered.
If you do not have access to the code,
the emergency deactivation procedure
will have to be carried out, refer to the
next page.
To enter and activating the code:
Press the right side of the button.
Press the left side of the button.
Display shows:
Enter the code at the function buttons.
To correct an entry:
Press the left side of the button and
repeat the entry.
To store the entry:
Press the right side of the button.
Turn the ignition key to position 0.
Deactivate the code:
When you are asked to enter the code
(ignition key in position 1 or 2):
>Enter the code at the function but-
tons
Press the right side of the button.
After the code has been entered cor-
rectly and confirmed with the SET
button, the time display appears.
Page 77 of 155
77n
OverviewControlsMaintenanceRepairsDataIndex
ComputerAfter three incorrect code entries,
or three attempts to start the engine
without a code entry, the alarm will
sound for 30 seconds on vehicles
equipped with an alarm system.
Setting the alarm in an emergency:
If you have forgotten the code, proceed
as follows:
1. Disconnect the battery, wait about
2 minutes, then reconnect it. Note
that on vehicles with an alarm
system, the alarm will sound
2. Turn the ignition key to position 1:
The time display will count down for
the next ten minutes
3. After ten minutes, start the engine.
If the code becomes available
again in the meantime, it can be
entered during the waiting period after
pressing the CODE button.<
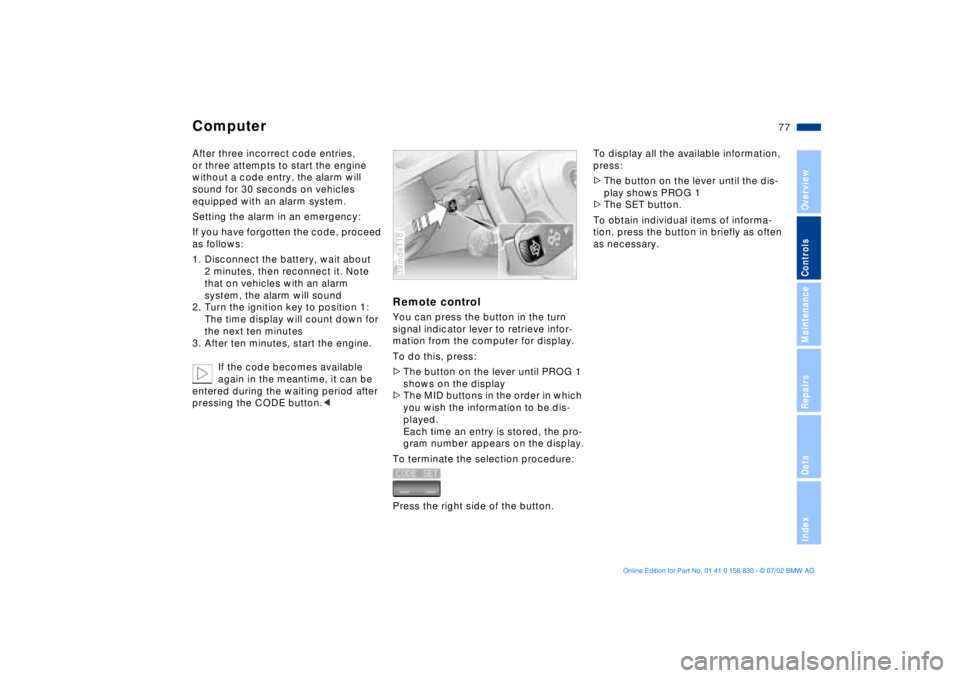
Remote controlYou can press the button in the turn
signal indicator lever to retrieve infor-
mation from the computer for display.
To do this, press:
>The button on the lever until PROG 1
shows on the display
>The MID buttons in the order in which
you wish the information to be dis-
played.
Each time an entry is stored, the pro-
gram number appears on the display.
To terminate the selection procedure:
Press the right side of the button.39mde118
To display all the available information,
press:
>The button on the lever until the dis-
play shows PROG 1
>The SET button.
To obtain individual items of informa-
tion, press the button in briefly as often
as necessary.
Page 78 of 155
78n
The conceptPDC provides extra safety and conve-
nience during parking maneuvers by
providing an acoustic signal to indicate
the distance to the nearest object. To
do this, four ultrasonic sensors in the
front and rear bumpers each measure
the distance to the nearest object. The
monitoring range of the front sensors
and two rear sensors at the ends of the
rear bumper extends outward roughly
2 ft (60 cm), while the rear bumper's
two centrally located sensors detect
objects at distances of up to approx.
5 ft (1.50 m).Automatic functionThe system is activated automatically
about one second after you engage
reverse with the ignition key in
position 2.
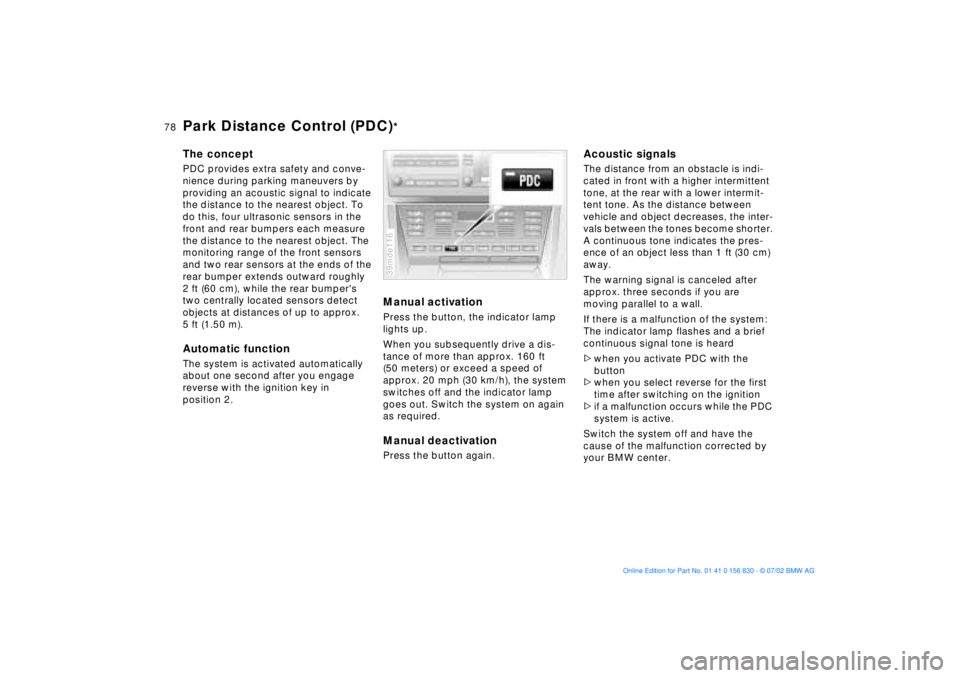
Manual activationPress the button, the indicator lamp
lights up.
When you subsequently drive a dis-
tance of more than approx. 160 ft
(50 meters) or exceed a speed of
approx. 20 mph (30 km/h), the system
switches off and the indicator lamp
goes out. Switch the system on again
as required.Manual deactivationPress the button again.39mde116
Acoustic signalsThe distance from an obstacle is indi-
cated in front with a higher intermittent
tone, at the rear with a lower intermit-
tent tone. As the distance between
vehicle and object decreases, the inter-
vals between the tones become shorter.
A continuous tone indicates the pres-
ence of an object less than 1 ft (30 cm)
away.
The warning signal is canceled after
approx. three seconds if you are
moving parallel to a wall.
If there is a malfunction of the system:
The indicator lamp flashes and a brief
continuous signal tone is heard
>when you activate PDC with the
button
>when you select reverse for the first
time after switching on the ignition
>if a malfunction occurs while the PDC
system is active.
Switch the system off and have the
cause of the malfunction corrected by
your BMW center.
Park Distance Control (PDC)
*
Page 81 of 155
81n
OverviewControlsMaintenanceRepairsDataIndex
M Dynamic Driving ControlThe system guarantees that whenever
desired, the system will switch the Ser-
votronic and the accelerator pedal
response from the sporty-comfortable
mode to a pure performance mode.
This means that steering response
becomes more performance-oriented
and the response of the accelerator
pedal is much more spontaneous (Per-
formance Recognition). 39mde125
Performance Recognition Press the button with the ignition key in
position 2: the indicator lamp comes
on.
Deactivating Performance Recognition:
Press the button again; the indicator
lamp goes out.
The coordinated performance-comfort
mode is activated automatically each
time you start the engine.
Page 82 of 155
82n
Flat Tire MonitorThe conceptThe Flat Tire Monitor keeps track of the
inflation pressures in your tires as you
drive. The system provides an alert
whenever the inflation pressure drops
significantly in one of the tires.
To initialize the Flat Tire Monitor system
with the correct tire inflation pressures,
start by checking the inflation pressures
in all four tires, comparing them with
the figures specified in the tire inflation
pressure table (page 23). Then correct
the tire inflation pressures as neces-
sary. Now you can activate the system. The Check Control (refer to page 66)
will inform you if the tire inflation pres-
sure of one the tires has dropped signif-
icantly.
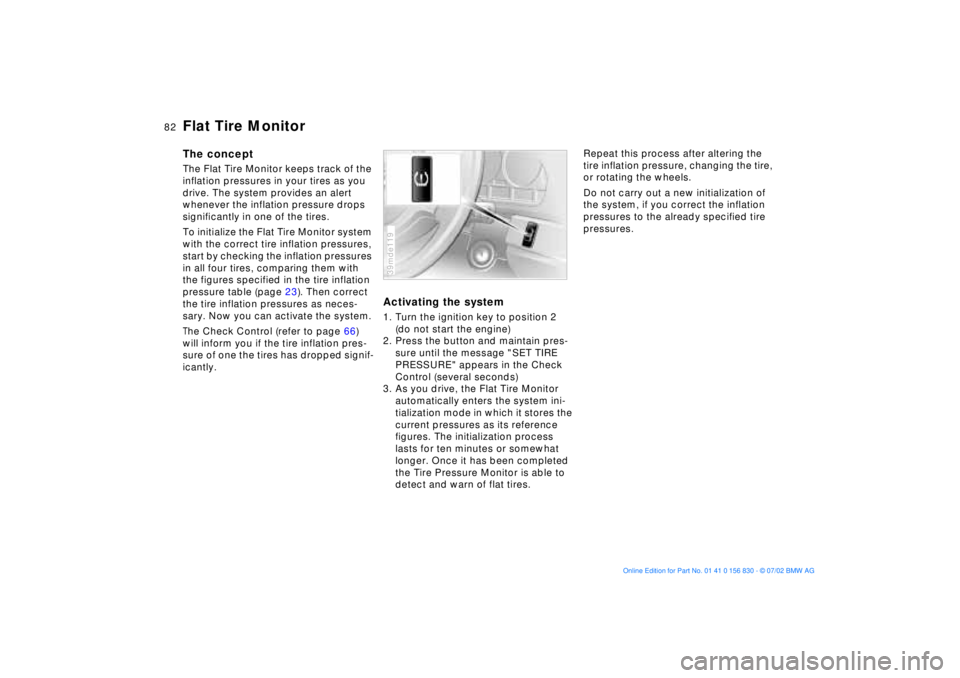
Activating the system1. Turn the ignition key to position 2
(do not start the engine)
2. Press the button and maintain pres-
sure until the message "SET TIRE
PRESSURE" appears in the Check
Control (several seconds)
3. As you drive, the Flat Tire Monitor
automatically enters the system ini-
tialization mode in which it stores the
current pressures as its reference
figures. The initialization process
lasts for ten minutes or somewhat
longer. Once it has been completed
the Tire Pressure Monitor is able to
detect and warn of flat tires.39mde119
Repeat this process after altering the
tire inflation pressure, changing the tire,
or rotating the wheels.
Do not carry out a new initialization of
the system, if you correct the inflation
pressures to the already specified tire
pressures.
Page 84 of 155
84n
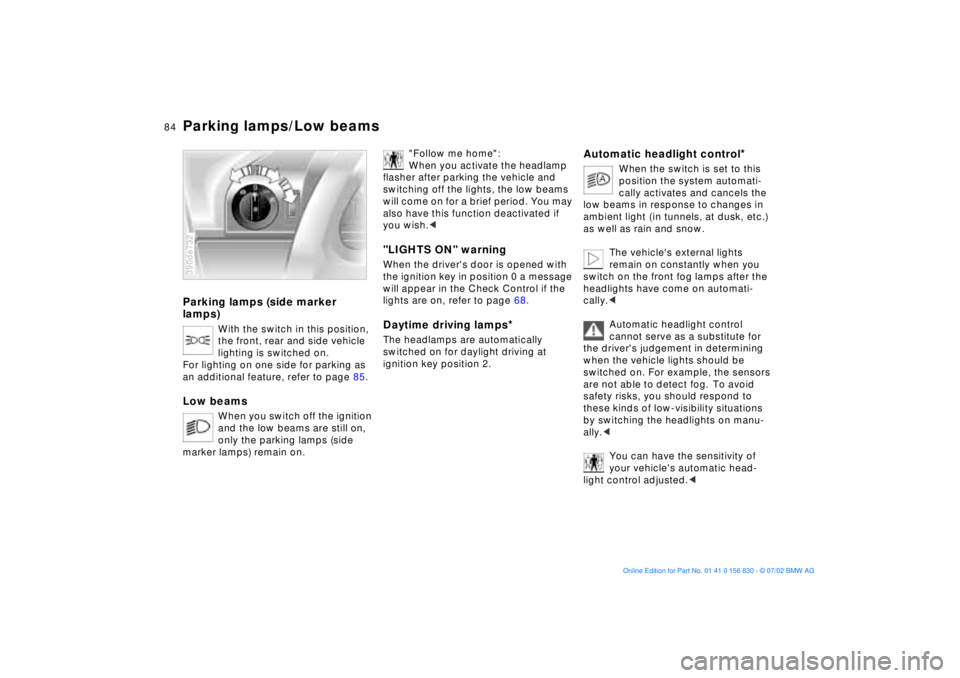
Parking lamps (side marker
lamps)
With the switch in this position,
the front, rear and side vehicle
lighting is switched on.
For lighting on one side for parking as
an additional feature, refer to page 85.
Low beams
When you switch off the ignition
and the low beams are still on,
only the parking lamps (side
marker lamps) remain on.
390de732
"Follow me home":
When you activate the headlamp
flasher after parking the vehicle and
switching off the lights, the low beams
will come on for a brief period. You may
also have this function deactivated if
you wish.<
"LIGHTS ON" warningWhen the driver's door is opened with
the ignition key in position 0 a message
will appear in the Check Control if the
lights are on, refer to page 68.Daytime driving lamps
*
The headlamps are automatically
switched on for daylight driving at
ignition key position 2.
Automatic headlight control
*
When the switch is set to this
position the system automati-
cally activates and cancels the
low beams in response to changes in
ambient light ( in tunnels, at dusk, etc.)
as well as rain and snow.
The vehicle's external lights
remain on constantly when you
switch on the front fog lamps after the
headlights have come on automati-
cally.<
Automatic headlight control
cannot serve as a substitute for
the driver's judgement in determining
when the vehicle lights should be
switched on. For example, the sensors
are not able to detect fog. To avoid
safety risks, you should respond to
these kinds of low-visibility situations
by switching the headlights on manu-
ally.<
You can have the sensitivity of
your vehicle's automatic head-
light control adjusted.<
Parking lamps/Low beams
Page 85 of 155
85n
OverviewControlsMaintenanceRepairsDataIndex
Instrument lighting
High beams/Standing lamps
Fog lamps
Turn the rotary dial to adjust the illumi-
nation intensity. 390de733
1 High beams (blue indicator lamp)
2 Headlamp flasher (blue indicator
lamp)
3 Standing lampsStanding lamps, left or rightAs an additional feature, you can
illuminate your vehicle on either side
for parking, if you wish to do so:
With the ignition key in position 0, push
the lever in the appropriate direction.
The lever engages in the turn signal
indicator position.39mde135
Front fog lamps
The green indicator lamp in the
instrument cluster lights up to
indicate that the front fog lamps
are on.
If the high beams are switched on, the
fog lamps go out.
Always comply with the legal regula-
tions governing use of fog lamps.
If the automatic headlight control
is on, the low beams will come on
automatically whenever you activate
the fog lamps.<
390us735