Page 81 of 155
81n
OverviewControlsMaintenanceRepairsDataIndex
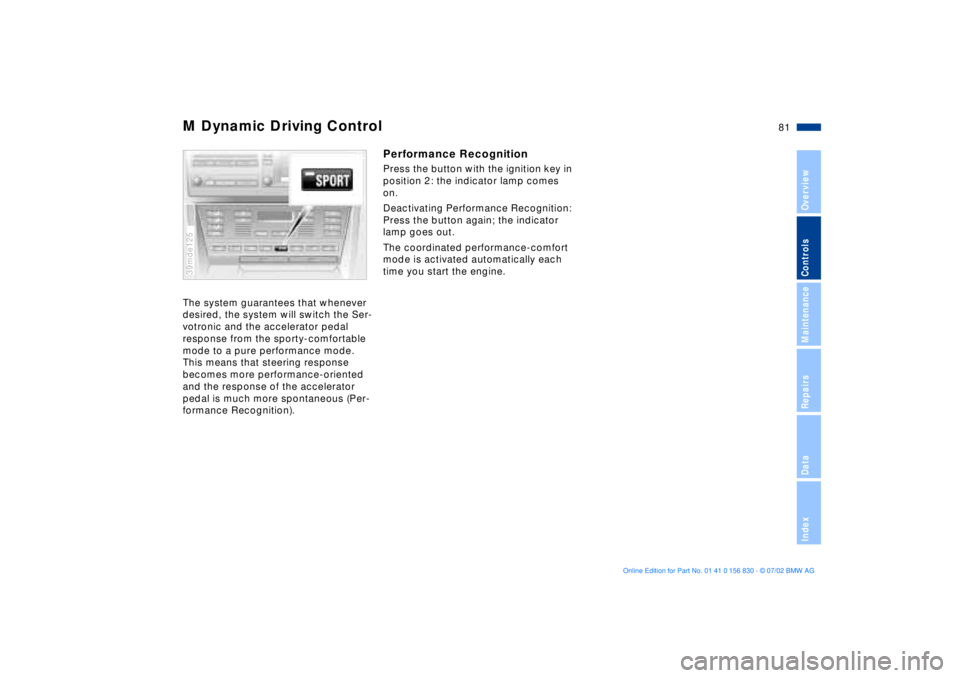
M Dynamic Driving ControlThe system guarantees that whenever
desired, the system will switch the Ser-
votronic and the accelerator pedal
response from the sporty-comfortable
mode to a pure performance mode.
This means that steering response
becomes more performance-oriented
and the response of the accelerator
pedal is much more spontaneous (Per-
formance Recognition). 39mde125
Performance Recognition Press the button with the ignition key in
position 2: the indicator lamp comes
on.
Deactivating Performance Recognition:
Press the button again; the indicator
lamp goes out.
The coordinated performance-comfort
mode is activated automatically each
time you start the engine.
Page 82 of 155

82n
Flat Tire MonitorThe conceptThe Flat Tire Monitor keeps track of the
inflation pressures in your tires as you
drive. The system provides an alert
whenever the inflation pressure drops
significantly in one of the tires.
To initialize the Flat Tire Monitor system
with the correct tire inflation pressures,
start by checking the inflation pressures
in all four tires, comparing them with
the figures specified in the tire inflation
pressure table (page 23). Then correct
the tire inflation pressures as neces-
sary. Now you can activate the system. The Check Control (refer to page 66)
will inform you if the tire inflation pres-
sure of one the tires has dropped signif-
icantly.
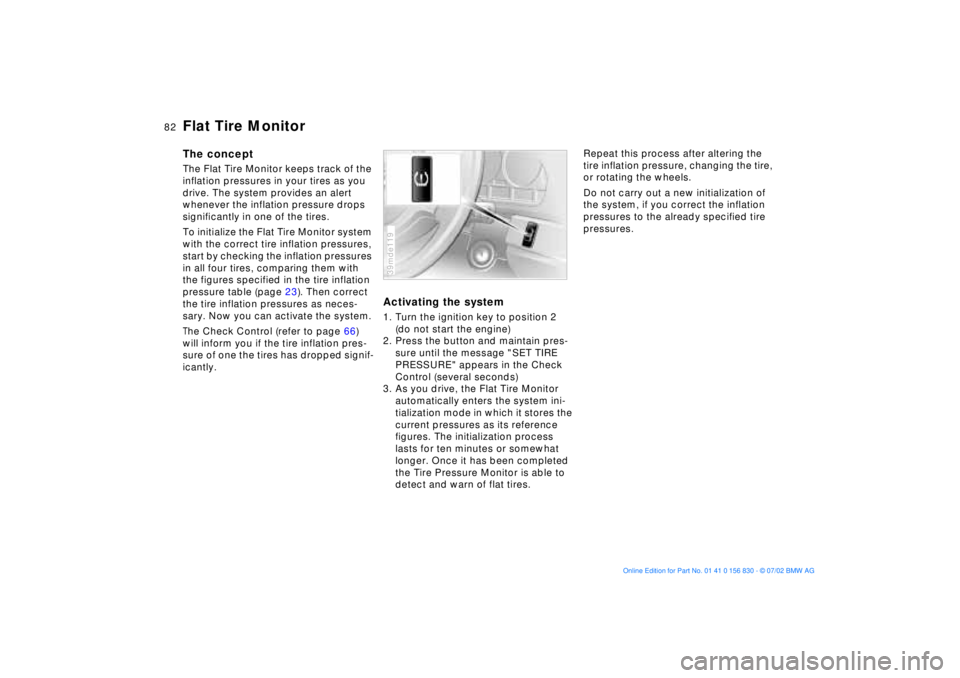
Activating the system1. Turn the ignition key to position 2
(do not start the engine)
2. Press the button and maintain pres-
sure until the message "SET TIRE
PRESSURE" appears in the Check
Control (several seconds)
3. As you drive, the Flat Tire Monitor
automatically enters the system ini-
tialization mode in which it stores the
current pressures as its reference
figures. The initialization process
lasts for ten minutes or somewhat
longer. Once it has been completed
the Tire Pressure Monitor is able to
detect and warn of flat tires.39mde119
Repeat this process after altering the
tire inflation pressure, changing the tire,
or rotating the wheels.
Do not carry out a new initialization of
the system, if you correct the inflation
pressures to the already specified tire
pressures.
Page 83 of 155

83n
OverviewControlsMaintenanceRepairsDataIndex
Flat Tire MonitorFlat tireIn the event of a flat tire, the message,
"TIRE DEFECT" will appear in the
Check Control. This visual alert will be
accompanied by a gong.
If this occurs, reduce vehicle speed
immediately and stop the vehicle. Avoid
hard braking and overcorrecting at the
steering wheel.
Correct the flat tire using the M Mobility
system (refer to page 128).
The Flat Tire Monitor cannot alert
you to severe and sudden tire
damage caused by external factors.
Another factor which the Flat Tire Mon-
itor does not recognize is the balanced
and very gradual pressure loss that
takes place in all tires over an extended
period of time.<
Check the tire inflation pressure
on a regular basis and correct if
necessary. Refer to page 22.
Do not carry out any kind of system
activation when using snow chains.
Under these kinds of conditions, false
warnings and unidentified losses in
pressure are possible.
In certain circumstances, when driving
on snow-covered or slippery road sur-
faces, there may be a delay in identi-
fying any loss in inflation pressure.
Performance-oriented driving (slip at
the drive wheels, high levels of lateral
acceleration) can also delay the appear-
ance of status messages in the Flat Tire
Monitor's display panel.<
System malfunctionsThe message "TIRECONTROL INAC-
TIVE" appears in the Check Control
and remains on until the problem is cor-
rected.
The same message is displayed if there
is a system malfunction.
Please refer the problem to your BMW
center.
Page 84 of 155

84n
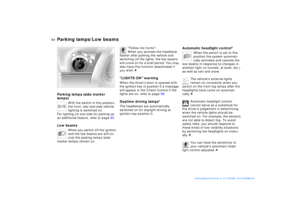
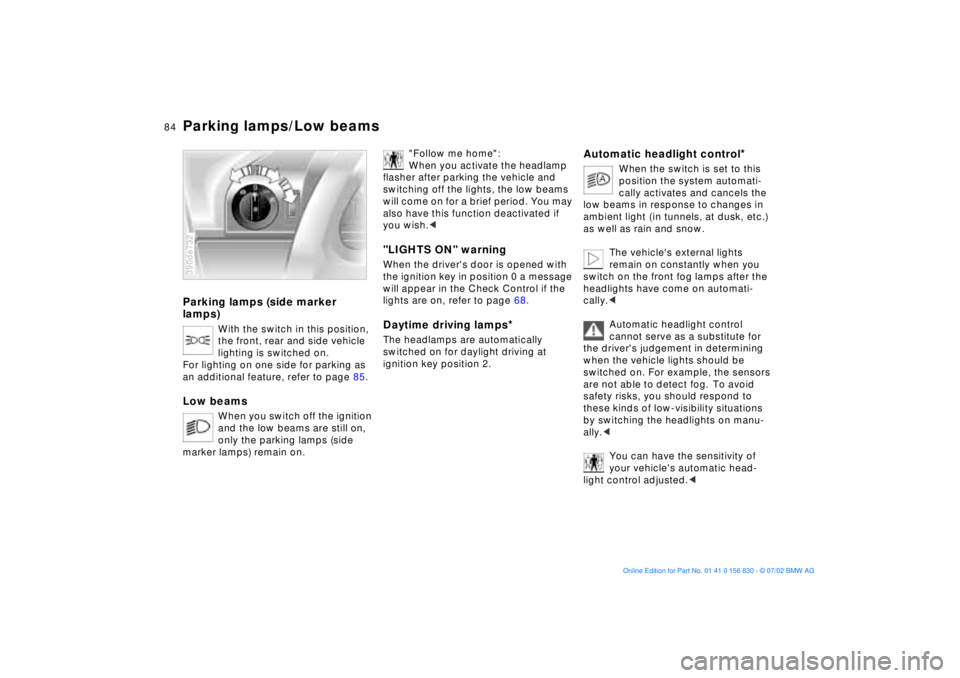
Parking lamps (side marker
lamps)
With the switch in this position,
the front, rear and side vehicle
lighting is switched on.
For lighting on one side for parking as
an additional feature, refer to page 85.
Low beams
When you switch off the ignition
and the low beams are still on,
only the parking lamps (side
marker lamps) remain on.
390de732
"Follow me home":
When you activate the headlamp
flasher after parking the vehicle and
switching off the lights, the low beams
will come on for a brief period. You may
also have this function deactivated if
you wish.<
"LIGHTS ON" warningWhen the driver's door is opened with
the ignition key in position 0 a message
will appear in the Check Control if the
lights are on, refer to page 68.Daytime driving lamps
*
The headlamps are automatically
switched on for daylight driving at
ignition key position 2.
Automatic headlight control
*
When the switch is set to this
position the system automati-
cally activates and cancels the
low beams in response to changes in
ambient light ( in tunnels, at dusk, etc.)
as well as rain and snow.
The vehicle's external lights
remain on constantly when you
switch on the front fog lamps after the
headlights have come on automati-
cally.<
Automatic headlight control
cannot serve as a substitute for
the driver's judgement in determining
when the vehicle lights should be
switched on. For example, the sensors
are not able to detect fog. To avoid
safety risks, you should respond to
these kinds of low-visibility situations
by switching the headlights on manu-
ally.<
You can have the sensitivity of
your vehicle's automatic head-
light control adjusted.<
Parking lamps/Low beams
Page 85 of 155
85n
OverviewControlsMaintenanceRepairsDataIndex
Instrument lighting
High beams/Standing lamps
Fog lamps
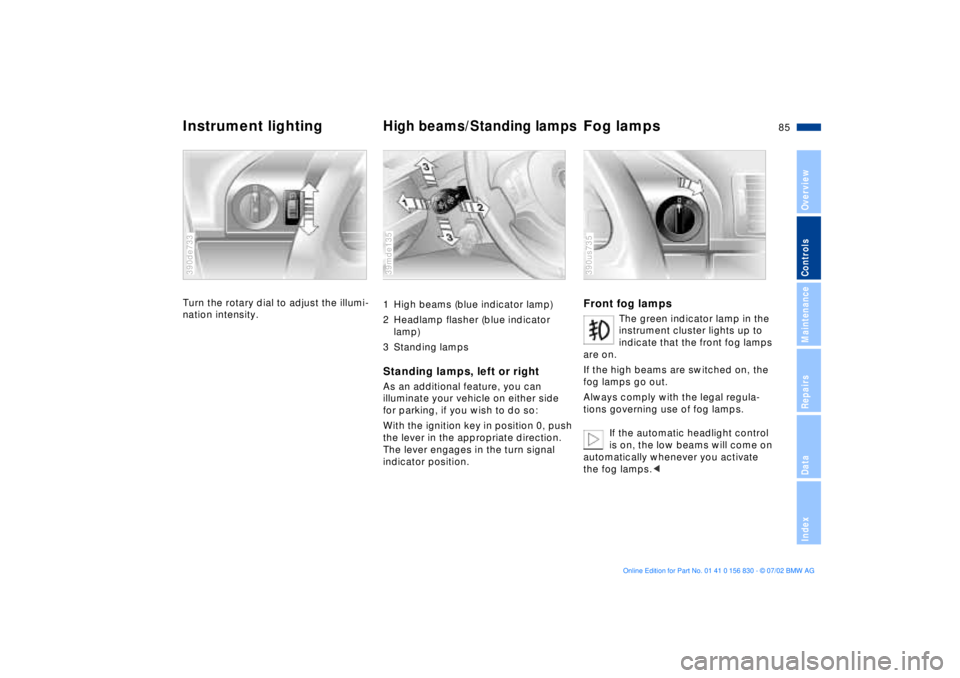
Turn the rotary dial to adjust the illumi-
nation intensity. 390de733
1 High beams (blue indicator lamp)
2 Headlamp flasher (blue indicator
lamp)
3 Standing lampsStanding lamps, left or rightAs an additional feature, you can
illuminate your vehicle on either side
for parking, if you wish to do so:
With the ignition key in position 0, push
the lever in the appropriate direction.
The lever engages in the turn signal
indicator position.39mde135
Front fog lamps
The green indicator lamp in the
instrument cluster lights up to
indicate that the front fog lamps
are on.
If the high beams are switched on, the
fog lamps go out.
Always comply with the legal regula-
tions governing use of fog lamps.
If the automatic headlight control
is on, the low beams will come on
automatically whenever you activate
the fog lamps.<
390us735
Page 86 of 155
86n
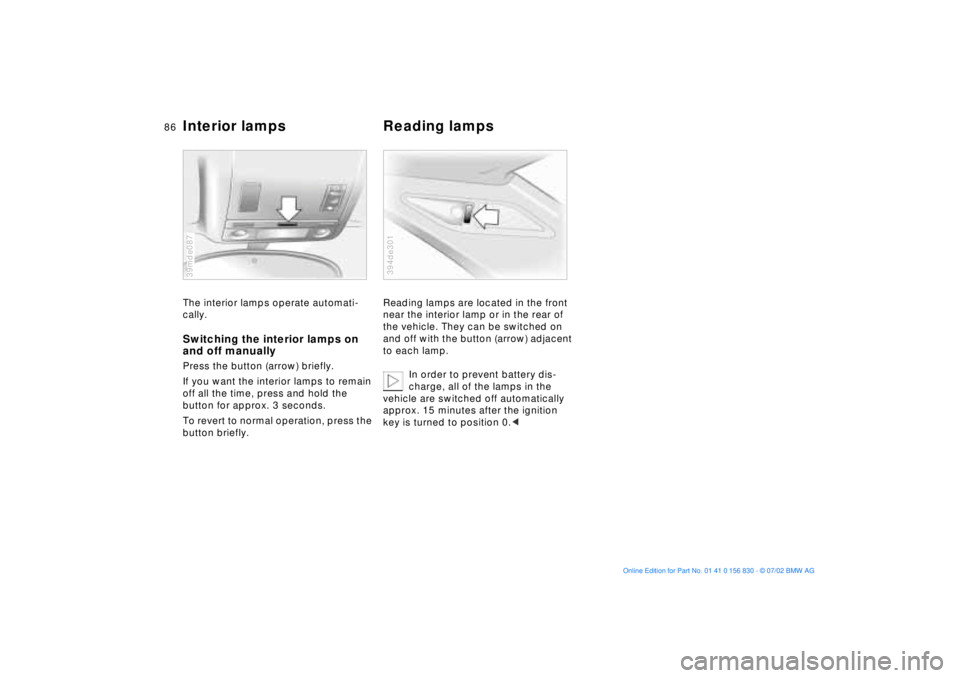
Interior lamps Reading lampsThe interior lamps operate automati-
cally. Switching the interior lamps on
and off manuallyPress the button (arrow) briefly.
If you want the interior lamps to remain
off all the time, press and hold the
button for approx. 3 seconds.
To revert to normal operation, press the
button briefly.39mde087
Reading lamps are located in the front
near the interior lamp or in the rear of
the vehicle. They can be switched on
and off with the button (arrow) adjacent
to each lamp.
In order to prevent battery dis-
charge, all of the lamps in the
vehicle are switched off automatically
approx. 15 minutes after the ignition
key is turned to position 0.< 394de301
Page 87 of 155
87n
OverviewControlsMaintenanceRepairsDataIndex
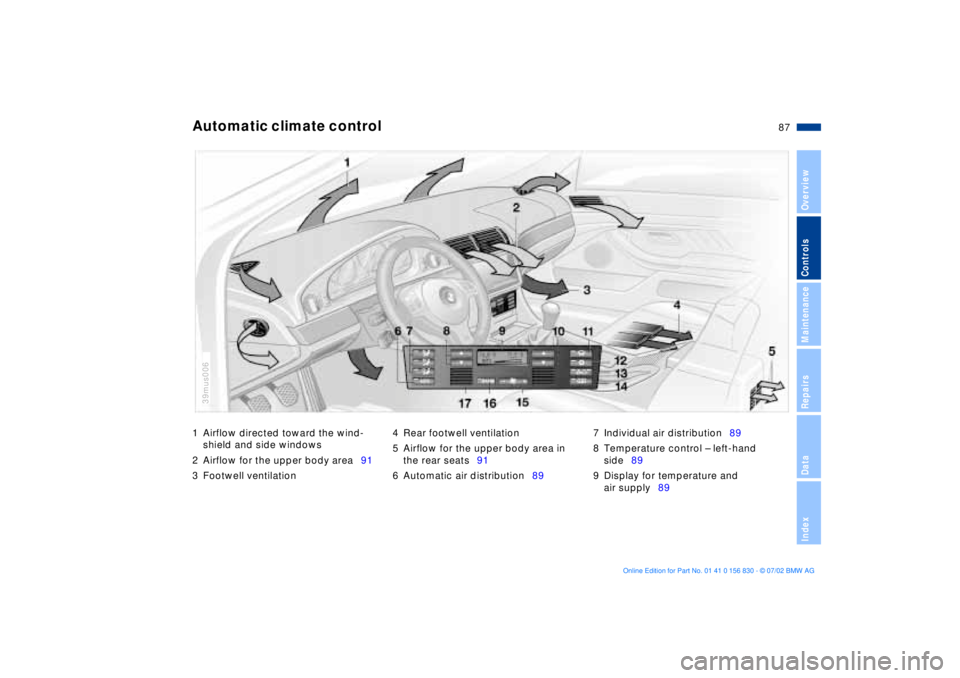
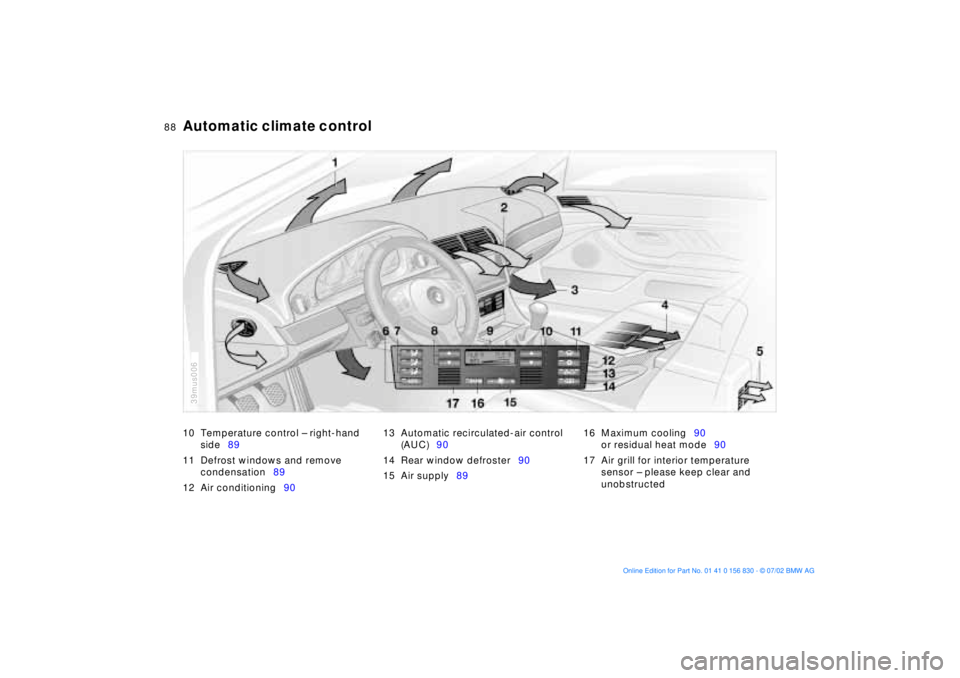
1 Airflow directed toward the wind-
shield and side windows
2 Airflow for the upper body area91
3 Footwell ventilation4 Rear footwell ventilation
5 Airflow for the upper body area in
the rear seats91
6 Automatic air distribution897 Individual air distribution89
8 Temperature control Ð left-hand
side89
9 Display for temperature and
air supply89Automatic climate control
39mus006
Page 88 of 155
88n
Automatic climate control 10 Temperature control Ð right-hand
side89
11 Defrost windows and remove
condensation89
12 Air conditioning9013 Automatic recirculated-air control
(AUC)90
14 Rear window defroster90
15 Air supply8916 Maximum cooling90
or residual heat mode90
17 Air grill for interior temperature
sensor Ð please keep clear and
unobstructed
39mus006