2003 BMW 540I SEDAN sunroof
[x] Cancel search: sunroofPage 4 of 187
Contents
© 2002 Bayerische Motoren Werke
Aktiengesellschaft
Munich, Germany
Reprinting, including excerpts, only with the
written consent of BMW AG, Munich.
Order No. 01 41 0 156 818
US English IX/2002
Printed in Germany
Printed on environmentally friendly paper
Ð bleached without chlorine, suitable for recycling.
Notes
Overview
Controls and features
About this Owner's Manual8
Symbols used8
The individual vehicle8
Status at time of printing9
For your own safety9
Symbol on vehicle parts10
Service and Warranty10
Reporting safety defects10Cockpit14
Instrument cluster15
Indicator and warning lamps19
Steering wheel with multifunction
buttons22
Warning triangle23
First-aid kit23
Refueling24
Fuel specifications25
Tire inflation pressure26
Locks and security systems:
Keys32
Central locking system32
Opening and closing Ð via the
door lock33
Opening and closing Ð via the
remote control34
Opening and closing Ð from the
inside37
Luggage compartment lid/
Tailgate38
Rear window40
Luggage compartment42
Alarm system42
Electric power windows44
Sliding/tilt sunroof46
Adjustments:
Sitting safely48
Seats48
Manually-adjusted seat49
Electric power seats50
Head restraints52
BMW active seat52
Safety belts53
Seat, mirror and steering wheel
memory54
Seat heating55
Adjusting steering wheel56
Steering wheel heating56
Mirrors57
Contents
Page 33 of 187
33n
OverviewControlsMaintenanceRepairsDataIndex
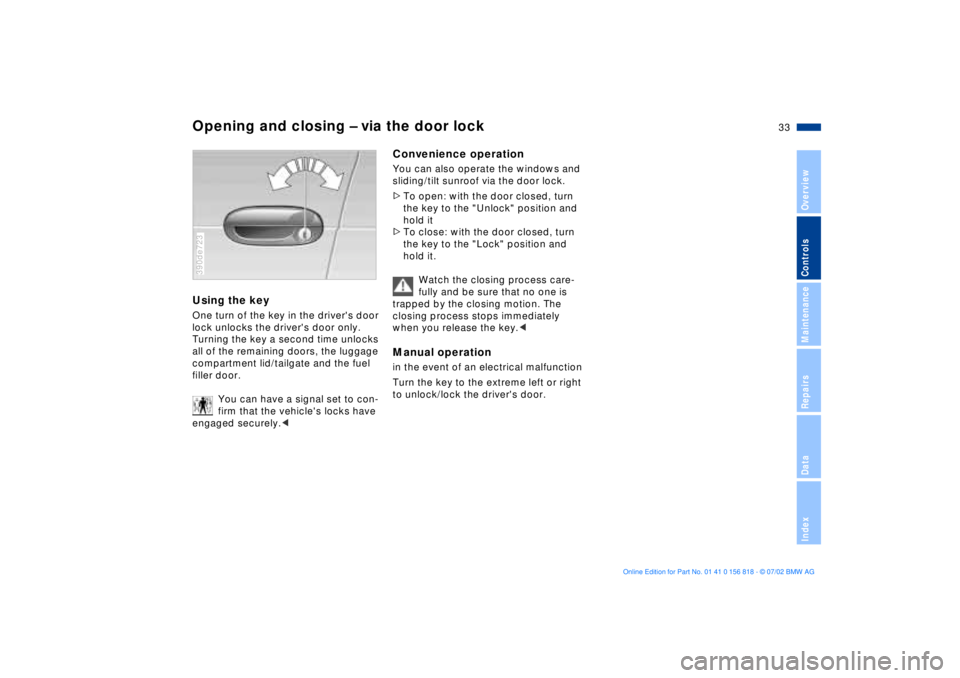
Opening and closing Ð via the door lockUsing the keyOne turn of the key in the driver's door
lock unlocks the driver's door only.
Turning the key a second time unlocks
all of the remaining doors, the luggage
compartment lid/tailgate and the fuel
filler door.
You can have a signal set to con-
firm that the vehicle's locks have
engaged securely.< 390de723
Convenience operationYou can also operate the windows and
sliding/tilt sunroof via the door lock.
>To open: with the door closed, turn
the key to the "Unlock" position and
hold it
>To close: with the door closed, turn
the key to the "Lock" position and
hold it.
Watch the closing process care-
fully and be sure that no one is
trapped by the closing motion. The
closing process stops immediately
when you release the key.< Manual operationin the event of an electrical malfunction
Turn the key to the extreme left or right
to unlock/lock the driver's door.
Page 41 of 187
41n
OverviewControlsMaintenanceRepairsDataIndex
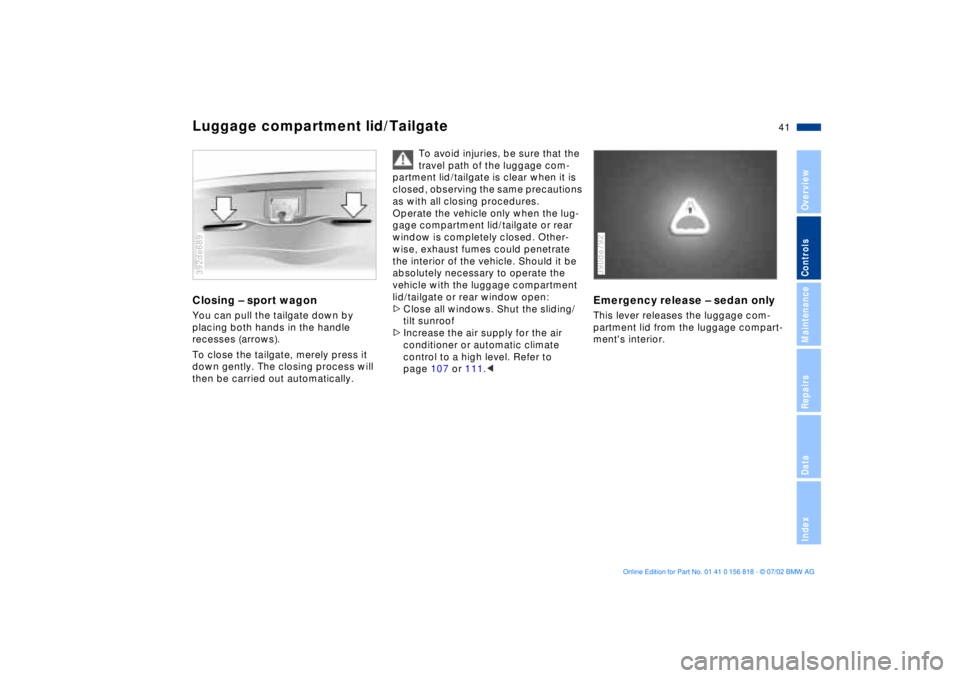
Luggage compartment lid/TailgateClosing Ð sport wagonYou can pull the tailgate down by
placing both hands in the handle
recesses (arrows).
To close the tailgate, merely press it
down gently. The closing process will
then be carried out automatically.392de689
To avoid injuries, be sure that the
travel path of the luggage com-
partment lid/tailgate is clear when it is
closed, observing the same precautions
as with all closing procedures.
Operate the vehicle only when the lug-
gage compartment lid/tailgate or rear
window is completely closed. Other-
wise, exhaust fumes could penetrate
the interior of the vehicle. Should it be
absolutely necessary to operate the
vehicle with the luggage compartment
lid/tailgate or rear window open:
>Close all windows. Shut the sliding/
tilt sunroof
>Increase the air supply for the air
conditioner or automatic climate
control to a high level. Refer to
page 107 or 111.<
Emergency release Ð sedan onlyThis lever releases the luggage com-
partment lid from the luggage compart-
ment's interior.390de792
Page 44 of 187
44n
Alarm system Electric power windowsInterior motion sensorIn order for the interior motion sensor to
function properly, the windows and
sliding/tilt sunroof must be completely
closed.
Nevertheless, you should deactivate
the interior motion sensor (refer to
"Avoiding unintentional alarms") if you
>leave children or animals in the
vehicle
>intend to leave the windows or
sliding/tilt sunroof open.
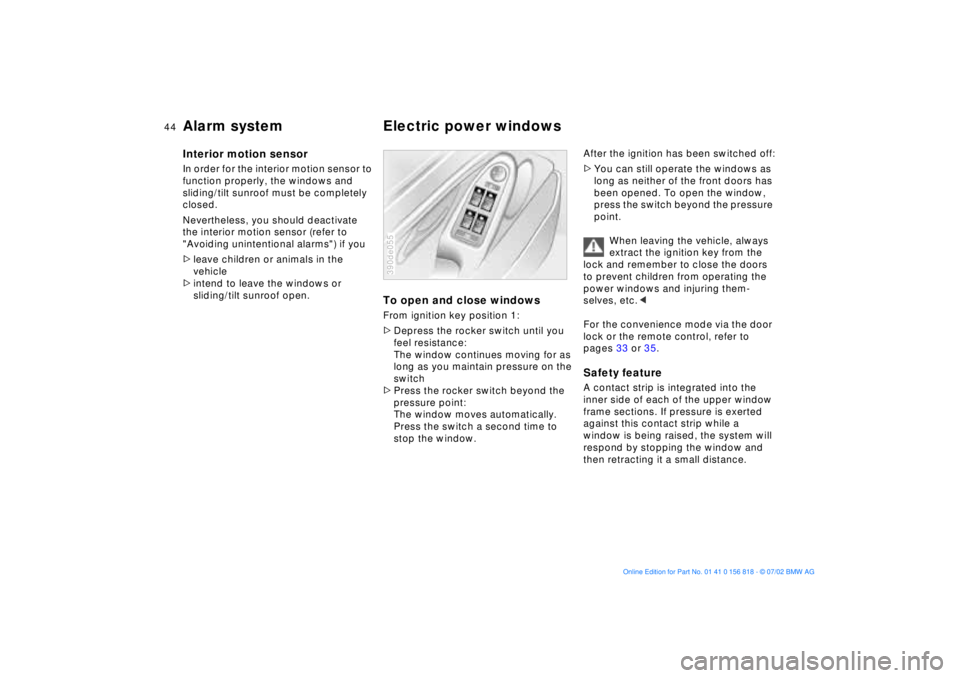
To open and close windowsFrom ignition key position 1:
>Depress the rocker switch until you
feel resistance:
The window continues moving for as
long as you maintain pressure on the
switch
>Press the rocker switch beyond the
pressure point:
The window moves automatically.
Press the switch a second time to
stop the window.390de055
After the ignition has been switched off:
>You can still operate the windows as
long as neither of the front doors has
been opened. To open the window,
press the switch beyond the pressure
point.
When leaving the vehicle, always
extract the ignition key from the
lock and remember to close the doors
to prevent children from operating the
power windows and injuring them-
selves, etc.<
For the convenience mode via the door
lock or the remote control, refer to
pages 33 or 35.Safety featureA contact strip is integrated into the
inner side of each of the upper window
frame sections. If pressure is exerted
against this contact strip while a
window is being raised, the system will
respond by stopping the window and
then retracting it a small distance.
Page 46 of 187
46n
Sliding/tilt sunroof
*
To prevent injuries, exercise care
when closing the sliding/tilt sun-
roof and keep it in your field of vision
until it is shut.
Before leaving the vehicle, switch off
the electric sunroof mechanism by
removing the ignition key. Do not leave
children unattended in the vehicle with
access to vehicle keys. The key could
be used to start the engine and operate
vehicle systems such as the power sun-
roof, etc. Unsupervised use of these
systems can result in serious personal
injury.<
For the convenience mode via the door
lock or the remote control, refer to
page 33 or 35.
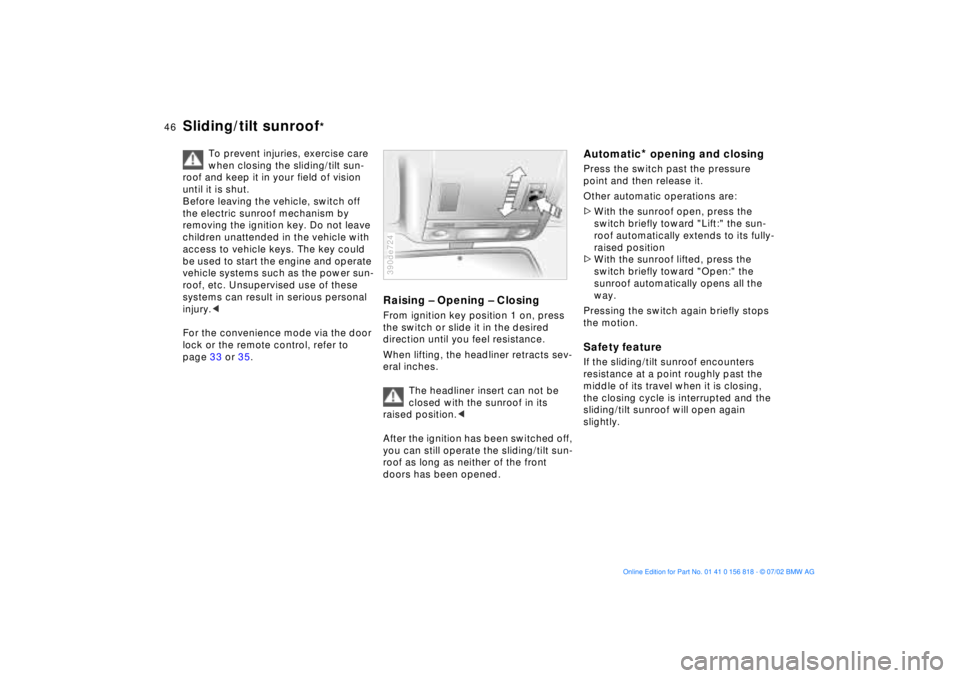
Raising Ð Opening Ð ClosingFrom ignition key position 1 on, press
the switch or slide it in the desired
direction until you feel resistance.
When lifting, the headliner retracts sev-
eral inches.
The headliner insert can not be
closed with the sunroof in its
raised position.<
After the ignition has been switched off,
you can still operate the sliding/tilt sun-
roof as long as neither of the front
doors has been opened.390de724
Automatic
* opening and closing
Press the switch past the pressure
point and then release it.
Other automatic operations are:
>With the sunroof open, press the
switch briefly toward "Lift:" the sun-
roof automatically extends to its fully-
raised position
>With the sunroof lifted, press the
switch briefly toward "Open:" the
sunroof automatically opens all the
way.
Pressing the switch again briefly stops
the motion.Safety featureIf the sliding/tilt sunroof encounters
resistance at a point roughly past the
middle of its travel when it is closing,
the closing cycle is interrupted and the
sliding/tilt sunroof will open again
slightly.
Page 47 of 187
47n
OverviewControlsMaintenanceRepairsDataIndex
Sliding/tilt sunroof
*
Despite this safety feature, be
extremely careful that the travel
path of the sunroof is not obstructed
whenever it is closed. Remember that
the safety mechanism may not be able
to detect obstructions under all circum-
stances (with very thin objects, for
instance). You can disable this safety
feature by pressing the switch beyond
the pressure point and holding it.<
Sliding/tilt sunroof with glass
moonroof
*
The options and control procedures are
essentially the same as those previ-
ously described for the sliding/tilt sun-
roof. In order to open the raised roof,
press the control switch towards
"Open" and maintain pressure until the
roof has reached the desired position.
The headliner insert slides back some-
what when you raise the sunroof, and
retracts along with the sunroof panel
when you slide it back. The insert then
remains open, and you can slide it back
and forth to adjust it whenever the sun-
roof is not fully retracted.
Interruption in the electrical
supplyAfter interruptions in the electrical
supply (when the battery is discon-
nected, for instance), the sunroof may
only lift. To reinitialize the mechanism:
1. Raise the sliding/tilt sunroof fully
2. Press and hold the switch for approx.
twenty seconds.390de725
Manual operationIn the event of an electrical malfunction,
you can also operate the sliding/tilt
sunroof manually:
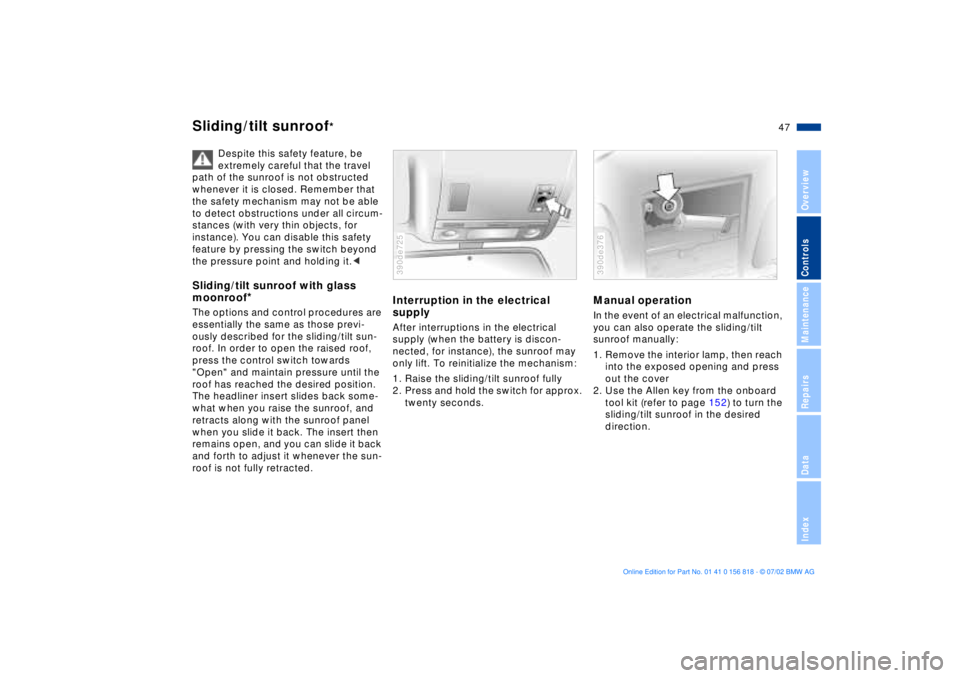
1. Remove the interior lamp, then reach
into the exposed opening and press
out the cover
2. Use the Allen key from the onboard
tool kit (refer to page 152) to turn the
sliding/tilt sunroof in the desired
direction.390de376
Page 129 of 187

129n
OverviewControlsMaintenanceRepairsDataIndex
Cargo loading Roof-mounted luggage rack
Always position and secure the
load correctly. If you do not, it can
endanger the passengers during
braking or evasive maneuvers.
Do not exceed the approved gross
vehicle weight or the permissible axle
loads (refer to page 173). If you do, the
operating safety of the vehicle is no
longer ensured and you are in violation
of the law.
Do not carry hard or heavy objects
unsecured in the passenger compart-
ment. If you do so, they may be pro-
jected through the air during braking
and evasive maneuvers, thus endan-
gering vehicle occupants.<
A special roof-rack system is available
as an optional extra for your BMW.
Please observe the precautions
included with the installation instruc-
tions.AnchoragesAccess to the anchorages:
To fold up the cover (arrow), please use
the tool provided with the roof-rack
system.Loading and driving notesRoof-mounted luggage racks raise the
center of gravity of the vehicle when
they are loaded. For this reason, they
exercise a major effect on the vehicle's
handling and steering response.394de757
You should therefore always remember
not to exceed the approved roof
weight, the approved gross vehicle
weight or the axle loads when loading
the rack. You will find the specifications
under "Technical data" on page 173.
Make sure that the load is not too bulky,
and attempt to distribute it evenly.
Always load the heaviest pieces first (on
the bottom). Ensure that adequate room
remains for the tilt sunroof to extend
upward and that no objects protrude
into the tailgate's travel range on the
sport wagon.
Always ensure that roof-mounted
loads are tightly secured, as loose
loads can shift or even fly off the roof,
posing a serious hazard for following
traffic.<
Drive smoothly and avoid sudden
acceleration and braking. Do not corner
at high speeds.
Page 179 of 187
Everything from A to Z
179n
OverviewControlsMaintenanceRepairsDataIndex
C
California Proposition
65 Warning147
Capacities175
Cargo area
floor compartment127
lamps105
opening from the
inside40
partition net125
roll-up cover125
Cargo loading128
Cellular phone119
Center (high-mount) brake
lamp157
Central locking
system32, 37
Changing a wheel/
tire158t
Charge indicator lamp19
CHECK button85
Check Control85t
Check engine oil
level142t
Child seats62
Child-restraint
installation64
Child-restraint system with
tether strap62
Child-restraint systems62
Child-safety locks66
Cigarette lighter120 Clean rear window79
Cleaning windshield79
Climate control, refer to
Automatic climate
control109
Clock90
for additional information
refer to the "Owner's
Manual for Onboard
Computer"
Cockpit14
Code, refer to immobilizer
function96
Cold start69
Comfort seat51
Compartments118
Computer88
for additional information
refer to the "Owner's
Manual for Onboard
Computer"
remote control97
Computer in the MID93
Configuring personal
adjustments, Vehicle and
Key Memory67
Consumption display83
Consumption, fuel88, 95
Convenience operation of
windows and sliding/tilt
sunroof33 Convenience starting
feature69
Coolant144
Coolant temperature
gauge84
Copyright4
Cover, sun blinds114
Cruising range88, 95
Cup holder119
Cup holder, refer to
beverage holder119
Curb monitor55
D
Date
calling up90
changing90
Daytime driving lamps103
DBC (Dynamic Brake
Control)20
Deactivating97
interior motion sensor43
tilt alarm sensor43
Deep water133
Defrost windows108, 111
Defroster mode108, 111
Digital clock in the MID90
Dimensions171
Dipstick, engine oil142t
Displacement170
Display lighting104 Displays16, 17
Disposal
antifreeze with corrosion
inhibitor144t
used batteries162t
used oils143t
Distance from
destination94
Distance warning98
Divided rear-seat
backrest121
Doors
manual operation33
opening and closing34
opening/closing from the
inside34
operation via remote
control34
DOT Quality Grades136
Driving notes133
DSC (Dynamic Stability
Control)21, 99
Dynamic Brake Control
(DBC)20
Dynamic Stability Control
(DSC)21, 99
E
Electric power seat50
Electric power windows44