2003 BMW 540I SEDAN fold seats
[x] Cancel search: fold seatsPage 118 of 187
118n
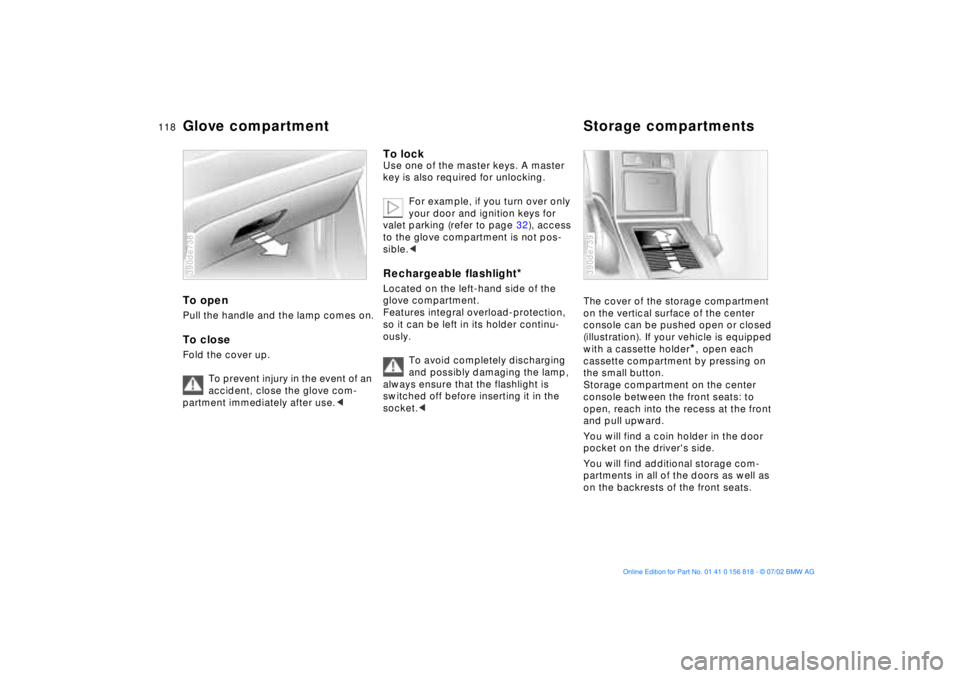
Glove compartment Storage compartmentsTo openPull the handle and the lamp comes on.To closeFold the cover up.
To prevent injury in the event of an
accident, close the glove com-
partment immediately after use.< 390de738
To lockUse one of the master keys. A master
key is also required for unlocking.
For example, if you turn over only
your door and ignition keys for
valet parking (refer to page 32), access
to the glove compartment is not pos-
sible.< Rechargeable flashlight
*
Located on the left-hand side of the
glove compartment.
Features integral overload-protection,
so it can be left in its holder continu-
ously.
To avoid completely discharging
and possibly damaging the lamp,
always ensure that the flashlight is
switched off before inserting it in the
socket.<
The cover of the storage compartment
on the vertical surface of the center
console can be pushed open or closed
(illustration). If your vehicle is equipped
with a cassette holder
*, open each
cassette compartment by pressing on
the small button.
Storage compartment on the center
console between the front seats: to
open, reach into the recess at the front
and pull upward.
You will find a coin holder in the door
pocket on the driver's side.
You will find additional storage com-
partments in all of the doors as well as
on the backrests of the front seats.
390de739
Page 123 of 187
123n
OverviewControlsMaintenanceRepairsDataIndex
Ski bag
*
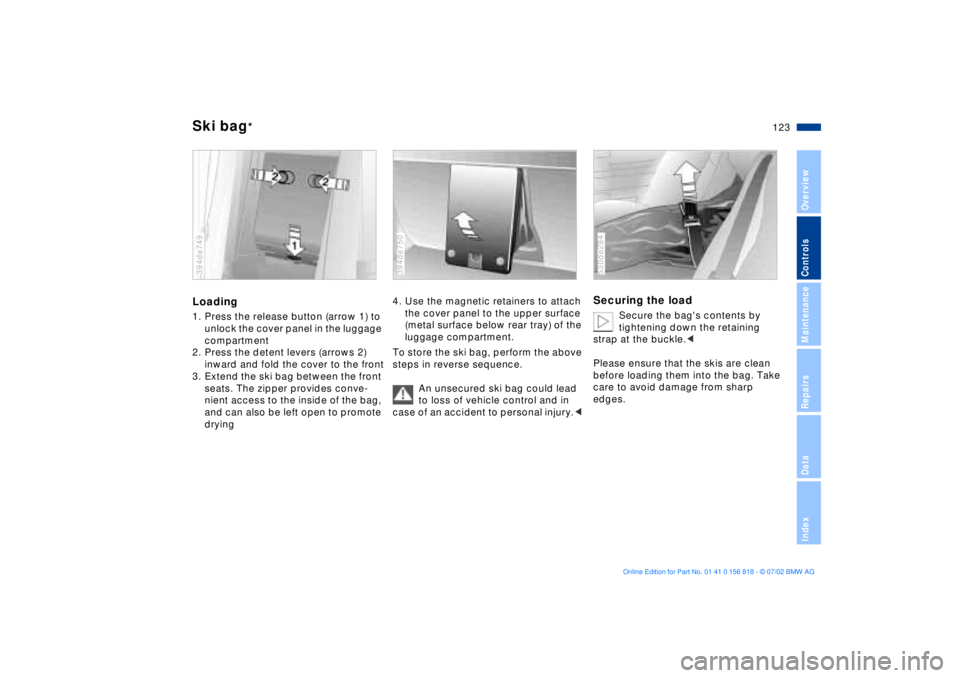
Loading1. Press the release button (arrow 1) to
unlock the cover panel in the luggage
compartment
2. Press the detent levers (arrows 2)
inward and fold the cover to the front
3. Extend the ski bag between the front
seats. The zipper provides conve-
nient access to the inside of the bag,
and can also be left open to promote
drying394de749
4. Use the magnetic retainers to attach
the cover panel to the upper surface
(metal surface below rear tray) of the
luggage compartment.
To store the ski bag, perform the above
steps in reverse sequence.
An unsecured ski bag could lead
to loss of vehicle control and in
case of an accident to personal injury.< 394de750
Securing the load
Secure the bag's contents by
tightening down the retaining
strap at the buckle.<
Please ensure that the skis are clean
before loading them into the bag. Take
care to avoid damage from sharp
edges.
530de284
Page 125 of 187
125n
OverviewControlsMaintenanceRepairsDataIndex
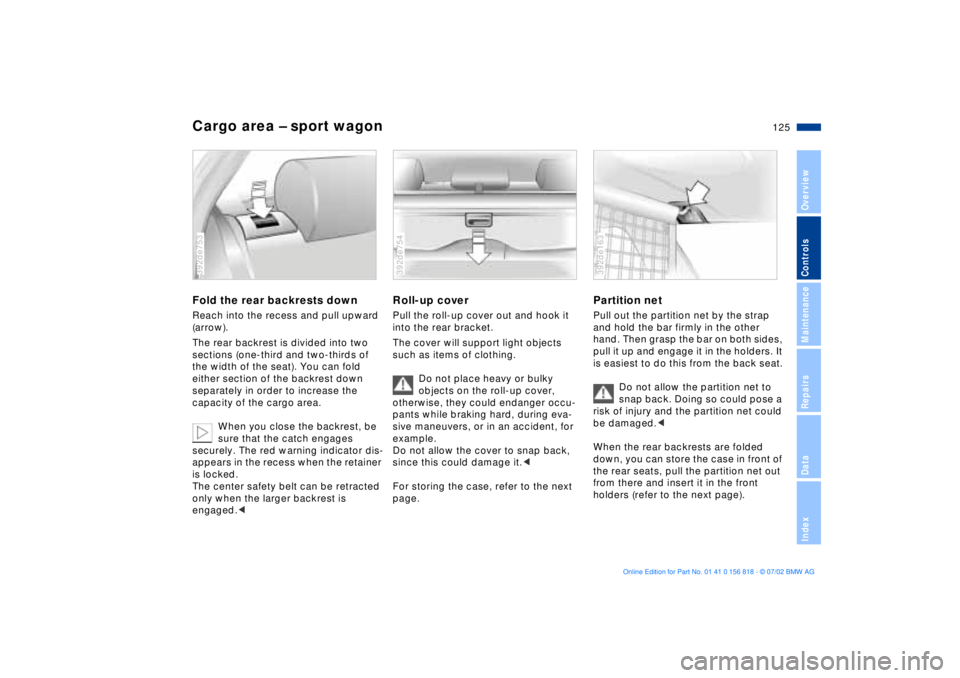
Cargo area Ð sport wagonFold the rear backrests downReach into the recess and pull upward
(arrow).
The rear backrest is divided into two
sections (one-third and two-thirds of
the width of the seat). You can fold
either section of the backrest down
separately in order to increase the
capacity of the cargo area.
When you close the backrest, be
sure that the catch engages
securely. The red warning indicator dis-
appears in the recess when the retainer
is locked.
The center safety belt can be retracted
only when the larger backrest is
engaged.<392de753
Roll-up coverPull the roll-up cover out and hook it
into the rear bracket.
The cover will support light objects
such as items of clothing.
Do not place heavy or bulky
objects on the roll-up cover,
otherwise, they could endanger occu-
pants while braking hard, during eva-
sive maneuvers, or in an accident, for
example.
Do not allow the cover to snap back,
since this could damage it.<
For storing the case, refer to the next
page.392de754
Partition netPull out the partition net by the strap
and hold the bar firmly in the other
hand. Then grasp the bar on both sides,
pull it up and engage it in the holders. It
is easiest to do this from the back seat.
Do not allow the partition net to
snap back. Doing so could pose a
risk of injury and the partition net could
be damaged.<
When the rear backrests are folded
down, you can store the case in front of
the rear seats, pull the partition net out
from there and insert it in the front
holders (refer to the next page).392de163
Page 180 of 187
Everything from A to ZElectrical malfunction
doors33
fuel filler door24
luggage compartment
lid38
sliding/tilt sunroof47
tailgate39
Elements of operation,
cockpit14
Emergency release of
luggage compartment lid
from luggage
compartment's interior41
Energy control83
Engine compartment
essentials140
Engine coolant84, 144
Engine oil142
consumption142
disposal143t
level20
pressure19
specifications143t
viscosity ratings143
Engine specifications170
Estimated time of arrival95
Exterior mirrors57, 58
F
Failure messages85t
Filling the washer
reservoir141t
First-aid kit23
Fittings, tow-starting and
towing165t
Flashlight118
Flat tire135, 158t
Fog lamps104
bulb replacement155t
Fold rear-seat backrest121
Follow me home lamps103
Front ashtray119
Front fog lamps104
Front seat adjustment48
Fuel25
gauge83
quality25
specifications25
tank capacity175
Fuel consumption88, 95
average88, 95
indicator83
Fuel filler door24
electrical malfunction24
manual release24
Fuses162
G
Gasoline25
gauge83
quality25
Glass moonroof47
Glove compartment118
Grilles109
Gross vehicle weight173 H
Handbrake70
Hands-free system119
Hazard warning triangle23
Head restraints50
Headlamp covers,
care153t
Headlamp flasher78
Headlamp washer
system141
Heated seats55
Heated steering wheel56
Heating and
ventilation106, 109
Heating while stopped113
Heavy cargo128
Height adjustment
seats50
steering wheel56
Height of vehicle171
High beams21, 104
bulb replacement153t High Performance Synthetic
Oils143
High-mount brake lamp157
Holder for canned
beverages119
Hood139
release139t
Horn14
Hydraulic Braking Assistant,
refer to DBC20
Hydroplaning133, 135
I
Ice warning82
Identification, tires137
Ignition lock68
Immobilizer function96
activating code96
deactivating code96
selecting code96
Imprint4
Indicator and warning
lamps19
Inflation pressure26t
monitoring101
Inflation pressure,
tires26, 135
INSPECTION84
Instrument
cluster15, 16, 17
Page 182 of 187
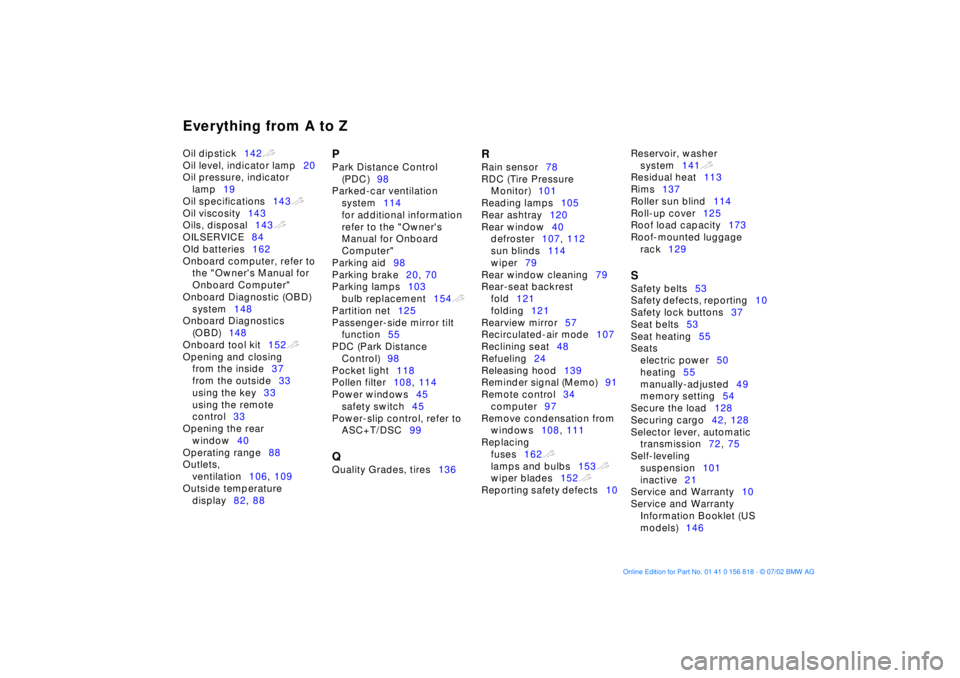
Everything from A to ZOil dipstick142t
Oil level, indicator lamp20
Oil pressure, indicator
lamp19
Oil specifications143t
Oil viscosity143
Oils, disposal143t
OILSERVICE84
Old batteries162
Onboard computer, refer to
the "Owner's Manual for
Onboard Computer"
Onboard Diagnostic (OBD)
system148
Onboard Diagnostics
(OBD)148
Onboard tool kit152t
Opening and closing
from the inside37
from the outside33
using the key33
using the remote
control33
Opening the rear
window40
Operating range88
Outlets,
ventilation106, 109
Outside temperature
display82, 88
P
Park Distance Control
(PDC)98
Parked-car ventilation
system114
for additional information
refer to the "Owner's
Manual for Onboard
Computer"
Parking aid98
Parking brake20, 70
Parking lamps103
bulb replacement154t
Partition net125
Passenger-side mirror tilt
function55
PDC (Park Distance
Control)98
Pocket light118
Pollen filter108, 114
Power windows45
safety switch45
Power-slip control, refer to
ASC+T/DSC99 Q
Quality Grades, tires136
R
Rain sensor78
RDC (Tire Pressure
Monitor)101
Reading lamps105
Rear ashtray120
Rear window40
defroster107, 112
sun blinds114
wiper79
Rear window cleaning79
Rear-seat backrest
fold121
folding121
Rearview mirror57
Recirculated-air mode107
Reclining seat48
Refueling24
Releasing hood139
Reminder signal (Memo)91
Remote control34
computer97
Remove condensation from
windows108, 111
Replacing
fuses162t
lamps and bulbs153t
wiper blades152t
Reporting safety defects10 Reservoir, washer
system141t
Residual heat113
Rims137
Roller sun blind114
Roll-up cover125
Roof load capacity173
Roof-mounted luggage
rack129
S
Safety belts53
Safety defects, reporting10
Safety lock buttons37
Seat belts53
Seat heating55
Seats
electric power50
heating55
manually-adjusted49
memory setting54
Secure the load128
Securing cargo42, 128
Selector lever, automatic
transmission72, 75
Self-leveling
suspension101
inactive21
Service and Warranty10
Service and Warranty
Information Booklet (US
models)146